

Using a Flex Sensor — SIK Circuit 9
Mga Tagubilin
Parts & Introduction
Parts & Introduction
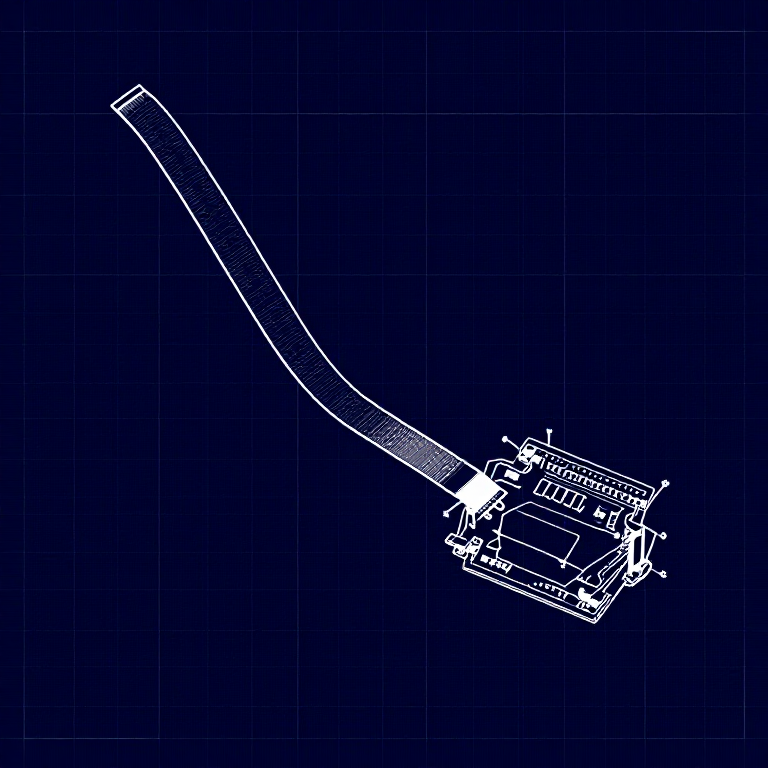
A flex sensor changes resistance when bent. Combined with the servo from Circuit 8, you can create gesture-based controls — bend the sensor to move the servo. This combines analogRead() with the Servo library.
Parts Needed
- 1x Arduino Uno + USB cable
- 1x Breadboard
- 1x Flex Sensor
- 1x Servo Motor
- 1x 10KΩ Resistor
- 11x Jumper Wires
Mga materyales para sa hakbang na ito:
 SparkFun Inventor's Kit - V3.21 kit
Mga kailangang kasangkapan:
 Kompyuter na May Arduino IDE
Hardware Hookup
Hardware Hookup
Wiring Instructions
Flex Sensor
- Connect one pin of the flex sensor to 5V.
- Connect the other pin to Analog Pin A0.
- Connect a 10K resistor from Analog Pin A0 to GND (voltage divider).
Servo
- Connect Red wire to 5V.
- Connect Black wire to GND.
- Connect White wire to Digital Pin 9.
Mga materyales para sa hakbang na ito:
 Sensor ng pagbaluktot, 56 mm1 piraso
 Lapad na Pansubok1 piraso
 Mga Jumper Wire7 piraso
Arduino Code
Arduino Code
Open the Arduino IDE and upload the following sketch to your Arduino board.
Mga materyales para sa hakbang na ito:
 Arduino Uno R31 piraso
Mga kailangang kasangkapan:
Kompyuter na May Arduino IDETest & Experiment
Test & Experiment
What You Should See
The servo moves in response to bending the flex sensor. Open the Serial Monitor to see both the raw sensor value and the mapped servo position.
Troubleshooting
- Servo not moving: Check servo wiring — easy to plug in backwards.
- Sensor only works one way: The flex sensor bends in one direction. The striped side should face outward on a convex curve.
- Limited range: Adjust the
map()range values (600, 900) to match your sensor's actual readings from the Serial Monitor.
Experiments to Try
- Build a "robot finger" that mimics your finger bending.
- Replace the servo with an LED and control brightness by bending.
Mga Materyales
7- SparkFun Inventor's Kit - V3.210% komisyon1 kit$105.50
- 1 pirasoPlaceholder
- Placeholder
- Placeholder
- Placeholder
- 1 pirasoPlaceholder
- Placeholder
Mga Kinakailangang Kasangkapan
1- Placeholder
CC0 Pampublikong Domain
Ang blueprint na ito ay inilabas sa ilalim ng CC0. Malaya kang kumopya, magbago, mamahagi, at gumamit nang walang pahintulot.
Suportahan ang Maker sa pamamagitan ng pagbili ng mga produkto sa kanilang Blueprint Komisyon ng Maker itinakda ng mga Vendor, o lumikha ng bagong bersyon ng Blueprint na ito at isama bilang koneksyon sa iyong Blueprint upang ibahagi ang kita.