SINING
BEAUTY AT WELLNESS
CRAFTS
KULTURA AT KASAYSAYAN
LIBANGAN
KAPALIGIRAN
PAGKAIN AT INUMIN
REVERSE ENGINEERING
AGHAM
ISPORTS
TEKNOLOHIYA
MGA WEARABLE


The Solderless Side Seam: A Lock That Cannot Unroll
Rung 4 closed the ends of the can without solder. The body still had a soldered line down its side, and that line is the longest piece of lead in the whole container.
Lock seams — two edges folded back on themselves, hooked together and flattened — were old and well known, and they had one fatal problem that Walter Thompson names in his opening paragraphs: **they unroll**. Under pressure the hoop tension in the can wall tries to straighten the fold out, and a fold has nothing to stop it.
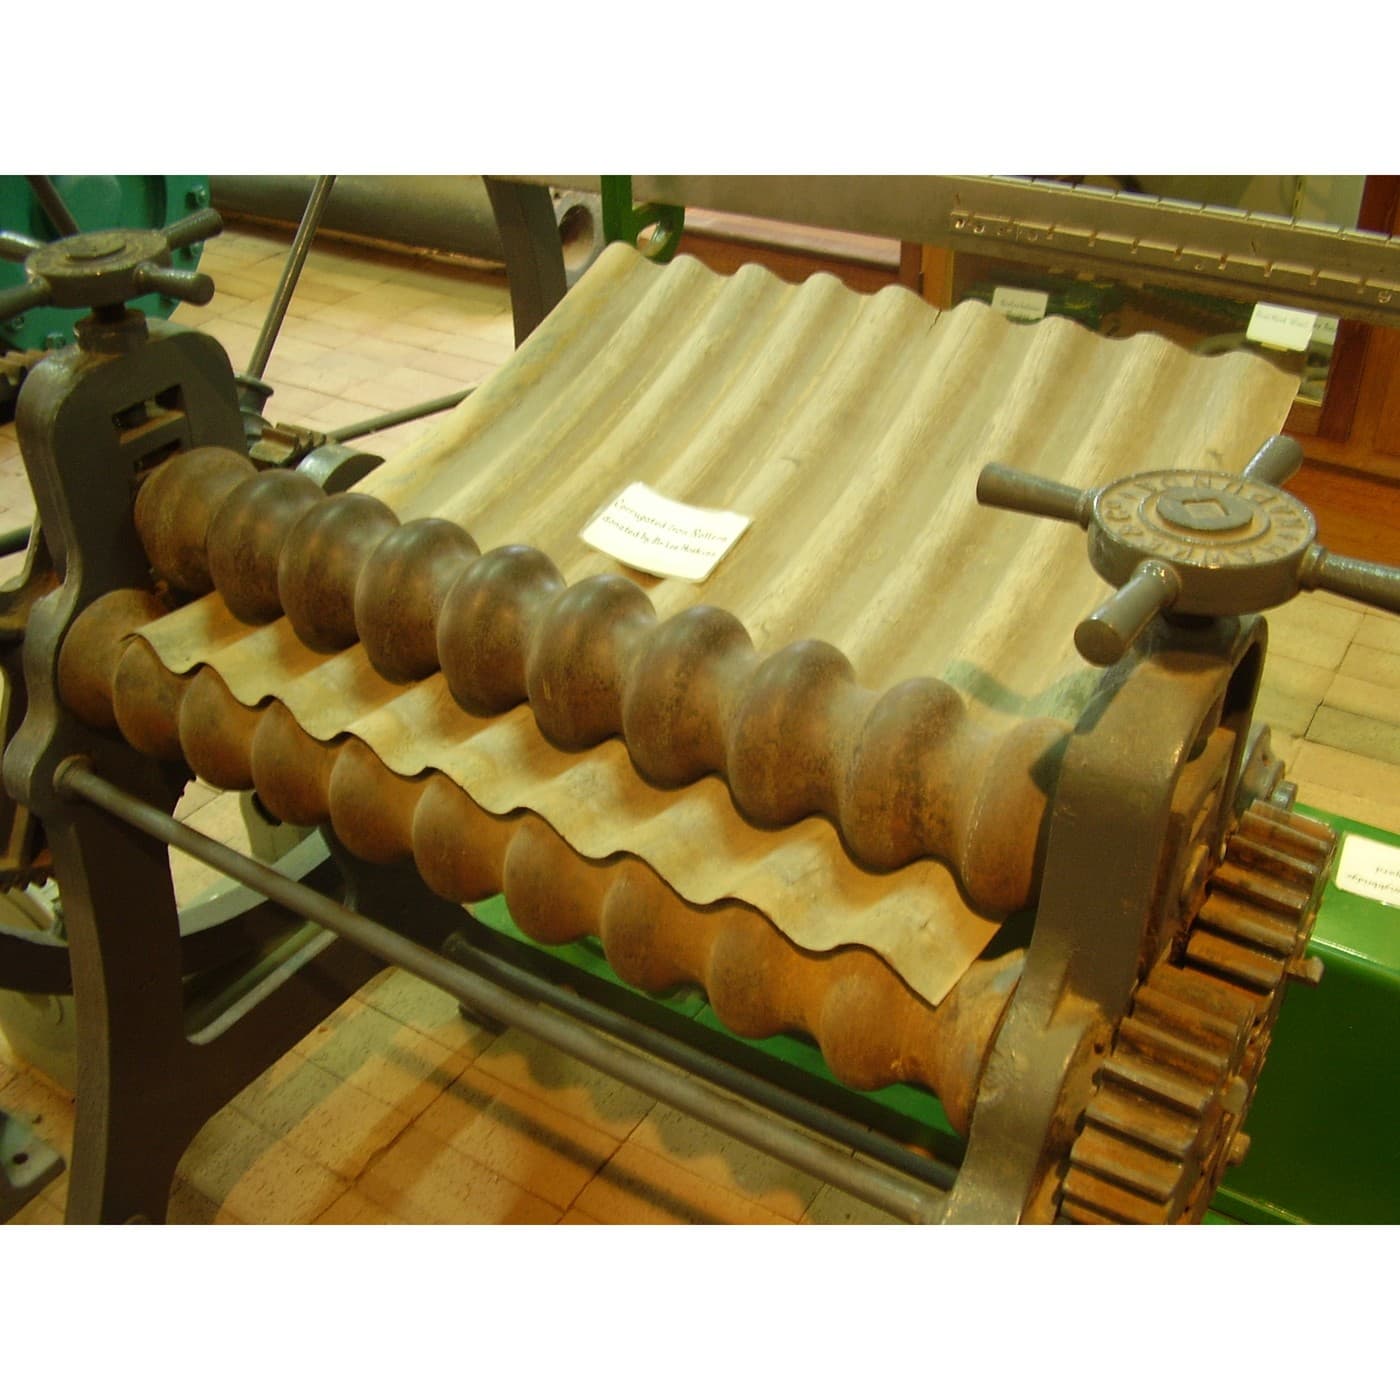
Thompson's 1902 answer is to stamp ribs across the seam, so that the fold can no longer open by bending — it would first have to stretch. It is the corrugated roof of rung 3 at a thousandth of the scale, aimed at exactly the motion the seam would have to make to fail.
Katamtaman
About 3 hours
Mga Tagubilin
1
1
Read the claim, and notice what it says about stamping
Read the claim, and notice what it says about stamping
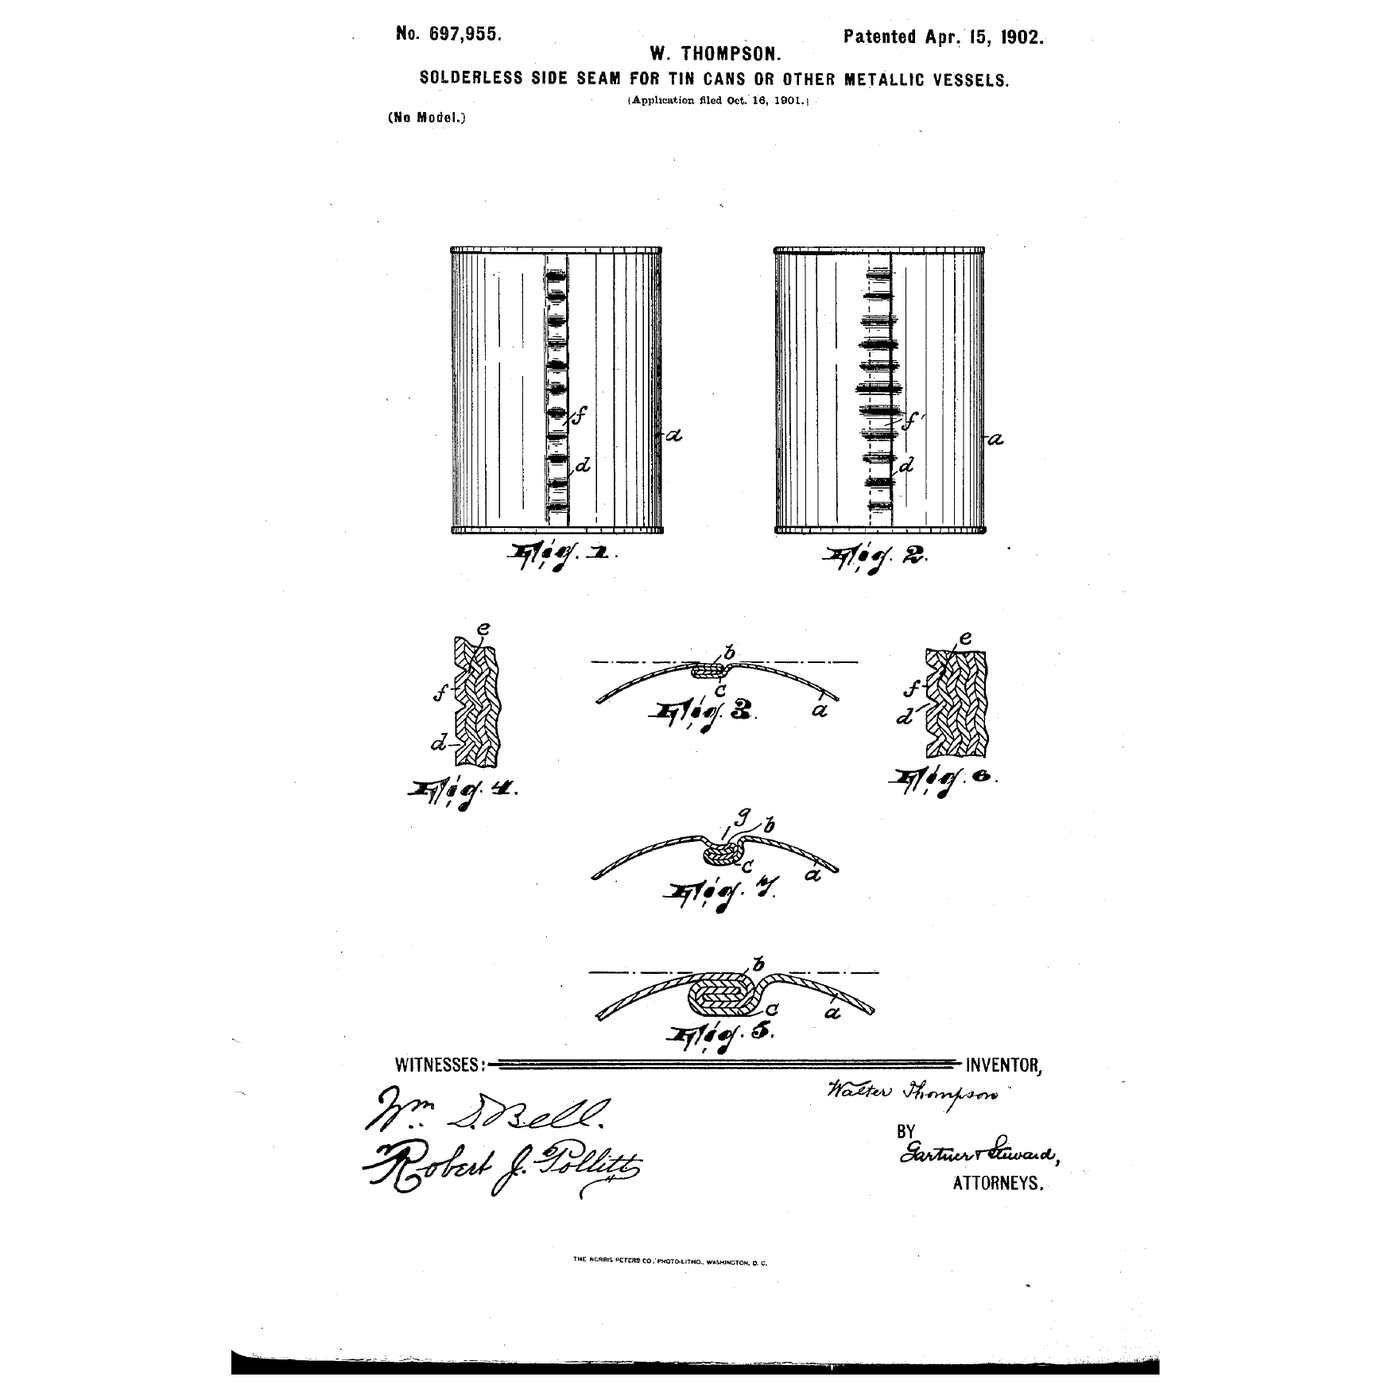
**US 697,955**, *Solderless side seam for tin cans or other metallic vessels*, **Walter Thompson** of Toronto, assignor by mesne assignments to the **Packers' Sanitary Can Company** of Paterson, New Jersey; filed **16 October 1901**, granted **15 April 1902**, long expired. The drawing on this page is the patent's own, and Figures 3 to 8 are the seam in section.
Three things in the specification are worth writing out, because each one is a decision:
1. **The failure mode.** *The weakness of all side seams or joints for tin cans lies principally in their tendency to unroll.* Not leaking. Unrolling. The whole patent is aimed at that one word.
2. **The ribs.** After the edges are interlocked and flattened, *a suitable tool is used to stamp in the metal a series of narrow elongated indentations, each extending transversely of the seam*, deep and acute, producing *a series of stout ribs projecting inwardly*. Because it is much harder to bend ribbed metal across its ribs, the seam cannot unroll.
3. **Stamping, not bending.** This is the sentence everything turns on. Stamping *is effected against only one face of the metal*, and *the result is rather to displace the metal immediately involved... stretching it at that point*. Bending would *reduce the length of the joint-forming portion of the metal*, and this does not.
That third point is the kind of detail that separates a patent someone built from one someone imagined. Corrugating a seam by bending it makes it stiff and simultaneously loosens the grip, because the fold has lost length. Stamping stretches metal in from the flat and takes nothing from the hook. The patent knows the difference and says so.
2
2
Make a plain lock seam and pull it apart
Make a plain lock seam and pull it apart
Before you stiffen a seam, find out what an unstiffened one does. This is ten minutes and it is the whole argument.
Cut two strips of tinplate or 0.3 mm brass, 150 mm long and 40 mm wide, and deburr them. Fold about 4 mm back on itself along one long edge of each strip — a flat hem, from rung 3 — one folded up, one folded down. Use the hand seamer, or the press brake and then a flattening pass.
Hook the two hems together, slide them home, and flatten the joint. You now have a **four-thickness lock seam**, which is the joint on every drainpipe, gutter and ductwork corner ever made.
Now load it the way a can loads it. Clamp one strip in the vise and pull the other one sideways, in the plane of the sheet — that is hoop tension. Then peel it: pull one strip back on itself. Note which of the two it survives and which it does not.
It will take a surprising amount of straight pull and almost no peel at all. The seam unrolls, progressively, starting at one end, exactly as Thompson says. Keep the failed sample.
Measure how much blank each hem consumed: two 4 mm hems mean 8 mm of the blank is inside the joint and not in the wall of the can. That is the cost of the seam, and it goes into the flat pattern before anything is cut.
Mga materyales para sa hakbang na ito:
 Plantsa ng lata1 piraso
 Lapad na Bronse1 piraso
Mga kailangang kasangkapan:
 Panipit na pantupi ng lata
 Hidrolikong pambaluktot na pisaan (12 tonelada)
 Bais sa Mesang Panggawa
 Hulmahang pambakal
 Malyong goma
 Martilyong bilog ang isang ulo
 Gunting sa lata
 Panggilit ng labi ng hulma
 Digital na Kalibrador 6 Pulgada
 Ruler
Ruler Malinaw na Salaming Pangkaligtasan
 Guwantes na Katad Pangtrabaho
3
3
Stamp the ribs and pull it apart again
Stamp the ribs and pull it apart again
Make a second seam exactly like the first. Then rib it.
You need a punch with a narrow rounded nose — a worn centre punch ground to a small radius works, or a short length of round bar filed to a blunt chisel. Back the seam with a flat steel plate on the anvil, and strike a **row of short indentations across the seam**, about 4 mm apart, each one running at right angles to the seam line and extending a little into the flat metal either side of it.
Two things to get right, both from the patent:
- **One face only.** Stamp from one side, against a flat backing, so the metal is displaced and stretched locally. Do not form the seam over a grooved die, which would bend it and shorten the hooks.
- **Deep and acute**, not shallow and rounded. A gentle dimple does almost nothing; the rib has to be a real change of section. Step 5 shows how sharply the stiffness depends on depth.
Now repeat step 2's tests. The straight pull will be similar. The **peel is transformed**: where the plain seam unrolled steadily, the ribbed one resists, and when it does fail it fails somewhere else — usually by tearing the plate rather than opening the fold.
That change of failure mode is the result. A joint that fails by tearing the parent metal is a joint that is no longer the weakest part, and that is the most anyone can ask of one.
Mga materyales para sa hakbang na ito:
Plantsa ng lata1 pirasoMga kailangang kasangkapan:
Panipit na pantupi ng lata Pantudlok sa GitnaMartilyong bilog ang isang ulo
 Martilyong pang-remaches
 PalihanBais sa Mesang Panggawa
 Mikroskopyong DigitalDigital na Kalibrador 6 PulgadaPanggilit ng labi ng hulmaMalinaw na Salaming PangkaligtasanGuwantes na Katad Pangtrabaho
 Kuwaderno sa laboratoryo (may kopya)
4
4
Put the two rungs together and close a cylinder
Put the two rungs together and close a cylinder
Now build the whole thing: Thompson's side seam and Ams's end seam on one vessel, which is the sanitary can as it was actually made.
Cut a rectangle of tinplate to wrap into a cylinder about 70 mm across — remember to add the 8 mm the two hems will eat, from step 2. Hem both long edges in opposite directions. Roll the blank round a mandrel; a length of steel tube in the vise does well.
Hook the two hems, flatten the seam, then rib it as in step 3. Finally, flatten the seam **so that in section it lies as a chord** rather than following the curve of the wall — the patent specifies this, and the reason is that a straight seam meets the hoop tension end-on instead of being flattened further by it.
Then flange the ends and close one of them with a double seam from rung 4. You now have a can made entirely by folding, with no solder anywhere in it.
Test it. Fill with water and stand it up: does the side seam weep? Squeeze it: does anything move? Then, carefully and away from your face, put a little pressure in it by warming it gently with the closed end fitted — a few tenths of a bar is plenty and is enough to find a bad seam.
Do not pressurise a hand-made can beyond a gentle warm, do not use compressed air on it, and do not put food in it. This is a demonstration of a joint, not a food container.
Mga materyales para sa hakbang na ito:
Plantsa ng lata2 piraso Pandikit na silikon para sa mataas na temperatura1 piraso
Mga kailangang kasangkapan:
Panipit na pantupi ng lataHulmahang pambakal Hulmahang pang-angatPalihanPantudlok sa GitnaMartilyong bilog ang isang uloMalyong gomaBais sa Mesang PanggawaGunting sa lataDigital na Kalibrador 6 Pulgada
 Kompas na dalawang tulisPanggilit ng labi ng hulmaMalinaw na Salaming PangkaligtasanGuwantes na Katad Pangtrabaho
5
5
Hoop tension, and what a rib is worth against it
Hoop tension, and what a rib is worth against it
Naglo-load ng Jupyter notebook…
6
6
History and context
History and context
**Attribution.** US 697,955, *Solderless side seam for tin cans or other metallic vessels*, Walter Thompson of Toronto, Ontario, assignor by mesne assignments to the Packers' Sanitary Can Company of Paterson, New Jersey; filed 16 October 1901, granted 15 April 1902, expired. The drawing on this page is the patent's own.
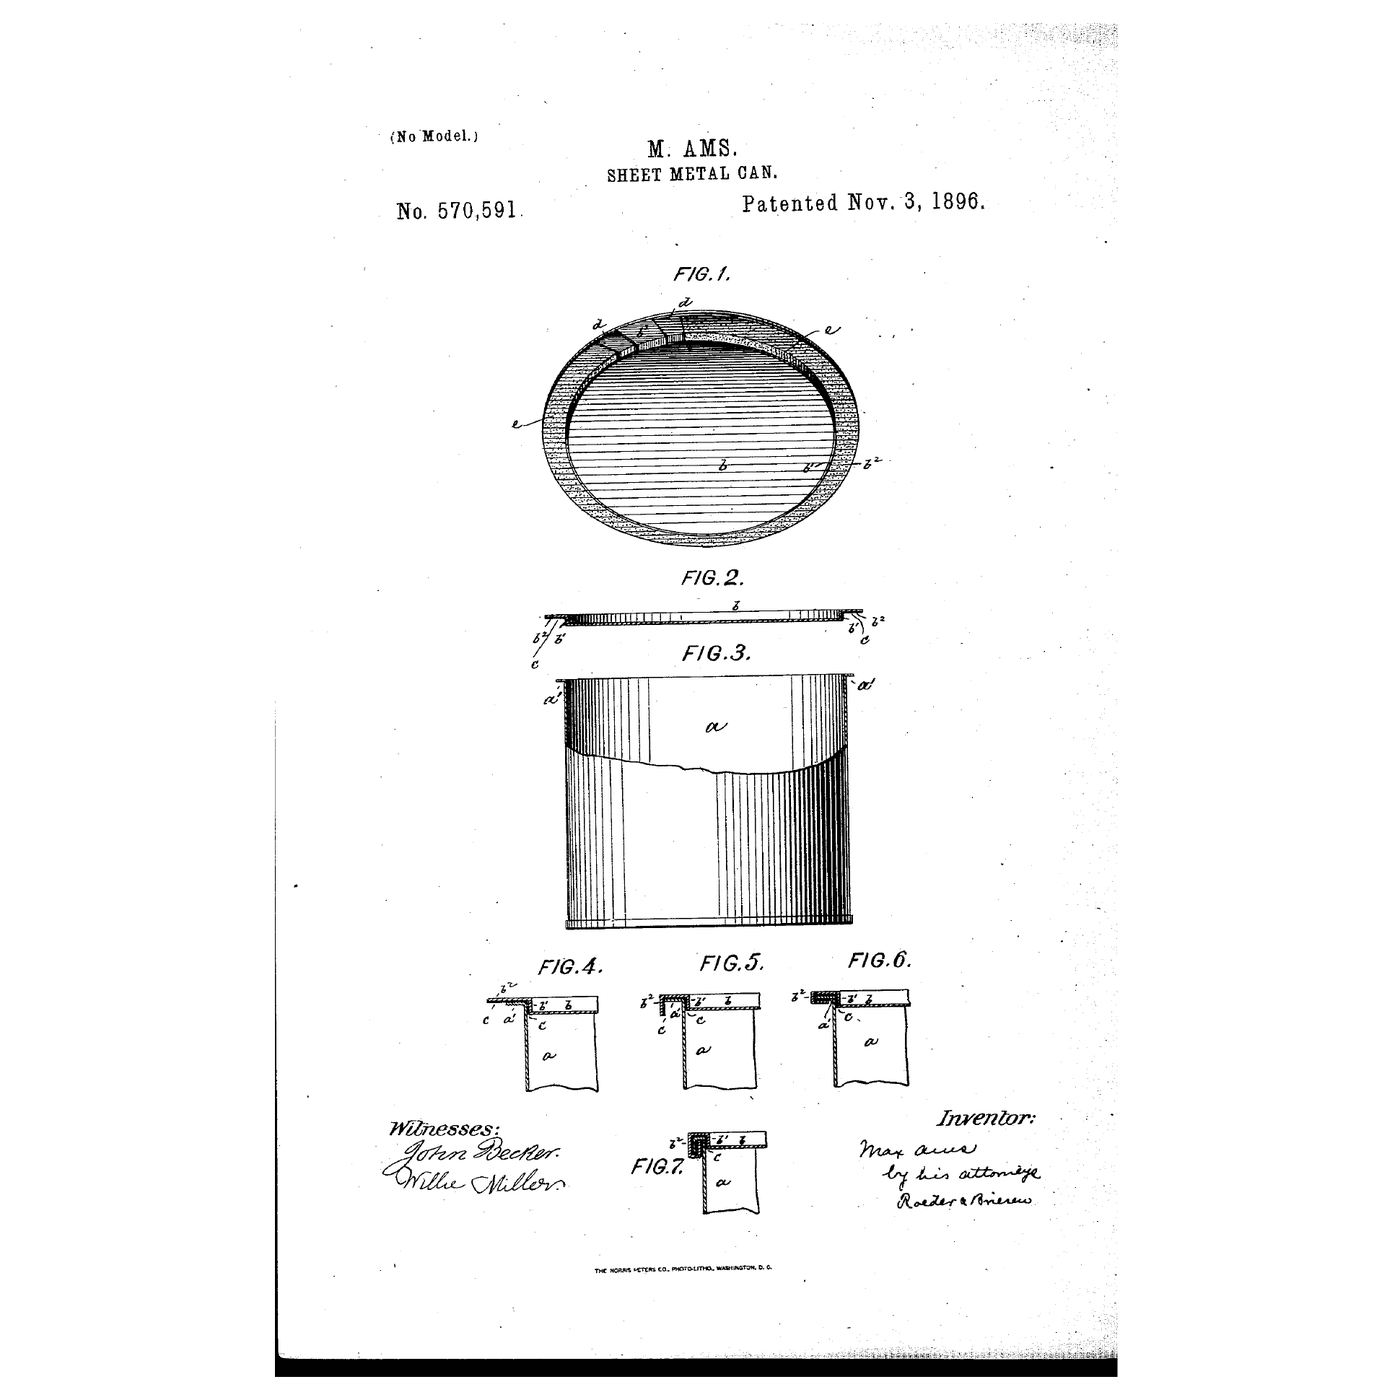
**Where it sits.** Ams's end seam of 1896 and this side seam of 1902 are the two halves of the *sanitary can* — the term the trade used for a can with no solder touching the contents. Neither alone is enough: a can with a double-seamed end and a soldered side is still a can with lead in it. Together they close the container entirely by folding metal, and that is the form a food can has kept for over a century.
**What is interesting about the patent** is how narrow and how well-aimed it is. Lock seams existed; the specification says so, and lists the things people had already tried — more plies, interposed rubber, asbestos or paper, corrugations — and says why each failed. The contribution is one operation, stamping transverse ribs against a flat backing, chosen because it adds stiffness in the failure direction *without* taking length out of the hooks. That is a patent written by somebody who had watched seams fail.
**It is rung 3's idea, used differently.** The corrugated roof gains bending stiffness because the metal moved away from its neutral axis. The ribbed seam gains something stronger than stiffness: it converts a motion that was pure bending into one that demands stretching, and sheet metal is orders of magnitude harder to stretch than to bend. Same shape, different payoff, and worth holding on to as a principle rather than as a trick.
**Honest limits.** A lock seam is a *mechanical* joint and it is not hermetic by itself — commercial cans run a sealing compound or a welded side seam today, and modern food cans are mostly resistance-welded rather than folded, using the process already in the catalogue as its own rung. The folded seam survives everywhere the joint does not have to be gas tight: ductwork, gutters, downpipes, tins, and every roof standing seam. And ribbing a seam does nothing at all for a joint loaded in straight tension — it is aimed at one failure mode, and outside that it is decoration.
Mga Materyales
3- 2 pirasoPlaceholder
- 1 pirasoPlaceholder
- Placeholder
Mga Kinakailangang Kasangkapan
19- Placeholder
- Hidrolikong pambaluktot na pisaan (12 tonelada)10% komisyonPlaceholder
- Placeholder
- Placeholder
- Placeholder
- Placeholder
- Gunting sa lata10% komisyonPlaceholder
- Placeholder
- Placeholder
- Placeholder
- Placeholder
- Placeholder
- Placeholder
- Placeholder
- Placeholder
- Placeholder
- Kuwaderno sa laboratoryo (may kopya)10% komisyonPlaceholder
- Placeholder
- Placeholder
Kaugnay na Blueprint
Ang mga blueprint na ito ay nagbabahagi ng kaalaman — mga teknik, materyales, o prinsipyo



CC0 Pampublikong Domain
Ang blueprint na ito ay inilabas sa ilalim ng CC0. Malaya kang kumopya, magbago, mamahagi, at gumamit nang walang pahintulot.
Suportahan ang Maker sa pamamagitan ng pagbili ng mga produkto sa kanilang Blueprint Komisyon ng Maker itinakda ng mga Vendor, o lumikha ng bagong bersyon ng Blueprint na ito at isama bilang koneksyon sa iyong Blueprint upang ibahagi ang kita.