فن
خوبصورتی اور تندرستی
دستکاری
ثقافت اور تاریخ
تفریح
ماحول
خوراک اور مشروبات
سبز مستقبل
ریورس انجینئرنگ
اسکول پروجیکٹس
سائنسز
کھیل
ٹیکنالوجی
پہننے والے آلات

ترجمہ شدہ
BLUEPRINT NFT

LED کو جھلملاتے ہوئے — آپ کا پہلا Arduino پروجیکٹ
کلاسیکی پہلا الیکٹرانکس پروجیکٹ! Arduino، بریڈ بورڈ، ایک resistor اور ایک واحد LED استعمال کرتے ہوئے ایک جھلملاتا ہوا LED سرکٹ بنائیں۔ بالکل ابتدائی افراد کے لیے بہترین — کوئی سولڈرنگ درکار نہیں۔
ہدایات
1
1
اپنے اجزاء جمع کریں
اپنے اجزاء جمع کریں
نیچے درج تمام اجزاء جمع کریں۔ کوئی سولڈرنگ کی ضرورت نہیں — سب کچھ بریڈ بورڈ میں لگایا جاتا ہے۔
اس مرحلے کے لیے مواد:
 SparkFun Inventor's Kit - V3.21 kit
 Arduino Uno R31 piece
 5mm LED (any color)1 piece
 220 ohm Resistor (1/4W)1 piece
 Breadboard1 piece
 Jumper Wires (Male-to-Male)2 pieces
 USB-B Cable1 piece
درکار اوزار:
Computer with Arduino IDE
2
2
سرکٹ اسکیمیٹک
سرکٹ اسکیمیٹک
سگنل Arduino Pin 13 → 220Ω resistor (R1) → LED (D1) → GND سے بہتی ہے۔ resistor موجودہ کو محدود کرتا ہے LED کو محفوظ رکھنے کے لیے۔
اس مرحلے کے لیے مواد:
Arduino Uno R31 piece5mm LED (any color)1 piece220 ohm Resistor (1/4W)1 piece3
3
اسے تار سے جوڑیں
اسے تار سے جوڑیں
- LED کو بریڈ بورڈ میں ڈالیں — لمبی ٹانگ (anode +) ایک صف میں، چھوٹی ٹانگ (cathode −) اگلی صف میں۔
- 220Ω resistor کی ایک ٹانگ LED cathode کی اسی صف میں ڈالیں۔ دوسری ٹانگ الگ صف میں۔
- Jumper wire LED anode صف سے → Arduino Pin 13۔
- Jumper wire resistor خالی صف سے → Arduino GND۔
اس مرحلے کے لیے مواد:
5mm LED (any color)1 piece220 ohm Resistor (1/4W)1 pieceBreadboard1 pieceJumper Wires (Male-to-Male)2 pieces4
4
بلنک کوڈ اپلوڈ کریں
بلنک کوڈ اپلوڈ کریں
USB کے ذریعے Arduino کو جوڑیں۔ Arduino IDE کھولیں، Tools → Board → Arduino Uno منتخب کریں، کوڈ پیسٹ کریں اور Upload پر کلک کریں۔
blink.inoarduino
اس مرحلے کے لیے مواد:
Arduino Uno R31 pieceUSB-B Cable1 pieceدرکار اوزار:
Computer with Arduino IDE
5
5
PCB لے آؤٹ (حوالہ)
PCB لے آؤٹ (حوالہ)
یہ سرکٹ کو PCB لے آؤٹ کے طور پر دکھاتا ہے۔ اس منصوبے کے لیے ضروری نہیں ہے — بریڈ بورڈ بالکل ٹھیک کام کرتا ہے — لیکن اگر اسے ایک حقیقی بورڈ کے طور پر تیار کیا جائے تو وہی سرکٹ کیسے نظر آئے گا اس کو ظاہر کرتا ہے۔
6
6
ٹیسٹ اور تجربہ
ٹیسٹ اور تجربہ
LED جھمکتا ہے؟ مبارک ہو! آپ نے ابھی ہارڈویئر کو پروگرام کیا۔
مسائل کا حل:
اگلے تجربے:
مسائل کا حل:
- LED روشن نہیں ہوتا ہے؟ LED کو الٹا پلٹائیں — لمبی ٹانگ Pin 13 کی طرف۔
- LED آن رہتا ہے؟ چیک کریں کہ کوڈ کامیابی سے اپ لوڈ ہوا ہے۔
- کچھ نہیں ہوتا ہے؟ تار کنیکشن کی تصدیق کریں جو Step 2 میں سکیمیٹک سے ملتا ہے۔
اگلے تجربے:
delay()کی قدریں بدلیں تاکہ جھمکنے کی رفتار کو کنٹرول کریں- Pin 12 پر دوسرا LED شامل کریں
- RGB LED کے ساتھ بدلیں (دیکھیں SIK Circuit 3)
مواد
7- $105.00
- 1 pieceپلیس ہولڈر
- پلیس ہولڈر
- پلیس ہولڈر
- 1 pieceپلیس ہولڈر
- پلیس ہولڈر
Estimated Total
$105.00You can swap these in
Can't get one of the materials? Swap it for an equivalent — these work just as well.
- Instead of Arduino Uno R3, try:
 Prototyping Shield for Arduino Uno (3-Pack)
 - Instead of USB Cable, try:
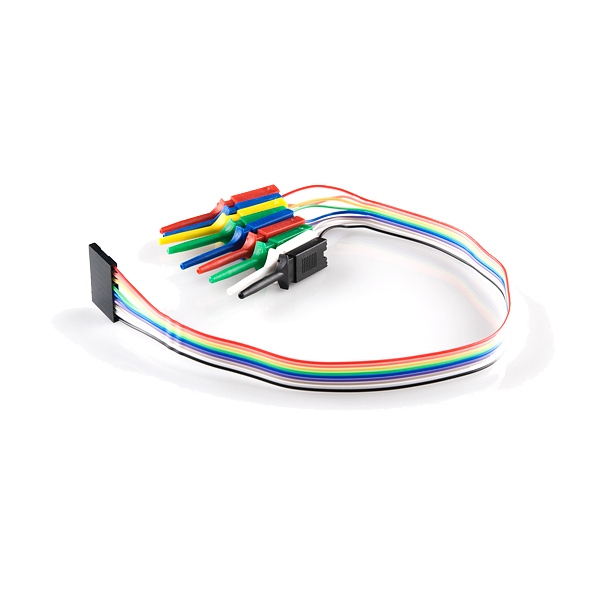 Open Logic Sniffer - Probe Cable Kit
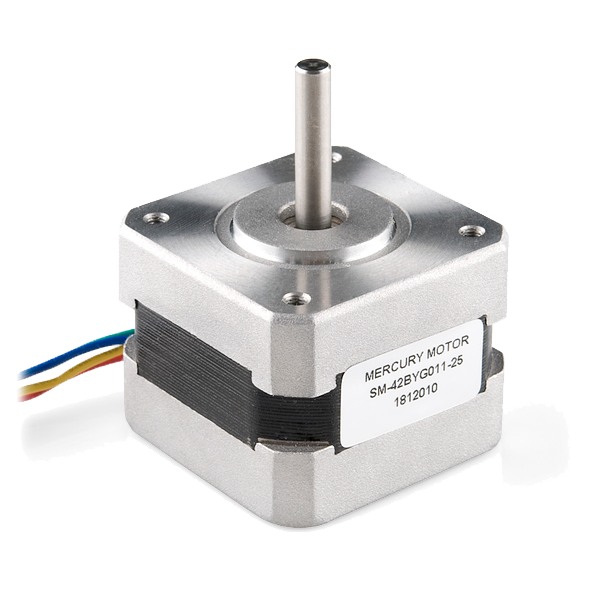 Stepper Motor with Cable
 USB-A to USB-B Cable (1m, 3-Pack)
 Steel Cable 40mm
 - Instead of 5mm LED Assortment Kit (300pcs, 5 Colors), try:
 WS2812B NeoPixel LED Strip (1m, 60 LEDs)
 - Instead of Jumper Wire Kit (350pcs, M-M / M-F / F-F), try:
 Tie Wire
 Thin Brass Wire (for cleaning spouts)
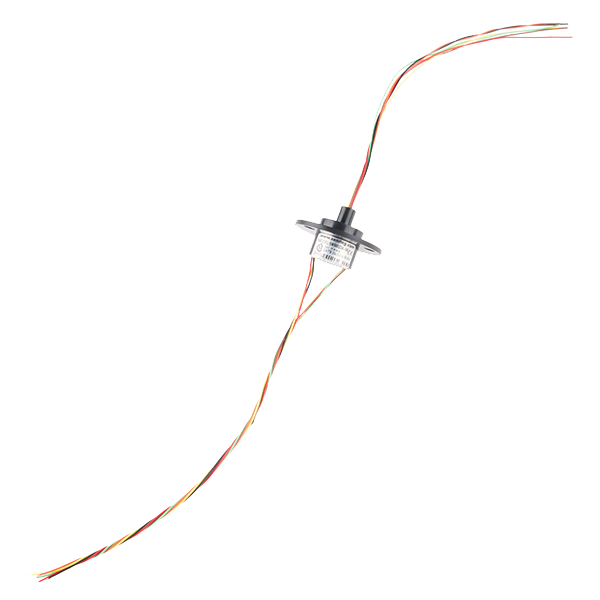 Slip Ring - 6 Wire (2A)
 Bezel Wire
 Bronze Wire
 Fine Silver Wire (999, 18 Gauge, 5 ft)
Recommended for this build
Products makers often use with builds like this one.
 Jumper Wires Premium F/F - 15.5 cm (Pack of 10)Used together and in similar builds
 Resistor 330 Ohm 1/6 Watt PTH - 20 packUsed together and in similar builds
 74HC595 Shift Register (10-Pack)Used in similar builds
 Resistor 10K Ohm 1/6th Watt PTH - 20 packFrequently used with this build's materials
 Push Button - 33mmFrequently used with this build's materials
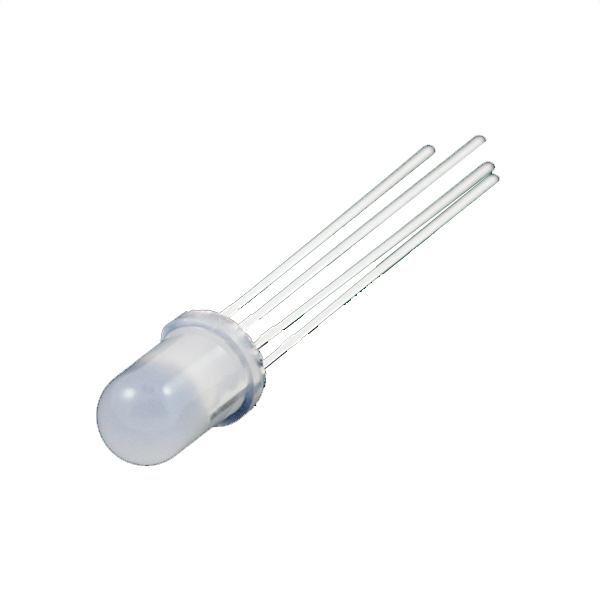 LED - RGB Diffused Common Cathode - 5mmFrequently used with this build's materials
 Piezo ElementFrequently used with this build's materials
 Diode KitFrequently used with this build's materials
Related blueprints
Other builds that share materials, tools, or techniques with this one.

Using a Shift Register — SIK Circuit 14electronics/active

Making Charcoal — The First Chemical Processmaterials

Starting Seeds Indoors — Raising Seedlings for a Head Start

Driving a Motor — SIK Circuit 12electronics/electromech

Building Ctesibius' Force Pump — The First Double-Acting Piston Pumpengineering

The Spinning Jenny — Multi-Spindle Yarn Productiontextiles
CC0 پبلک ڈومین
یہ بلیو پرنٹ CC0 کے تحت جاری کیا گیا ہے۔ آپ اجازت لیے بغیر اس کام کو نقل، ترمیم، تقسیم اور کسی بھی مقصد کے لیے استعمال کرنے کے لیے آزاد ہیں۔
میکر کی حمایت کریں ان کے بلیو پرنٹ کے ذریعے پروڈکٹس خرید کر جہاں وہ میکر کمیشن وینڈرز کی طرف سے مقرر، کماتے ہیں، یا اس بلیو پرنٹ کی نئی تکرار بنائیں اور آمدنی شیئر کرنے کے لیے اسے اپنے بلیو پرنٹ میں کنکشن کے طور پر شامل کریں۔