فن
خوبصورتی اور تندرستی
دستکاری
ثقافت اور تاریخ
تفریح
ماحول
خوراک اور مشروبات
ریورس انجینئرنگ
سائنسز
کھیل
ٹیکنالوجی
پہننے والے آلات
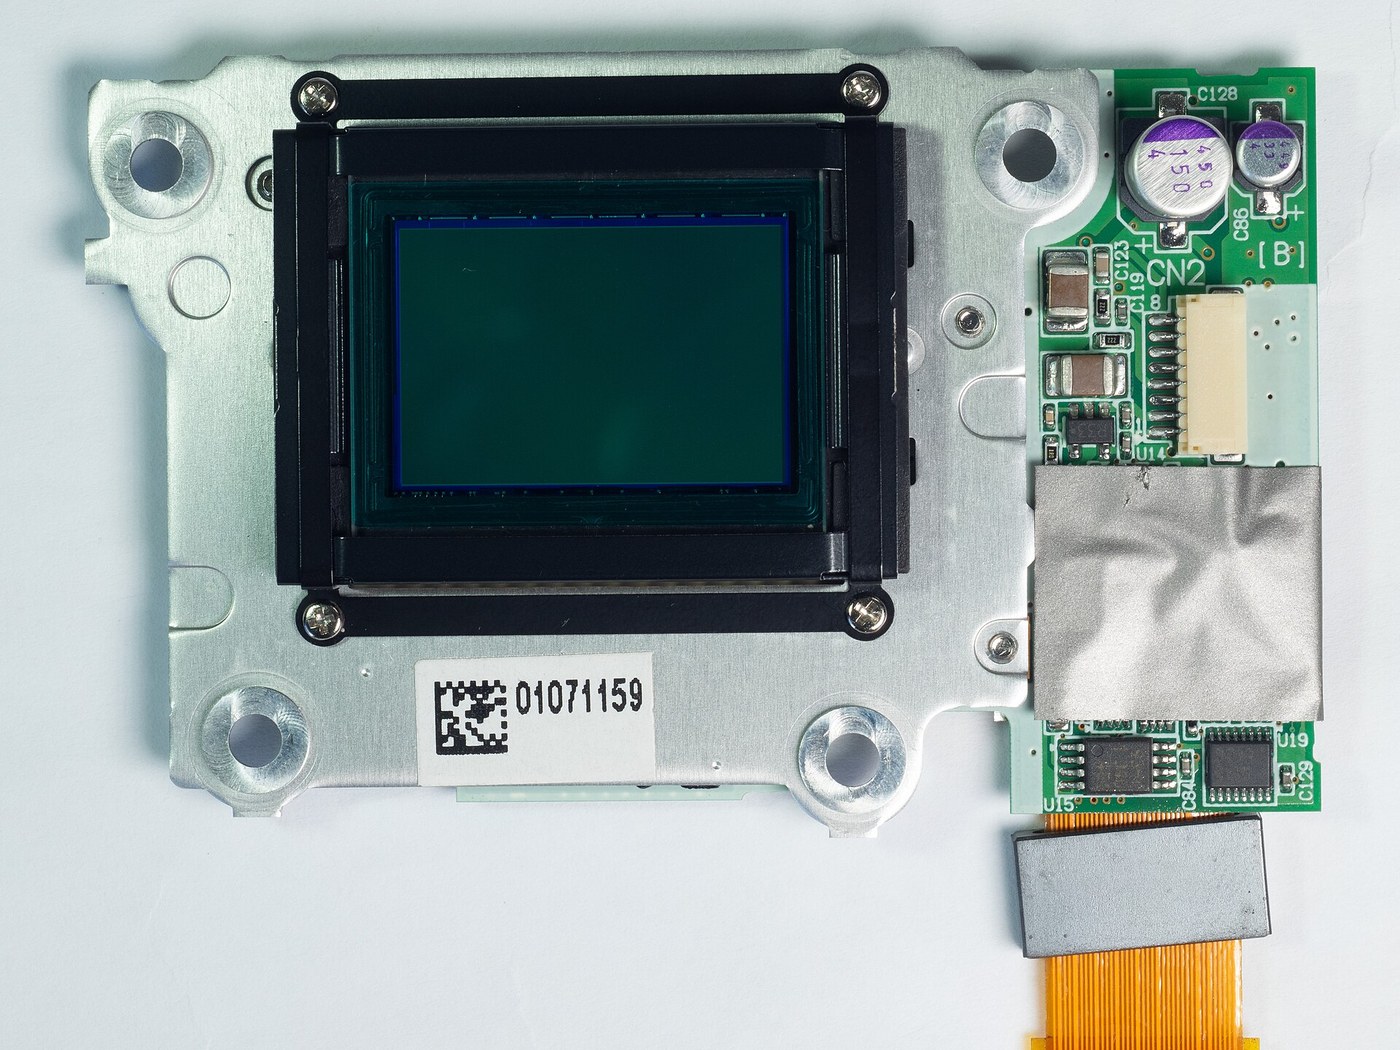


The Charge-Coupled Device
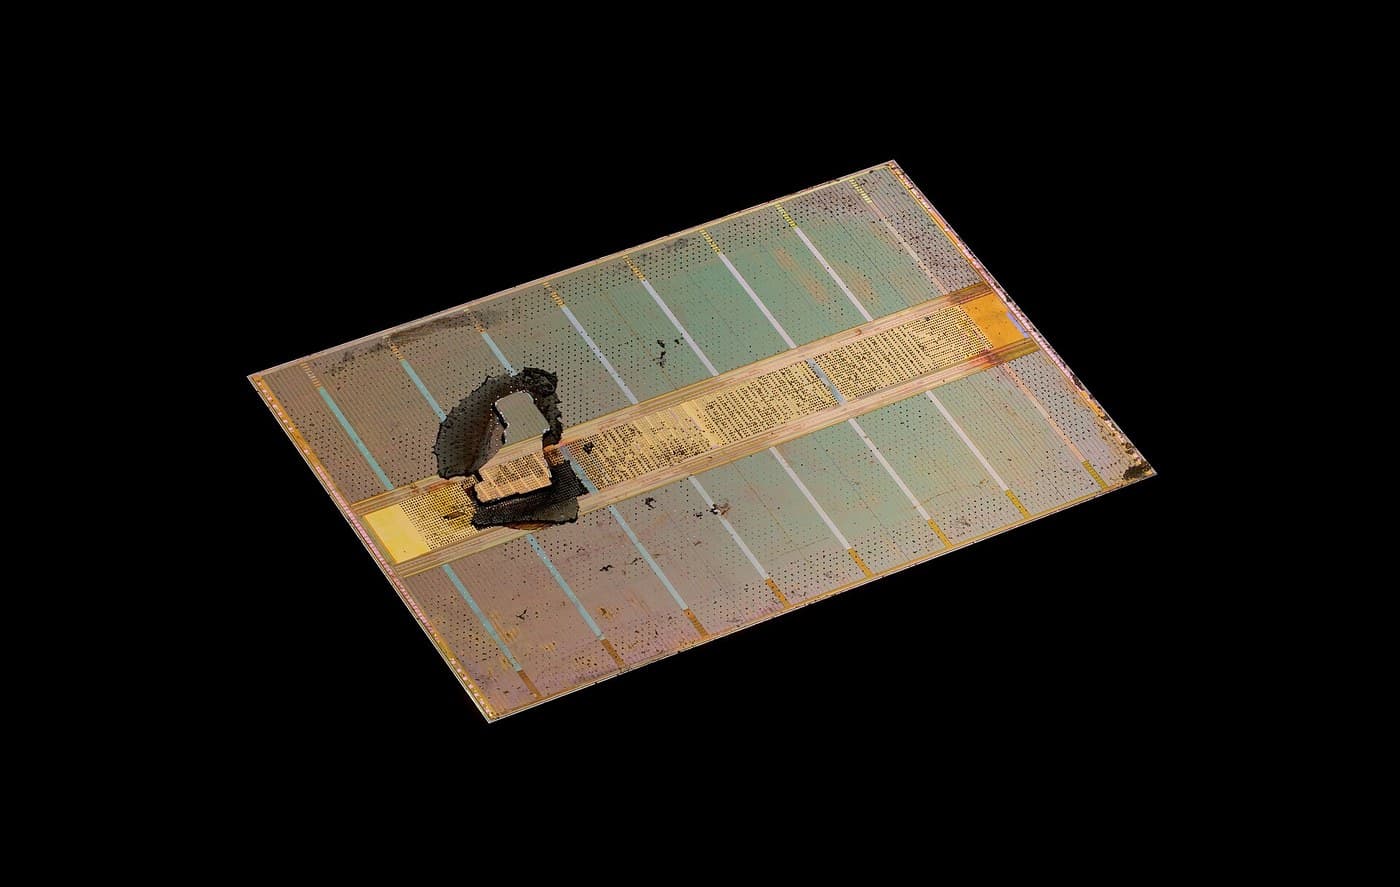
Boyle and Smith, 1969, sketched in an hour on a blackboard; Nobel Prize 2009. A CCD pixel is the DRAM cell read the opposite way: DRAM holds charge and refreshes it in place, a CCD SHIFTS each packet down the row to one amplifier, a bucket brigade for electrons. Because it collects charge on a fixed grid instead of scanning a beam, it kills the vidicon's two diseases — distortion and lag — at a stroke. The price: move charge thousands of times and lose none.
اعلیٰ
6 hours
ہدایات
1
1
The pixel is the DRAM cell, read by moving the charge
The pixel is the DRAM cell, read by moving the charge
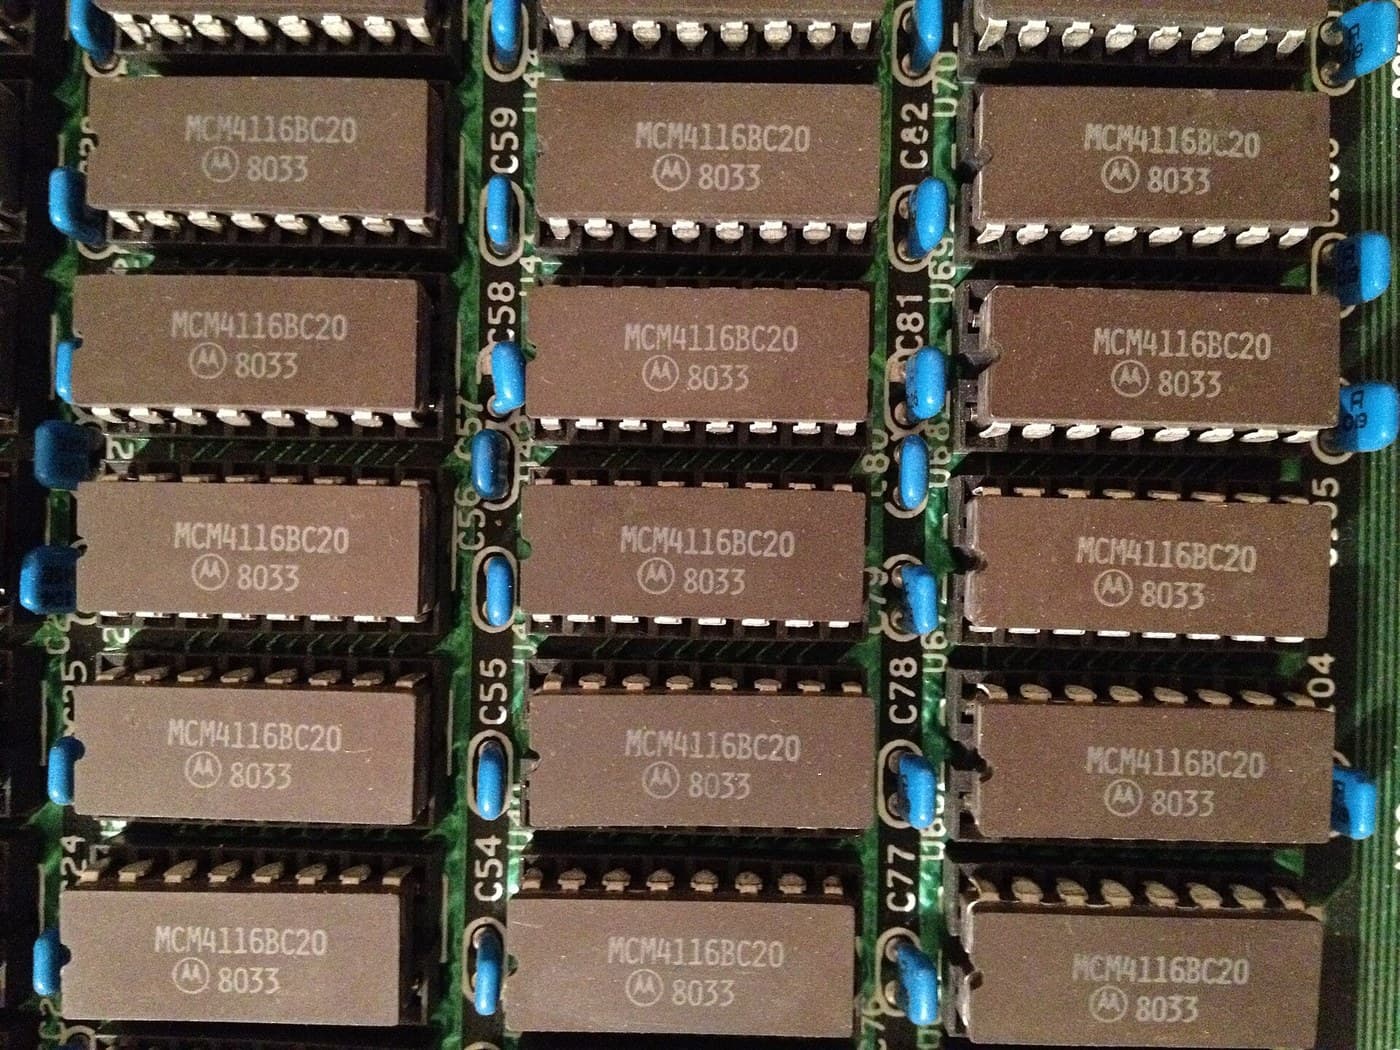
The pixel is the DRAM cell. A gate over silicon makes a potential well; in DRAM you fill it to mean a 1, in a CCD light fills it with electrons. The difference is the whole invention: DRAM reads each cell in place (a wire and an amplifier per column); a CCD MOVES the charge, tipping each packet into the next well like water between buckets, to a single amplifier at the end. Almost no wires, but every packet is transferred thousands of times.
2
2
The bucket brigade: how one image becomes one signal
The bucket brigade: how one image becomes one signal
Follow one photon to the output. Expose (each well fills like a bucket in the rain); clock the whole image DOWN row by row into a readout register; clock that register SIDEWAYS into one amplifier that weighs each packet in turn. One amplifier reads the entire image, so there is no pixel-to-pixel gain variation. The vidicon's distortion (no beam) and lag (wells fully cleared) are simply gone; the new failure modes are transfer loss and dark current.
Flow
Loading...
درکار اوزار:
 ڈیسک ٹاپ کمپیوٹر
3
3
Why astronomers freeze their sensors: dark current and transfer efficiency
Why astronomers freeze their sensors: dark current and transfer efficiency
Jupyter نوٹ بک لوڈ ہو رہی ہے…
درکار اوزار:
ڈیسک ٹاپ کمپیوٹر4
4
Measure real dark current against temperature
Measure real dark current against temperature
You cannot clock a bare CCD, but you can measure the physics that rules it — dark current rising exponentially with temperature — on any cheap photodiode. Read a reverse-biased diode's leakage in the dark at several temperatures; the slope of log(current) vs 1/T gives the doubling temperature, ~6-10 C, the same number that forces observatories to pour liquid nitrogen over their cameras.
ccd_darkcurrent.inocpp
درکار اوزار:
 ESP32 ترقیاتی بورڈ
 DS18B20 حرارت محسوس کرنے والا
 بریڈ بورڈ
 فوٹو ڈایوڈ (BPW34)
 مزاحمت کاروں کا سیٹ
درکار اوزار
6- پلیس ہولڈر
- پلیس ہولڈر
- پلیس ہولڈر
- 1 vendor sell this, none ship to you yetپلیس ہولڈر
- پلیس ہولڈر
- 2 vendors sell this, none ship to you yetپلیس ہولڈر
متعلقہ بلیو پرنٹ
یہ بلیو پرنٹ علم بانٹتے ہیں — تکنیک، مواد یا اصول

CC0 پبلک ڈومین
یہ بلیو پرنٹ CC0 کے تحت جاری کیا گیا ہے۔ آپ اجازت لیے بغیر اس کام کو نقل، ترمیم، تقسیم اور کسی بھی مقصد کے لیے استعمال کرنے کے لیے آزاد ہیں۔
میکر کی حمایت کریں ان کے بلیو پرنٹ کے ذریعے پروڈکٹس خرید کر جہاں وہ میکر کمیشن وینڈرز کی طرف سے مقرر، کماتے ہیں، یا اس بلیو پرنٹ کی نئی تکرار بنائیں اور آمدنی شیئر کرنے کے لیے اسے اپنے بلیو پرنٹ میں کنکشن کے طور پر شامل کریں۔