تعاون
فن
خوبصورتی اور تندرستی
دستکاری
ثقافت اور تاریخ
تفریح
ماحول
خوراک اور مشروبات
ریورس انجینئرنگ
سائنسز
کھیل
ٹیکنالوجی
پہننے والے آلات
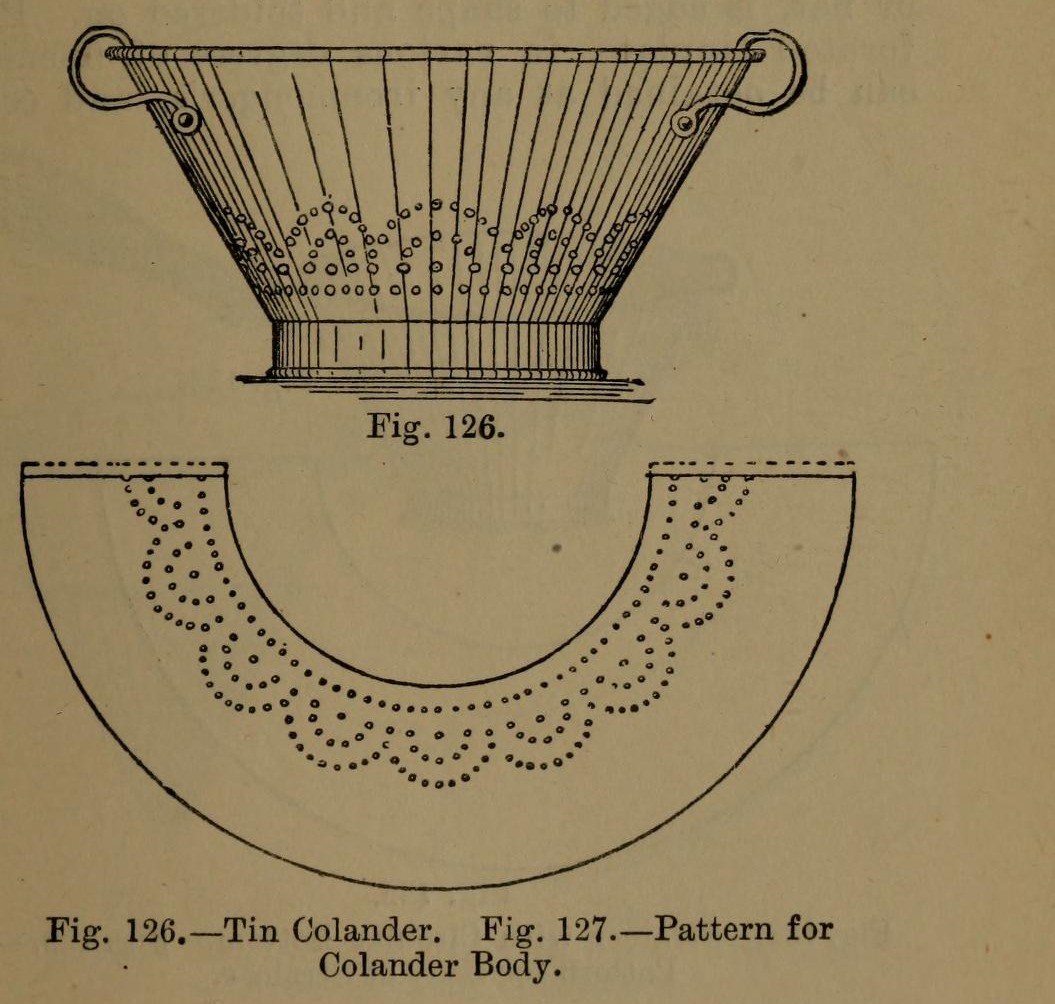


Colander: a Tinplate Colander with Perforated Body and Bottom (Hasluck, 1907)
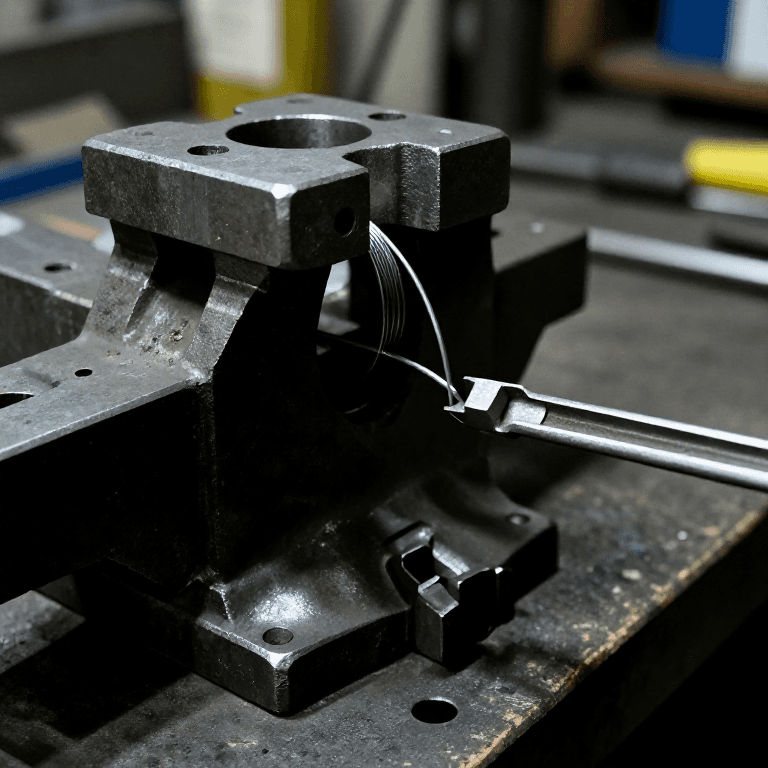
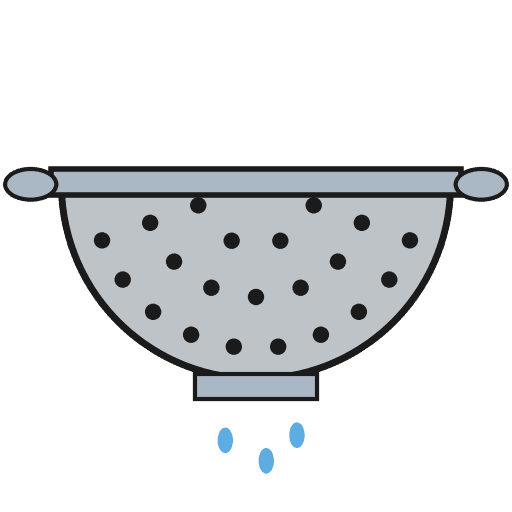
A tinsmith's colander for straining: a tapered tinplate body and a hollowed bottom, both punched full of holes, standing on a wired hoop, with two bow handles.
The body pattern is a ring segment: outer radius = top diameter, inner radius = bottom diameter, which gives sides at 60 degrees.
Source: Paul N. Hasluck, Tinplate Work (1907), pp. 50-51. Unknown: sizes, solder. Picture: Figs. 126-127 of the book.
درمیانہ
Unknown
ہدایات
1
1
Set out the body pattern
Set out the body pattern
Choose the top and bottom diameters. On tinplate, strike an arc with radius equal to the top diameter and, from the same centre, one equal to the bottom diameter (Fig. 127); the sides then slope at 60 degrees. Mark the rows of holes, add edges for a grooved seam and the wire, and cut it out.
اس مرحلے کے لیے مواد:
 ٹین چڑھی چادر1 body
درکار اوزار:
 دو نوکوں والا پرکار
 خط کھینچنے والی سوئی
 چادر کاٹنے کی قینچی
2
2
Break, punch and planish the body
Break, punch and planish the body
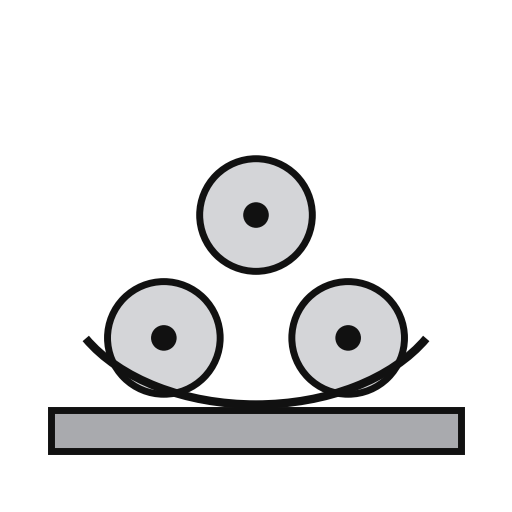
'Break' the pattern through the rollers, turning it the opposite way each pass, so it won't crease when bent. Punch the holes on a hardwood block, then flatten and planish the burrs.
درکار اوزار:
 چادر موڑنے کے رولر
 چادر میں سوراخ کرنے والا پنچ
 سخت لکڑی کا ٹکڑا
 ہموار کرنے والی ہتھوڑی
3
3
Seam and wire the body
Seam and wire the body
Set off the edges for a grooved seam, bend the body to shape and seam it. Solder the seam inside. Set off an edge on the wide end and wire it with No. 10 B.W.G. wire. If you like, raise a swage about 1 1/2 in below the wired edge: it stiffens the colander and looks better.
اس مرحلے کے لیے مواد:
 لوہے کا تار1 No. 10 B.W.G.
 ٹن-سیسے کا ٹانکہ1 seam
درکار اوزار:
 لکڑی کا ہتھوڑا
 کھونٹا
 برقی سولڈرنگ آئرن
 فلکس
4
4
Make and fit the bottom
Make and fit the bottom
Cut out the bottom, hollow it and edge it to fit the small end. Inside, mark circles from 1 in across at the centre, each 1 in wider than the last, out to the edge. Punch holes at short intervals round them and flatten the burrs on an upturned hollowing hammer. Solder the bottom on.
اس مرحلے کے لیے مواد:
ٹین چڑھی چادر1 bottomٹن-سیسے کا ٹانکہ1 bottomدرکار اوزار:
دو نوکوں والا پرکارچادر کاٹنے کی قینچیچادر میں سوراخ کرنے والا پنچہموار کرنے والی ہتھوڑیبرقی سولڈرنگ آئرنفلکس5
5
Add the hoop and handles
Add the hoop and handles
Cut a strip 1 1/2 in wide, as long as the circumference of the bottom. Wire it with No. 10 B.W.G., round it, seam it and solder it on as the foot. Rivet a pair of bow handles opposite each other at the top.
اس مرحلے کے لیے مواد:
ٹین چڑھی چادر1 hoopلوہے کا تار1 hoopٹن-سیسے کا ٹانکہ1 hoop دستہ2 bow handles
 لوہے کی ریوٹ1 number not given
درکار اوزار:
چادر کاٹنے کی قینچیبرقی سولڈرنگ آئرنفلکس ریوٹ کا ہتھوڑا
6
6
Clean and scald
Clean and scald
Clean with turpentine and whiting, then polish with dry whiting. Before first use, steep it a short time in boiling water, as for any metal article for the kitchen.
درکار اوزار:
 تارپین
 کیلشیم کاربونیٹ (سفیدہ)
 پانی
مواد
5- 1 hoopپلیس ہولڈر
- 1 hoopپلیس ہولڈر
- 1 hoopپلیس ہولڈر
- 2 bow handlesپلیس ہولڈر
- 1 number not givenپلیس ہولڈر
درکار اوزار
15- پلیس ہولڈر
- پلیس ہولڈر
- پلیس ہولڈر
- پلیس ہولڈر
- پلیس ہولڈر
- پلیس ہولڈر
- پلیس ہولڈر
- پلیس ہولڈر
- پلیس ہولڈر
- پلیس ہولڈر
- پلیس ہولڈر
- پلیس ہولڈر
- پلیس ہولڈر
- پلیس ہولڈر
- پلیس ہولڈر
منسلک بلیو پرنٹ مواد


یہ بلوپرنٹ بناتا ہے
CC0 پبلک ڈومین
یہ بلیو پرنٹ CC0 کے تحت جاری کیا گیا ہے۔ آپ اجازت لیے بغیر اس کام کو نقل، ترمیم، تقسیم اور کسی بھی مقصد کے لیے استعمال کرنے کے لیے آزاد ہیں۔
میکر کی حمایت کریں ان کے بلیو پرنٹ کے ذریعے پروڈکٹس خرید کر جہاں وہ میکر کمیشن وینڈرز کی طرف سے مقرر، کماتے ہیں، یا اس بلیو پرنٹ کی نئی تکرار بنائیں اور آمدنی شیئر کرنے کے لیے اسے اپنے بلیو پرنٹ میں کنکشن کے طور پر شامل کریں۔