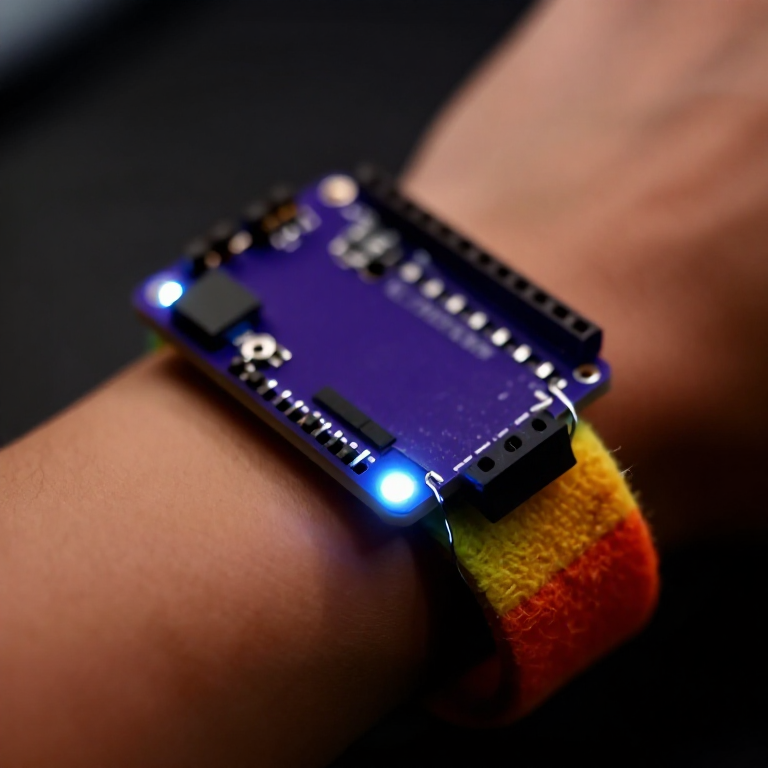


Making a Motion-Reactive LilyPad Patch
Sew a patch that lights up when it moves. A LilyPad accelerometer senses motion in three directions, and a short program flashes an LED whenever you shake or swing it — a reactive costume piece, a dance accessory, or a 'don't-touch' bag alarm. Introduces the accelerometer and reading three sensor axes at once.
ہدایات
Sew the board, accelerometer and LED
Sew the board, accelerometer and LED
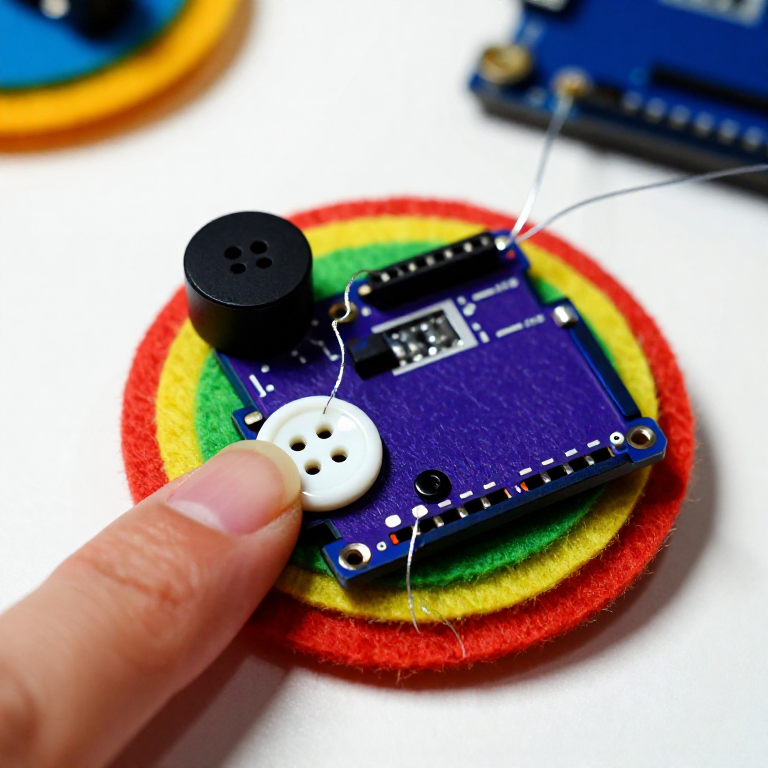
Sew a LilyPad Arduino, a LilyPad accelerometer and a LilyPad LED onto felt. Wire it: the accelerometer's + to the board's +, its - to -, and its X, Y and Z tabs to analog pins A2, A3 and A4; the LED to pin 5 and to -. Keep every line separate.
اس مرحلے کے لیے مواد:
 LilyPad Arduino Simple Board1 piece
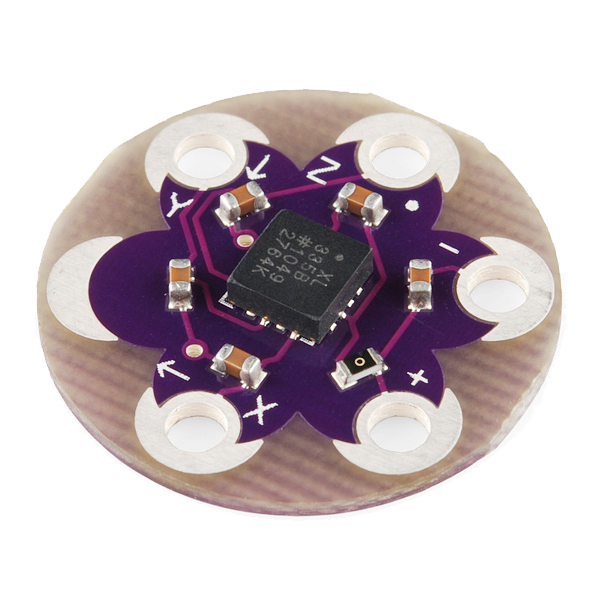 LilyPad Accelerometer ADXL3351 piece
 LilyPad LED - 5 pcs1 pack
 Conductive Thread - 60g (Stainless Steel)1 spool
 Hand Sewing Needles (Assorted, 30-Pack)1 pack
 Wool Felt Sheet1 sheet
Connect the programmer
Connect the programmer
Plug the LilyPad FTDI onto the programming header and connect the USB cable. Open the Arduino IDE and select the LilyPad Arduino board and its serial port.
اس مرحلے کے لیے مواد:
 LilyPad FTDI Basic Breakout - 5V1 piece
 SparkFun Cerberus USB Cable - 1.8 meter1 piece
درکار اوزار:
 Computer with Arduino IDE
Upload the motion sketch
Upload the motion sketch
Paste this sketch and upload. It watches how much the three axes change between readings and lights the LED when the patch moves.
Test and tune the sensitivity
Test and tune the sensitivity
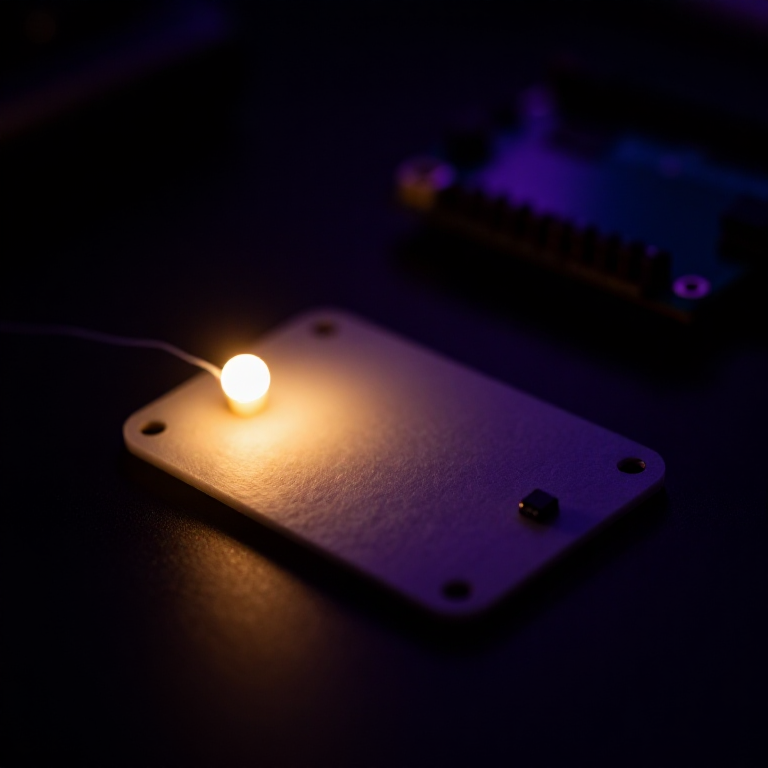
Hold the patch still — the LED stays off. Shake or swing it — the LED lights. If it's too twitchy or not sensitive enough, change moveThreshold in the sketch (higher = needs a bigger movement) and re-upload.
Go wireless and wear it
Go wireless and wear it
Unplug the FTDI, sew a LilyPad coin-cell holder to the board (+ to +, - to -), drop in a CR2032 and switch on. Sew the felt onto a sleeve, shoe or bag — it flashes whenever you move.
اس مرحلے کے لیے مواد:
 LilyPad Coin Cell Battery Holder - w/Switch - 20mm1 piece
 CR2032 Coin Cell Battery1 piece
مواد
10- 1 piece$20.00
- $14.00
- 1 pack$5.00
- $40.00
- پلیس ہولڈر
- 1 sheetپلیس ہولڈر
- $14.00
- $6.00
- 1 pieceپلیس ہولڈر
درکار اوزار
1- پلیس ہولڈر
متعلقہ بلیو پرنٹ
یہ بلیو پرنٹ علم بانٹتے ہیں — تکنیک، مواد یا اصول
Related blueprints
Other builds that share materials, tools, or techniques with this one.

CC0 پبلک ڈومین
یہ بلیو پرنٹ CC0 کے تحت جاری کیا گیا ہے۔ آپ اجازت لیے بغیر اس کام کو نقل، ترمیم، تقسیم اور کسی بھی مقصد کے لیے استعمال کرنے کے لیے آزاد ہیں۔
میکر کی حمایت کریں ان کے بلیو پرنٹ کے ذریعے پروڈکٹس خرید کر جہاں وہ میکر کمیشن وینڈرز کی طرف سے مقرر، کماتے ہیں، یا اس بلیو پرنٹ کی نئی تکرار بنائیں اور آمدنی شیئر کرنے کے لیے اسے اپنے بلیو پرنٹ میں کنکشن کے طور پر شامل کریں۔