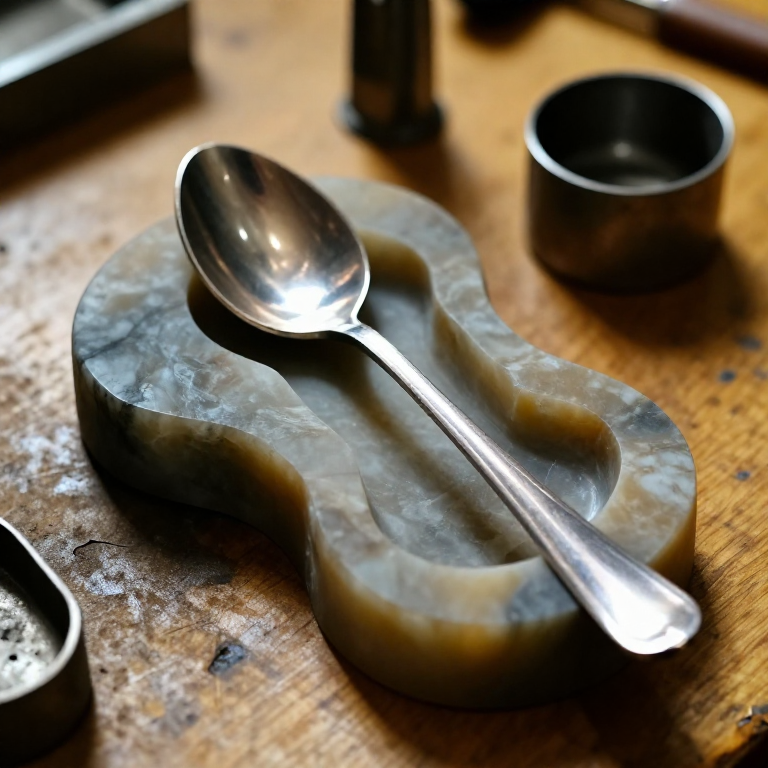
Casting a Pewter Spoon in a Soapstone Mould — Low-Temperature Metal Casting
Pewter — an alloy of roughly 92% tin with small amounts of antimony and copper — melts at just 230°C, making it the most accessible metal for casting. Medieval spoon-makers carved two-part moulds from soapstone, poured molten pewter, and finished the castings with files and burnishing. The result is a bright, food-safe utensil that lasts generations. This blueprint covers carving the soapstone mould, melting the pewter over a simple charcoal fire, casting, and finishing.
ہدایات
Select the soapstone
Select the soapstone
اس مرحلے کے لیے مواد:
 Soapstone Block1 piece
Flatten the mould faces
Flatten the mould faces
Draw the spoon pattern
Draw the spoon pattern
Carve the bowl cavity
Carve the bowl cavity
درکار اوزار:
 Wood Gouge
 Carving Knife
Carve the matching half
Carve the matching half
Carve alignment keys and pour gate
Carve alignment keys and pour gate
Pre-heat the mould
Pre-heat the mould
Melt the pewter
Melt the pewter
اس مرحلے کے لیے مواد:
 Pewter Ingot200 g
درکار اوزار:
 Steel Crucible (small)
 Crucible Tongs (long-handled)
Pour the casting
Pour the casting
Cool and open the mould
Cool and open the mould
Remove the gate and flash
Remove the gate and flash
درکار اوزار:
 Needle File Set
Shape and refine the spoon
Shape and refine the spoon
Burnish to a bright finish
Burnish to a bright finish
مواد
2- 1 pieceپلیس ہولڈر
- 200 gپلیس ہولڈر
درکار اوزار
5- پلیس ہولڈر
- پلیس ہولڈر
- پلیس ہولڈر
- پلیس ہولڈر
- پلیس ہولڈر
منسلک بلیو پرنٹ مواد
متعلقہ بلیو پرنٹ
یہ بلیو پرنٹ علم بانٹتے ہیں — تکنیک، مواد یا اصول
Related blueprints
Other builds that share materials, tools, or techniques with this one.


CC0 پبلک ڈومین
یہ بلیو پرنٹ CC0 کے تحت جاری کیا گیا ہے۔ آپ اجازت لیے بغیر اس کام کو نقل، ترمیم، تقسیم اور کسی بھی مقصد کے لیے استعمال کرنے کے لیے آزاد ہیں۔
میکر کی حمایت کریں ان کے بلیو پرنٹ کے ذریعے پروڈکٹس خرید کر جہاں وہ میکر کمیشن وینڈرز کی طرف سے مقرر، کماتے ہیں، یا اس بلیو پرنٹ کی نئی تکرار بنائیں اور آمدنی شیئر کرنے کے لیے اسے اپنے بلیو پرنٹ میں کنکشن کے طور پر شامل کریں۔