Casting a Lead Water Pipe (Fistula) — Roman Plumbing
ہدایات
Cast a Flat Lead Sheet
Cast a Flat Lead Sheet
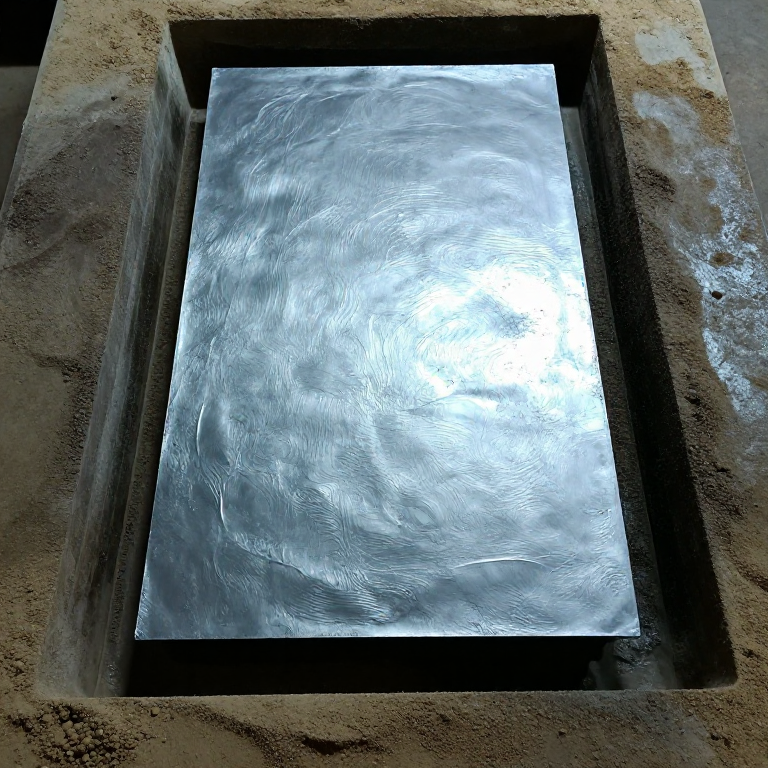
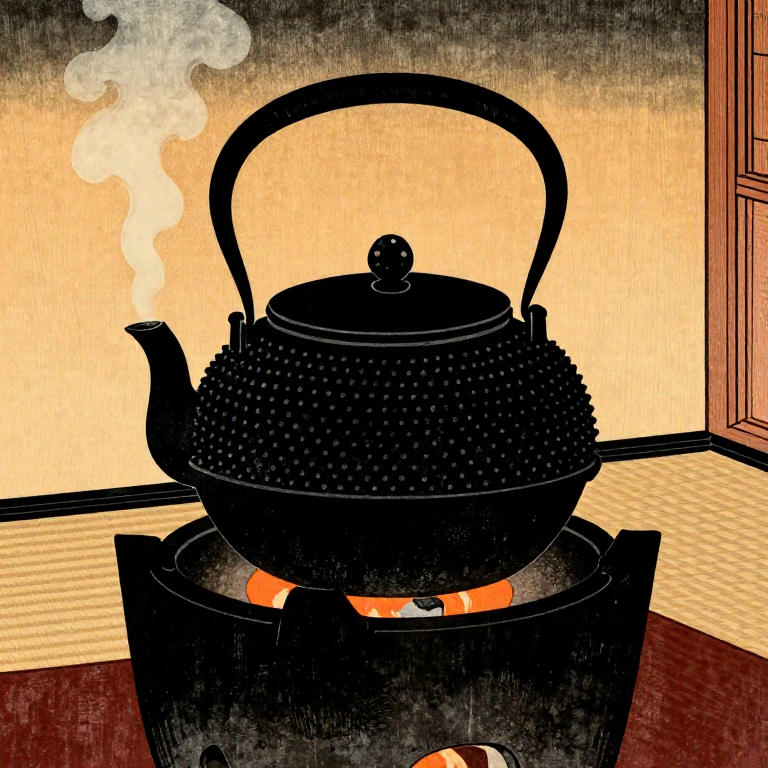
Prepare a flat casting bed by levelling damp sand in a wooden frame approximately 80 cm long and 30 cm wide, with raised edges 8-10 mm high to contain the molten lead. Smooth the sand surface with a straight board. Melt lead ingots in a cast iron pot over a charcoal fire — lead melts at 327 °C, relatively low compared to other metals, and will appear as a bright silvery liquid with a thin grey oxide skin. Skim the oxide dross from the surface with an iron rod. Pour the molten lead onto the sand bed in a single slow, steady stream, starting at one end and moving across to fill the mould evenly. The resulting sheet should be approximately 3 to 5 mm thick. Allow it to cool completely before handling — lead solidifies quickly but retains heat. Always work in a well-ventilated outdoor area and wear protective equipment, as lead fumes and dust are toxic.
Trim and Prepare the Sheet
Trim and Prepare the Sheet
Remove the lead sheet from the sand bed and trim the edges straight using a sharp chisel or heavy knife — lead is soft enough to cut cold with hand tools. The width of the sheet must equal the circumference of the desired pipe plus an overlap of approximately 2 to 3 cm for the solder seam. For a pipe of 8 cm internal diameter (a common domestic size), the sheet width should be approximately 27 to 28 cm (pi times 8, plus overlap). Trim the length as needed — Roman pipe sections were typically 3 metres (10 Roman feet), though shorter sections are practical for demonstration. Before forming, the plumbarius (lead-worker) would sometimes stamp an inscription into the flat sheet identifying the owner, maker, or emperor — this was done while the lead was flat, using iron letter punches hammered into the soft metal surface.
Form the Sheet Around the Mandrel
Form the Sheet Around the Mandrel
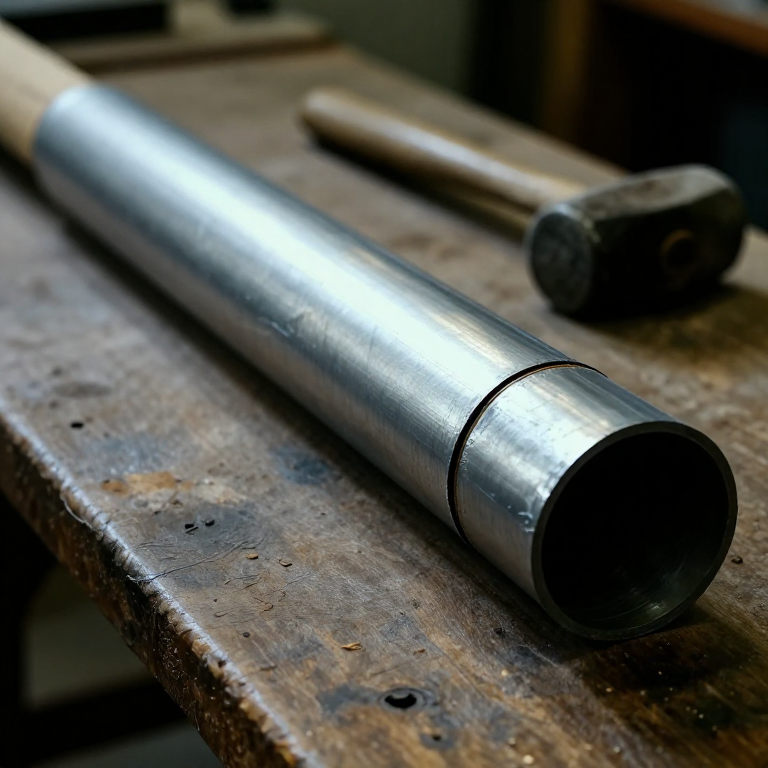
Lay the trimmed lead sheet on a flat wooden surface and place the wooden mandrel (a cylindrical dowel of the desired internal pipe diameter) along one long edge. Gradually fold the lead sheet up and around the mandrel by pressing with wooden mallets — never use steel hammers directly on lead, as they leave deep marks and can tear the soft metal. Work progressively along the length, bending the sheet around the mandrel in stages. Lead's extreme malleability allows it to be cold-formed without cracking. Bring the two long edges together at the top of the pipe so they overlap by 2 to 3 cm, forming a raised longitudinal seam. Tap the overlapping edges flat against the pipe body. Slide the mandrel out — if it binds, twist it slightly while pulling.
Solder the Longitudinal Seam
Solder the Longitudinal Seam
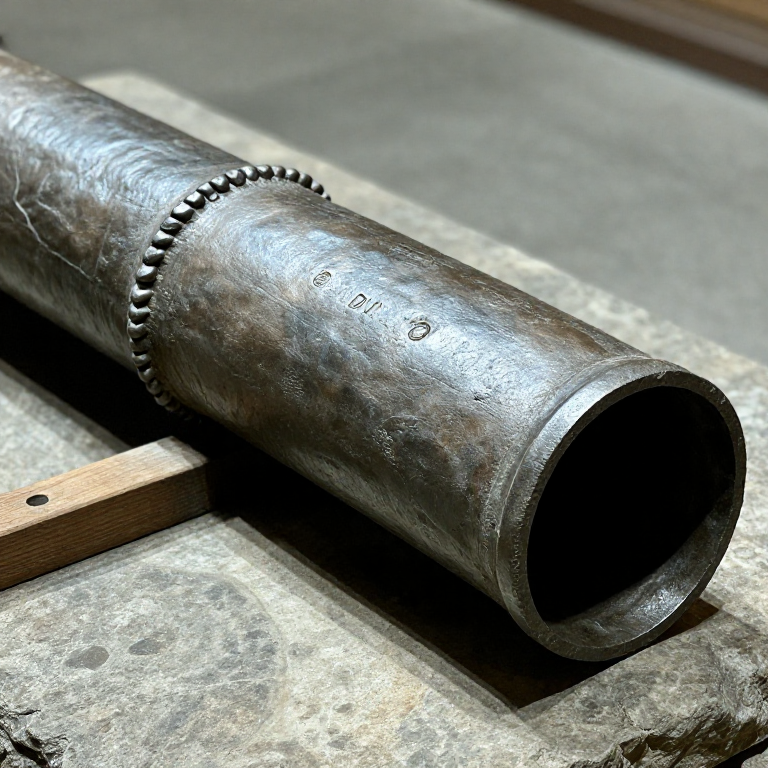
Heat a copper soldering iron in the forge until it is hot enough to melt the lead-tin solder (melting point approximately 183-190 °C for 60/40 lead-tin). Apply tallow or pine resin flux along the seam overlap. Touch the hot soldering iron to a stick of solder and transfer the molten solder to the seam, working along the full length of the pipe. The solder should flow into the overlap joint by capillary action, bonding the two edges together. Build up the solder along the seam into a raised ridge approximately 5 to 8 mm high — this characteristic raised seam is visible on virtually all surviving Roman lead pipes. Work slowly and reheat the iron as needed. The seam must be continuous with no gaps, as even a small void will leak under water pressure.
اس مرحلے کے لیے مواد:
 Pine Resinsmall amount piece
Test and Join Pipe Sections
Test and Join Pipe Sections
Block one end of the pipe section by hammering the lead inward and soldering it closed, or by soldering a lead cap over the end. Fill the pipe with water and check for leaks along the solder seam and at any joints. Mark any leaks and re-solder after draining the water and drying the area. To join multiple pipe sections together, the Romans inserted the narrowed end of one pipe into the flared end of the next and soldered the overlapping joint — one end was slightly expanded by driving in a tapered wooden plug, while the other was slightly narrowed by hammering. The completed fistula was then laid in a trench and connected to the water supply. Roman lead pipes operated at relatively low pressures — typically less than 1 atmosphere — relying on gravity flow from elevated aqueduct distribution tanks.
مواد
4- 5-10 kg pieceپلیس ہولڈر
- 200-300 grams pieceپلیس ہولڈر
- small amount pieceپلیس ہولڈر
درکار اوزار
6- پلیس ہولڈر
- پلیس ہولڈر
- پلیس ہولڈر
- پلیس ہولڈر
- پلیس ہولڈر
You can swap these in
Can't get one of the materials? Swap it for an equivalent — these work just as well.
- Instead of Pine Resin, try:
 Epoxy Resin (Crystal Clear, 1 Gallon Kit)
 UHMWPE Resin Powder
 Castable Resin (Jewelry)
 - Instead of Fine Sand, try:
 Casting Sand
 - Instead of Leather Gloves, try:
 Boxing Gloves (Training)
 Leather Gauntlet Gloves
 Cotton Gloves
 Welding Gloves
 Heavy-Duty Gloves
 Leather Work Gloves
 - Instead of Crucible (Metalwork), try:
 Clay Crucible (refractory)
 - Instead of Wooden Mallet, try:
 Rubber Mallet
Recommended for this build
Products makers often use with builds like this one.
 Forge TongsUsed together and in similar builds
 WaterUsed together and in similar builds
 AnvilUsed together and in similar builds
 Files (Hand File)Used together and in similar builds
 BeeswaxUsed together and in similar builds
 Bronze Round BarUsed together and in similar builds
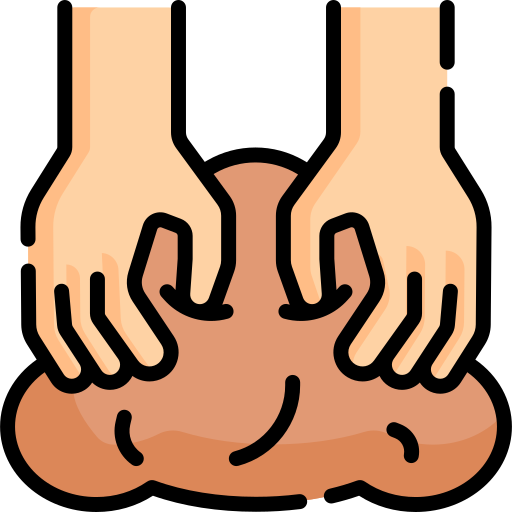 ClayUsed together and in similar builds
 DrawknifeUsed together and in similar builds
Related blueprints
Other builds that share materials, tools, or techniques with this one.
CC0 پبلک ڈومین
یہ بلیو پرنٹ CC0 کے تحت جاری کیا گیا ہے۔ آپ اجازت لیے بغیر اس کام کو نقل، ترمیم، تقسیم اور کسی بھی مقصد کے لیے استعمال کرنے کے لیے آزاد ہیں۔
میکر کی حمایت کریں ان کے بلیو پرنٹ کے ذریعے پروڈکٹس خرید کر جہاں وہ میکر کمیشن وینڈرز کی طرف سے مقرر، کماتے ہیں، یا اس بلیو پرنٹ کی نئی تکرار بنائیں اور آمدنی شیئر کرنے کے لیے اسے اپنے بلیو پرنٹ میں کنکشن کے طور پر شامل کریں۔