فن
خوبصورتی اور تندرستی
دستکاری
ثقافت اور تاریخ
تفریح
ماحول
خوراک اور مشروبات
ریورس انجینئرنگ
سائنسز
کھیل
ٹیکنالوجی
پہننے والے آلات
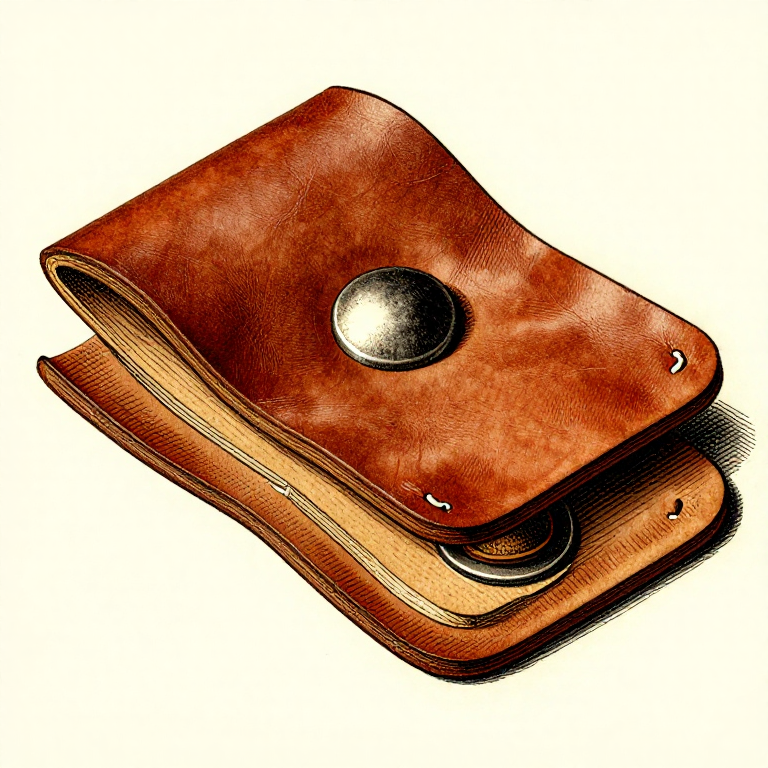


Setting Hardware: The Leather Fails Before the Rivet Does
Rivets, buckles, snaps and buckle slots are where finished leatherwork actually breaks, and almost never because the hardware was too weak.
A hole punched across a strap removes leather from exactly the place carrying the load, and a buckle slot removes a great deal of it. The metal is rarely the limit; the leather around it is.
This rung is how each piece of hardware is set properly, and the arithmetic of what each one costs the strap it is set into — because that comparison decides where hardware goes as much as how it is fitted.
درمیانہ
3 hours
ہدایات
1
1
Rivets: sized to the stack, set square
Rivets: sized to the stack, set square
**Choose the length by the stack.** The post should stand about 1 to 2 mm proud of the leather before the cap goes on. Too short and the cap will not seat; too long and the post bends over sideways instead of swelling into the cap.
**Punch the hole a touch undersized**, so the rivet is a firm push fit. A rivet in a loose hole works back and forth and eventually tears its way out.
**Set on a steel block, with a setter.** A rivet setter is a domed punch that matches the cap; hitting a cap with a bare hammer flattens and marks it.
**One or two firm blows, square.** An angled blow sets the rivet crooked and it will never be right.
**Copper rivets and burrs** are the traditional heavy fastening: a solid copper post, a washer driven down over it with a setting tool, the post cut off short and peened over the burr with a ball hammer. Stronger than any two-part rivet and repairable — but it takes practice, because the peening has to spread the post without bending it.
**Two rivets in line with the pull are far stronger than one**, and two side by side across the strap are weaker than one, because they remove twice the width. The notebook puts numbers on that.
اس مرحلے کے لیے مواد:
 تانبے کی ریوٹ1 ٹکڑا
 لوہے کی ریوٹ1 ٹکڑا
 نباتی رنگائی کے چمڑے کی پٹی1 ٹکڑا
درکار اوزار:
 چمڑا سوراخ کرنے کا سیٹ
 لکڑی کا ہتھوڑا
 چمڑا سوراخ کرنے کا پنچ
2
2
What each fastening costs the leather
What each fastening costs the leather
Jupyter نوٹ بک لوڈ ہو رہی ہے…
درکار اوزار:
 ڈیسک ٹاپ کمپیوٹر
3
3
Buckles, slots and the fold
Buckles, slots and the fold
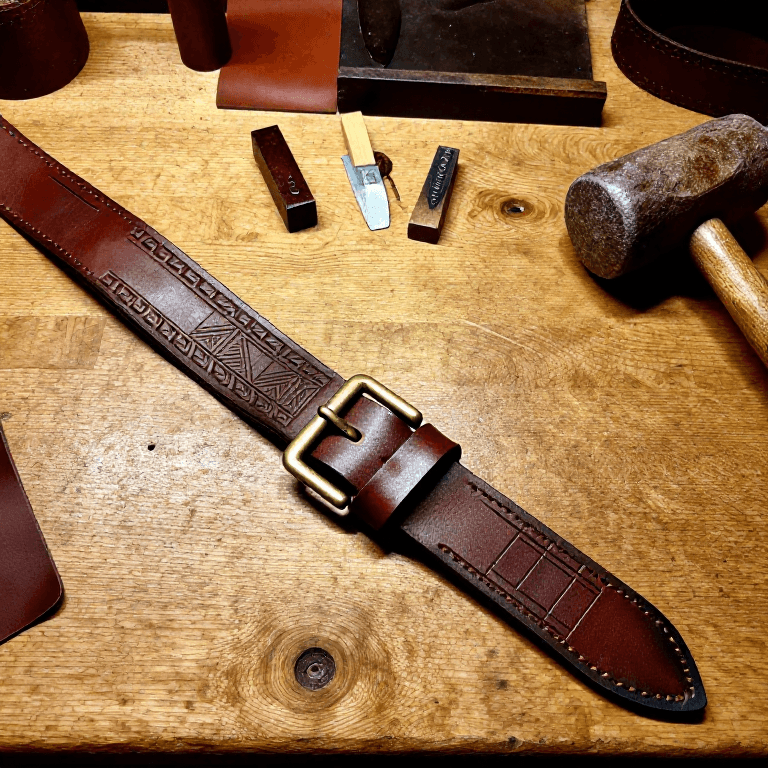
**The slot.** Punch a round hole at each end and cut between them, as the cutting rung describes. Round ends do not tear; square corners do. The slot is as wide as the buckle's tongue and no wider.
**The fold.** The strap doubles back through the buckle, so that end of the belt is two layers thick. Skive the returning end on the flesh side so the doubled part is not much thicker than the rest — this is the lap joint from the skiving rung, in its commonest application.
**The keeper.** The loop that holds the free end. A short strip, skived at both ends, wrapped round and glued or riveted inside the fold. It is fitted before the fold is closed, and forgetting it means taking the whole thing apart.
**Fix the fold.** Rivets, stitching, or both. Two rivets in line, or a stitched rectangle, or the traditional combination of both — rivets carry the shear and the stitching stops the layers peeling.
**Belt holes.** Five, spaced 25 mm apart, with the middle one at the wearer's measured length. Punch them round, and put the hole line in the centre of the strap width — an off-centre hole tears out through the near edge.
The tip shape is cosmetic. The fold and the slot are structural.
اس مرحلے کے لیے مواد:
 زبان دار پیتل کا بکسوا1 ٹکڑانباتی رنگائی کے چمڑے کی پٹی1 ٹکڑاتانبے کی ریوٹ1 ٹکڑا
درکار اوزار:
چمڑا سوراخ کرنے کا سیٹ چمڑے کا چاقولکڑی کا ہتھوڑا
 پیمانہ
4
4
Snaps, and why they are the thing that fails
Snaps, and why they are the thing that fails
A snap fastener is four separate parts in two pairs, and more home leatherwork fails at a snap than anywhere else.
**Get the parts the right way round.** The socket and its cap go on the outside of the flap; the stud and its post go on the piece beneath. Fitting them reversed produces a snap that works and looks wrong, and it cannot be undone without destroying the leather.
**Match the post length to the leather.** Snap posts come in lengths and the fit is much less forgiving than a rivet — about 1 mm proud is right.
**Use the setting tools that match the snap**, on a concave block for the cap. Every make is slightly different and tools are not interchangeable.
**Set it square and firm.** A snap set at an angle pulls out the first time it is opened, and one set too lightly comes apart in the hand.
**Reinforce thin leather.** A snap in anything under about 2 mm needs a backing patch glued behind it, or it will simply pull through. That is the actual failure in most cases — not the snap, the leather around it.
**Test on a scrap of the same thickness** before setting one in a finished piece. A snap cannot be removed cleanly.
اس مرحلے کے لیے مواد:
 پریس بٹن کٹ (بھاری استعمال)1 ٹکڑا
 نباتاتی دباغت کا چمڑا1 ٹکڑا
درکار اوزار:
چمڑا سوراخ کرنے کا سیٹلکڑی کا ہتھوڑا ربڑ کا ہتھوڑا
مواد
6- 1 ٹکڑاپلیس ہولڈر
- 1 ٹکڑاپلیس ہولڈر
- پلیس ہولڈر
- 1 ٹکڑاپلیس ہولڈر
- پلیس ہولڈر
- 1 ٹکڑاپلیس ہولڈر
درکار اوزار
7- پلیس ہولڈر
- پلیس ہولڈر
- پلیس ہولڈر
- پلیس ہولڈر
- پلیس ہولڈر
- پلیس ہولڈر
- پلیس ہولڈر
یہ بلوپرنٹ بناتا ہے
متعلقہ بلیو پرنٹ
یہ بلیو پرنٹ علم بانٹتے ہیں — تکنیک، مواد یا اصول
CC0 پبلک ڈومین
یہ بلیو پرنٹ CC0 کے تحت جاری کیا گیا ہے۔ آپ اجازت لیے بغیر اس کام کو نقل، ترمیم، تقسیم اور کسی بھی مقصد کے لیے استعمال کرنے کے لیے آزاد ہیں۔
میکر کی حمایت کریں ان کے بلیو پرنٹ کے ذریعے پروڈکٹس خرید کر جہاں وہ میکر کمیشن وینڈرز کی طرف سے مقرر، کماتے ہیں، یا اس بلیو پرنٹ کی نئی تکرار بنائیں اور آمدنی شیئر کرنے کے لیے اسے اپنے بلیو پرنٹ میں کنکشن کے طور پر شامل کریں۔