Driving Multiple LEDs — SIK Circuit 4
ہدایات
Parts & Introduction
Parts & Introduction
This experiment uses 8 LEDs to create light patterns. You'll learn about arrays (grouping related variables) and for loops (repeating actions efficiently). The sketch includes 6 different animation functions you can try.
Parts Needed
- 1x Arduino Uno + USB cable
- 1x Breadboard
- 8x LEDs (any color)
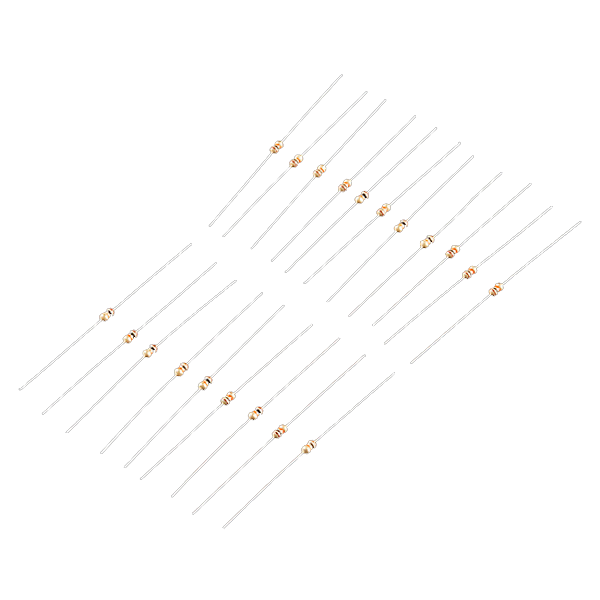
- 8x 330Ω Resistors
- 9x Jumper Wires
اس مرحلے کے لیے مواد:
 SparkFun Inventors Kit - V3.21 kit
 Arduino Uno R31 piece
 Breadboard1 piece
 5mm LED8 pieces
 330 Ohm Resistor8 pieces
 Jumper Wires9 pieces
درکار اوزار:
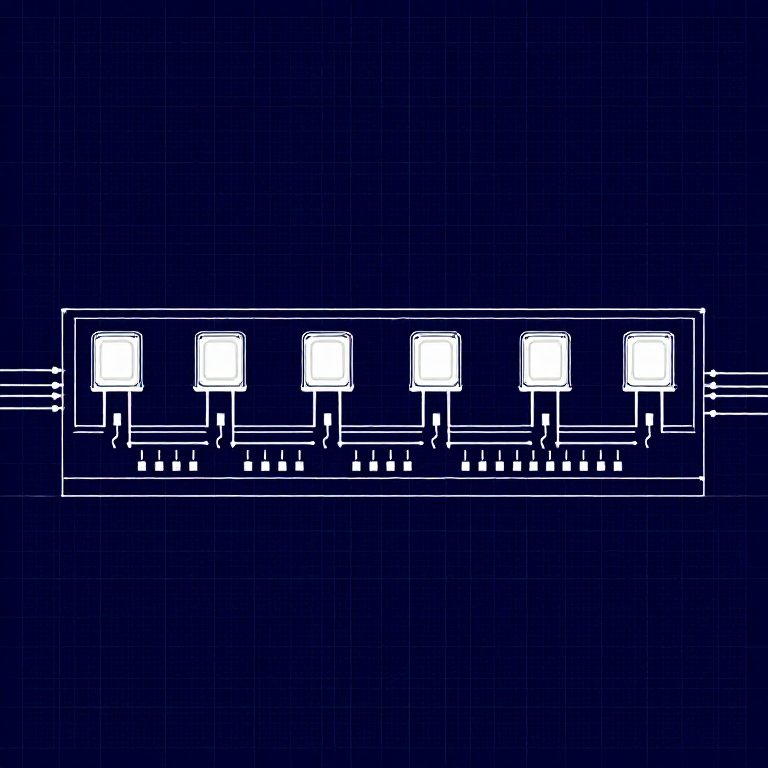
Hardware Hookup
Hardware Hookup
Wiring Instructions
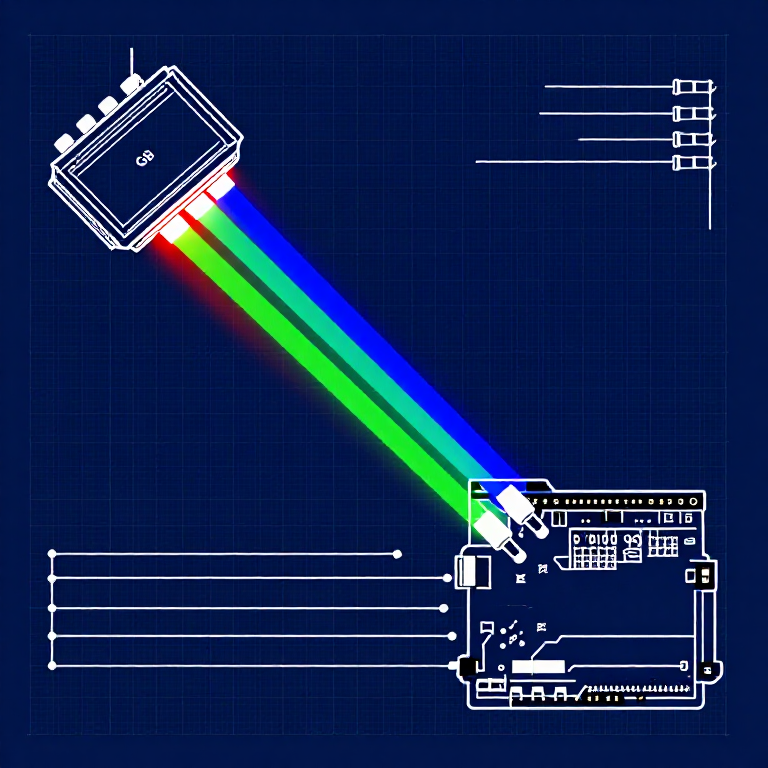
- Place 8 LEDs in a row on the breadboard.
- For each LED, connect the negative leg (shorter) through a 330Ω resistor to GND.
- Connect the positive leg (longer) of each LED to Arduino digital pins 2 through 9 (LED 1 = pin 2, LED 2 = pin 3, etc.).
- Connect the GND rail on the breadboard to Arduino GND.
Tip: Keep the LEDs neatly spaced for the best visual effect.
اس مرحلے کے لیے مواد:
5mm LED8 pieces330 Ohm Resistor8 piecesBreadboard1 pieceJumper Wires9 piecesArduino Code
Arduino Code
Open the Arduino IDE and upload the following sketch to your Arduino board.
اس مرحلے کے لیے مواد:
Arduino Uno R31 pieceدرکار اوزار:
Test & Experiment
Test & Experiment
What You Should See
All 8 LEDs light up one after another, then turn off in reverse order. This repeats continuously.
Troubleshooting
- Some LEDs don't light: Easy to insert an LED backwards. Check polarity.
- Out of sequence: With 8 wires, it's easy to cross a couple. Verify LED 1 is on pin 2, then each pin in order.
- Starting fresh: Sometimes pulling everything out and re-wiring is faster than debugging.
Experiments to Try
- Uncomment the other functions in
loop()to try:oneOnAtATime(),pingPong(),marquee(),randomLED(). - Create your own animation pattern!
- Modify the delay times to change the speed.
مواد
6- $105.00
- 1 pieceپلیس ہولڈر
- 1 pieceپلیس ہولڈر
- پلیس ہولڈر
- $3.00
You can swap these in
Can't get one of the materials? Swap it for an equivalent — these work just as well.
- Instead of Arduino Uno R3, try:
 Prototyping Shield for Arduino Uno (3-Pack)
 Arduino Uno R3 BoardArduino Uno
 - Instead of 5mm LED Assortment Kit (300pcs, 5 Colors), try:
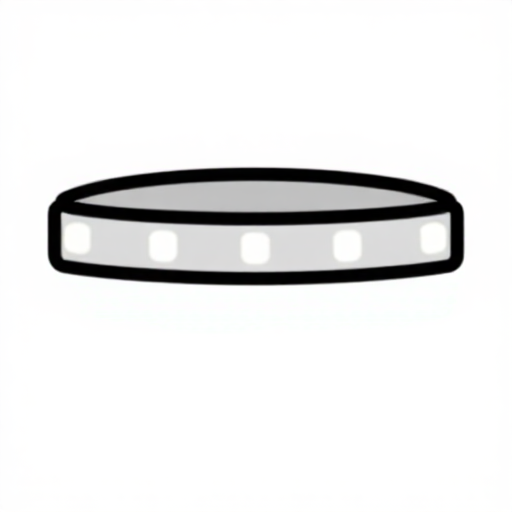 WS2812B NeoPixel LED Strip (1m, 60 LEDs)
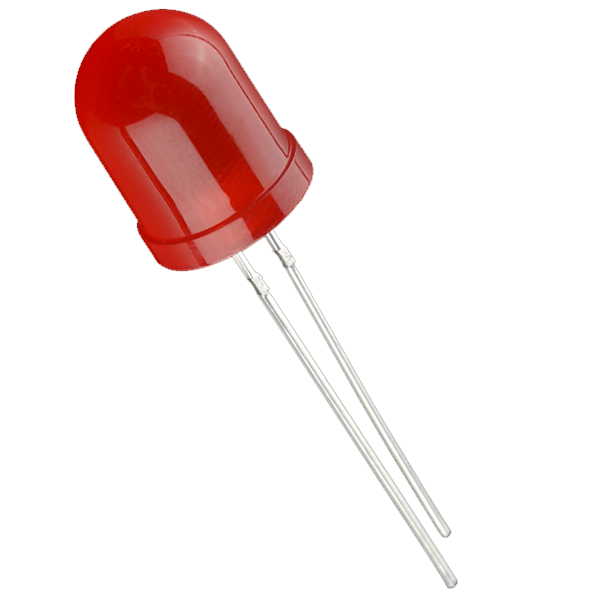 Diffused LED - 10mm
 RGB LED Strip 5050 (5m, Non-Addressable)
 LilyPad Tri-Color LED
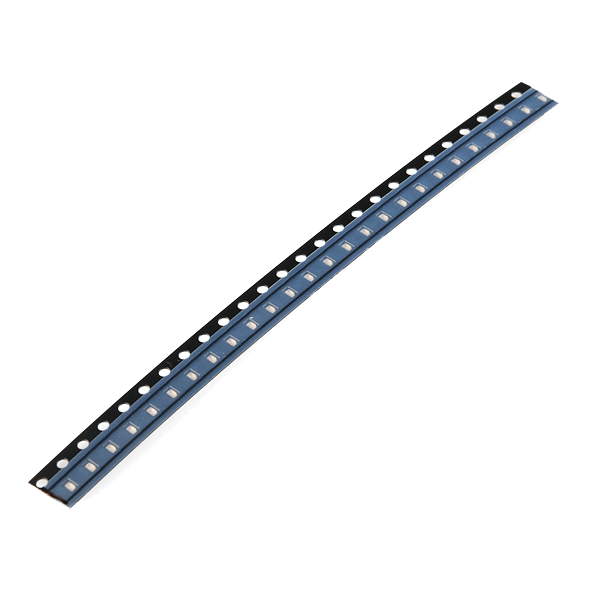 SMD LED 0603 - Strip of 25
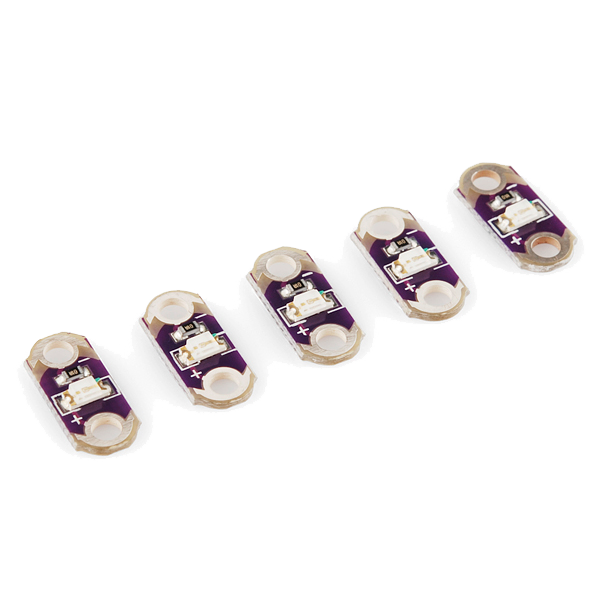 LilyPad LED - 5 pcs
 - Instead of Resistor 330 Ohm 1/6 Watt PTH - 20 pack, try:
 Resistor 10K Ohm 1/6th Watt PTH - 20 pack
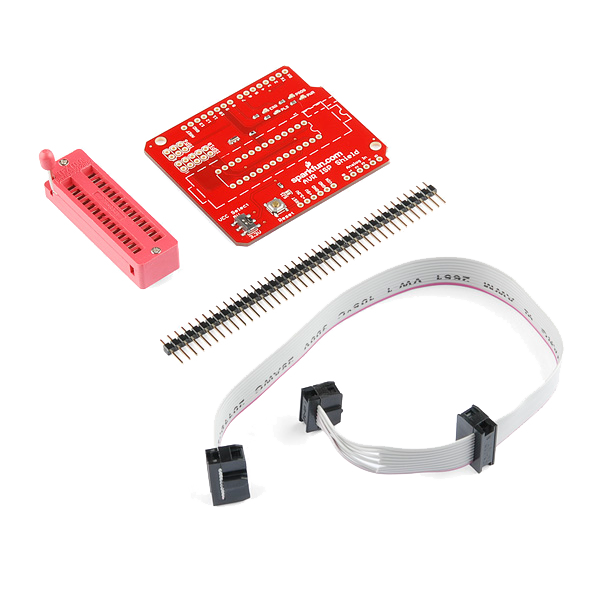 AVR ISP Shield - PTH Kit
 - Instead of Breadboard, try:
 Solder-able Breadboard
Recommended for this build
Products makers often use with builds like this one.
 LED - RGB Diffused Common Cathode - 5mmUsed together and in similar buildsResistor 10K Ohm 1/6th Watt PTH - 20 packFrequently used with this build's materials
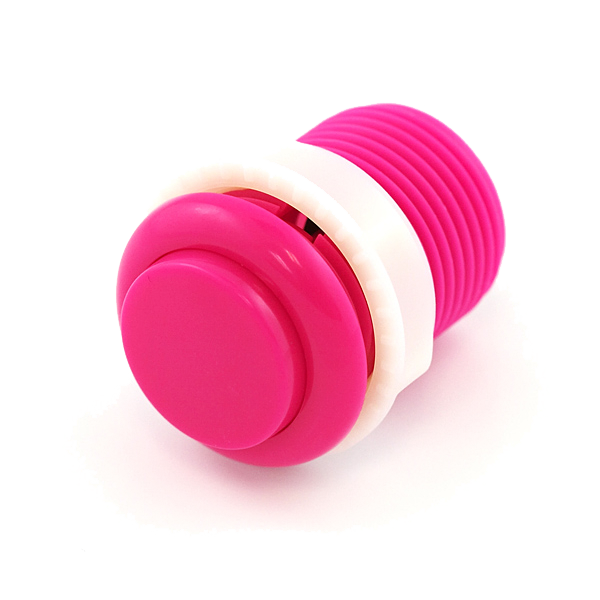 Push Button - 33mmFrequently used with this build's materials
 Diode KitFrequently used with this build's materials
 PotentiometerFrequently used with this build's materials
 Servo MotorFrequently used with this build's materials
 Jumper Wire Kit (350pcs, M-M / M-F / F-F)Frequently used with this build's materials
Related blueprints
Other builds that share materials, tools, or techniques with this one.


CC0 پبلک ڈومین
یہ بلیو پرنٹ CC0 کے تحت جاری کیا گیا ہے۔ آپ اجازت لیے بغیر اس کام کو نقل، ترمیم، تقسیم اور کسی بھی مقصد کے لیے استعمال کرنے کے لیے آزاد ہیں۔
میکر کی حمایت کریں ان کے بلیو پرنٹ کے ذریعے پروڈکٹس خرید کر جہاں وہ میکر کمیشن وینڈرز کی طرف سے مقرر، کماتے ہیں، یا اس بلیو پرنٹ کی نئی تکرار بنائیں اور آمدنی شیئر کرنے کے لیے اسے اپنے بلیو پرنٹ میں کنکشن کے طور پر شامل کریں۔