فن
خوبصورتی اور تندرستی
دستکاری
ثقافت اور تاریخ
تفریح
ماحول
خوراک اور مشروبات
ریورس انجینئرنگ
سائنسز
کھیل
ٹیکنالوجی
پہننے والے آلات
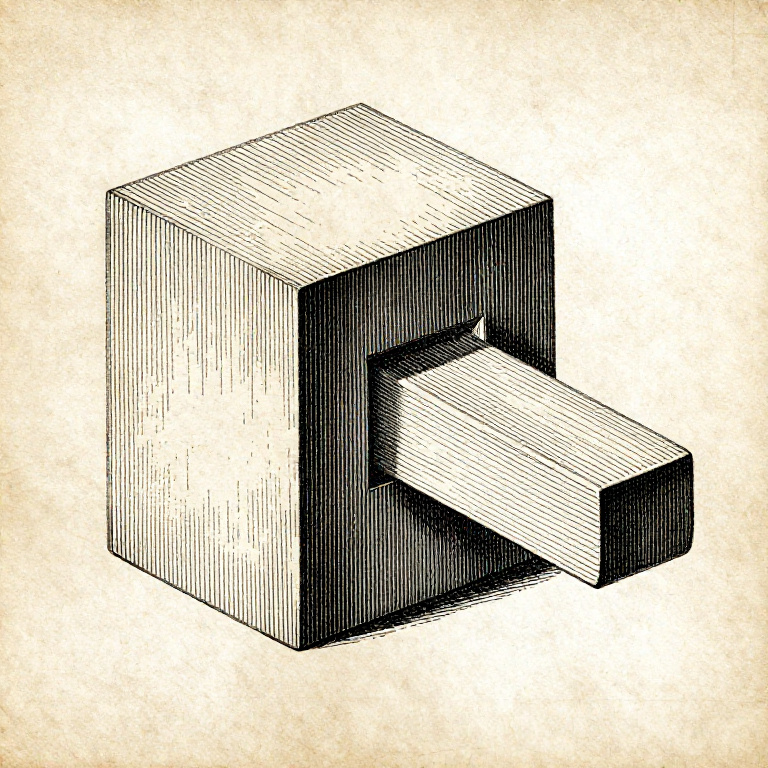


The Mortise and Tenon: What Each Part of It Is Actually For
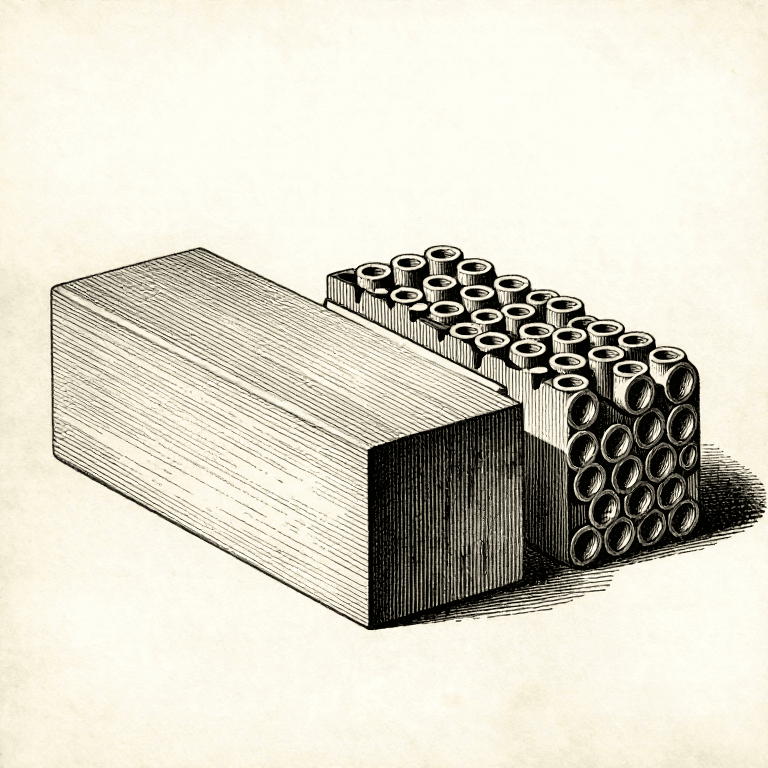
A mortise and tenon looks like a peg in a hole. It is really four surfaces doing four different jobs, and knowing which is which tells you where to be fussy and where not to bother.
The CHEEKS — the two wide faces of the tenon — are the glue joint, long grain to long grain, and they carry essentially all the strength. The SHOULDERS set the angle and stop the joint racking. The EDGES locate it sideways. The END does nothing at all.
Which is why a tenon that fits its mortise snugly on the cheeks and has a gap at the bottom is a perfect joint, and one that bottoms out but rattles on the cheeks is a bad one — even though the second looks tighter.
درمیانہ
3 hours
ہدایات
1
1
The cheeks are the joint
The cheeks are the joint
Both tenon cheeks and both mortise walls are long grain. Glued together they make the strongest bond wood offers, and they are the reason the joint holds at all — the butt-joint rung is the argument for why.
So the cheeks are where the fit matters. They want to be a firm sliding fit: close enough that the glue line is thin, loose enough that the joint can be pushed home by hand or with light mallet taps.
Make the cheeks by sawing to a gauged line and paring, and check the fit dry before glue goes anywhere near it. A tenon that is too thick can be pared; one that is too thin needs a shim glued on, and that is a repair rather than a joint.
اس مرحلے کے لیے مواد:
 سخت لکڑی کا تختہ1 ٹکڑا
 پی وی اے لکڑی کا گوند1 ٹکڑا
درکار اوزار:
 پشت دار آری
 رکھانیاں
 نشان لگانے والا گیج
 میز کا شکنجہ
2
2
The shoulders set the geometry
The shoulders set the geometry
The shoulders are what the rail actually sits against, so they set the angle between the two pieces and they are what a racking force pushes on. A shoulder that is not square makes the frame out of square, and no amount of clamping fixes it.
Both shoulders must be in the same plane and cut from the same gauge line. Cut one 0.5 mm deeper than the other and the rail twists — and it twists whether the cheeks fit or not.
A visible gap at a shoulder is the joint's most obvious fault, which is why it is worth cutting the shoulder slightly proud and paring to the line with a chisel, rather than sawing straight to it and hoping.
اس مرحلے کے لیے مواد:
سخت لکڑی کا تختہ1 ٹکڑادرکار اوزار:
 مرکب گنیا
 نشان لگانے کی چھریرکھانیاںپشت دار آری
3
3
Leave the end short, and the proportions that work
Leave the end short, and the proportions that work
Cut the tenon 2 to 3 mm shorter than the mortise is deep. That gap holds squeezed glue, lets the joint close fully on the shoulders, and costs nothing — the end grain at the bottom was contributing nothing anyway.
A tenon that bottoms out is the classic bad joint: it holds the shoulders open by a hair, so there is a visible gap at the most visible place, and the cheeks may not even be seated.
Proportions worth starting from: tenon thickness about ONE THIRD the rail thickness, so the mortise walls and the tenon are all about equally strong. Tenon width up to about five times its thickness — wider than that and it is usually split into two tenons with a haunch between, precisely because a wide tenon moves across its width and a long mortise weakens the stile.
اس مرحلے کے لیے مواد:
سخت لکڑی کا تختہ1 ٹکڑاپی وی اے لکڑی کا گوند1 ٹکڑادرکار اوزار:
 چول کی چھینینشان لگانے والا گیج
 ڈیجیٹل ورنیئر کیلیپر ۶ انچ
 لکڑی کا ہتھوڑا
4
4
Drawboring: a joint that does not need a clamp
Drawboring: a joint that does not need a clamp
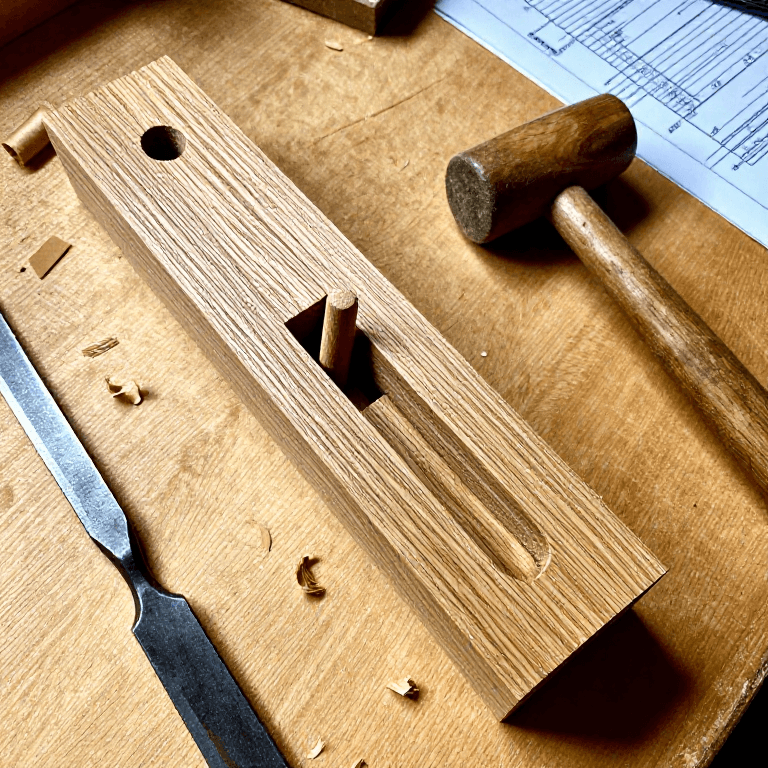
Bore a hole through the mortise walls, assemble, and mark where the hole falls on the tenon. Then bore the tenon's hole about 1 mm CLOSER to the shoulder than the mark, and drive a tapered peg through.
The peg is forced to bend as it passes, and pulls the tenon's shoulder hard against the stile — permanently, without clamps, and without waiting for glue. It is how timber frames and much pre-industrial furniture were assembled, and it works on green timber where glue does not.
Offset too far and the peg snaps or the tenon splits; 1 mm is about right in hardwood, a little more in softwood. Make the pegs from riven, straight-grained stock — a sawn peg with grain running out will shear as it bends.
اس مرحلے کے لیے مواد:
 لکڑی کی چولیں1 ٹکڑاسخت لکڑی کا تختہ1 ٹکڑا
درکار اوزار:
لکڑی کا ہتھوڑارکھانیاںنشان لگانے والا گیجمواد
3- 1 ٹکڑاپلیس ہولڈر
- 2 ٹکڑےپلیس ہولڈر
- 1 ٹکڑاپلیس ہولڈر
متعلقہ بلیو پرنٹ
یہ بلیو پرنٹ علم بانٹتے ہیں — تکنیک، مواد یا اصول

CC0 پبلک ڈومین
یہ بلیو پرنٹ CC0 کے تحت جاری کیا گیا ہے۔ آپ اجازت لیے بغیر اس کام کو نقل، ترمیم، تقسیم اور کسی بھی مقصد کے لیے استعمال کرنے کے لیے آزاد ہیں۔
میکر کی حمایت کریں ان کے بلیو پرنٹ کے ذریعے پروڈکٹس خرید کر جہاں وہ میکر کمیشن وینڈرز کی طرف سے مقرر، کماتے ہیں، یا اس بلیو پرنٹ کی نئی تکرار بنائیں اور آمدنی شیئر کرنے کے لیے اسے اپنے بلیو پرنٹ میں کنکشن کے طور پر شامل کریں۔