
Współpraca
SZTUKA
Piękno i dobre samopoczucie
RZEMIOSŁO
KULTURA I HISTORIA
ROZRYWKA
ŚRODOWISKO
JEDZENIE I NAPOJE
INŻYNIERIA ODWROTNA
NAUKI
LEKKOATLETYKA
TECHNOLOGIA
URZĄDZENIA DO NOSZENIA
Ash Snowshoes: Steam-Bent Frame, Mortised Cross Bars and Rawhide Filling (Boy Mechanic, 1915)
Woody

Autor

Woody

13. listopad 2026NO
2
0
0
0
0

Ash Snowshoes: Steam-Bent Frame, Mortised Cross Bars and Rawhide Filling (Boy Mechanic, 1915)

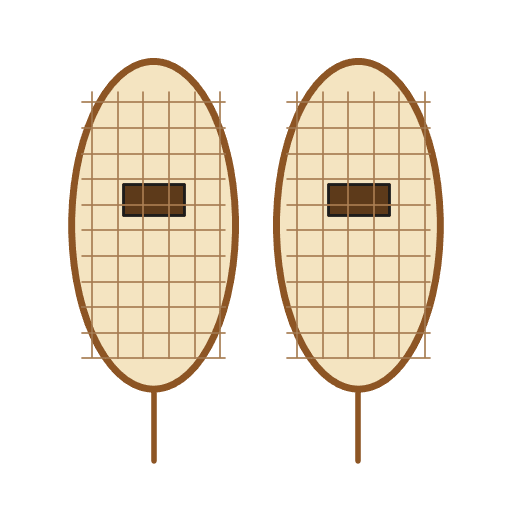
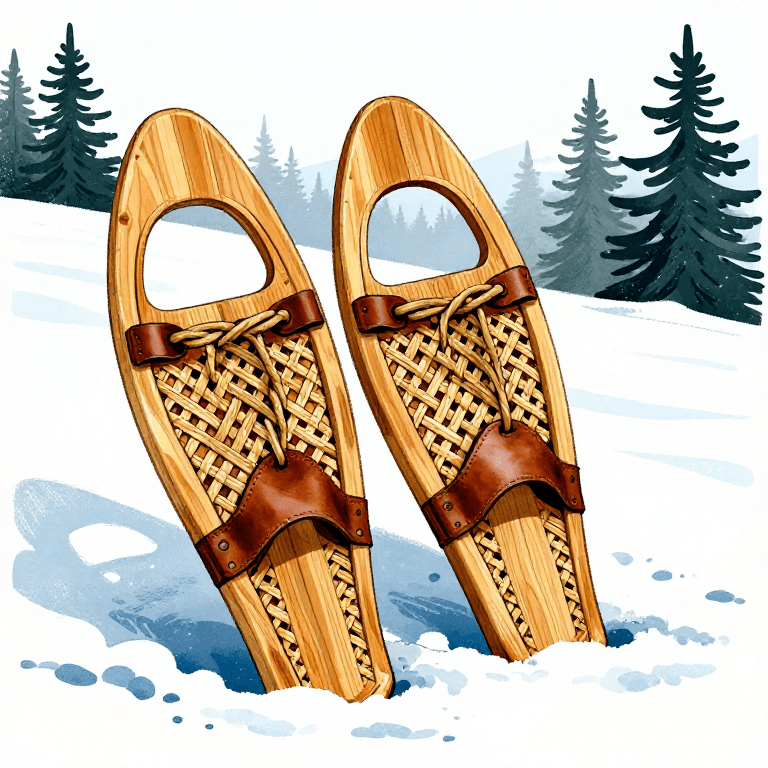
Stillman Taylor's snowshoes from The Boy Mechanic, Book 2 (1915): a white ash frame steamed and bent on a board form, two mortised cross bars set so the heel is a little heavier, and a rawhide filling woven on a lanyard, coarse in the centre and finer at toe and heel. He recommends style B, about 12 in by 42 in, for one all-round pair.
Zaawansowany
About 2 weeks (frames dry a week)

Instrukcje

1

His sizes in centimetres

Wczytywanie notatnika Jupyter…
2

Read The Boy Mechanic, Book 2

"For the frames, white ash is much the best wood, but hickory and white birch are dependable substitutes, if the former cannot be obtained." Choose the style first: style B, "the ordinary eastern model", is about 12 in wide and 42 in long, with about 2 in turn at the toe; he advises a flat toe, or a turn not over 1 in, for one all-round pair.
3

Cut the frame sticks

From seasoned white ash, saw and plane two frame sticks about 1-1/16 in wide, 7/16 in thick at the toe and 9/16 in thick at the heel (make green wood heavier, for shrinkage). Cut each 2 in longer than the finished length. The toe of the finished frame is the centre of the stick, the heel the two ends, and the centre of the shoe halfway between.

Materiały do tego kroku:

Deska z drewna liściastegoDeska z drewna liściastego1 sztuka

Potrzebne narzędzia:

Piła ręcznaPiła ręczna
Strug ręcznyStrug ręczny
Strug kabłąkowyStrug kabłąkowy
OłówekOłówek
Miara zwijanaMiara zwijana
4

Make the bending form

Draw the shoe outline on paper, cut it out, and trace it on a board. Nail the inside blocks in place on the line; drive nails part-way into the outside stay blocks so they can be fixed quickly once the hot frame is on the form. Two forms, made exactly alike, let both frames be bent at once.

Materiały do tego kroku:

Deska sosnowaDeska sosnowa1 sztuka
GwoździeGwoździe1 sztuka

Potrzebne narzędzia:

Brązowy papier pakowy (szary)Brązowy papier pakowy (szary)
OłówekOłówek
NożyczkiNożyczki
Piła ręcznaPiła ręczna
MłotekMłotek
5

Steam and bend the frame

Put boiling water in a wash boiler, lay the stick over the top and mop it with the boiling water, shifting it until the fibres soften. After 10 or 15 minutes, wrap it in cloth and bend it back and forth; repeat until it bends easily without splintering. Soften the toe well, as it is the sharpest curve. Put the hot frame on the form, bend it slowly against the inside blocks starting at the toe, nail on the outside blocks, finish one side, then the other. Leave it on the form for at least a week, until thoroughly dry and set.

Materiały do tego kroku:

Płat tkaniny bawełnianejPłat tkaniny bawełnianej1 sztuka

Potrzebne narzędzia:

Duży garnekDuży garnek
MopMop
MłotekMłotek
6

Close the tail and fit the cross bars

When dry, fasten the tail by boring three holes about 4 in from the end and lashing with rawhide. Spring the two cross bars into the frame about 15 in apart and balance the shoe in your hands at the centre; when it balances exactly, move the bars so the heel is about 3 oz heavier than the toe, and mark the mortises. Cut them a good tight fit with a small, sharp chisel; 1/4 in deep is ample.

Materiały do tego kroku:

Deska z drewna liściastegoDeska z drewna liściastego1 sztuka
Paski surowej skóryPaski surowej skóry1 sztuka

Potrzebne narzędzia:

Wiertarka ręcznaWiertarka ręczna

DłutaDłuta
Piła ręcznaPiła ręczna
Waga szalkowaWaga szalkowa
OłówekOłówek
7

Lace the lanyard

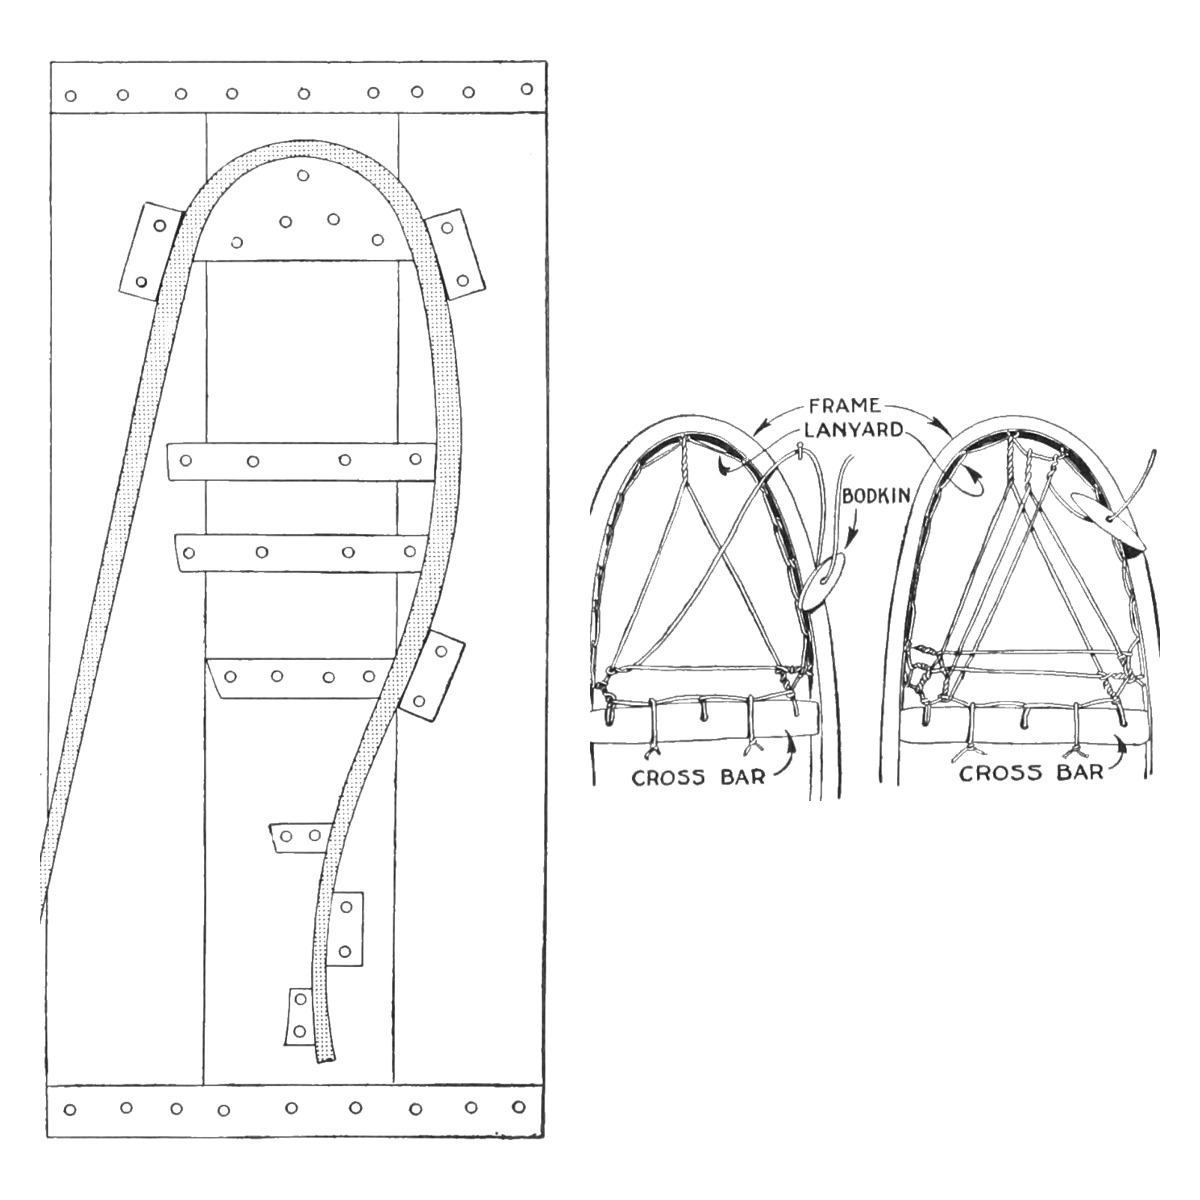
Bore pairs of small holes obliquely in the toe and heel sections of the frame and lace a narrow rawhide thong through them as the lanyard. Bore three holes in each cross bar, one on each side about 1-1/2 in from the frame and one in the centre, and carry the lanyard through them.

Materiały do tego kroku:

Rzemień ze skóry surowejRzemień ze skóry surowej1 sztuka

Potrzebne narzędzia:

Wiertarka ręcznaWiertarka ręczna
Nóż do skóryNóż do skóry
8

Weave the toe and heel

Make a wooden bodkin about 1/4 in thick and 2 in long to pull the strands taut. Make an eye in the end of a fine thong, pass it through a lanyard loop and back through the eye as a slipknot. Start at the corner of cross bar and frame, take the strand up and twist it round the lanyard in the middle of the toe, then down to the opposite corner. Loop it round the next lanyard (No. 2) with the twisted loop knot, carry it across, make the same knot on No. 2 on the starting side, twist it round the first strand, loop under the next cross-bar lanyard, up to the toe again, and so on until the space is filled. Join thongs endlessly by cutting an eye in each end and passing each through the other. Fill the heel the same way.

Materiały do tego kroku:

Rzemień ze skóry surowejRzemień ze skóry surowej1 sztuka

Potrzebne narzędzia:

Nóż do skóryNóż do skóry
9

Weave the centre

Use heavier hide for the centre. Make the toe cord first: carry the strand across the frame five or six times, finish with a half hitch, then twist it round the cross bar to form the first toe-cord stay. Fill the centre by looping back and twisting as for the toe, but loop round the frame with a clove hitch instead of a lanyard. Leave a toe hole 4 in wide: once enough is woven, weave through the toe cord instead of round the cross bar, in and out several times. Finish by looping round the cross bar beside the toe hole, twisting down the toe-cord stay, along the toe cord to the other side, down the other stay, round the frame, and end in a clove hitch. A mesh of about 3/4 in suits the centre.

Materiały do tego kroku:

Paski surowej skóryPaski surowej skóry1 sztuka

Potrzebne narzędzia:

Nóż do skóryNóż do skóry
10

Troubleshooting

Snowshoe troubleshooting.

Flow

Loading...
11

History and honest limits

From "Snowshoes: How to Make and Use Them" by Stillman Taylor, Parts I-II, in **The Boy Mechanic, Book 2**, Popular Mechanics, 1915 (Project Gutenberg 44585; checked on the archive.org scan boymechanicbook200chic2, pp. 36-45). He gives no size for the cross bars and no widths for the thongs, only that the centre strand is heavier and the toe and heel finer. He describes a simpler filling than the Indian patterns. Foot fastenings (toe strap and heel thong) are in his Part I and not made here. The tools and metric figures are ours.

Materiały

6

Wymagane narzędzia

14

Według tego planu powstaje

Powiązane blueprinty

Te blueprinty dzielą się wiedzą — technikami, materiałami lub zasadami
CC0 Domena publiczna

Ten plan jest udostępniany na licencji CC0. Możesz go swobodnie kopiować, modyfikować, rozpowszechniać i wykorzystywać do dowolnych celów, bez konieczności uzyskiwania zgody.

Wesprzyj Makera kupując produkty przez jego plan, za co zarabia Prowizja Makera ustalony przez sprzedawców, lub stwórz nową iterację tego planu i dołącz go jako połączenie w swoim własnym planie, aby dzielić się przychodami.

Dyskusja

(0)

Zaloguj się aby dołączyć do dyskusji

Ładowanie komentarzy...