
Współpraca
SZTUKA
Piękno i dobre samopoczucie
RZEMIOSŁO
KULTURA I HISTORIA
ROZRYWKA
ŚRODOWISKO
JEDZENIE I NAPOJE
INŻYNIERIA ODWROTNA
NAUKI
LEKKOATLETYKA
TECHNOLOGIA
URZĄDZENIA DO NOSZENIA
Straight-Sided Guitar: Maple Box, Pine Top, Hatpin Frets and a 24-Inch Scale (Boy Mechanic, 1913)
Woody

Autor

Woody

13. listopad 2026NO
10
0
0
0
0

Straight-Sided Guitar: Maple Box, Pine Top, Hatpin Frets and a 24-Inch Scale (Boy Mechanic, 1913)

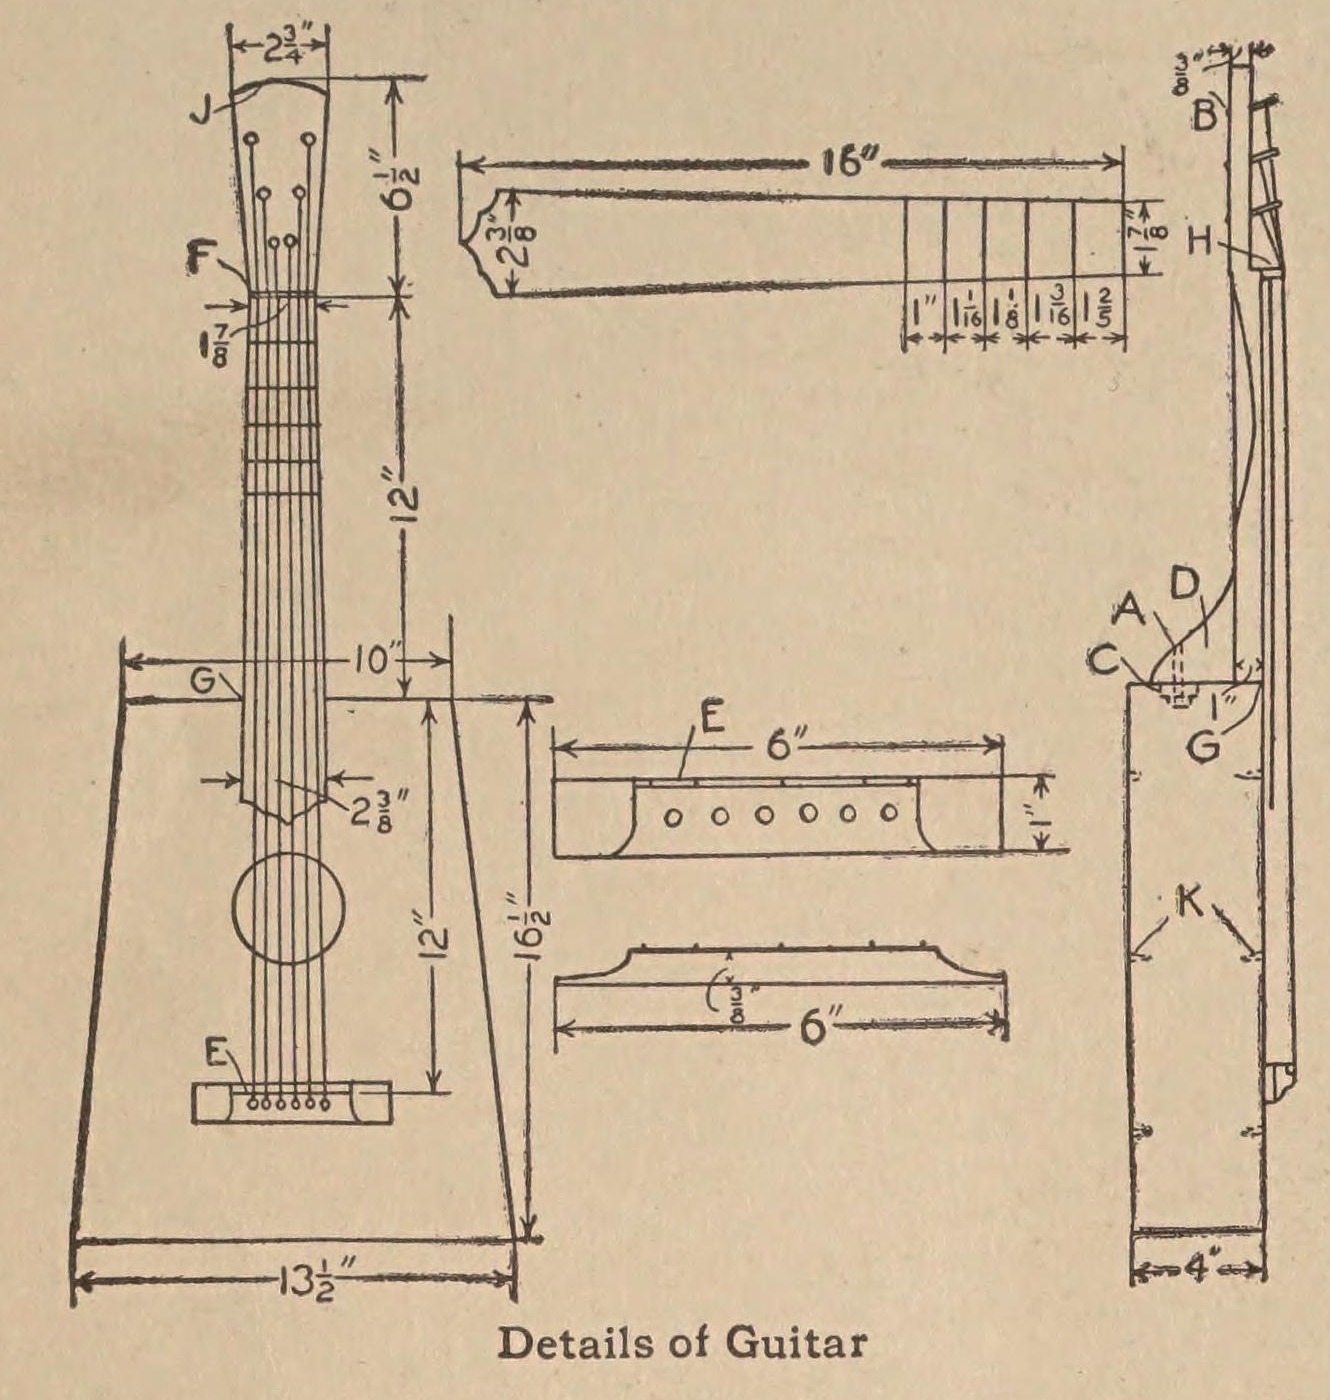
A six-string guitar "having straight lines, giving it an old-fashioned appearance", from The Boy Mechanic (1913): a tapered box of hard maple with a seasoned soft-pine top, a drawknifed neck, frets cut from hatpins and a 24 in scale. Sizes are read on the 1913 scan. "If care is taken in selecting the material, and having it thoroughly seasoned, the finished instrument will have a fine tone."
Zaawansowany
About 1 week, with glue drying

Instrukcje

1

Cutting list and frets

Wczytywanie notatnika Jupyter…
2

Read The Boy Mechanic

"The sides, ends and bottom are made of hard wood, preferably hard maple, and the top should be made of a thoroughly seasoned piece of soft pine." (J. H. Stoddard, Carbondale, Pa.)
3

Cut the pieces

Cut from thoroughly seasoned wood: top 3/16 by 14 by 17 in (soft pine); bottom 3/16 by 14 by 17 in, two sides 3/16 by 3-5/8 by 16-3/4 in, and ends 3/16 by 3-5/8 by 13-1/8 in and 9-5/8 in (hard maple); neck 1 by 2-5/16 by 18-1/2 in; fingerboard 3/16 by 2-5/8 by 16 in.

Materiały do tego kroku:

Deska z drewna liściastegoDeska z drewna liściastego1 sztuka
Deska sosnowaDeska sosnowa1 sztuka

Potrzebne narzędzia:

Piła ręcznaPiła ręczna
Miara zwijanaMiara zwijana
Kątownik stolarskiKątownik stolarski
4

Shape the neck and fingerboard

Taper the neck from G to F and from J to F, with the back rounded, using a drawknife: 2-3/8 in at the heel, 1-7/8 in at the nut F, and a head 2-3/4 in wide and 6-1/2 in long. Taper the fingerboard to match. Glue a piece of hard wood 1/4 in square and 1-7/8 in long across the neck at F as the nut. Glue the fingerboard to the neck and clamp it until the glue sets.

Materiały do tego kroku:

Listwa z drewna twardegoListwa z drewna twardego1 sztuka
Klej do drewnaKlej do drewna1 sztuka

Potrzebne narzędzia:

OśnikOśnik
Piła ręcznaPiła ręczna
Ścisk stolarski listwowyŚcisk stolarski listwowy
5

Fret the fingerboard

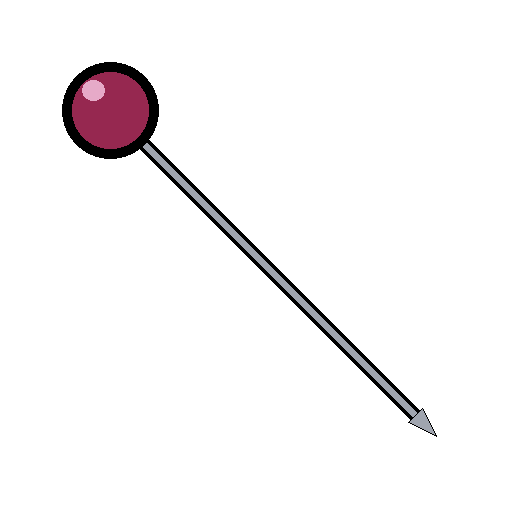
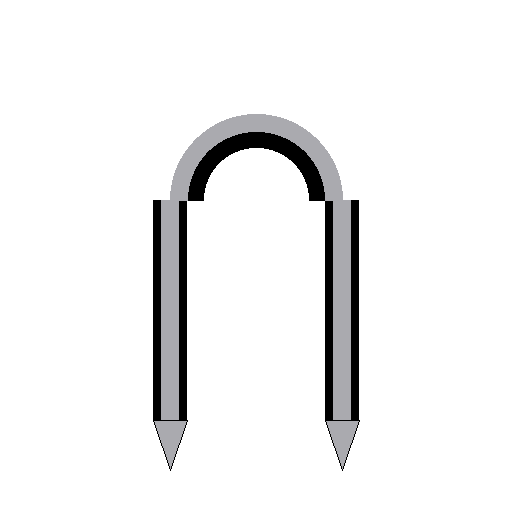
Mark the frets from the nut using the computed positions in step 1 (fret 1 at 1.347 in, fret 12 at 12 in). His drawing gives only five spaces, 1-2/5, 1-3/16, 1-1/8, 1-1/16 and 1 in; added up they put the 5th fret about 0.3 in short of the true place, so they are shown for history only. Cut pieces from hatpins and fasten them across the fingerboard with small wire staples. Mark accurately: the frets decide the pitch.

Materiały do tego kroku:

Szpila do kapeluszaSzpila do kapelusza1 sztuka
Skobel z drutuSkobel z drutu1 sztuka

Potrzebne narzędzia:

Szczypce płaskieSzczypce płaskie
MłotekMłotek
Miara zwijanaMiara zwijana
Kątownik stolarskiKątownik stolarski
6

Build the box

Glue the sides and ends together, so the body is 10 in wide at the neck end, 13-1/2 in at the tail and 16-1/2 in long. Glue the front on, put heavy weights on top and give the glue time to dry. Fasten pieces of soft wood in the corners as braces, glue a small block C inside the neck end to take the bolt, and glue strips of soft wood K across the front and back to strengthen them. Cut the sound hole in the top as drawn.

Materiały do tego kroku:

Listwa z drewna iglastegoListwa z drewna iglastego1 sztuka
Klej do drewnaKlej do drewna1 sztuka

Potrzebne narzędzia:

Piła ręcznaPiła ręczna
Ścisk stolarski listwowyŚcisk stolarski listwowy
Świder korbowy z wiertłemŚwider korbowy z wiertłem
7

Fit the neck

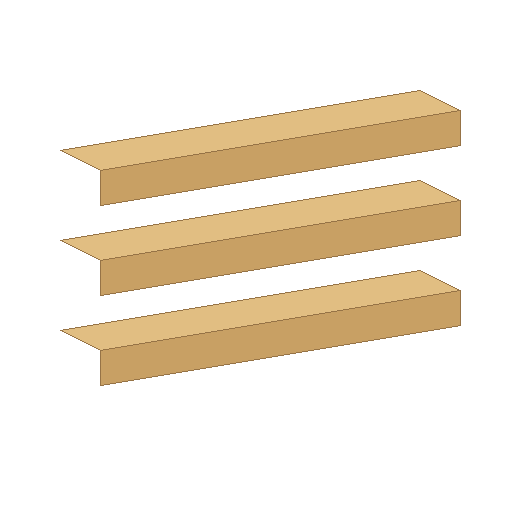
Make the brace D 1 in thick, to any shape you like. Glue the neck to the box and secure it with a carriage bolt at A through the end and block C. Glue the back on and smooth the outside with sandpaper.

Materiały do tego kroku:

Listwa z drewna twardegoListwa z drewna twardego1 sztuka
Śruba zamkowaŚruba zamkowa1 sztuka
Deska z drewna liściastegoDeska z drewna liściastego1 sztuka
Klej do drewnaKlej do drewna1 sztuka
Papier ściernyPapier ścierny1 sztuka

Potrzebne narzędzia:

Świder korbowy z wiertłemŚwider korbowy z wiertłem
Ścisk stolarski listwowyŚcisk stolarski listwowy
8

Make and place the bridge

Make the bridge 6 in long, 1 in wide and 3/8 in high, with an old hatpin or wire of the same size secured on top with pin staples as the saddle E. Drill six 3/16 in holes in it for the pins. Glue it on the top so the distance from the nut F to the saddle E is just 24 in.

Materiały do tego kroku:

Listwa z drewna twardegoListwa z drewna twardego1 sztuka
Szpila do kapeluszaSzpila do kapelusza1 sztuka
Skobel z drutuSkobel z drutu1 sztuka
Klej do drewnaKlej do drewna1 sztuka

Potrzebne narzędzia:

Świder korbowy z wiertłemŚwider korbowy z wiertłem
Piła ręcznaPiła ręczna
Miara zwijanaMiara zwijana
9

String it

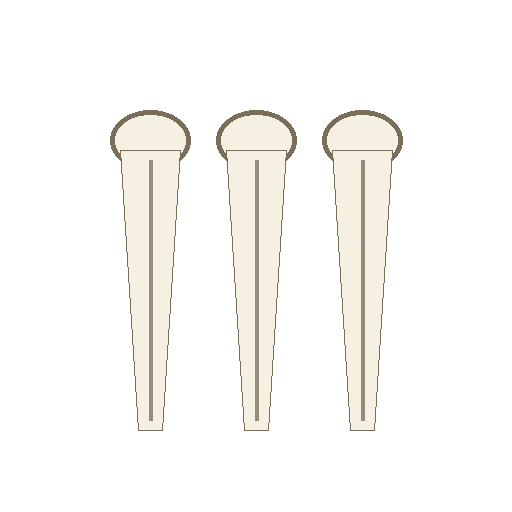
Fit the turning pegs B in the head and string the guitar, holding the strings in the bridge with the pins. He bought the pegs and strings from a music store.

Materiały do tego kroku:

Kołki stroikoweKołki stroikowe1 sztuka
Struny gitaroweStruny gitarowe1 sztuka
Kołki mostkaKołki mostka1 sztuka

Potrzebne narzędzia:

Świder korbowy z wiertłemŚwider korbowy z wiertłem
10

Troubleshooting

Guitar troubleshooting.

Flow

Loading...
11

History and honest limits

From **The Boy Mechanic**, edited by H. H. Windsor, Popular Mechanics, Chicago, 1913, p. 320, "A Guitar That Is Easy to Make", sent in by J. H. Stoddard of Carbondale, Pa.; sizes read on the 1913 scan (archive.org boymechanicthing01unse). He dimensions only the first five fret spaces, and they disagree with equal temperament; the fret positions used are computed by us. The sound hole, saddle and string tensions are not dimensioned. The tools and metric figures are ours.

Materiały

12

Wymagane narzędzia

8

Według tego planu powstaje

CC0 Domena publiczna

Ten plan jest udostępniany na licencji CC0. Możesz go swobodnie kopiować, modyfikować, rozpowszechniać i wykorzystywać do dowolnych celów, bez konieczności uzyskiwania zgody.

Wesprzyj Makera kupując produkty przez jego plan, za co zarabia Prowizja Makera ustalony przez sprzedawców, lub stwórz nową iterację tego planu i dołącz go jako połączenie w swoim własnym planie, aby dzielić się przychodami.

Dyskusja

(0)

Zaloguj się aby dołączyć do dyskusji

Ładowanie komentarzy...