Współpraca
SZTUKA
Piękno i dobre samopoczucie
RZEMIOSŁO
KULTURA I HISTORIA
ROZRYWKA
ŚRODOWISKO
JEDZENIE I NAPOJE
INŻYNIERIA ODWROTNA
NAUKI
LEKKOATLETYKA
TECHNOLOGIA
URZĄDZENIA DO NOSZENIA
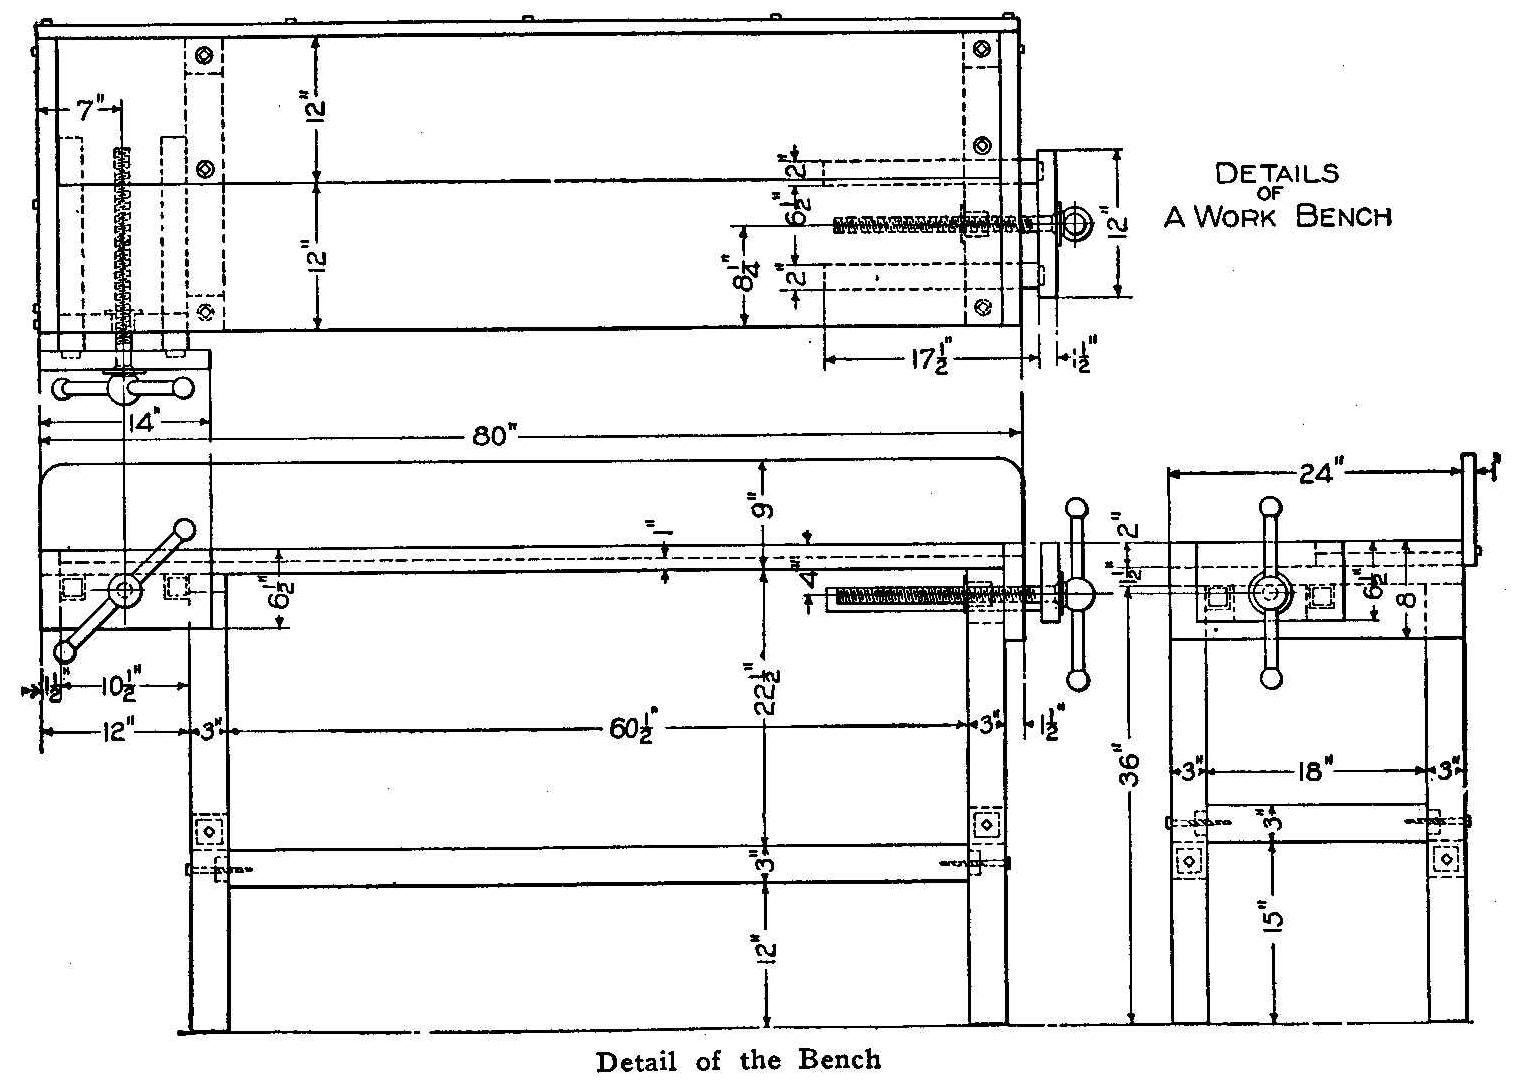


Workbench for the Amateur: Mortised Maple Frame, Two-Board Top, Side and End Vises (Boy Mechanic, 1913)
A full-size woodworking bench from The Boy Mechanic (Popular Mechanics, 1913), "suitable for the amateur woodworker" and made "by anyone who has a few sharp tools and a little spare time": a mortise-and-tenon frame of birch or maple bolted with lag screws, a top of a 2 in and a 1 in board, a side vise and an end vise on square slides, and a back board. All sizes are the book's.
It stands 36 in high, 80 in long and 24 in deep.
Średniozaawansowany
About 2 days
Instrukcje
1
1
Cutting list
Cutting list
Wczytywanie notatnika Jupyter…
2
2
Read The Boy Mechanic
Read The Boy Mechanic
"If the stock is purchased from the mill ready planed and cut to length, much of the hard labor will be saved."
3
3
Make the lower frame
Make the lower frame
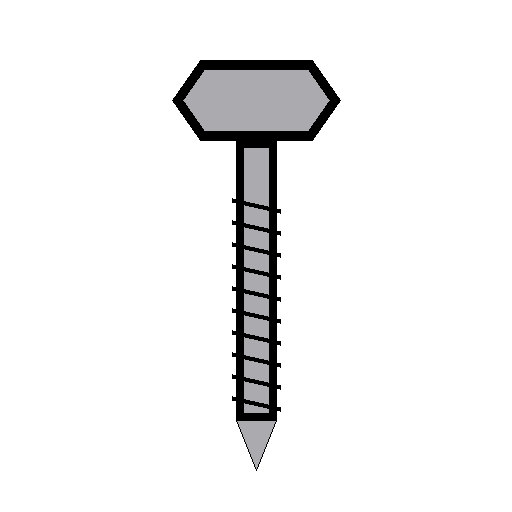
Cut tenons on the side and end rails and mortise the posts to take them. Fit them together and fasten them securely with 3/8 by 5 in lag screws through the posts into the rails, as the drawing shows.
Materiały do tego kroku:
 Drewno kantowe1 sztuka
 Wkręt do drewna pod klucz (coach screw)1 sztuka
Potrzebne narzędzia:
 Piła traczka
 Piła grzbietnica
 Dłuto do gniazd
 Pobijak drewniany
 Kątownik stolarski
 Świder korbowy z wiertłem
 Klucz nastawny
 Ołówek
4
4
Fit the crosspieces and top
Fit the crosspieces and top
Screw the 1-1/2 by 3 by 24 in crosspieces to the tops of the posts, countersinking the heads (or bore the top boards to clear them). Fasten the front, 2 in top board to the crosspieces with lag screws from underneath; screw the 1 in top board down from the top.
Materiały do tego kroku:
Drewno kantowe1 sztuka Deska z drewna twardego1 sztuka
 Deska z drewna liściastego1 sztukaWkręt do drewna pod klucz (coach screw)1 sztuka
 Wkręty do drewna1 sztuka
Potrzebne narzędzia:
Świder korbowy z wiertłem Zestaw pogłębiaczy stożkowych
 Zestaw wkrętakówKlucz nastawny
5
5
Fit the end pieces and vise slides
Fit the end pieces and vise slides
Screw on the end pieces, countersinking the heads at the vise end. Cut 2 in square holes in the 1-1/2 by 4-1/2 by 10 in piece for the side vise slides and fit it in place, and cut square holes in one end piece for the end vise slides.
Materiały do tego kroku:
Deska z drewna liściastego1 sztukaWkręty do drewna1 sztukaPotrzebne narzędzia:
Świder korbowy z wiertłem DłutaPobijak drewnianyZestaw pogłębiaczy stożkowychZestaw wkrętaków
6
6
Fit up the two vises
Fit up the two vises
Screw the 2 in square slides (guides) to the two clamp front pieces, countersinking the heads so they are clear of the hands. The clamp screws should be about 1-1/2 in diameter, bought at a hardware store. Fit a block under the crosspiece to hold the end vise's nut. With the slides in place, bore the holes for the clamp screws and fit them.
Materiały do tego kroku:
Drewno kantowe1 sztukaDeska z drewna liściastego1 sztuka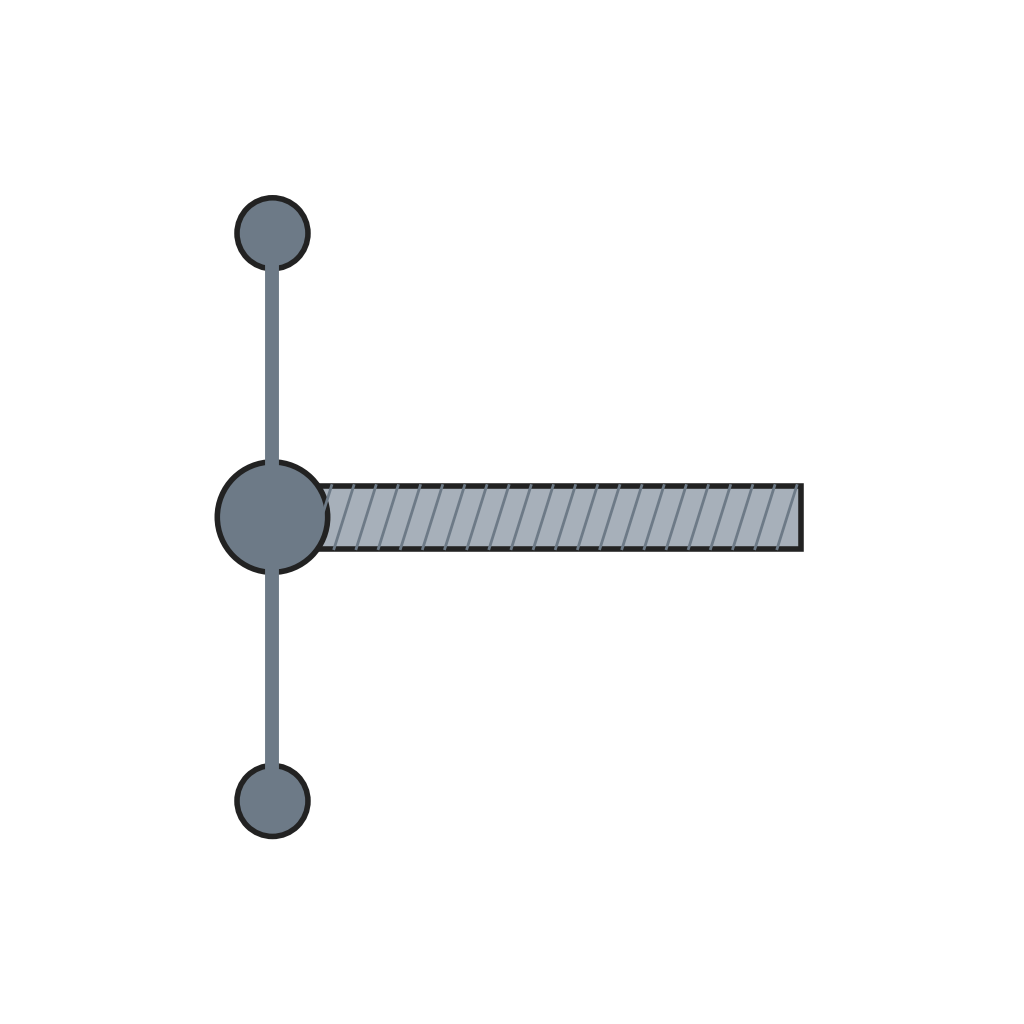 Śruba imadła z przesuwną dźwignią2 sztukWkręty do drewna1 sztuka
Potrzebne narzędzia:
Świder korbowy z wiertłemZestaw pogłębiaczy stożkowychZestaw wkrętaków7
7
Back board and finish
Back board and finish
Screw the back board to the back as the top view shows. Give the bench "a couple of coats of oil" to finish and preserve the wood (boiled linseed oil, ours).
Materiały do tego kroku:
Deska z drewna liściastego1 sztukaWkręty do drewna1 sztuka Pokost lniany1 sztuka
 Tkanina bawełniana1 sztuka
Potrzebne narzędzia:
Zestaw wkrętaków8
8
Troubleshooting
Troubleshooting
Workbench troubleshooting.
Flow
Loading...
9
9
History and honest limits
History and honest limits
From **The Boy Mechanic, Volume 1: 700 Things for Boys to Do**, edited by H. H. Windsor, Popular Mechanics, Chicago, 1913 (Project Gutenberg #12655), "A Workbench for the Amateur". All sizes and the fastening are the book's; it names no oil, so boiled linseed oil is ours, as are the metric figures.
Materiały
8- 1 sztukaZastępnik
- Zastępnik
- 1 sztukaZastępnik
- 1 sztukaZastępnik
- 4 sztukZastępnik
- Zastępnik
- 1 sztukaZastępnik
- 1 sztukaZastępnik
Wymagane narzędzia
11- Zastępnik
- Zastępnik
- Zastępnik
- Zastępnik
- Zastępnik
- Zastępnik
- Zastępnik
- 1 vendor sell this, none ship to you yetZastępnik
- Zastępnik
- Zastępnik
- Zastępnik
Według tego planu powstaje

Powiązane blueprinty
Te blueprinty dzielą się wiedzą — technikami, materiałami lub zasadami

CC0 Domena publiczna
Ten plan jest udostępniany na licencji CC0. Możesz go swobodnie kopiować, modyfikować, rozpowszechniać i wykorzystywać do dowolnych celów, bez konieczności uzyskiwania zgody.
Wesprzyj Makera kupując produkty przez jego plan, za co zarabia Prowizja Makera ustalony przez sprzedawców, lub stwórz nową iterację tego planu i dołącz go jako połączenie w swoim własnym planie, aby dzielić się przychodami.