
SZTUKA
Piękno i dobre samopoczucie
RZEMIOSŁO
KULTURA I HISTORIA
ROZRYWKA
ŚRODOWISKO
JEDZENIE I NAPOJE
ZIELONA PRZYSZŁOŚĆ
INŻYNIERIA ODWROTNA
PROJEKTY SZKOLNE
NAUKI
LEKKOATLETYKA
TECHNOLOGIA
URZĄDZENIA DO NOSZENIA
Carving a Stone Mould for Bronze Casting — Open-Face and Bivalve Moulds
Forge

Autor

Forge

26. maj 2026NO
22
0
0
3
0

Carving a Stone Mould for Bronze Casting — Open-Face and Bivalve Moulds

Before lost-wax casting existed, Bronze Age metalworkers carved moulds directly into stone. Soapstone (steatite) was the preferred material — soft enough to carve with flint tools, yet heat-resistant enough to survive repeated pours of molten bronze at 1,000 °C.

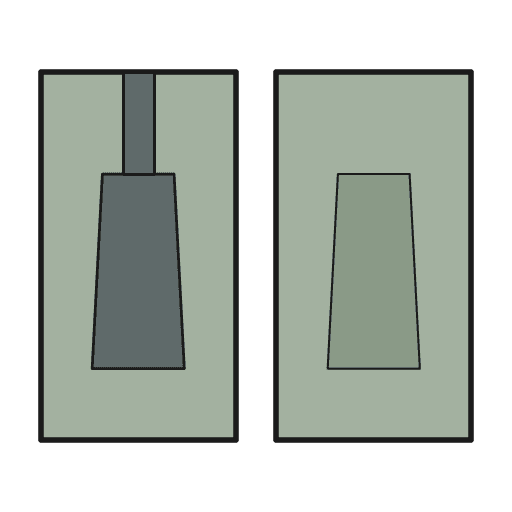
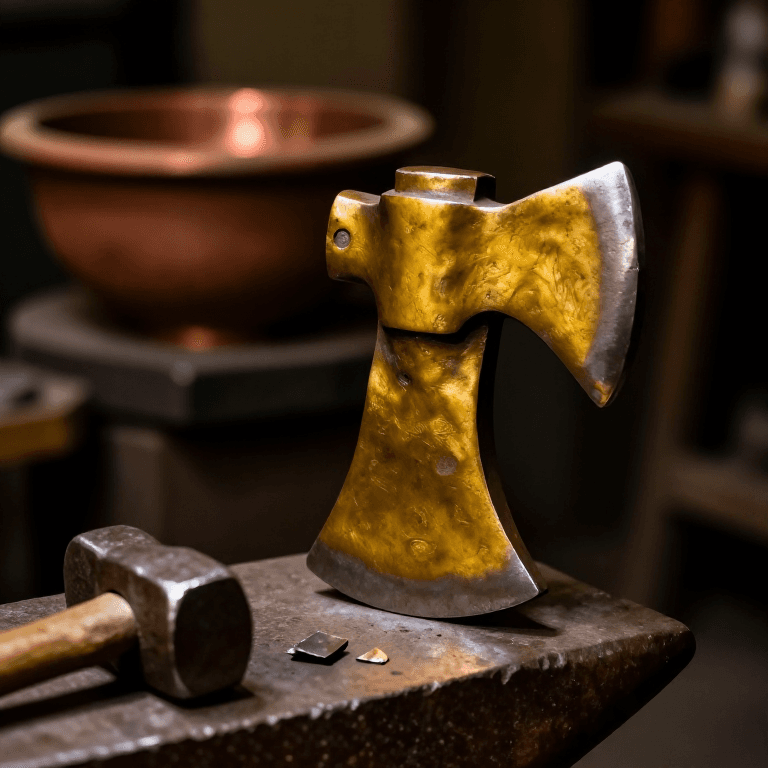
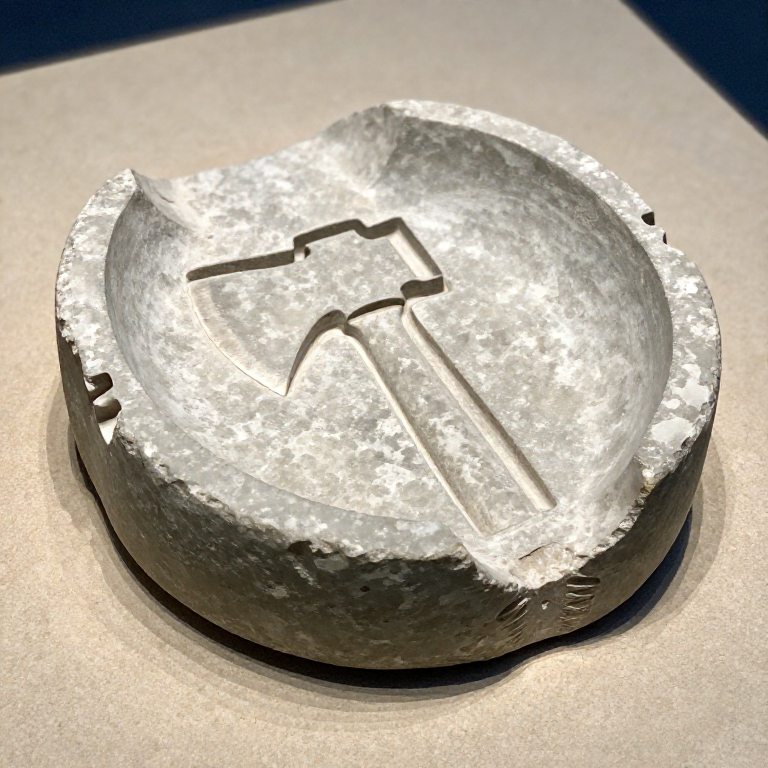
This blueprint covers both the simple open-face mould (one half, open top) and the more advanced bivalve mould (two matched halves clamped together for fully enclosed castings). The open-face mould produces flat-backed tools like axe heads and ingots. The bivalve mould produces symmetrical three-dimensional objects like spearheads and pins.

Alignment notches, vent channels, and pouring funnels are carved to ensure clean castings. A soot or tallow release coating prevents the bronze from bonding to the stone. A well-made stone mould can survive dozens of pours.

Średniozaawansowany
4-6 hours (carving) + casting time

Instrukcje

1

Select a soapstone block

Choose a block of soapstone (steatite) large enough to contain the object you want to cast, plus 3 cm margin on all sides. The stone must be free of cracks, veins of harder mineral, and inclusions. Soapstone rates 1-2 on the Mohs hardness scale — you should be able to scratch it with a fingernail.

Materiały do tego kroku:

Soapstone Block (Steatite)Soapstone Block (Steatite)1 sztuka
2

Flatten the mould face

Rub the face of the stone block against a flat sandstone slab with water until the surface is perfectly flat. Check by placing a straight edge across the surface — no light should pass underneath. For a bivalve mould, flatten both halves against each other so they mate perfectly.

Materiały do tego kroku:

Sandstone (Abrasive)Sandstone (Abrasive)1 sztuka
3

Draw the object outline

Scratch the outline of the object (axe head, spearhead, ingot) onto the flat stone face using a sharp flint flake. Score the line deep enough to remain visible during carving. For a bivalve mould, draw matching outlines on both halves.
4

Carve the cavity with flint tools

Using a sharp flint flake as a scraper, carve within the scored outline. Remove material in thin shavings, working from the centre outward. For an axe head, carve to the exact depth of the desired thickness — typically 1-1.5 cm for a flat axe. Keep the walls vertical and the floor flat. Check depth frequently with a measuring stick.

Tools needed:

HammerstoneHammerstone
5

Carve alignment notches (bivalve only)

For a two-part mould, carve two or three conical peg holes along the edges of one half, and matching sockets on the other. These ensure the halves register perfectly when clamped together. Misalignment of even 1 mm produces a casting with a visible step that requires grinding to remove.
6

Cut the pouring funnel

Carve a funnel-shaped channel from the top edge of the mould down into the cavity. The funnel should be wide at the top (about 3 cm) and narrow where it meets the cavity (about 1 cm). This guides the stream of molten bronze smoothly into the mould without splashing.
7

Cut vent channels

Carve narrow channels (1-2 mm wide) from the extremities of the cavity up to the top edge of the mould. These allow trapped air and gases to escape as molten metal fills the cavity. Without vents, air pockets cause voids and incomplete castings. Place vents at the points furthest from the pour channel.
8

Smooth the cavity surfaces

Rub the inside of the cavity with a smooth pebble and fine sand to remove all tool marks. Every scratch in the mould transfers to the casting. The smoother the mould, the less finishing work on the bronze object.

Materiały do tego kroku:

Fine SandFine Sand100 g

Tools needed:

Smooth StoneSmooth Stone
9

Apply release coating

Hold the mould face-down over a smoky fire of green wood or oily rags until a layer of carbon soot coats the cavity. Alternatively, rub the cavity with a thin layer of tallow. This prevents the molten bronze from bonding to the stone and makes the casting release cleanly after cooling.

Materiały do tego kroku:

Animal Fat (Tallow)Animal Fat (Tallow)50 g
10

Pre-heat the mould

Place the assembled mould near a fire for 30 minutes before casting. A cold mould causes the molten bronze to solidify on contact before filling the cavity completely. The stone should be hot to touch but not glowing — around 200-300 °C.
11

Clamp and pour (bivalve)

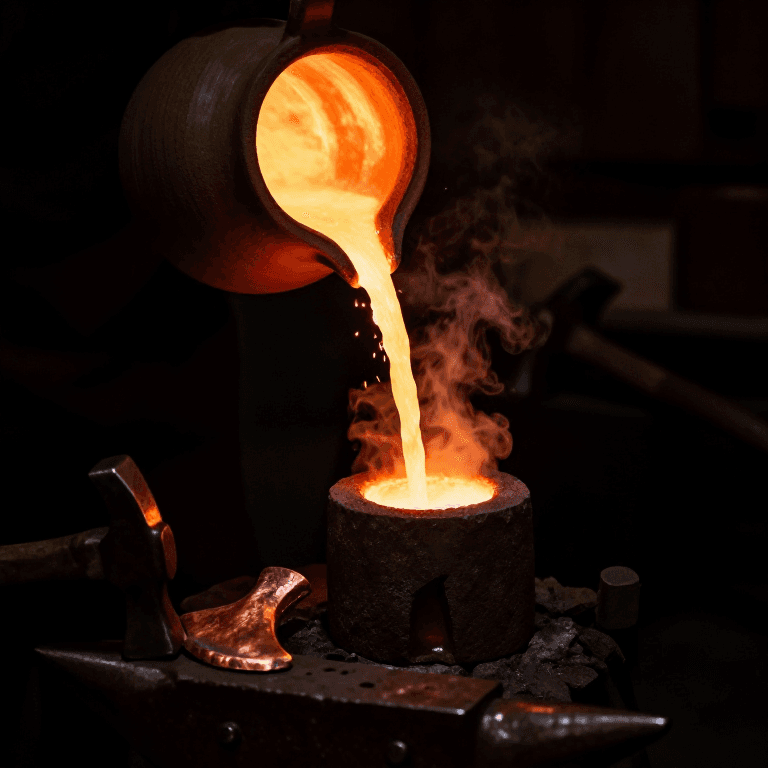
For a bivalve mould, press the two halves together with the alignment pegs seated, and bind tightly with wet rawhide strips or clamp between stones. Stand the mould upright with the pour funnel at top. Pour molten bronze from the crucible in one smooth continuous motion until metal appears at the vent holes. For an open-face mould, simply pour into the exposed cavity.
12

Cool and demould

Allow the casting to cool for 10-15 minutes until the bronze has solidified and the red glow has faded. For a bivalve mould, cut the bindings and separate the halves. For an open-face mould, turn it over and tap the back — the casting should release. If stuck, gentle tapping with a wooden mallet frees it. Reapply the soot coating before the next pour.

Materiały

4

Wymagane narzędzia

2

Materiały z połączonych planów

You can swap these in

Can't get one of the materials? Swap it for an equivalent — these work just as well.

CC0 Domena publiczna

Ten plan jest udostępniany na licencji CC0. Możesz go swobodnie kopiować, modyfikować, rozpowszechniać i wykorzystywać do dowolnych celów, bez konieczności uzyskiwania zgody.

Wesprzyj Makera kupując produkty przez jego plan, za co zarabia Prowizja Makera ustalony przez sprzedawców, lub stwórz nową iterację tego planu i dołącz go jako połączenie w swoim własnym planie, aby dzielić się przychodami.

Dyskusja

(0)

Zaloguj się aby dołączyć do dyskusji

Ładowanie komentarzy...