SZTUKA
Piękno i dobre samopoczucie
RZEMIOSŁO
KULTURA I HISTORIA
ROZRYWKA
ŚRODOWISKO
JEDZENIE I NAPOJE
INŻYNIERIA ODWROTNA
NAUKI
LEKKOATLETYKA
TECHNOLOGIA
URZĄDZENIA DO NOSZENIA
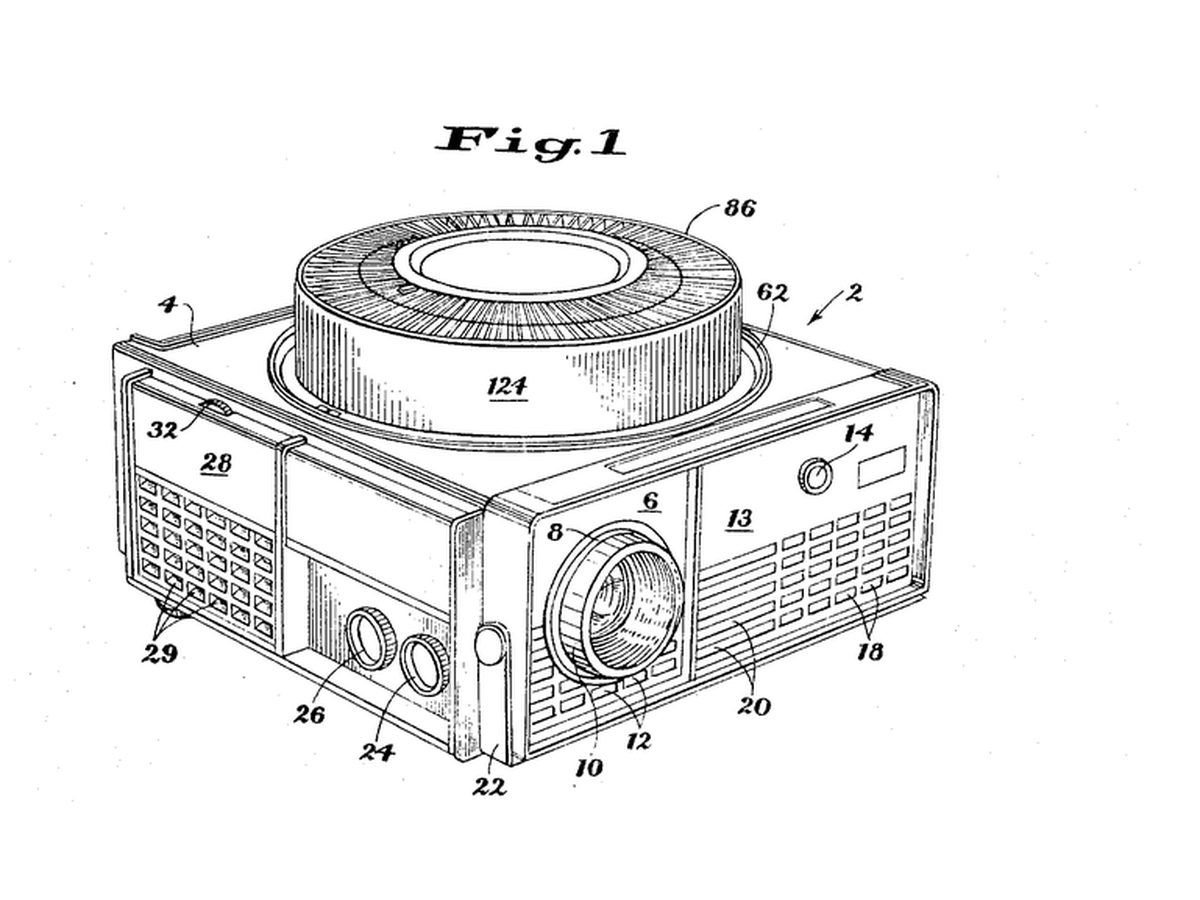


Rotary Gravity Slide Projector
Straight slide magazines pushed slides sideways and jammed. Kodak's round tray, designed by David E. Hansen, stood the slides on edge in a ring above the projector: each one fell into the gate by gravity when it reached the drop point and was lifted back when the tray moved on, so nothing had to push a slide sideways.
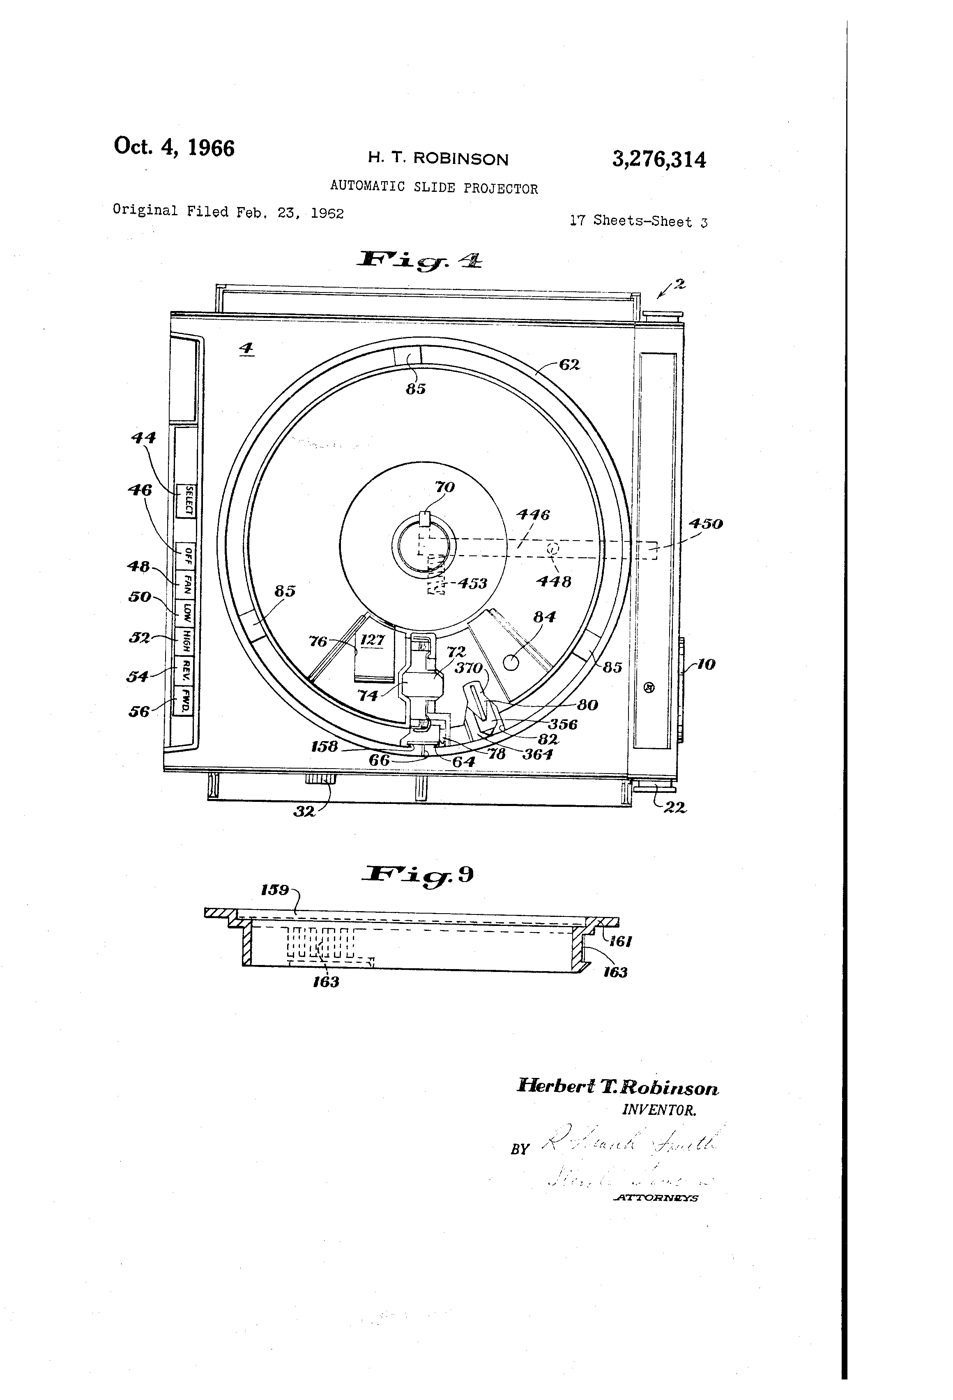
**US 3,276,314**, "Automatic slide projector", Herbert T. Robinson, assigned to Eastman Kodak, filed 1. June 1965 (continuing an application of 23. February 1962), granted 4. October 1966: a tray of two relatively movable portions with a passageway "through which the slides are adapted to pass substantially vertically, one at a time, in coordination with relative movement of the portions".
**You build the mechanism**: a 12-slot tray turned by a stepper, a servo that lifts each slide back, a torch and a lens to project it.
Zaawansowany
6 hours
Instrukcje
1
1
Make twelve slides
Make twelve slides
Cut 50 x 50 mm frames from black card with a 36 x 24 mm window. Draw or print images on transparency film and tape one behind each window. Number them 0 to 11.
Materiały do tego kroku:
 Czarny karton2 arkuszy
 Folia do drukarek atramentowych2 arkuszy
Potrzebne narzędzia:
 Nóż introligatorski
 Marker permanentny
 Linijka
2
2
Build the tray
Build the tray
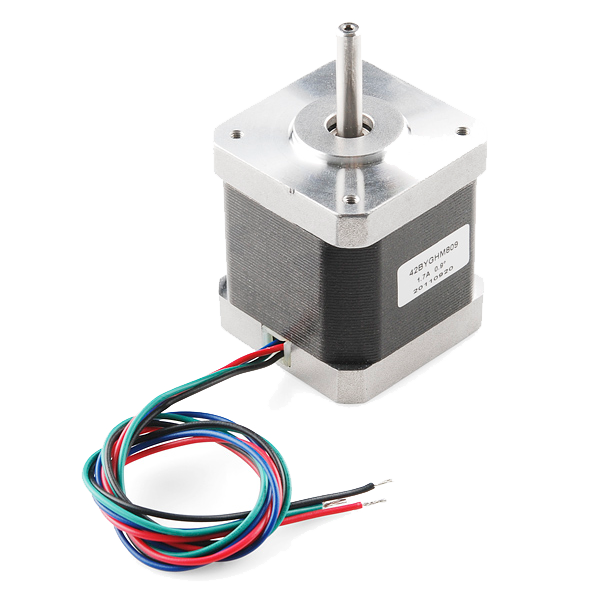
Glue two 240 mm foam-board discs together. Cut 12 radial slots 4 mm wide and 55 mm long, 30 degrees apart, open underneath so a slide can fall through. Glue a hub on the motor shaft and the tray on the hub.
Materiały do tego kroku:
 Karton piankowy do makiet2 arkuszy
 Stepper Motor - 68 oz.in (400 steps/rev)1 sztuka
Potrzebne narzędzia:
Nóż introligatorski Pistolet do kleju na gorąco
3
3
Base, gate and lift
Base, gate and lift
On a plywood base cut one drop slot under the tray. Below it, build a foam-board gate channel that holds a dropped slide upright between the torch and a 100 mm convex lens. Mount the servo so its arm, raised, pushes the slide back up into the tray.
Materiały do tego kroku:
 Płyta sklejkowa1 sztuka
 Mikroserwomechanizm SG90 (5 sztuk)1 opakowanie
 Zestaw soczewek skupiających1 zestaw
Potrzebne narzędzia:
 Piła ręcznaPistolet do kleju na gorąco
 Latarka inspekcyjna LED
4
4
Wire and flash
Wire and flash
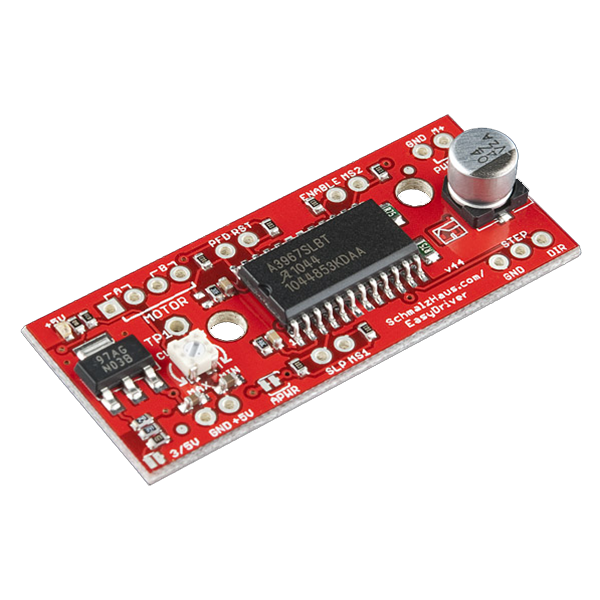
EasyDriver STEP to D3, DIR to D4, motor coils to A and B, 12 V supply to its power input, GND shared with the Uno. Servo signal D9. Button between D2 and GND. Set the EasyDriver current adjuster low - the tray is light. Turn the tray by hand so slot 0 is over the gate before powering up.
rotary_slide_tray.inocpp
Materiały do tego kroku:
 EasyDriver Stepper Motor Driver1 sztuka
 Mikrowyłącznik (dźwigniowy)1 sztuka
 Zestaw przewodów Dupont (męsko-żeńskich)1 zestaw
Potrzebne narzędzia:
 Arduino Uno R3
 Zasilacz prądu stałego
 Breadboard - Classic
 SparkFun Cerberus USB Cable - 1.8 meter
5
5
Why the steps must not drift
Why the steps must not drift
Wczytywanie notatnika Jupyter…
6
6
Show
Show
Load the slides upside down and reversed (a projector inverts the image). Darken the room, focus the lens on a wall, and press to advance. Count misfeeds over two full turns.
Potrzebne narzędzia:
 Miara zwijana
7
7
History & Context
History & Context
**What the patent specifies:** a projector for a tray of two relatively movable portions, slides passing substantially vertically through a passageway one at a time in step with the tray's movement. **Modern build (derived):** foam-board tray, stepper, servo lift and a torch.
Kodak made Carousel projectors from 1961 until 2004; a round tray held 80 slides. The limits: bent or thick mounts jam the gate, and the gravity drop needs the projector level.
Materiały
10- 2 arkuszyZastępnik
- 2 arkuszyZastępnik
- 2 arkuszyZastępnik
- Stepper Motor - 68 oz.in (400 steps/rev)10% prowizji1 sztuka$15.54
- 1 sztukaZastępnik
- 1 opakowanieZastępnik
- 1 zestawZastępnik
- EasyDriver Stepper Motor Driver10% prowizji1 sztuka$14.03
- 1 sztukaZastępnik
- Zastępnik
Wymagane narzędzia
11- Zastępnik
- Zastępnik
- Zastępnik
- Zastępnik
- Zastępnik
- Zastępnik
- 1 vendor sell this, none ship to you yetZastępnik
- Zastępnik
- Breadboard - Classic10% prowizji$9.36
- SparkFun Cerberus USB Cable - 1.8 meter10% prowizji$5.60
- 1 vendor sell this, none ship to you yetZastępnik
Szacowany koszt
To, co kupił twórca. Materiały bez ceny kupujesz tam, gdzie je znajdziesz.
Powiązane blueprinty
Te blueprinty dzielą się wiedzą — technikami, materiałami lub zasadami

CC0 Domena publiczna
Ten plan jest udostępniany na licencji CC0. Możesz go swobodnie kopiować, modyfikować, rozpowszechniać i wykorzystywać do dowolnych celów, bez konieczności uzyskiwania zgody.
Wesprzyj Makera kupując produkty przez jego plan, za co zarabia Prowizja Makera ustalony przez sprzedawców, lub stwórz nową iterację tego planu i dołącz go jako połączenie w swoim własnym planie, aby dzielić się przychodami.