Współpraca
SZTUKA
Piękno i dobre samopoczucie
RZEMIOSŁO
KULTURA I HISTORIA
ROZRYWKA
ŚRODOWISKO
JEDZENIE I NAPOJE
INŻYNIERIA ODWROTNA
NAUKI
LEKKOATLETYKA
TECHNOLOGIA
URZĄDZENIA DO NOSZENIA
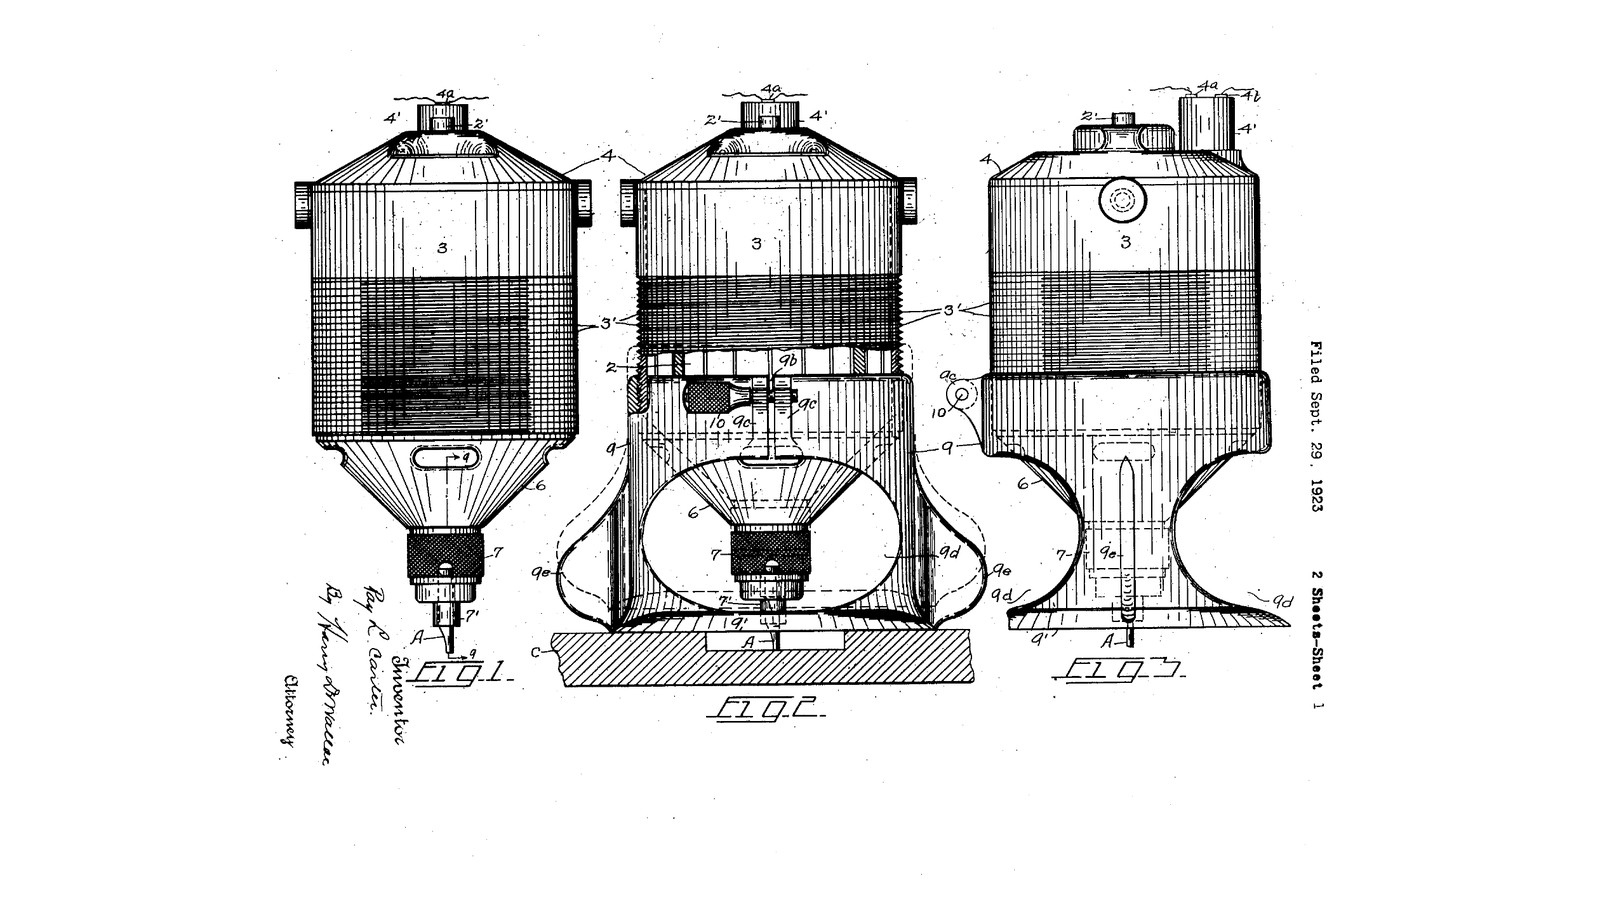


Screw-Depth Portable Router: The Motor's Threaded Casing Screws Into a Split Base, One Turn per Sixteenth (Carter, 1924)
Ray L. Carter of Syracuse, New York, received US 1,514,894, dated 11 November 1924, for the portable electric router: a small high-speed motor in an insulated casing light enough to hold in one hand, with a cutter in a chuck on its shaft. The casing is threaded outside and screws into the split, threaded top of a hollow base with a flat bottom. Each turn moves the cutter 1/16 inch, and a clamp screw across the split locks it. The base is cut away so the cutter can be seen and the chips can get out.
We print the casing and base in PETG at his pitch, round a small DC motor. The other sizes are ours.
Średniozaawansowany
About 2 days
Instrukcje
1
1
One turn, one sixteenth
One turn, one sixteenth
Wczytywanie notatnika Jupyter…
2
2
Read US 1,514,894
Read US 1,514,894
"In practice, the threads of the shell 3 and support 9 are preferably about one-sixteenth inch pitch, so that each revolution of the motor or support in either direction moves the tool A correspondingly."
3
3
Print the motor casing
Print the motor casing
The casing 3: a tube for a 42 mm motor with a 60 mm thread at 1/16 inch pitch, an 18 mm hole and air slots in its bottom, and two holes 29 mm apart for the motor's face screws. Print it bottom down. PETG, 0.2 mm layers, 40 % infill, 5 walls; no supports.
4
4
Print the base
Print the base
The support 9: a hollow base with a flat plate 140 mm across and an opening 50 mm wide, its sides cut away, two wings, and the split, threaded top with clamp lugs. Print it plate down. PETG, 0.2 mm layers, 40 % infill, 5 walls; no supports.
5
5
Print and fit the parts
Print and fit the parts
Print the casing and the base in PETG. Clean the threads and screw the casing into the base by hand; it should turn smoothly all the way. If it is tight, run it in and out a few times. Check the base's bottom is flat by rubbing it on abrasive paper on a flat board.
Materiały do tego kroku:
 Filament PETG1 sztuka
Potrzebne narzędzia:
 Drukarka 3D z filamentem (FDM)
 Gradownik
 Suwmiarka cyfrowa 6 cali
6
6
Motor, collet and wiring
Motor, collet and wiring
Fit the collet adapter on the motor's shaft and tighten its set screws. Push the motor down into the casing so its face sits on the casing's bottom with the collet through the hole, and screw it in with its two M4 face screws. Solder the supply leads through a toggle switch, sleeve the joints, and lead the cable out through the casing's open top. Set the DC supply to the motor's rated voltage.
Materiały do tego kroku:
 Silnik elektryczny1 sztuka
 Adapter tulejki zaciskowej na wałek silnika1 sztuka
 Śruba z łbem walcowym na imbus2 sztuk
 Przełącznik dźwigniowy1 sztuka
 Przewód montażowy1 sztuka
 Koszulka termokurczliwa1 sztuka
Potrzebne narzędzia:
 Zasilacz prądu stałego
 Lutownica elektryczna
 Zestaw kluczy imbusowych
 Klucz nastawny
7
7
Set the depth and lock it
Set the depth and lock it
Fit a straight bit in the collet. Screw the casing into the base until the bit's end is level with the base's bottom on a flat board, then screw it in four more turns for a 1/4 inch (6.35 mm) deep cut. Put an M5 screw through the lugs with a wing nut and tighten it, closing the split on the thread.
Materiały do tego kroku:
Śruba z łbem walcowym na imbus1 sztuka Nakrętka skrzydełkowa1 sztuka
Potrzebne narzędzia:
 Zestaw frezów do frezarkiZestaw kluczy imbusowychSuwmiarka cyfrowa 6 cali
8
8
Rout a groove
Rout a groove
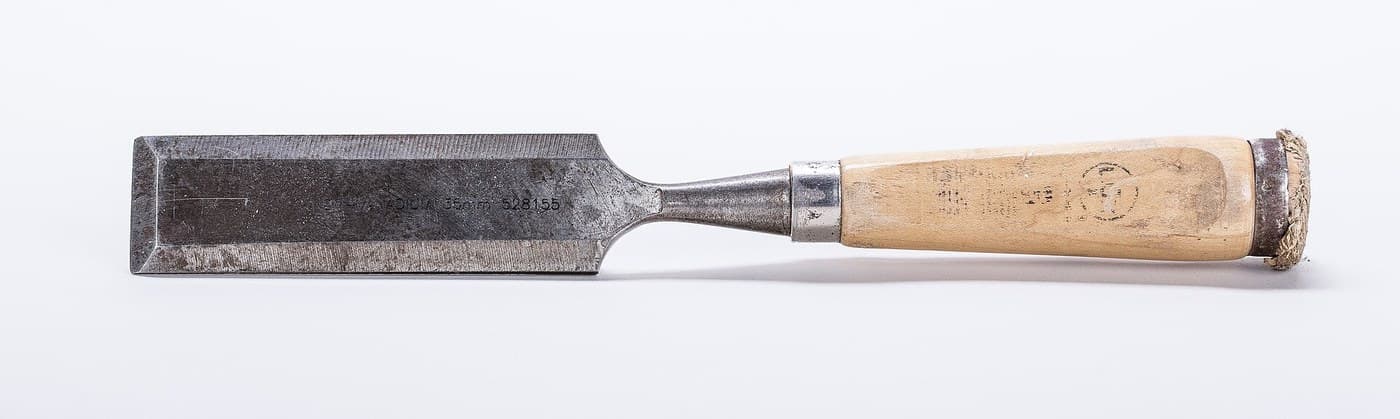
Clamp a board down. Hold the router by its casing and wings, base flat on the board, switch on, and move it along a clamped straightedge so the bit cuts a groove. Take deep grooves in two or three passes, a few turns deeper each time.
Potrzebne narzędzia:
 Deska z drewna liściastego
 Ścisk stolarski listwowy
 Okulary ochronne
9
9
Troubleshooting
Troubleshooting
Router troubleshooting.
Flow
Loading...
10
10
History and honest limits
History and honest limits
**Ray L. Carter** of Syracuse, New York, US 1,514,894, dated 11 November 1924, filed 29 September 1923. He claimed a motor with a threaded casing, "a hollow cylinder having a split threaded portion adapted to engage the threaded portion of said casing whereby said tool may be moved relatively to the work", a plane bottom to move over the work, and means for locking. His motor ran on mains through a lamp socket at over 7,000 r.p.m.; ours is a small DC motor on a bench supply, a light-duty router. His casing was insulating material; ours is printed PETG. His fan and baffle disk are left out. The pitch is his; the other sizes are ours.
Materiały
8- 1 sztukaZastępnik
- 1 sztukaZastępnik
- Zastępnik
- Zastępnik
- Zastępnik
- Zastępnik
- 1 sztukaZastępnik
- 1 sztukaZastępnik
Wymagane narzędzia
11- Zastępnik
- Zastępnik
- Zastępnik
- Zastępnik
- Zastępnik
- Zastępnik
- Zastępnik
- 1 vendor sell this, none ship to you yetZastępnik
- Zastępnik
- Zastępnik
- Zastępnik
Pliki projektowe
2Według tego planu powstaje

Powiązane blueprinty
Te blueprinty dzielą się wiedzą — technikami, materiałami lub zasadami

CC0 Domena publiczna
Ten plan jest udostępniany na licencji CC0. Możesz go swobodnie kopiować, modyfikować, rozpowszechniać i wykorzystywać do dowolnych celów, bez konieczności uzyskiwania zgody.
Wesprzyj Makera kupując produkty przez jego plan, za co zarabia Prowizja Makera ustalony przez sprzedawców, lub stwórz nową iterację tego planu i dołącz go jako połączenie w swoim własnym planie, aby dzielić się przychodami.