SZTUKA
Piękno i dobre samopoczucie
RZEMIOSŁO
KULTURA I HISTORIA
ROZRYWKA
ŚRODOWISKO
JEDZENIE I NAPOJE
INŻYNIERIA ODWROTNA
NAUKI
LEKKOATLETYKA
TECHNOLOGIA
URZĄDZENIA DO NOSZENIA
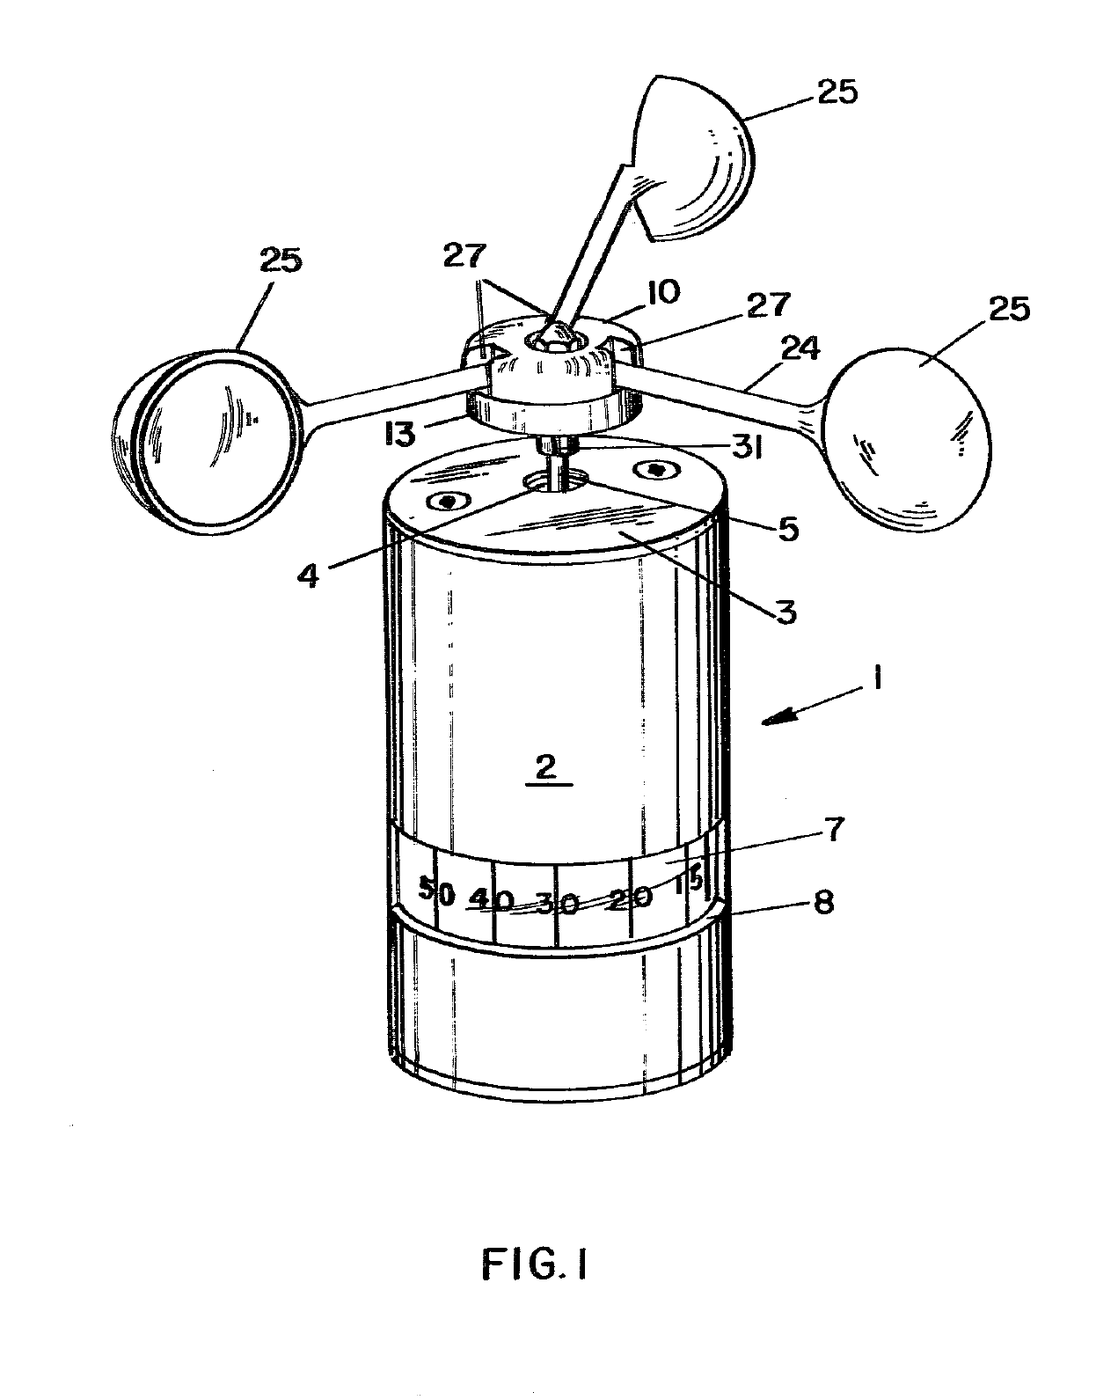


Hand-Held Cup Anemometer with Folding Cups: Simerl, 1978
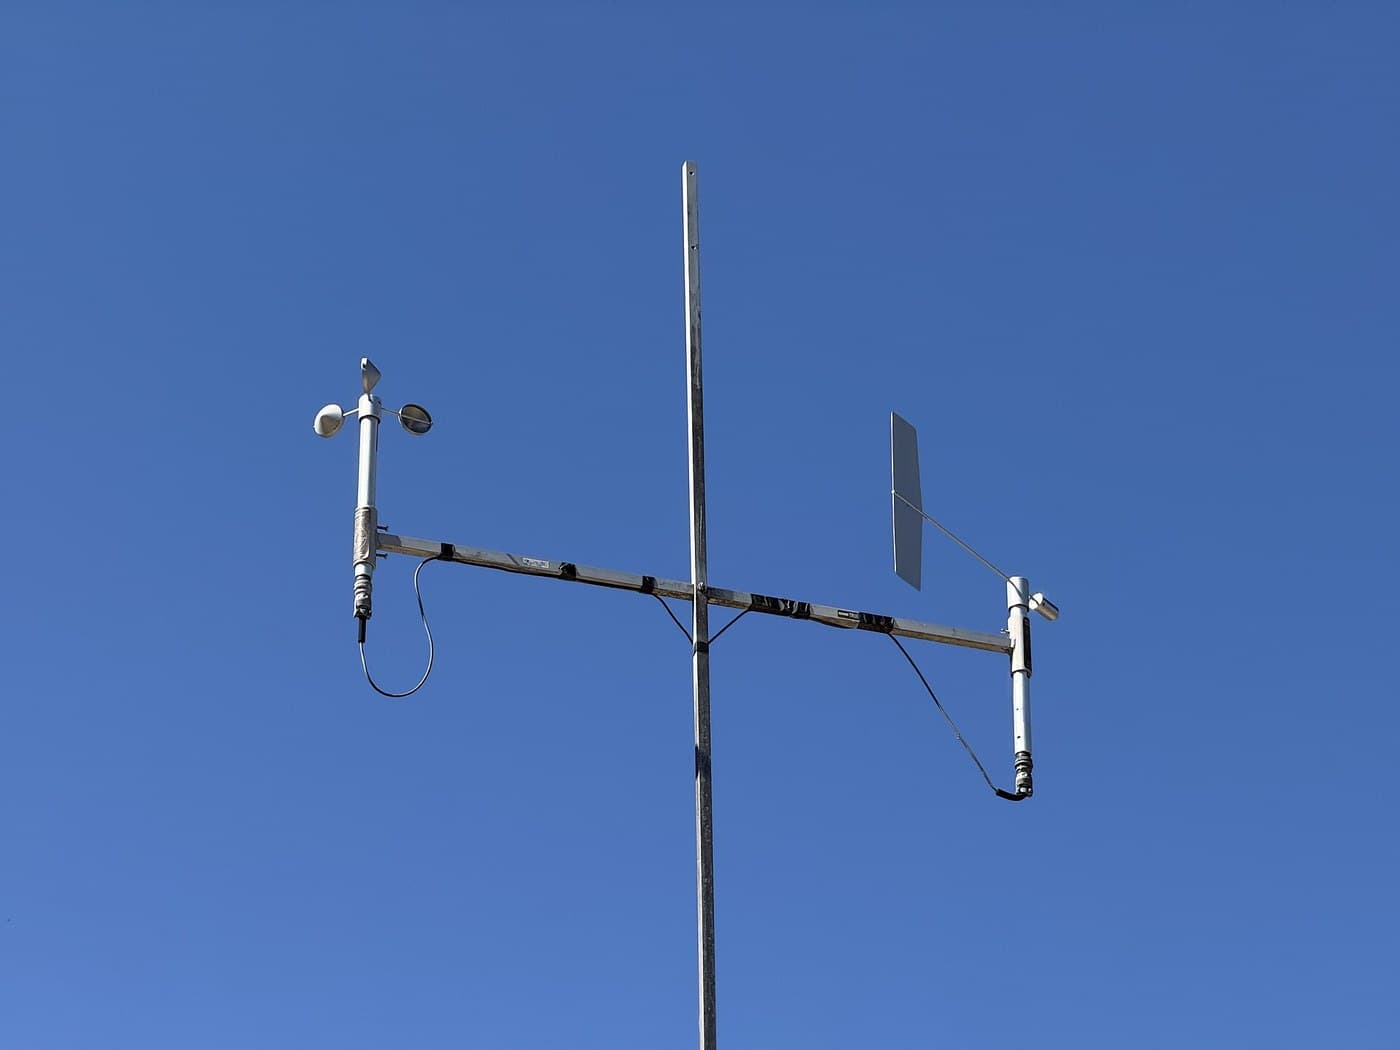
R. A. Simerl of Annapolis, Maryland, patented this hand-held wind meter in 1978, US 4,102,188. A cylindrical casing small enough to hold in the hand carries a spindle with three light plastic cups on radial arms. The wind spins the cups, and the spindle's rotation is read as wind speed on a calibrated gauge behind a window in the casing. Earlier cup anemometers had their arms fixed to the spindle; here each arm is hinged to a link in a sliding cap, so pushing the cap up folds all three cups upright and parallel to the spindle for storage.
Średniozaawansowany
Workshop process
Instrukcje
1
1
Casing and spindle
Casing and spindle
Journal a metal spindle vertically in the casing (aluminium or plastic), projecting through a central opening in its top. Inside, conventional electronic apparatus monitors the spindle's rotation and turns a calibrated gauge behind an arcuate window. Cut two annular grooves near the spindle's upper end and thread its tip.
Materiały do tego kroku:
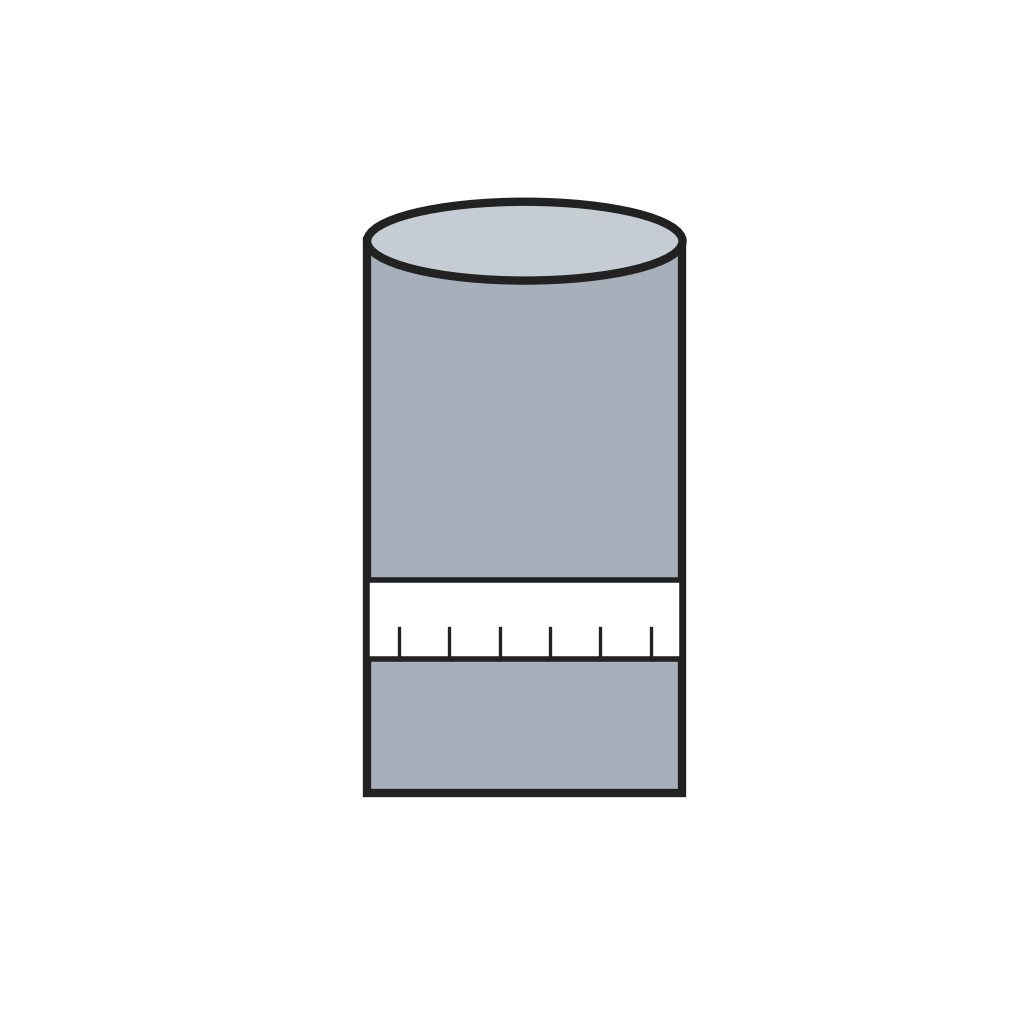 Ręczna obudowa anemometru z okienkiem wskaźnika1 sztuka
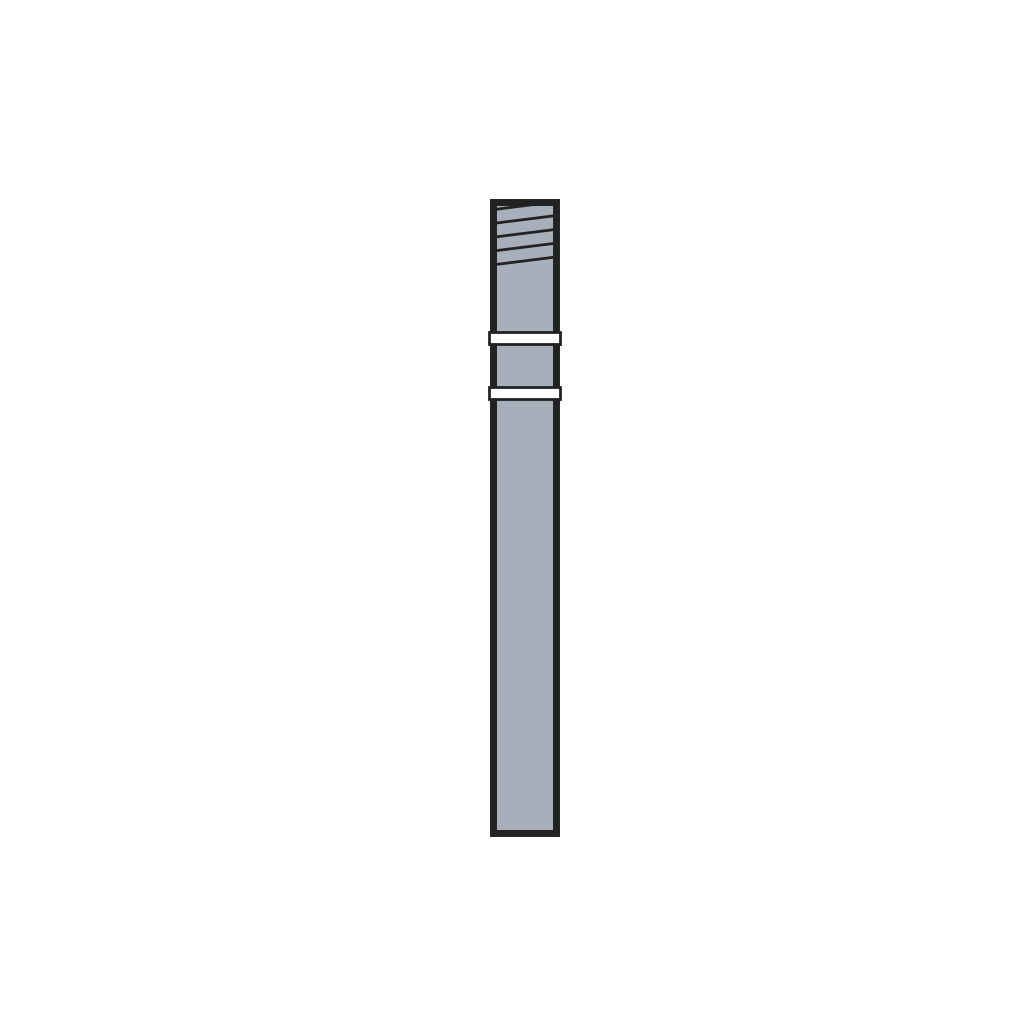 Rowkowany wałek anemometru1 sztuka
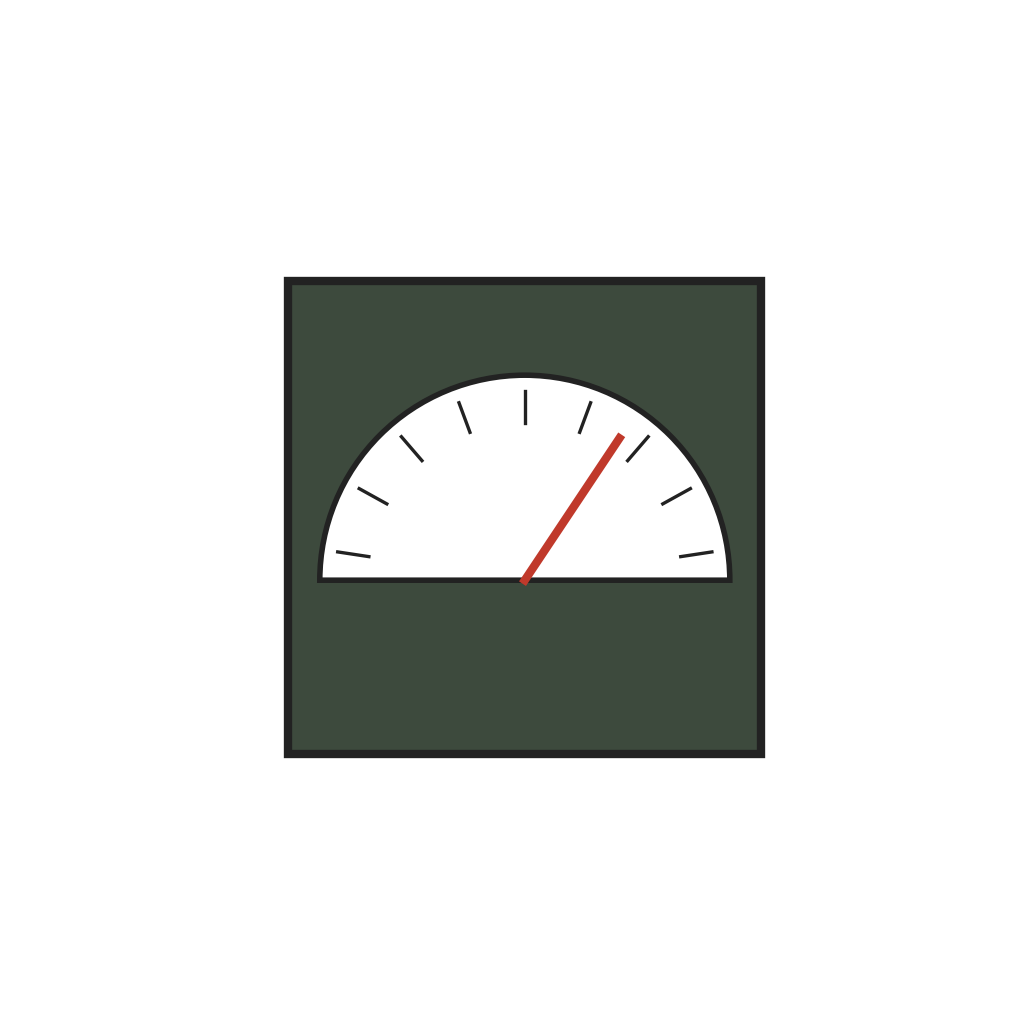 Miernik obrotów wałka i wskaźnik wiatru1 sztuka
Potrzebne narzędzia:
 Tokarka do metalu
 Zestaw wkrętaków
2
2
Spider cap
Spider cap
Make the cap in two plastic parts: a top with three vertical slots in its side wall and pins on its rim, and a bottom with a tubular hub split by four slots and ending in an inturned rib. Fix a spider plate on the spindle's reduced upper end inside the top, slide the hub over the spindle, mate the pins with recesses in the bottom's rim, and fit a lock nut on the threaded tip.
Materiały do tego kroku:
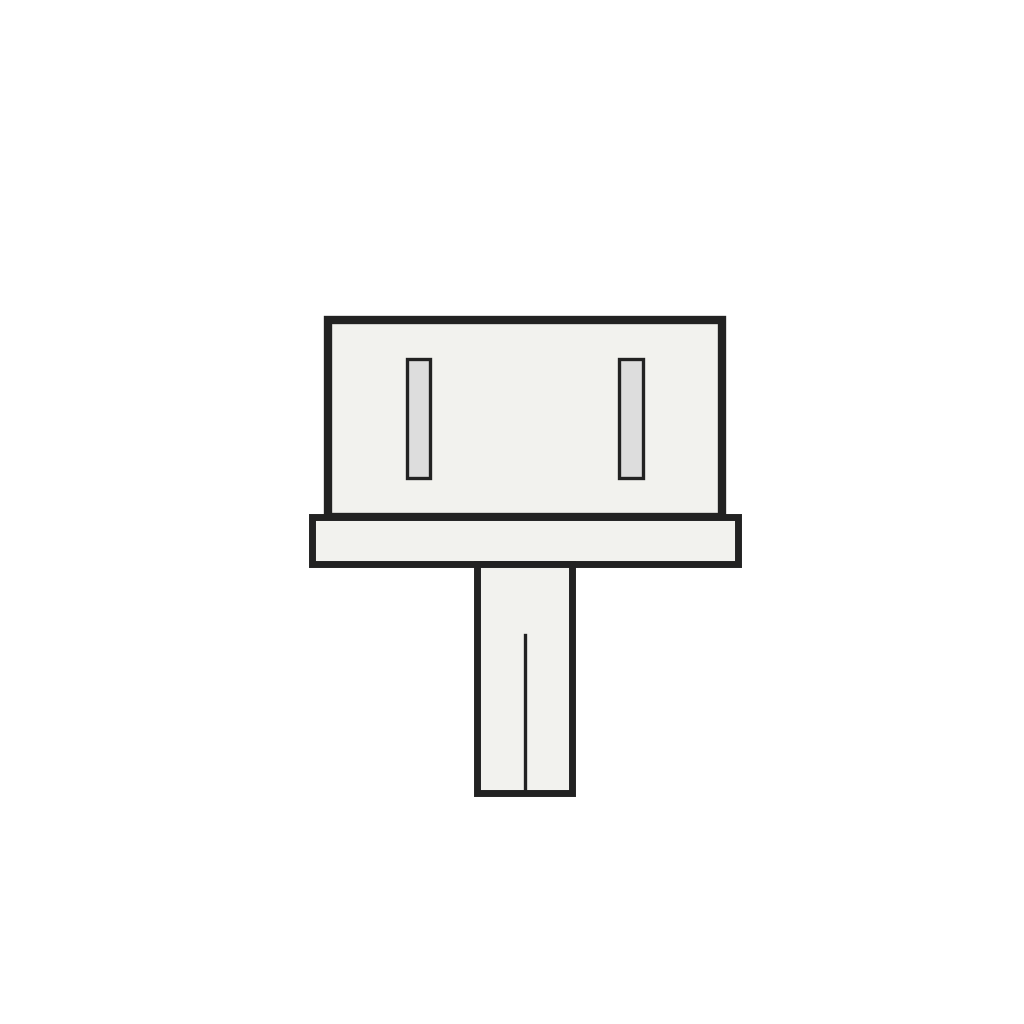 Dwuczęściowa nasadka gwiaździsta z rozciętą piastą1 sztuka
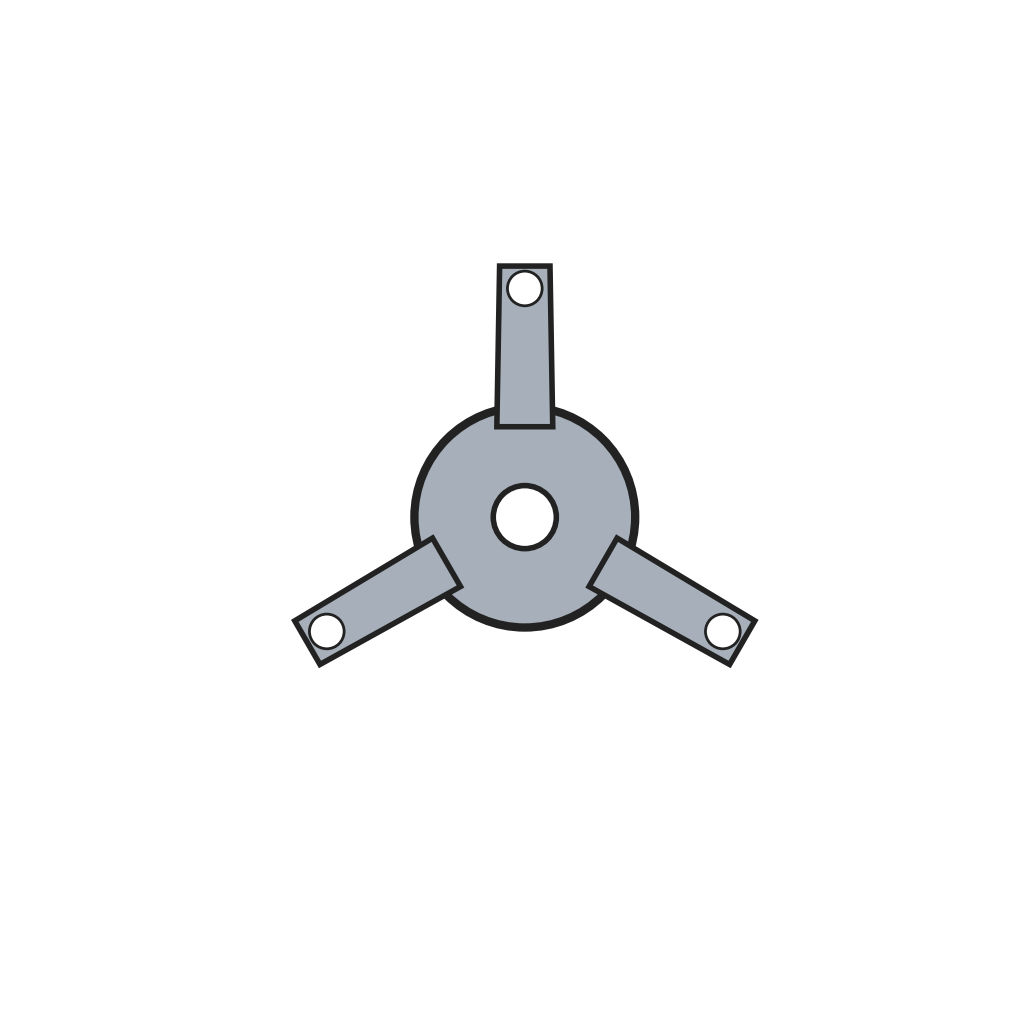 Płytka gwiaździsta1 sztuka
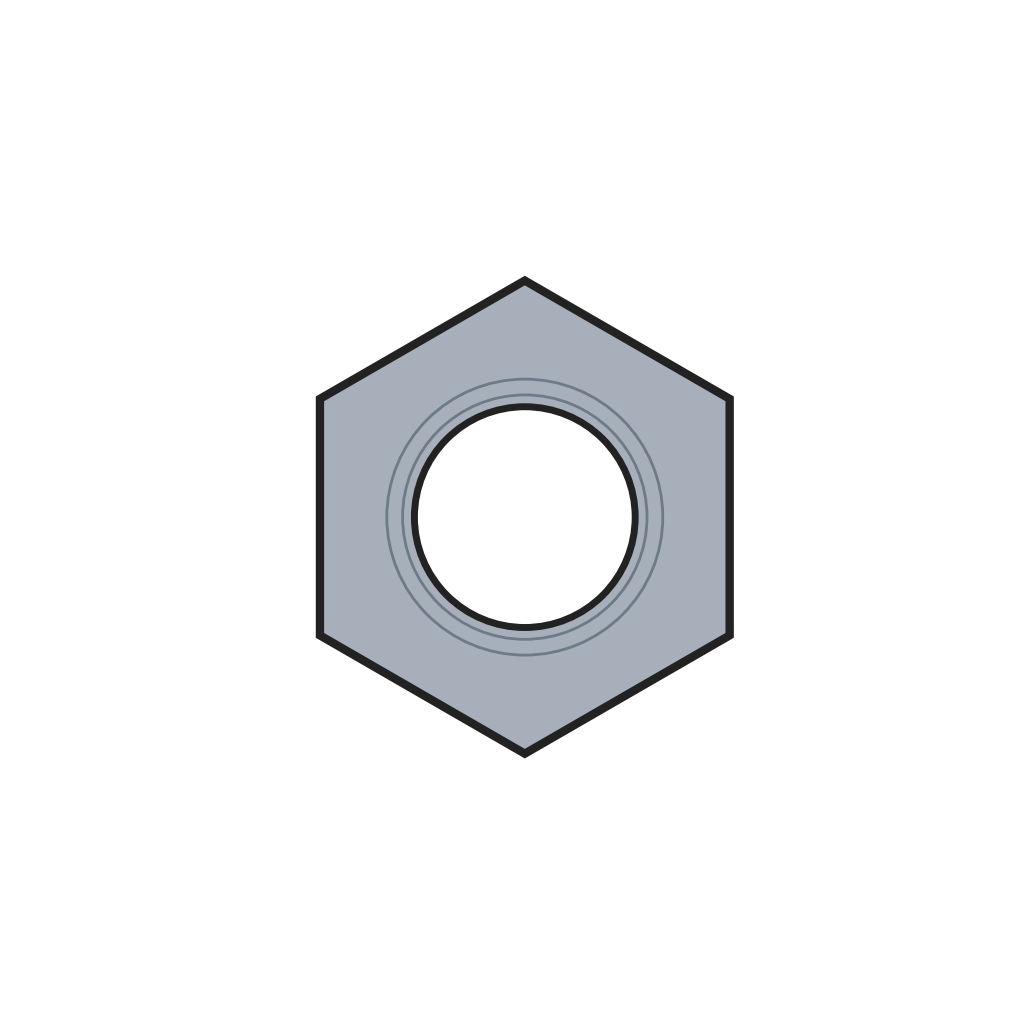 Przeciwnakrętka1 sztuka
Potrzebne narzędzia:
 Wtryskarka
 Kombinerki
3
3
Cup arms
Cup arms
Make three plastic arms with a wind cup on each outer end. Pass their inner ends through the slots and pivot each to the lower end of a link, itself pivoted in its slot and running up at about 45° to a pivot on the spider plate.
Materiały do tego kroku:
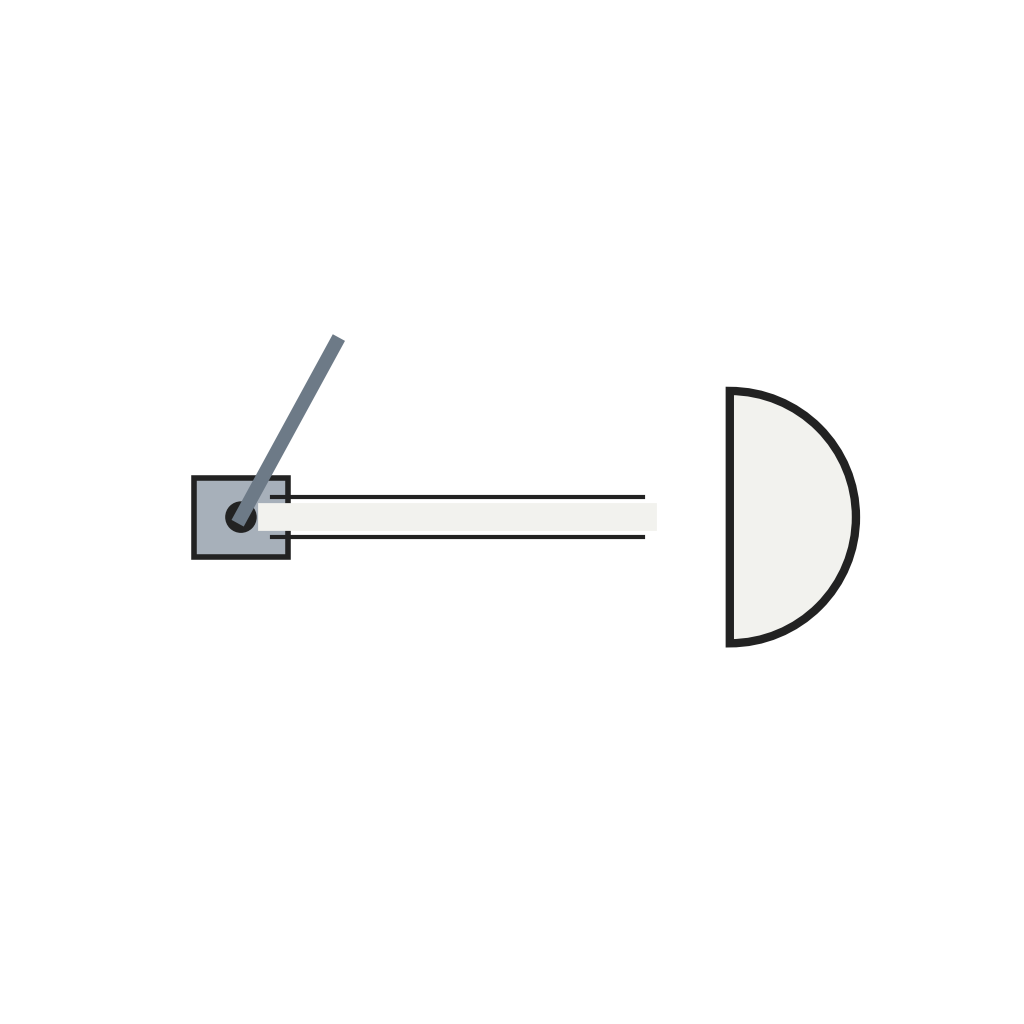 Plastikowe ramiona czasz z łącznikami przegubowymi3 sztuk
Potrzebne narzędzia:
Wtryskarka Zestaw pincet precyzyjnych
4
4
Fold and open
Fold and open
With the hub's rib in the lower groove, the arms stand horizontal and the cups turn in the wind. Push the cap top up: the flexing hub's rib cams out and snaps into the upper groove, and the links swing the arms up to stand parallel to the spindle. Press it down to open them again.
Materiały
7- Zastępnik
- 1 sztukaZastępnik
- Zastępnik
- Zastępnik
- 1 sztukaZastępnik
- 1 sztukaZastępnik
- Zastępnik
Wymagane narzędzia
5- Zastępnik
- Zastępnik
- Zastępnik
- Zastępnik
- Zastępnik
Według tego planu powstaje

Powiązane blueprinty
Te blueprinty dzielą się wiedzą — technikami, materiałami lub zasadami

CC0 Domena publiczna
Ten plan jest udostępniany na licencji CC0. Możesz go swobodnie kopiować, modyfikować, rozpowszechniać i wykorzystywać do dowolnych celów, bez konieczności uzyskiwania zgody.
Wesprzyj Makera kupując produkty przez jego plan, za co zarabia Prowizja Makera ustalony przez sprzedawców, lub stwórz nową iterację tego planu i dołącz go jako połączenie w swoim własnym planie, aby dzielić się przychodami.