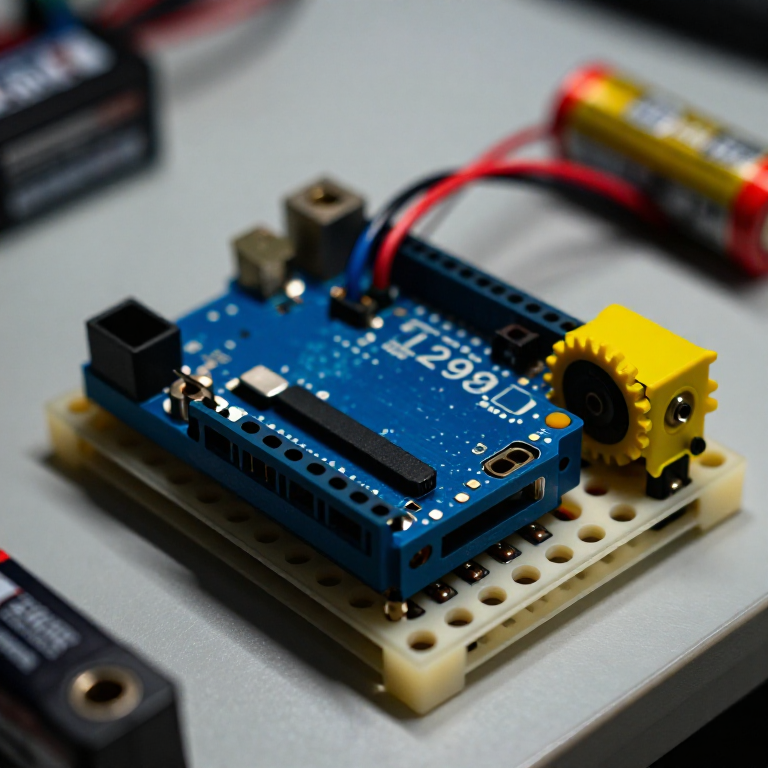


Controlling a DC Motor with an L298N Driver
An Arduino pin can't power a motor directly — it can't supply enough current, and it can't reverse the flow. An L298N H-bridge solves both: the Arduino sends low-power control signals, and the driver switches the motor's own battery to run it forwards, backwards and at any speed. This is the core building block of every wheeled robot.
Instrukcje
Wire the driver, motor and battery
Wire the driver, motor and battery
Push the L298N's control header into the breadboard. From the Arduino, jumper pin 8 to IN1, pin 9 to IN2, and pin 10 to ENA. Connect the DC motor's two wires to the OUT1/OUT2 screw terminals, and a 4×AA battery pack to the +12V and GND motor terminals. IMPORTANT: join all the grounds together — Arduino GND, driver GND and battery GND — or the motor won't run.
Materiały do tego kroku:
 Arduino Uno R3 SMD1 sztuka
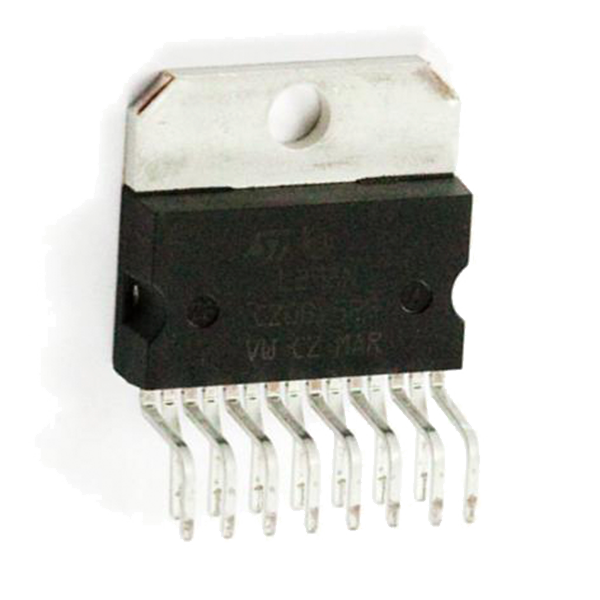 Full-Bridge Motor Driver Dual - L298N1 sztuka
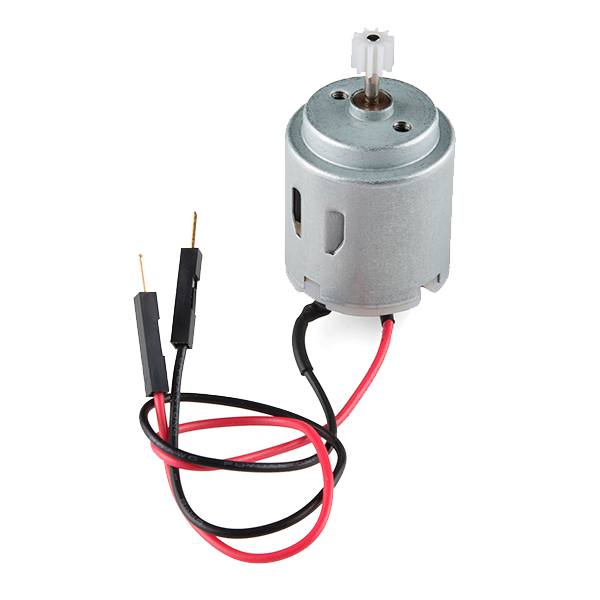 Hobby Motor - Gear1 sztuka
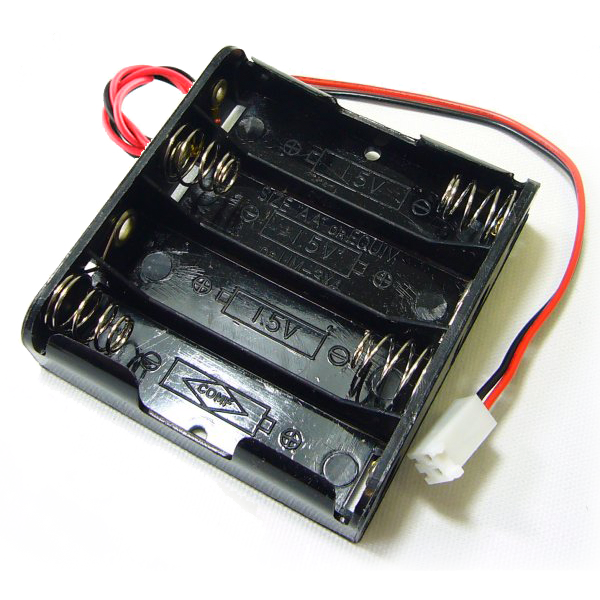 Battery Holder - 4xAA Square Terminated1 sztuka
 Breadboard - Classic1 sztuka
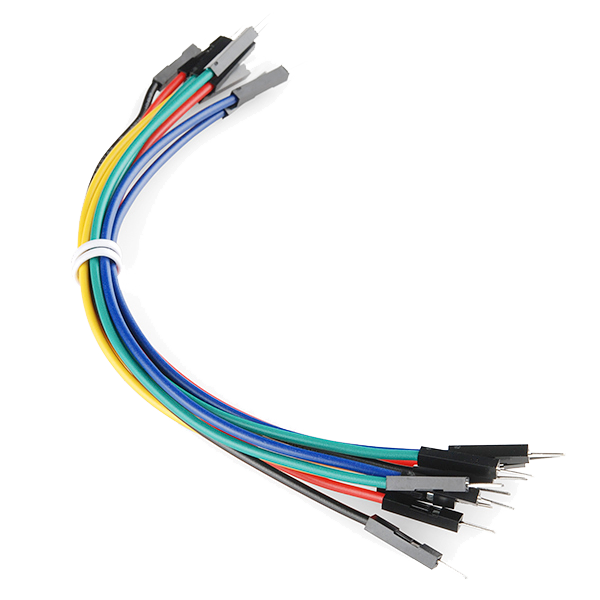 Jumper Wires Premium M/M 20 AWG - 15.5 cm1 opakowanie
Connect and open the IDE
Connect and open the IDE
Plug the Arduino into your computer with the USB cable, open the Arduino IDE, and select Arduino Uno and its serial port. Leave the motor battery switched off until the code is uploaded.
Materiały do tego kroku:
 SparkFun Cerberus USB Cable - 1.8 meter1 sztuka
Potrzebne narzędzia:
 Computer with Arduino IDE
Upload the motor sketch
Upload the motor sketch
Paste this sketch and upload, then switch on the battery. The motor runs forward, stops, reverses, and stops — on a loop.
Test and control it
Test and control it
Watch the motor go forward, stop, reverse. IN1/IN2 set the direction (swap which is HIGH to flip it); the number in analogWrite(ENA, ...) sets the speed from 0 (off) to 255 (full). If the motor doesn't spin, check that all three grounds are joined and the battery is on.
Make it a robot
Make it a robot
The L298N drives TWO motors. Wire a second motor to OUT3/OUT4 and control it with IN3, IN4 and ENB on three more Arduino pins. Two motors on a chassis with wheels gives you a robot base you can drive — turn by running the wheels at different speeds or directions.
Materiały
7- Arduino Uno R3 SMD10% prowizji1 sztuka$27.06
- Full-Bridge Motor Driver Dual - L298N10% prowizji1 sztuka$3.57
- Hobby Motor - Gear10% prowizji1 sztuka$2.55
- Battery Holder - 4xAA Square Terminated10% prowizji1 sztuka$4.16
- Breadboard - Classic10% prowizji1 sztuka$9.50
- 1 opakowanie$5.01
- SparkFun Cerberus USB Cable - 1.8 meter10% prowizji1 sztuka$5.69
Wymagane narzędzia
1- Zastępnik
Powiązane blueprinty
Te blueprinty dzielą się wiedzą — technikami, materiałami lub zasadami


CC0 Domena publiczna
Ten plan jest udostępniany na licencji CC0. Możesz go swobodnie kopiować, modyfikować, rozpowszechniać i wykorzystywać do dowolnych celów, bez konieczności uzyskiwania zgody.
Wesprzyj Makera kupując produkty przez jego plan, za co zarabia Prowizja Makera ustalony przez sprzedawców, lub stwórz nową iterację tego planu i dołącz go jako połączenie w swoim własnym planie, aby dzielić się przychodami.