SZTUKA
Piękno i dobre samopoczucie
RZEMIOSŁO
KULTURA I HISTORIA
ROZRYWKA
ŚRODOWISKO
JEDZENIE I NAPOJE
INŻYNIERIA ODWROTNA
NAUKI
LEKKOATLETYKA
TECHNOLOGIA
URZĄDZENIA DO NOSZENIA
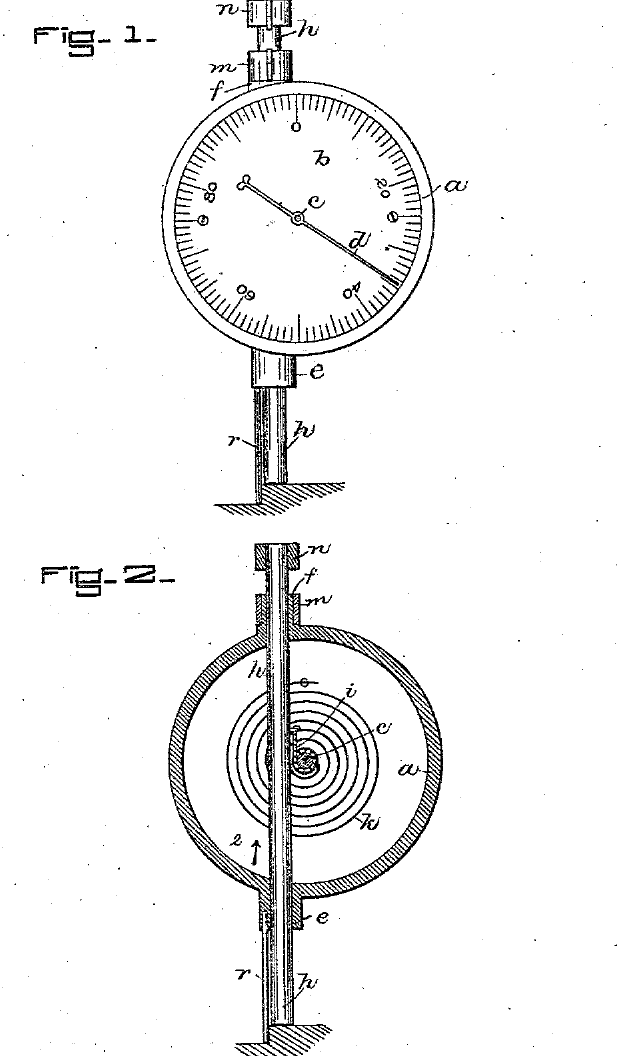


Dial Gauge: Logan, 1883
John Logan of Waltham, Massachusetts, patented this dial gauge in 1883, US 283,627. A gauging bar slides lengthwise through guides in a case with a graduated dial. A chain fixed to the bar is wound round the arbor that carries the pointer, so when the bar moves the chain unwinds and turns the pointer. The pointer's end moves much further than the bar, which makes the reading very delicate. A spring on the arbor winds the chain back and returns the bar to zero. A jaw on the case and a jaw on the bar make it a caliper; a slender rod beside the bar's other end makes it a depth gauge.
Zaawansowany
Workshop process
Instrukcje
1
1
Case and dial
Case and dial
Make the case with the graduated dial, with tubular guide projections at opposite sides for the gauging bar.
Materiały do tego kroku:
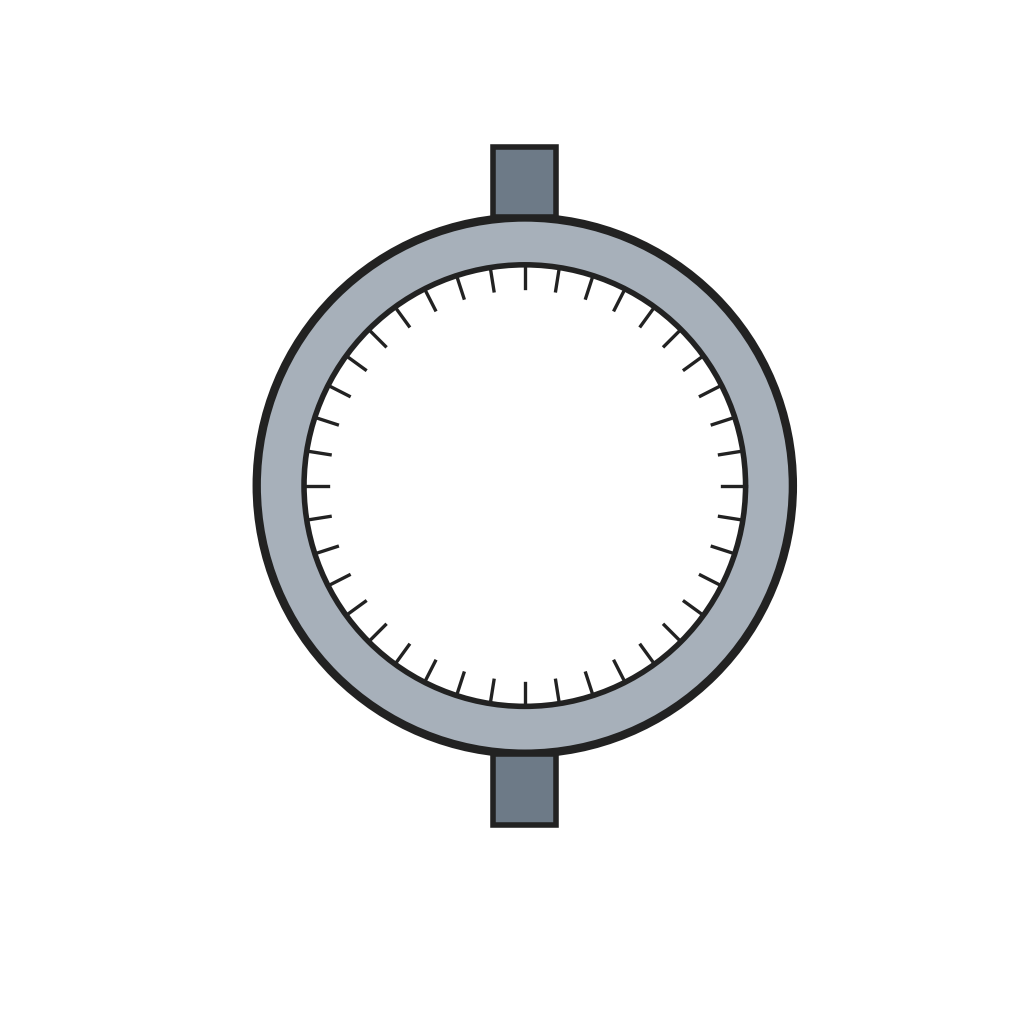 Obudowa czujnika z podziałką1 sztuka
2
2
Arbor, chain and bar
Arbor, chain and bar
Pivot the arbor carrying the pointer at the dial's centre. Pass the gauging bar through the guides and connect it to the arbor by a chain fixed to the bar and wound round the arbor.
Materiały do tego kroku:
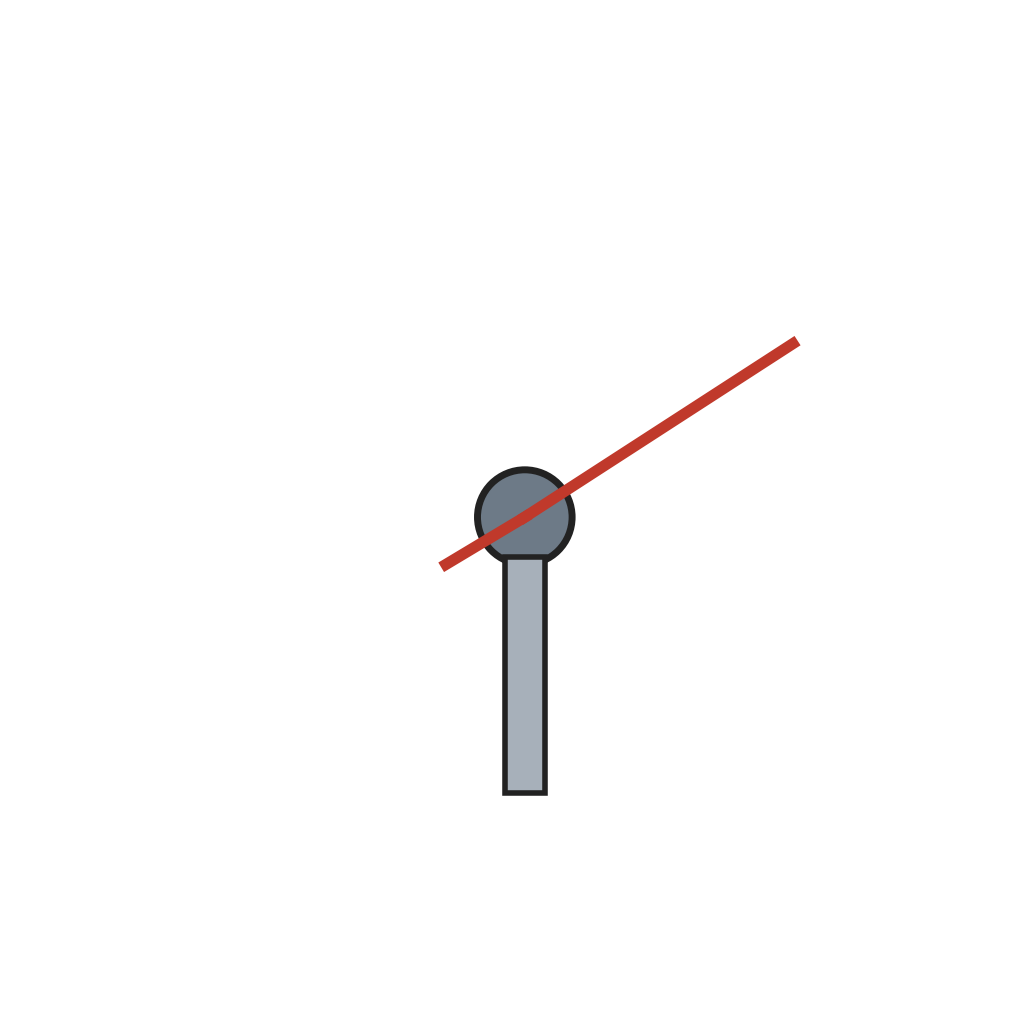 Oś wskazówki ze wskazówką1 sztuka
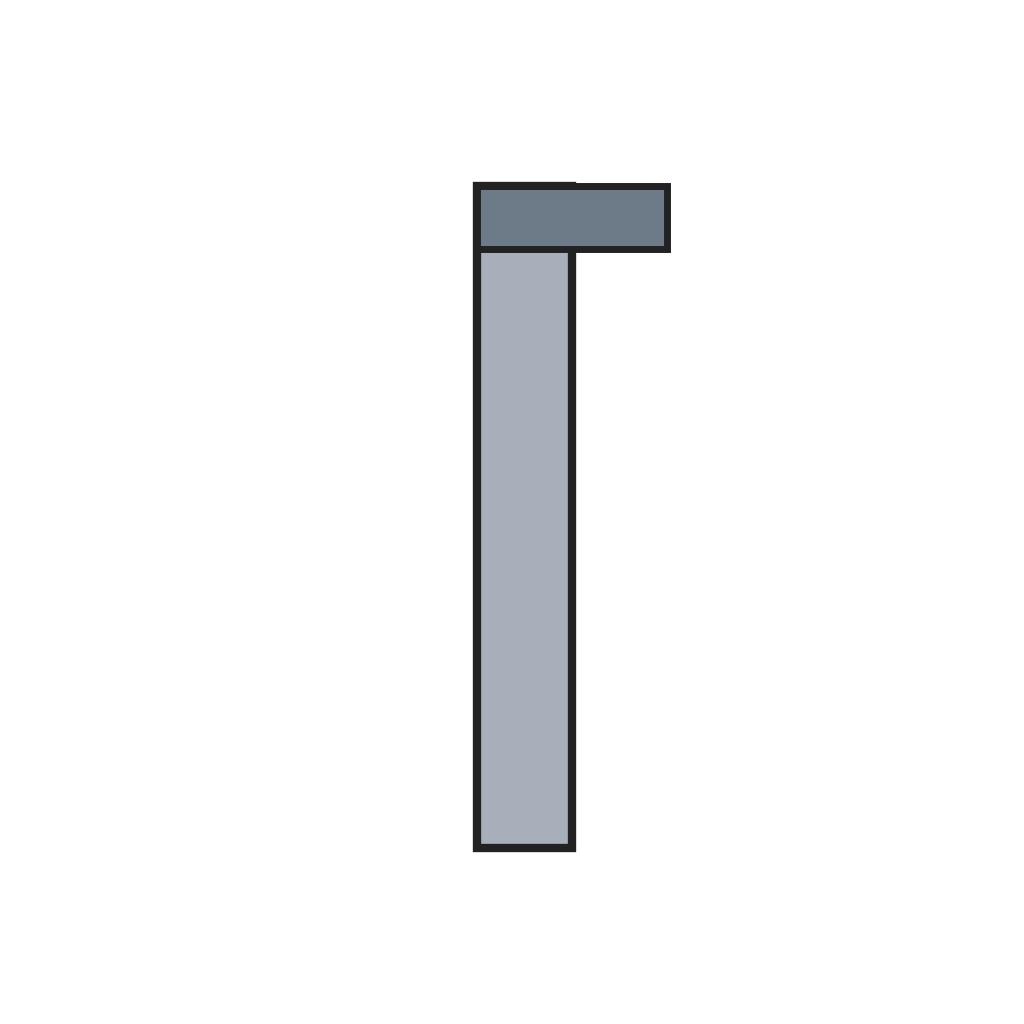 Trzpień pomiarowy1 sztuka
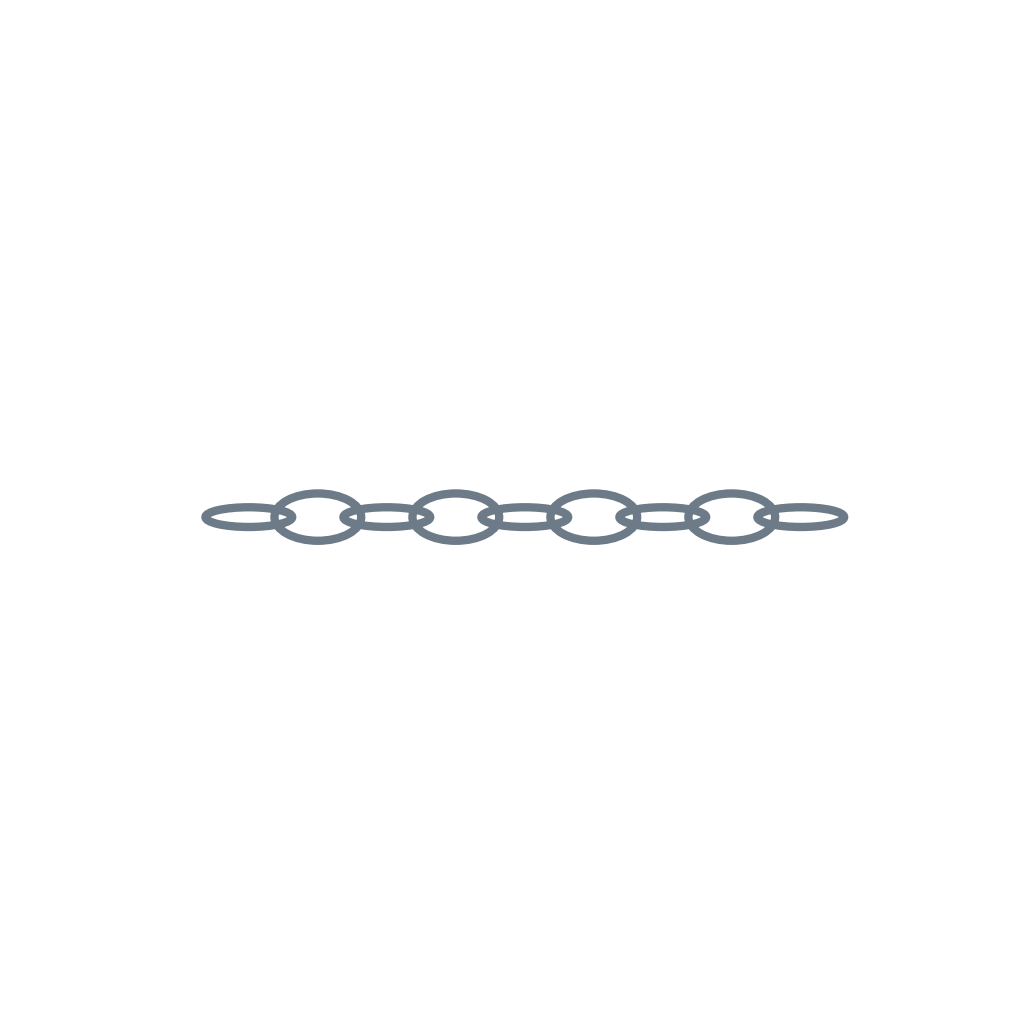 Cienki łańcuszek1 sztuka
Potrzebne narzędzia:
 Zestaw pincet precyzyjnych
 Zestaw wkrętaków
3
3
Return spring
Return spring
Connect a spring between the arbor and the case so that it turns the arbor to wind the chain and draws the bar back to the zero position.
Materiały do tego kroku:
 Sprężyna powrotna osi1 sztuka
Potrzebne narzędzia:
Zestaw pincet precyzyjnych4
4
Jaws and depth rod
Jaws and depth rod
Fix a jaw on the case and a matching jaw on the bar; when they touch, the pointer reads zero. Fix a slender gauging rod beside the guide at the other end, in line with the bar's end at zero, for measuring depths.
Materiały do tego kroku:
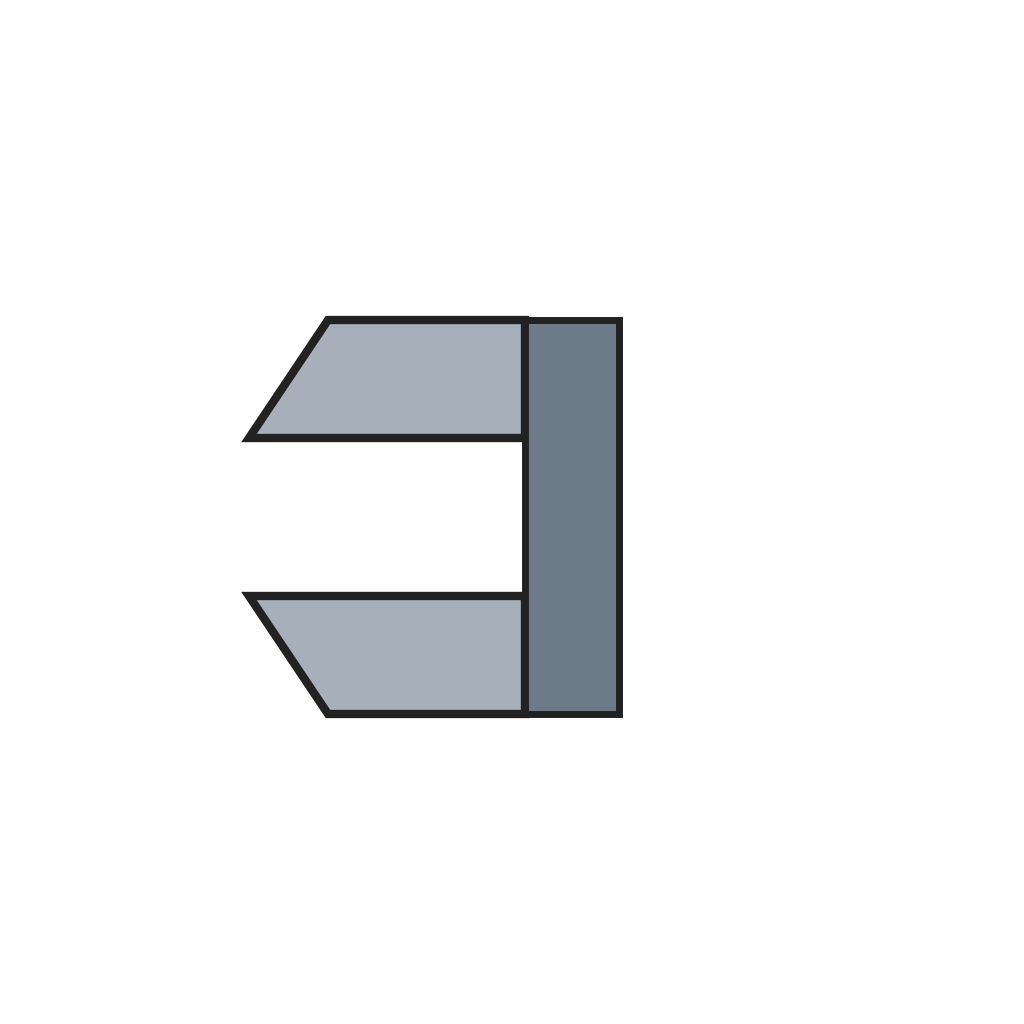 Szczęki suwmiarki1 sztuka
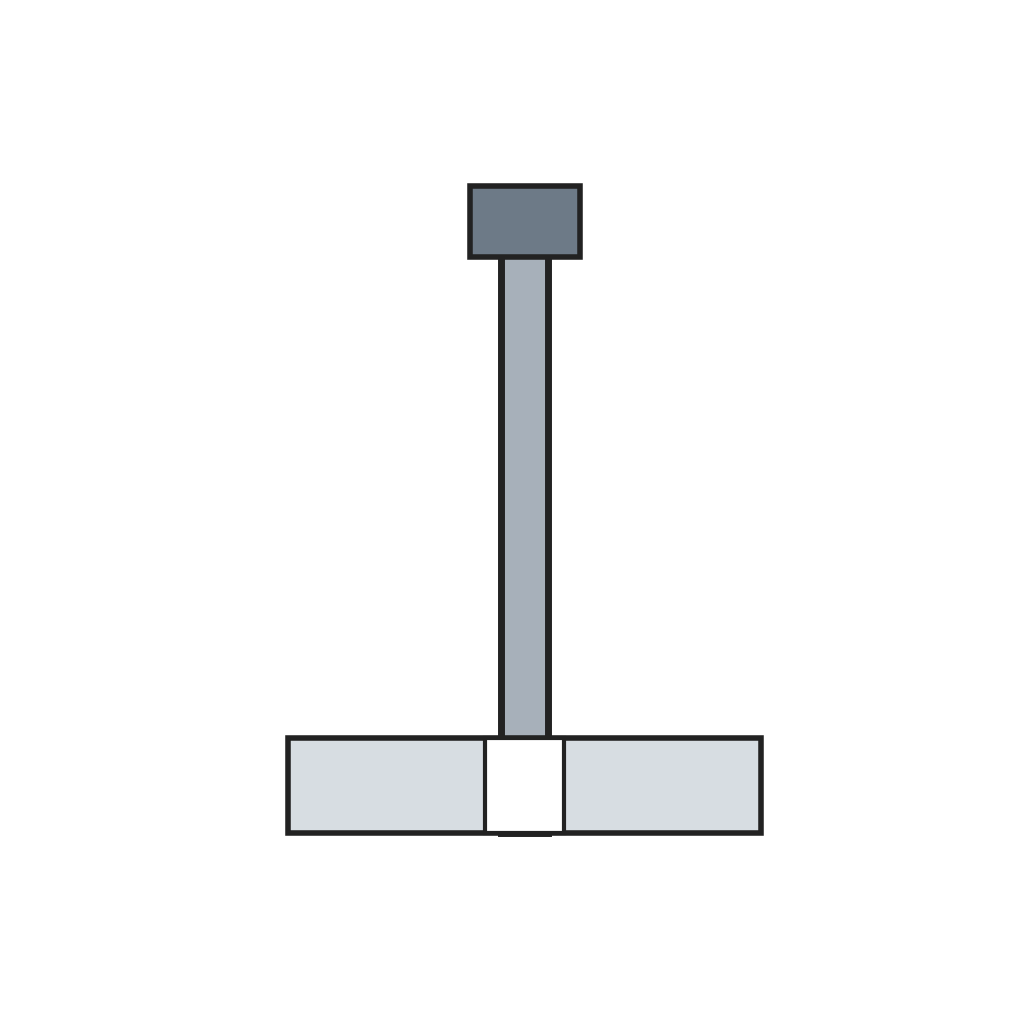 Pręt głębokościowy1 sztuka
Potrzebne narzędzia:
Zestaw wkrętakówMateriały
7- 1 sztukaZastępnik
- 1 sztukaZastępnik
- 1 sztukaZastępnik
- 1 sztukaZastępnik
- 1 sztukaZastępnik
- 1 sztukaZastępnik
- 1 sztukaZastępnik
Wymagane narzędzia
2- Zastępnik
- Zastępnik
Według tego planu powstaje

Powiązane blueprinty
Te blueprinty dzielą się wiedzą — technikami, materiałami lub zasadami

CC0 Domena publiczna
Ten plan jest udostępniany na licencji CC0. Możesz go swobodnie kopiować, modyfikować, rozpowszechniać i wykorzystywać do dowolnych celów, bez konieczności uzyskiwania zgody.
Wesprzyj Makera kupując produkty przez jego plan, za co zarabia Prowizja Makera ustalony przez sprzedawców, lub stwórz nową iterację tego planu i dołącz go jako połączenie w swoim własnym planie, aby dzielić się przychodami.