Współpraca
SZTUKA
Piękno i dobre samopoczucie
RZEMIOSŁO
KULTURA I HISTORIA
ROZRYWKA
ŚRODOWISKO
JEDZENIE I NAPOJE
INŻYNIERIA ODWROTNA
NAUKI
LEKKOATLETYKA
TECHNOLOGIA
URZĄDZENIA DO NOSZENIA
English


Electric Soldering Iron: Miner, 1890
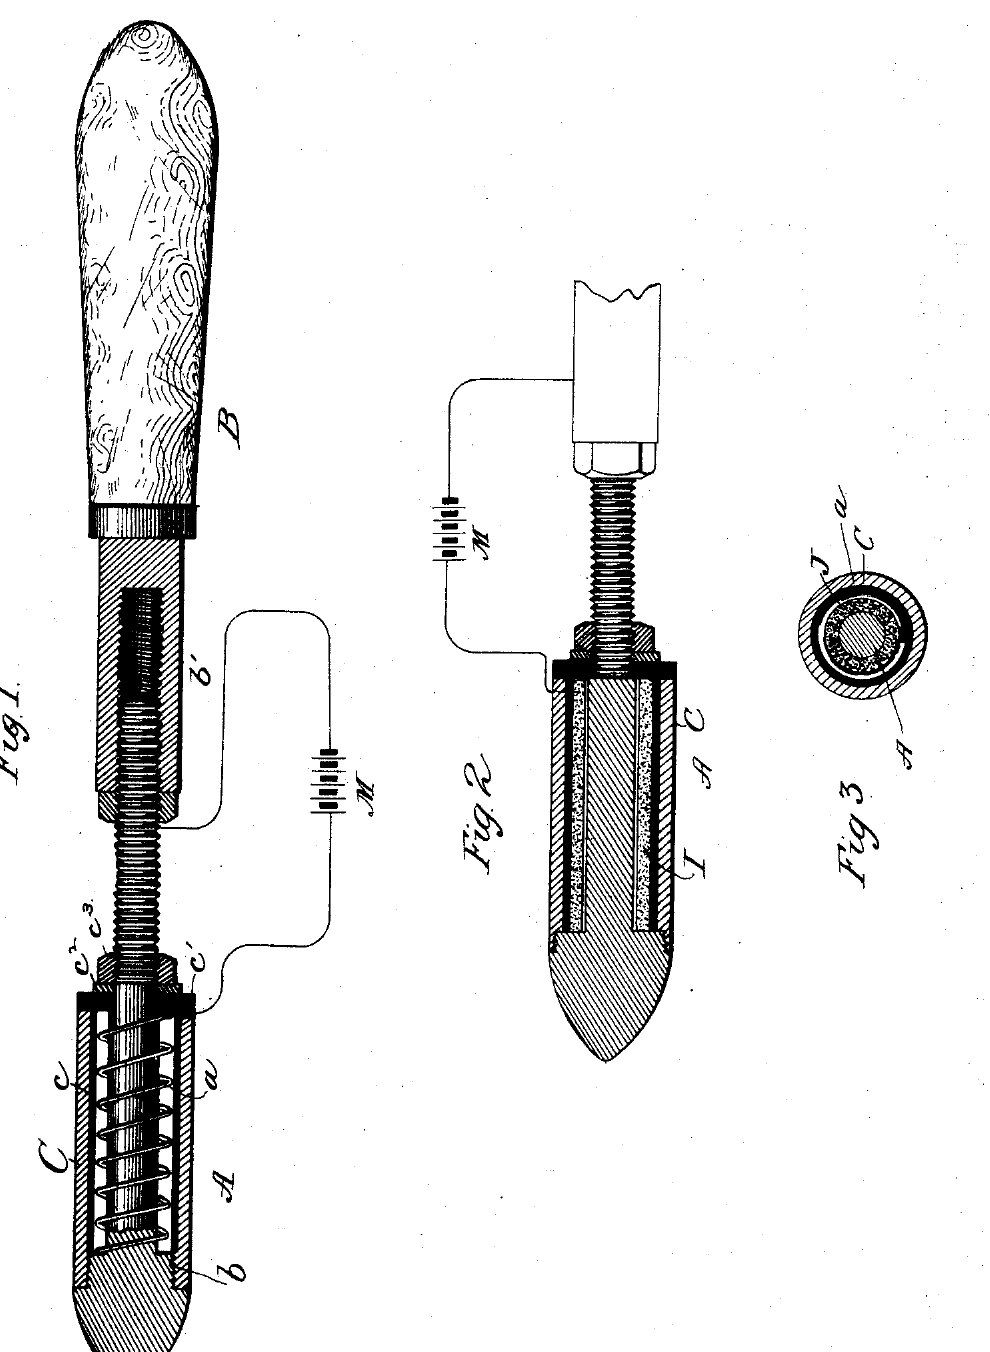
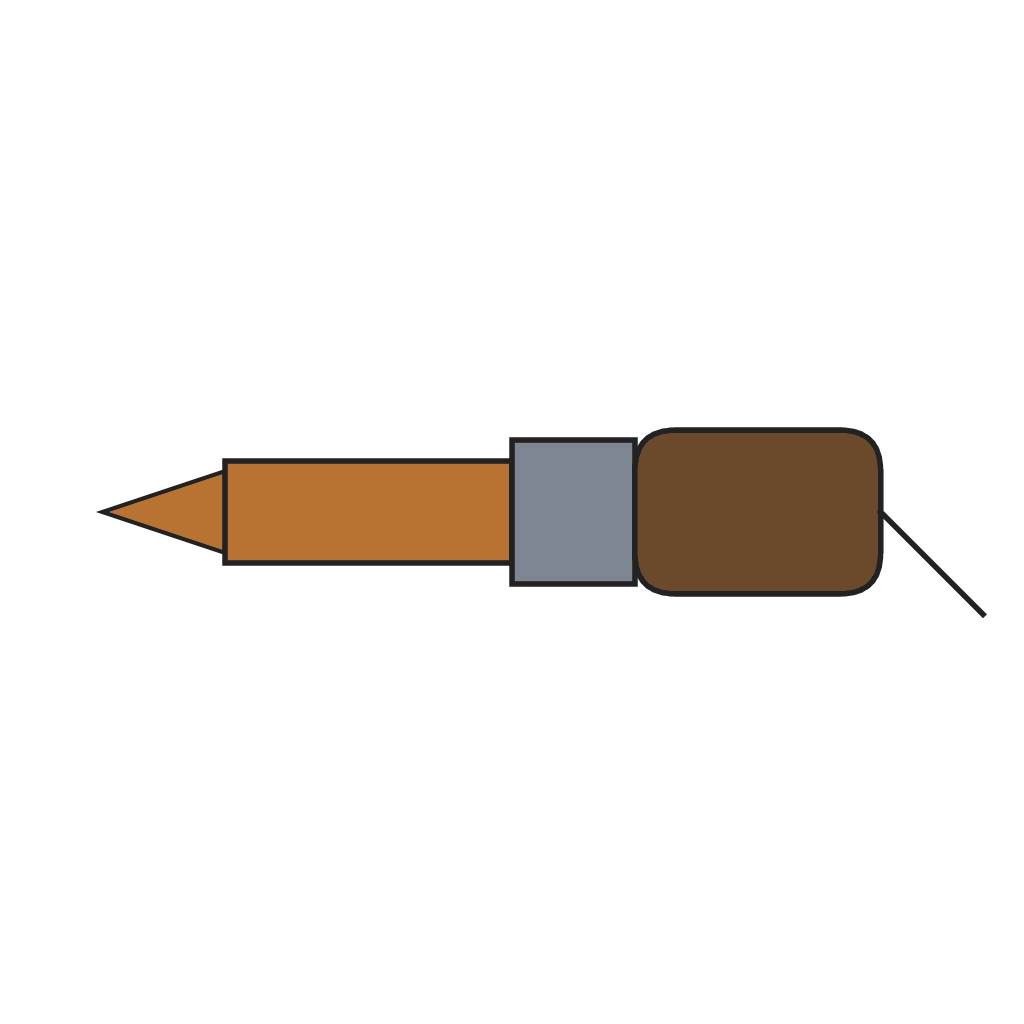
Earlier electric soldering irons heated a hollow copper head from inside, through finely divided carbon pressed against the tip, so the whole outside of the head lost heat to the air. Willard M. Miner of Plainfield, New Jersey, patented the alternative in 1890, US 421,185: keep the copper head solid, which holds its heat longer, and wind the heating resistance round the outside of it, under a shell that concentrates the heat on the copper and stops it escaping. The coil is German silver wire, wound round a reduced part of the head without touching it, with one end connected to the head and the other to the supply.
Średniozaawansowany
Workshop process
Instrukcje
1
1
Turn the head
Turn the head
Turn a solid copper head with its point. A little back from the point, cut the head down to a smaller diameter for some distance, leaving a shoulder, and thread a shank at its rear end.
Materiały do tego kroku:
 Pręt miedziany okrągły1 sztuka
Potrzebne narzędzia:
 Tokarka do metalu
2
2
Wind the coil
Wind the coil
Coil German silver wire round the reduced part of the head, the coil slightly larger than the head so the two do not touch. Connect one end of the coil to the head at the shoulder; the other end goes to the supply.
Materiały do tego kroku:
 Drut oporowy z nowego srebra1 as required
Potrzebne narzędzia:
 Kombinerki
3
3
Shell
Shell
Slip on the shell, of brass lined with non-conducting material. Close its inner end with an insulating disc held by a washer and nut on the threaded shank.
Materiały do tego kroku:
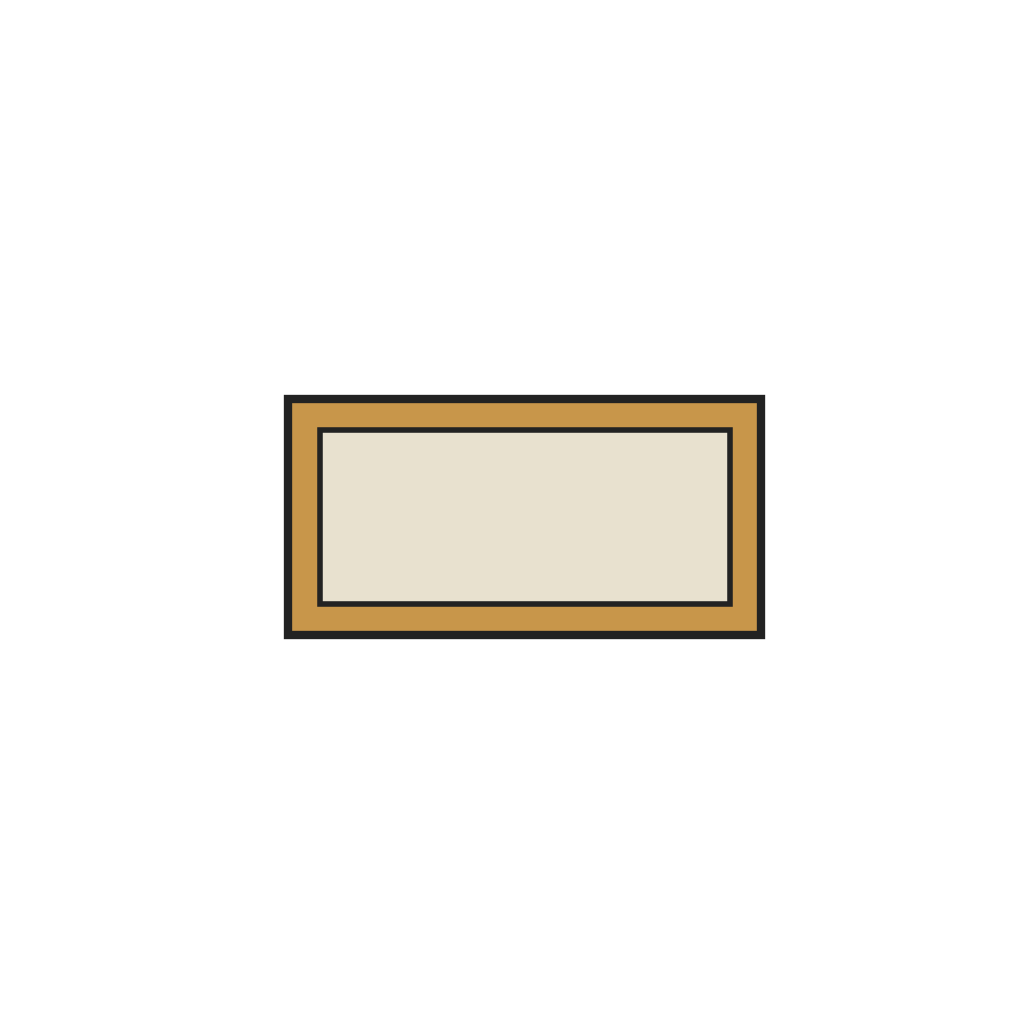 Wyłożona mosiężna osłona1 sztuka
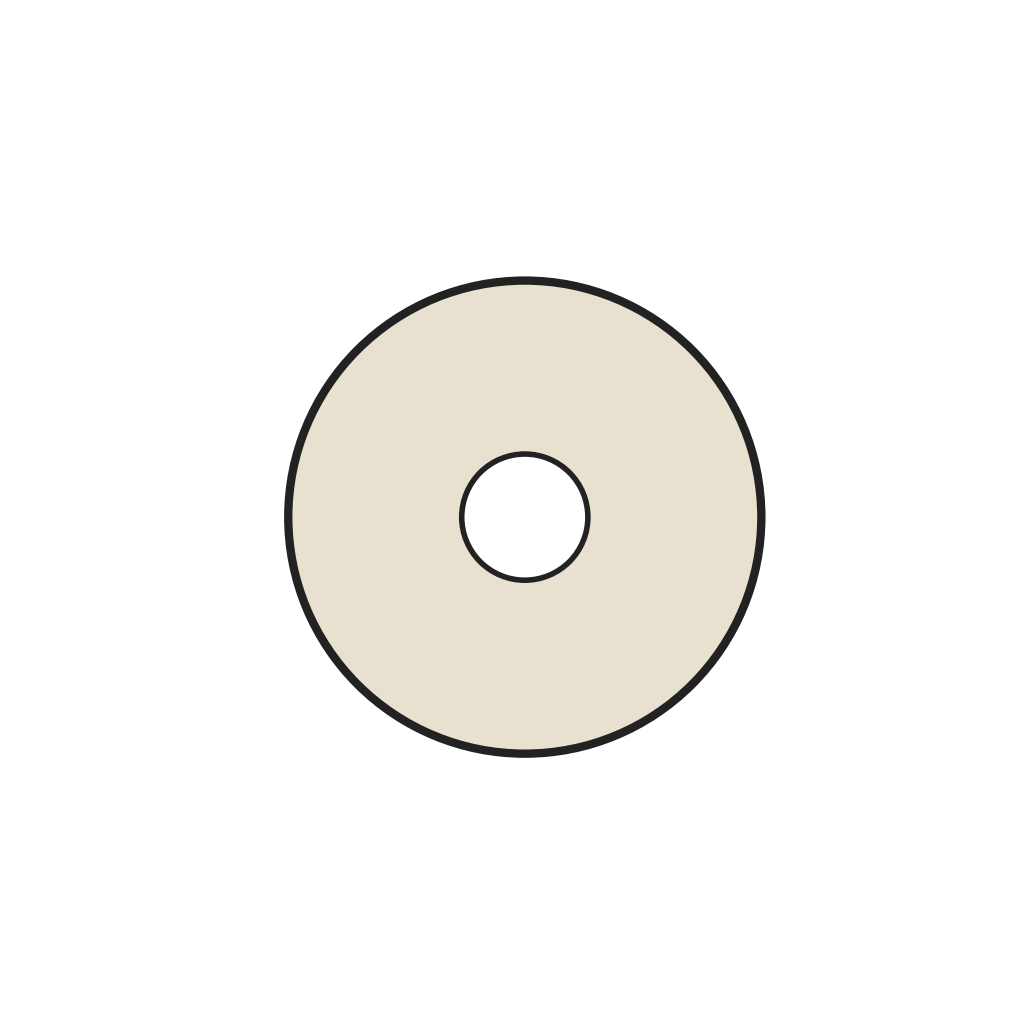 Izolacyjny krążek końcowy1 sztuka
Potrzebne narzędzia:
 Klucz nastawny
4
4
Handle
Handle
Screw the shank into the metal socket in the handle, which takes the second connection.
Materiały do tego kroku:
 Listwa z drewna twardego na trzonki1 sztuka
Materiały
5- 1 sztukaZastępnik
- 1 as requiredZastępnik
- 1 sztukaZastępnik
- 1 sztukaZastępnik
- Zastępnik
Wymagane narzędzia
3- Zastępnik
- Zastępnik
- Zastępnik
Według tego planu powstaje
Powiązane blueprinty
Te blueprinty dzielą się wiedzą — technikami, materiałami lub zasadami

CC0 Domena publiczna
Ten plan jest udostępniany na licencji CC0. Możesz go swobodnie kopiować, modyfikować, rozpowszechniać i wykorzystywać do dowolnych celów, bez konieczności uzyskiwania zgody.
Wesprzyj Makera kupując produkty przez jego plan, za co zarabia Prowizja Makera ustalony przez sprzedawców, lub stwórz nową iterację tego planu i dołącz go jako połączenie w swoim własnym planie, aby dzielić się przychodami.