SZTUKA
Piękno i dobre samopoczucie
RZEMIOSŁO
KULTURA I HISTORIA
ROZRYWKA
ŚRODOWISKO
JEDZENIE I NAPOJE
INŻYNIERIA ODWROTNA
NAUKI
LEKKOATLETYKA
TECHNOLOGIA
URZĄDZENIA DO NOSZENIA
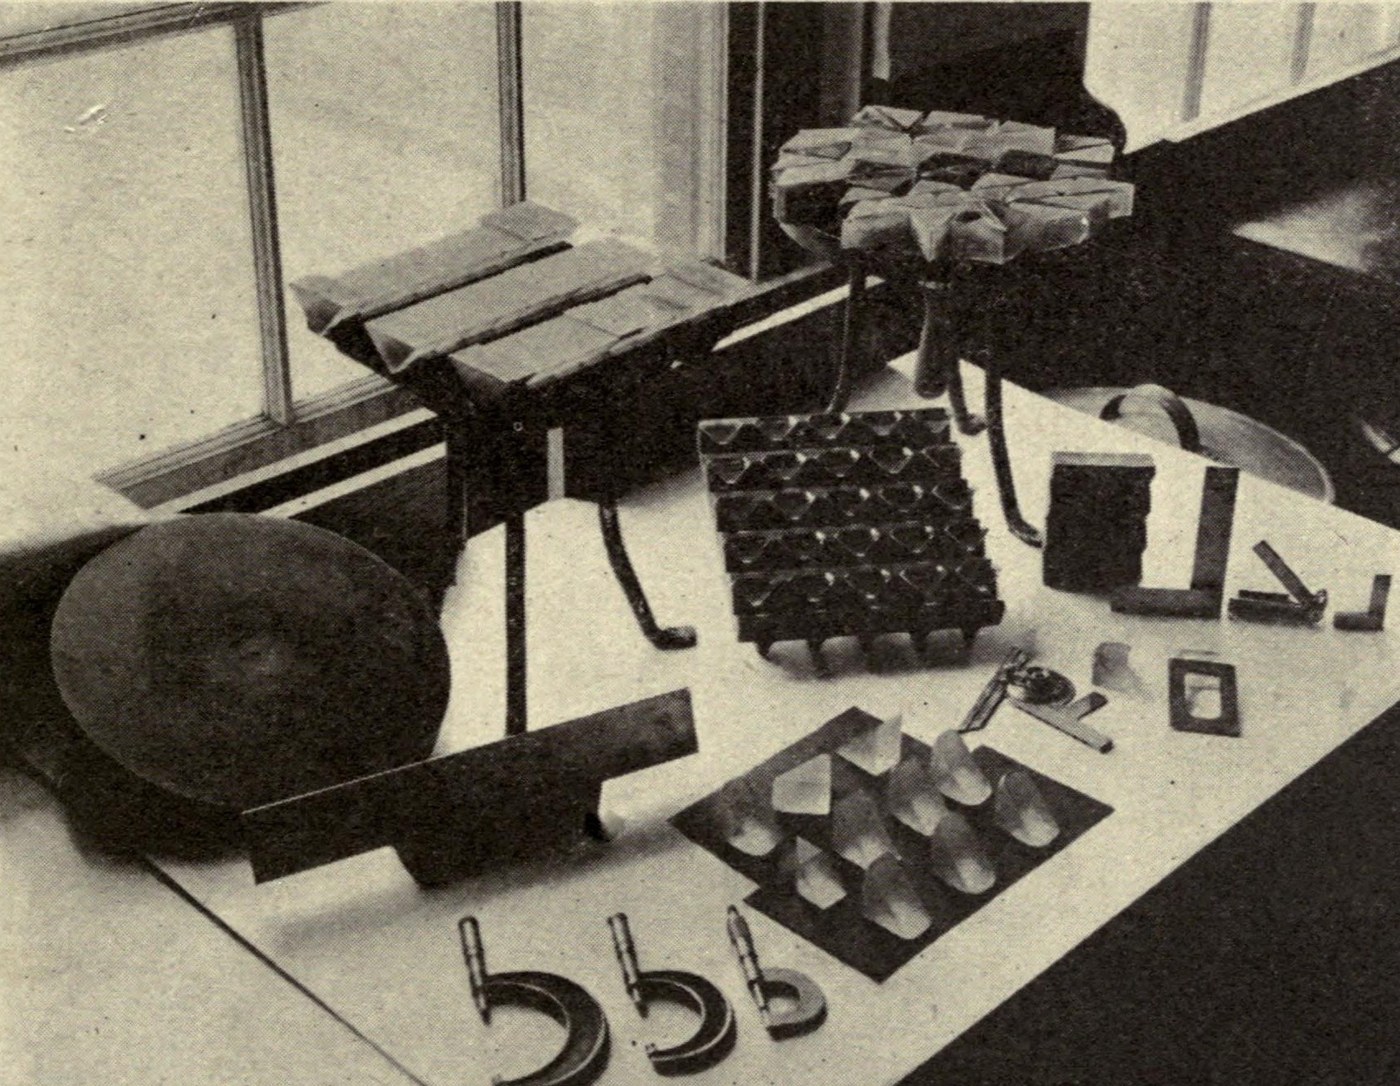


Equilateral Glass Prism: Sawn, Ground and Pitch-Polished
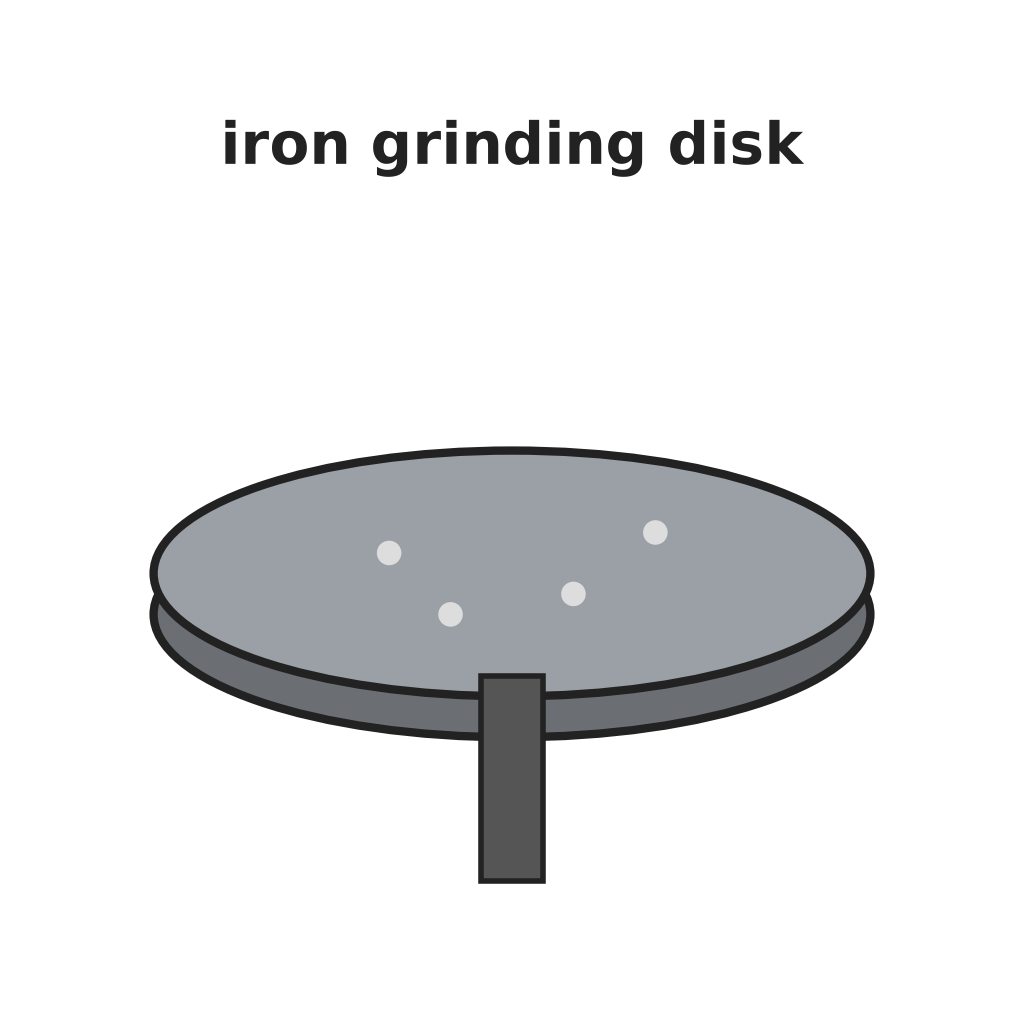
A prism splits white light into its colours, so its faces must be optically flat and its angles true. This is how the US arsenals ground prisms in 1918, as F. E. Wright recorded for the Ordnance Department in 1921: saw a blank from optical glass, rough-grind it on iron disks, set a batch of prisms in plaster, fine-grind, and polish on pitch with rouge. Wright's worked example is a right-angle prism; an equilateral prism has three 60° angles, made the same way.
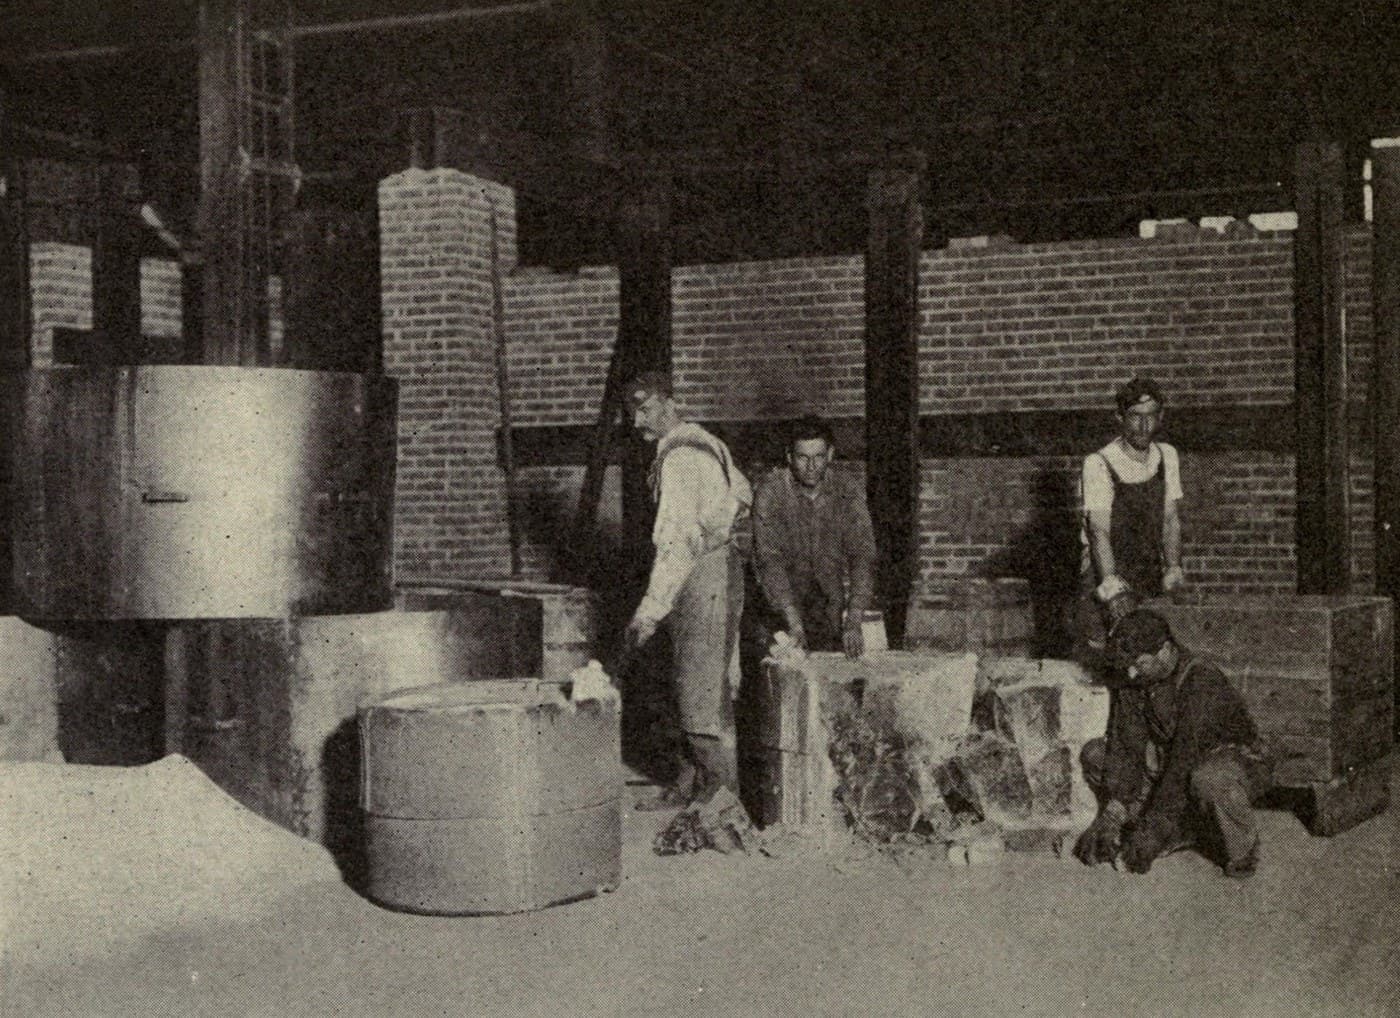
The picture: blocking prisms for rough grinding at Frankford Arsenal (Wright 1921, Fig. 77, public domain).
Zaawansowany
2-3 days
Instrukcje
1
1
Saw out the blank
Saw out the blank
Saw a triangular blank from a block of optical glass with a diamond saw, using kerosene as lubricant. Leave several millimetres extra on each face for grinding.
Materiały do tego kroku:
 Szkło optyczne1 as required
Potrzebne narzędzia:
 Piła diamentowa
 Nafta
 Suwmiarka cyfrowa 6 cali
 Okulary ochronne
2
2
Rough-grind the faces
Rough-grind the faces
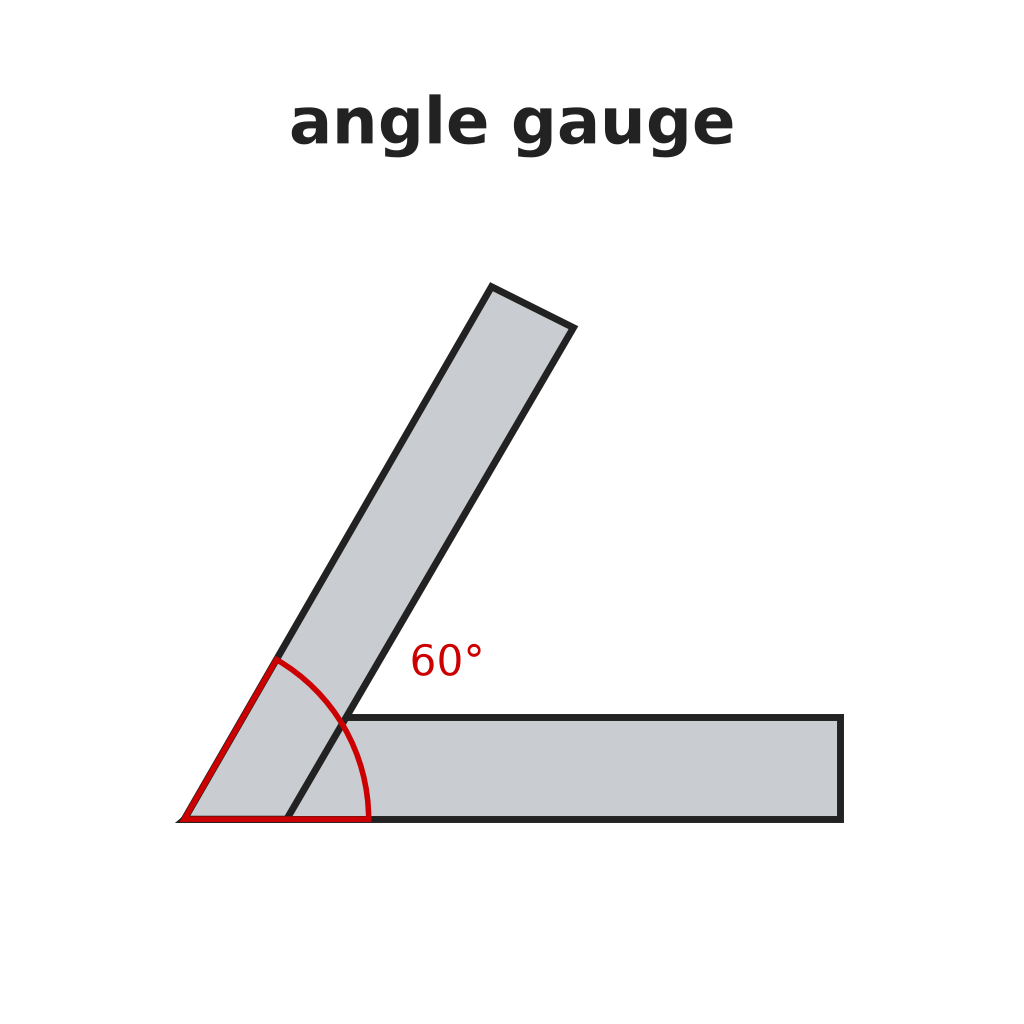
Grind one triangular end flat on a rotating iron disk with 90 or 150 mesh grit. Then rough out the three side faces at right angles to it, checking the 60° angles with an angle gauge.
Potrzebne narzędzia:
 Żeliwna tarcza szlifierska
 Zestaw ziaren ściernych z węglika krzemu
 Wzorzec kąta
3
3
Grind the ends in a batch
Grind the ends in a batch
Wax 20 or more prisms by their ground ends onto a heated iron disk and grind the other ends together: 90, 150, then 220 mesh, then smoothing grit. Change grit only when the surface is free of scratches. Regrind to the set thickness.
Potrzebne narzędzia:
Żeliwna tarcza szlifierskaZestaw ziaren ściernych z węglika krzemu Parafina
 Wosk pszczeli
 Płyta grzejnaSuwmiarka cyfrowa 6 cali
4
4
Block the prisms in plaster
Block the prisms in plaster
Set the prisms face down in melted paraffin on a flat iron disk and coat their backs with beeswax. Clamp a ring round them, fill with plaster of Paris and a little Portland cement (10 : 1), and let it harden about 16 hours. Cut the plaster back 1/8 in from the prisms and give it two coats of shellac.
Potrzebne narzędzia:
Płyta grzejnaParafinaWosk pszczeli Gips modelarski
 Cement portlandzki
 Wosk pszczeli w granulkach
5
5
Fine-grind
Fine-grind
Grind the block on a slightly convex plate with wet flour emery (the part that settles out of water between 10 and 60 minutes). After five minutes check with a magnifier: the faces should have an even velvet finish, slightly hollow by less than 0.001 in.
Potrzebne narzędzia:
Żeliwna tarcza szlifierskaZestaw ziaren ściernych z węglika krzemu Lupa zegarmistrzowska
6
6
Polish on pitch
Polish on pitch
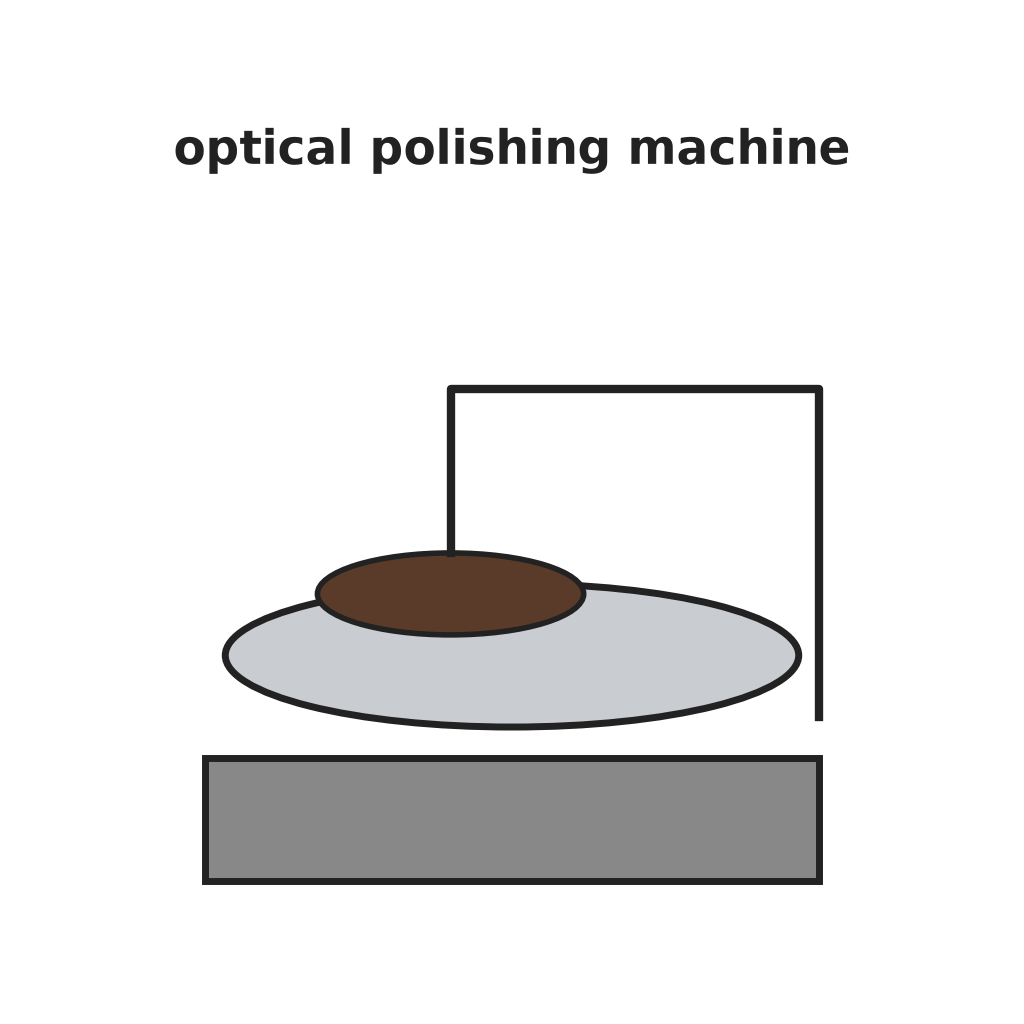
Pour strained pitch with a little rosin 1/4 in deep on an iron tool and cut crossed grooves 1/8 in wide, 1 in apart. Press it true with a rouge-wetted flat. Polish the block with creamy rouge and water on the machine, usually 4–8 hours, running nearly dry at the end.
Potrzebne narzędzia:
 Pak z dziegciu drzewnego
 Kalafonia sosnowa
 Czerwień jubilerska
 Maszyna do polerowania optyki
7
7
Test for flatness
Test for flatness
Lay an optical flat on each face and look at the Newton colours in sodium light (salt in a Bunsen flame). Straight bands to the edge, or one colour over the whole face, mean it is flat.
Potrzebne narzędzia:
 Płytka płaskorównoległa (wzorcowa)
 Palnik Bunsena
 SólLupa zegarmistrzowska
8
8
Free, clean, check the angle, repeat
Free, clean, check the angle, repeat
Break the plaster away, clean the prisms with benzene and check each angle with the angle gauge. Correct by hand on a flat tool with smoothing grit. Repeat blocking and polishing for every face, smallest face first.
Potrzebne narzędzia:
 Młotek
 BenzenWzorzec kątaŻeliwna tarcza szlifierskaZestaw ziaren ściernych z węglika krzemu
Materiały
1- 1 as requiredZastępnik
Wymagane narzędzia
23- Zastępnik
- Zastępnik
- Zastępnik
- Zastępnik
- Zastępnik
- Zastępnik
- Zastępnik
- Zastępnik
- Zastępnik
- Zastępnik
- Zastępnik
- Zastępnik
- Zastępnik
- Zastępnik
- Zastępnik
- Zastępnik
- Zastępnik
- Zastępnik
- Zastępnik
- Zastępnik
- Zastępnik
- Zastępnik
Według tego planu powstaje

Powiązane blueprinty
Te blueprinty dzielą się wiedzą — technikami, materiałami lub zasadami
CC0 Domena publiczna
Ten plan jest udostępniany na licencji CC0. Możesz go swobodnie kopiować, modyfikować, rozpowszechniać i wykorzystywać do dowolnych celów, bez konieczności uzyskiwania zgody.
Wesprzyj Makera kupując produkty przez jego plan, za co zarabia Prowizja Makera ustalony przez sprzedawców, lub stwórz nową iterację tego planu i dołącz go jako połączenie w swoim własnym planie, aby dzielić się przychodami.