SZTUKA
Piękno i dobre samopoczucie
RZEMIOSŁO
KULTURA I HISTORIA
ROZRYWKA
ŚRODOWISKO
JEDZENIE I NAPOJE
INŻYNIERIA ODWROTNA
NAUKI
LEKKOATLETYKA
TECHNOLOGIA
URZĄDZENIA DO NOSZENIA
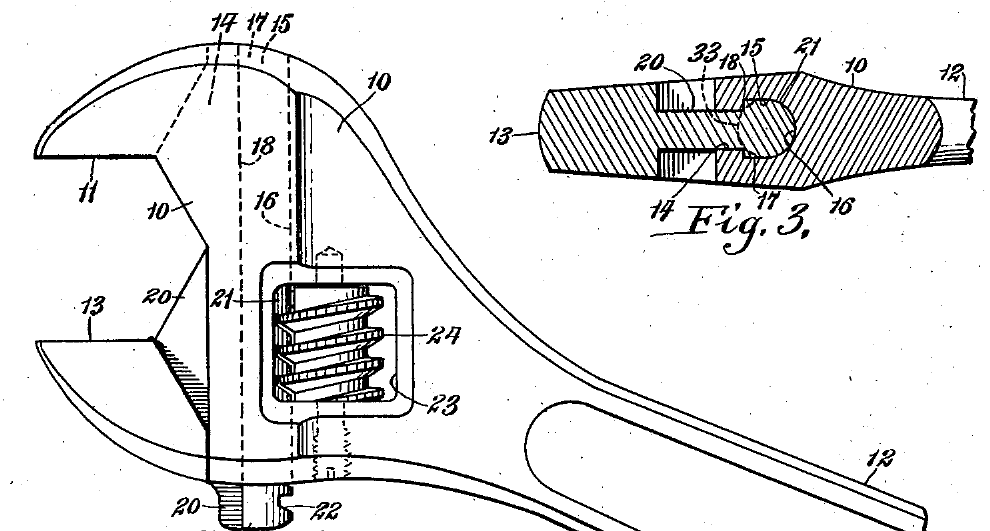


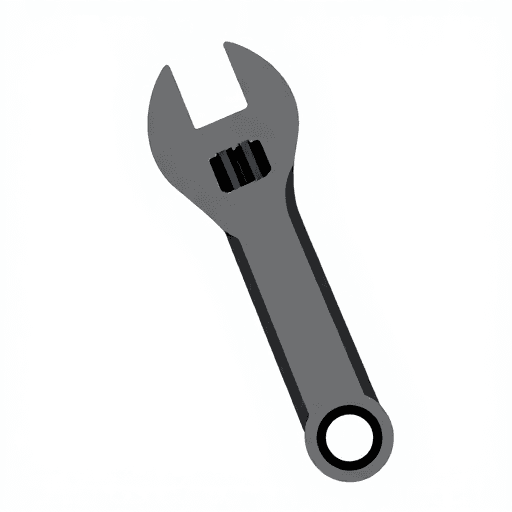
Adjustable Spanner: One-Piece Forging, Broached Guide and Worm
A 1938 patent for making adjustable wrenches lays the work out in order. The head, fixed jaw and handle are forged in one piece from properly alloyed high-carbon steel, the forging also forming the rectangular opening for the worm. The head is drilled to start the guideway for the movable jaw, and the guideway is then broached. Holes above and below the opening are drilled, and the lower one guides the tap that threads it for the worm's pin. The movable jaw's slide has a rack hobbed or machined on its back; it is slid into place, and the pin, with a rolled thread, is fitted with the knurled worm gear and a conical compression spring that takes up slack.
Zaawansowany
Factory process
Instrukcje
1
1
Forge the body
Forge the body
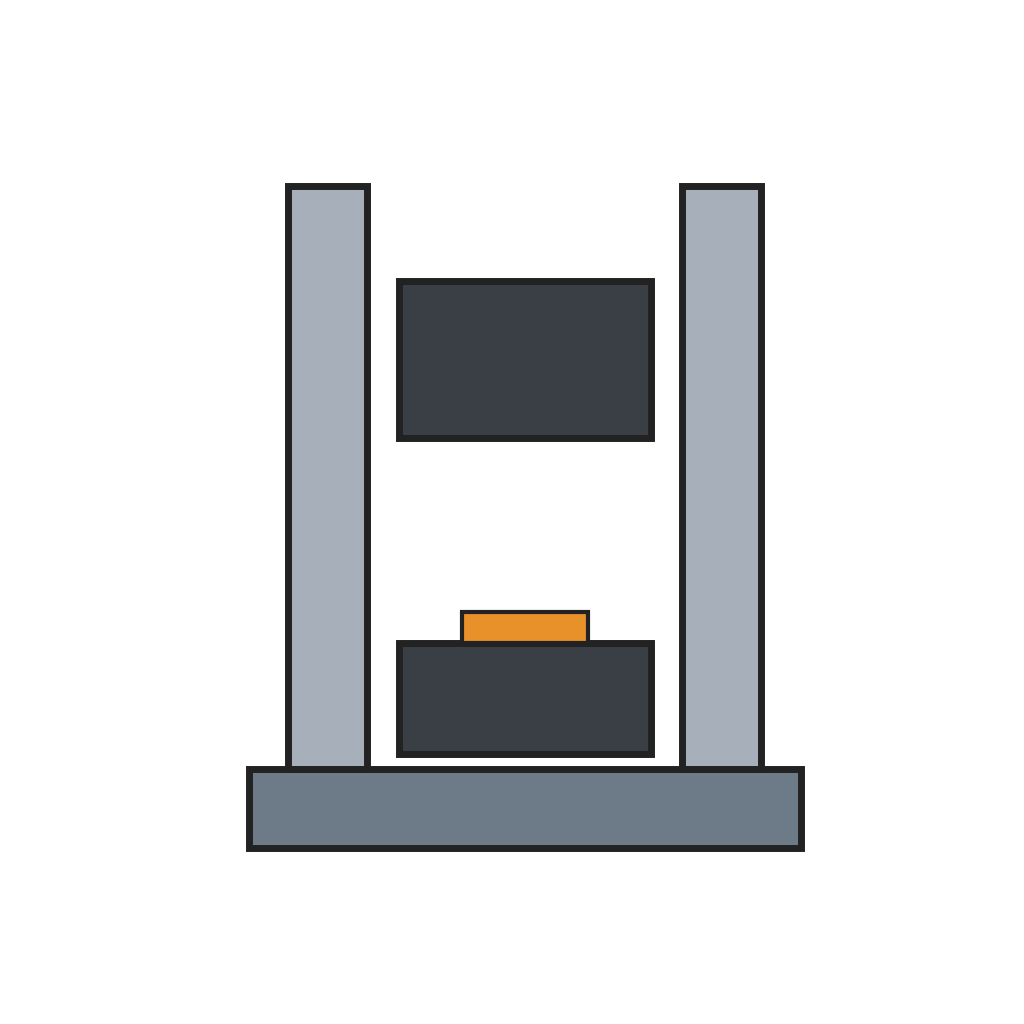
Forge the head, fixed jaw and handle in one piece from high-carbon steel, with the rectangular opening for the worm.
Materiały do tego kroku:
 Kęsisko ze stali wysokowęglowej1 as required
Potrzebne narzędzia:
 Młot spadowy z matrycami kuźniczymi
2
2
Drill and broach the guide
Drill and broach the guide
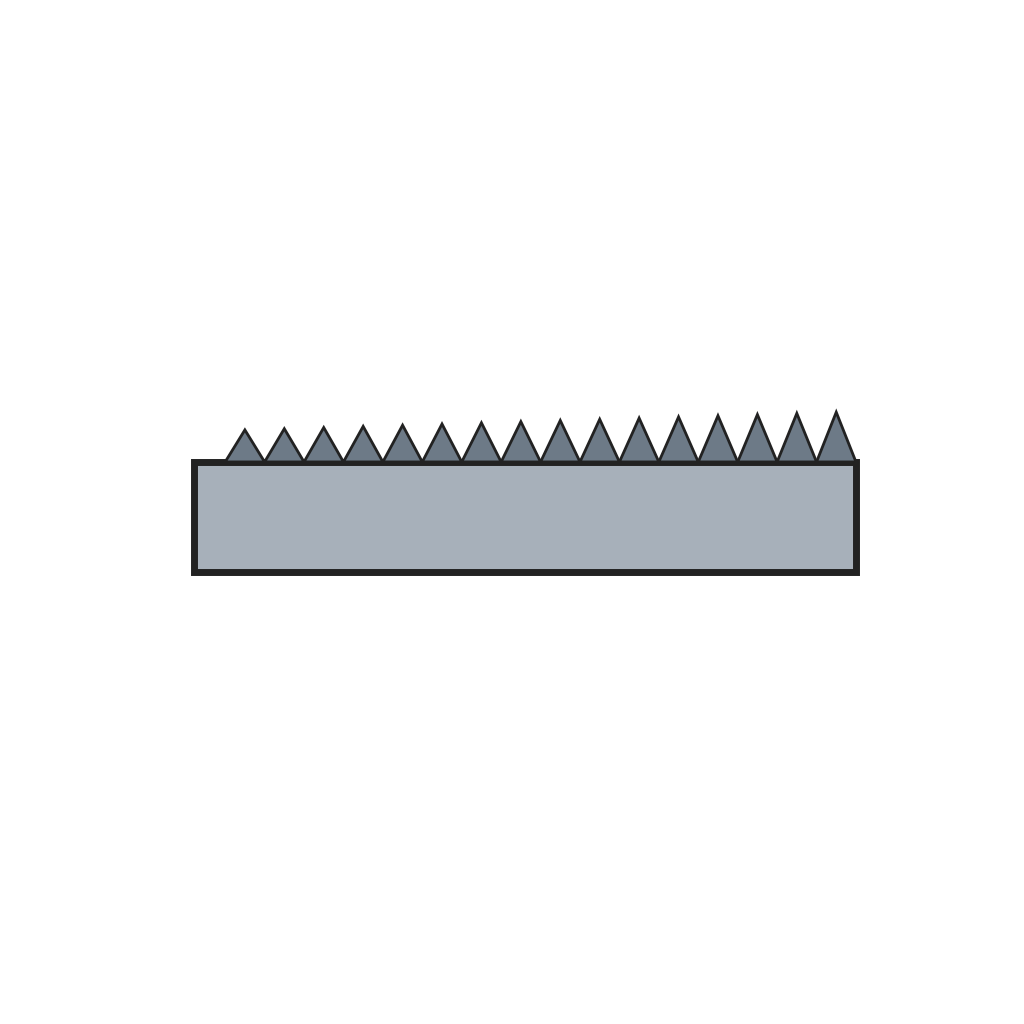
Drill the head to start the guideway for the movable jaw, then broach the guideway to its final section.
Potrzebne narzędzia:
 Wiertarka stołowa
 Przeciągarka
3
3
Drill and tap for the pin
Drill and tap for the pin
Drill the holes above and below the opening; use the lower hole to guide the tap that threads the hole for the pin.
Potrzebne narzędzia:
Wiertarka stołowa Zestaw do gwintowania
4
4
Make the movable jaw
Make the movable jaw
Hob or machine the rack on the back of the movable jaw's slide.
Materiały do tego kroku:
Kęsisko ze stali wysokowęglowej1 as requiredPotrzebne narzędzia:
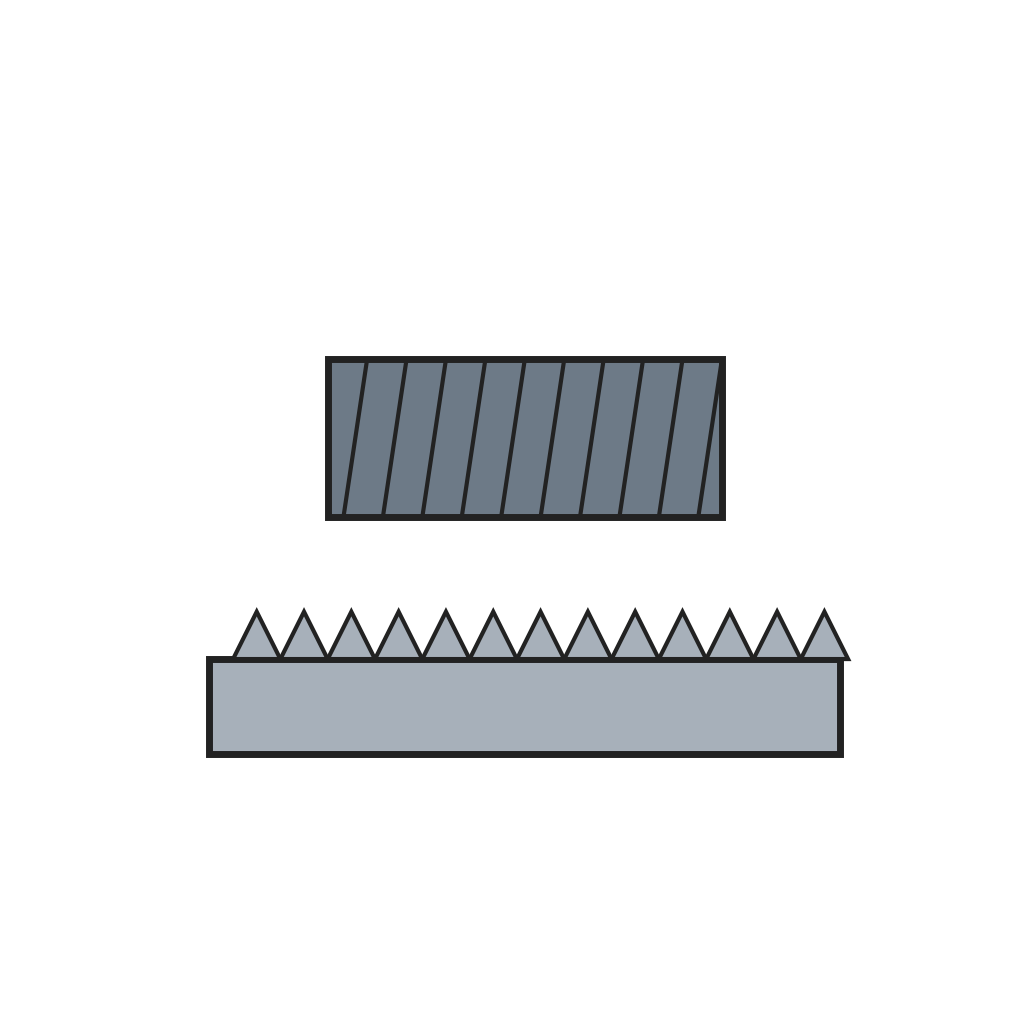 Frezarka obwiedniowa do kół zębatych
5
5
Assemble
Assemble
Slide the movable jaw into place; fit the pin, its thread rolled, with the knurled worm gear and the conical spring.
Materiały do tego kroku:
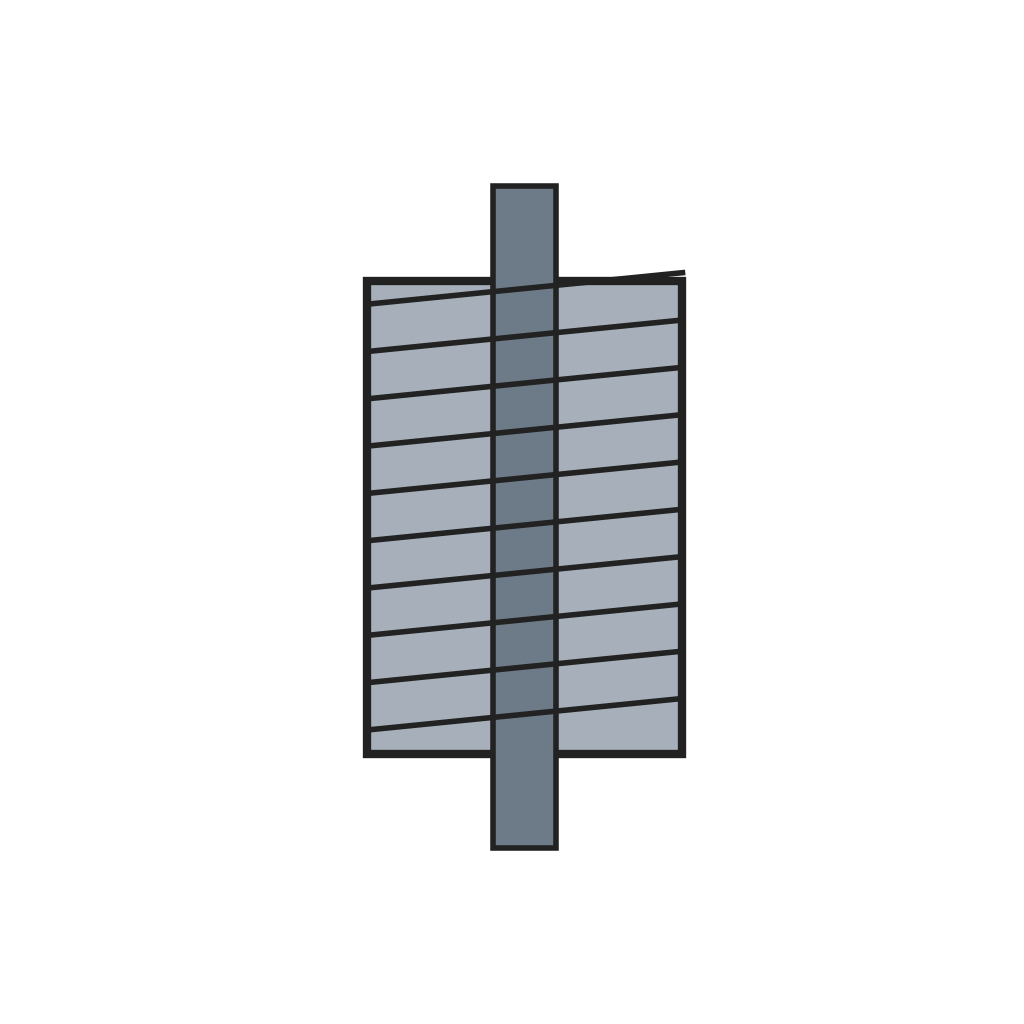 Ślimak radełkowany1 sztuka
 Zestaw sprężyn naciskowych1 sztuka
Potrzebne narzędzia:
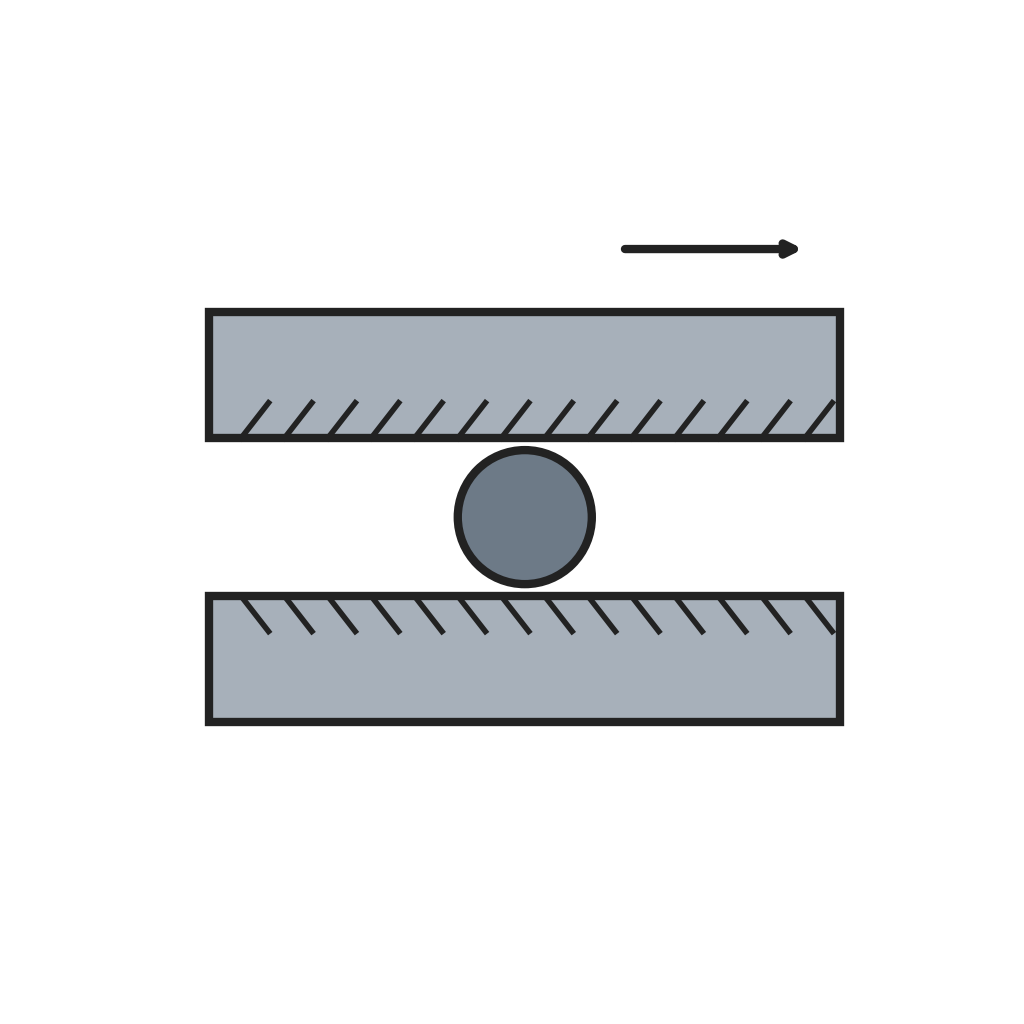 Szczęki do walcowania gwintów
Materiały
3- 1 as requiredZastępnik
- 1 sztukaZastępnik
- 1 sztukaZastępnik
Wymagane narzędzia
6- Zastępnik
- Zastępnik
- Zastępnik
- Zastępnik
- Zastępnik
- Zastępnik
Według tego planu powstaje

Powiązane blueprinty
Te blueprinty dzielą się wiedzą — technikami, materiałami lub zasadami

CC0 Domena publiczna
Ten plan jest udostępniany na licencji CC0. Możesz go swobodnie kopiować, modyfikować, rozpowszechniać i wykorzystywać do dowolnych celów, bez konieczności uzyskiwania zgody.
Wesprzyj Makera kupując produkty przez jego plan, za co zarabia Prowizja Makera ustalony przez sprzedawców, lub stwórz nową iterację tego planu i dołącz go jako połączenie w swoim własnym planie, aby dzielić się przychodami.