SZTUKA
Piękno i dobre samopoczucie
RZEMIOSŁO
KULTURA I HISTORIA
ROZRYWKA
ŚRODOWISKO
JEDZENIE I NAPOJE
INŻYNIERIA ODWROTNA
NAUKI
LEKKOATLETYKA
TECHNOLOGIA
URZĄDZENIA DO NOSZENIA
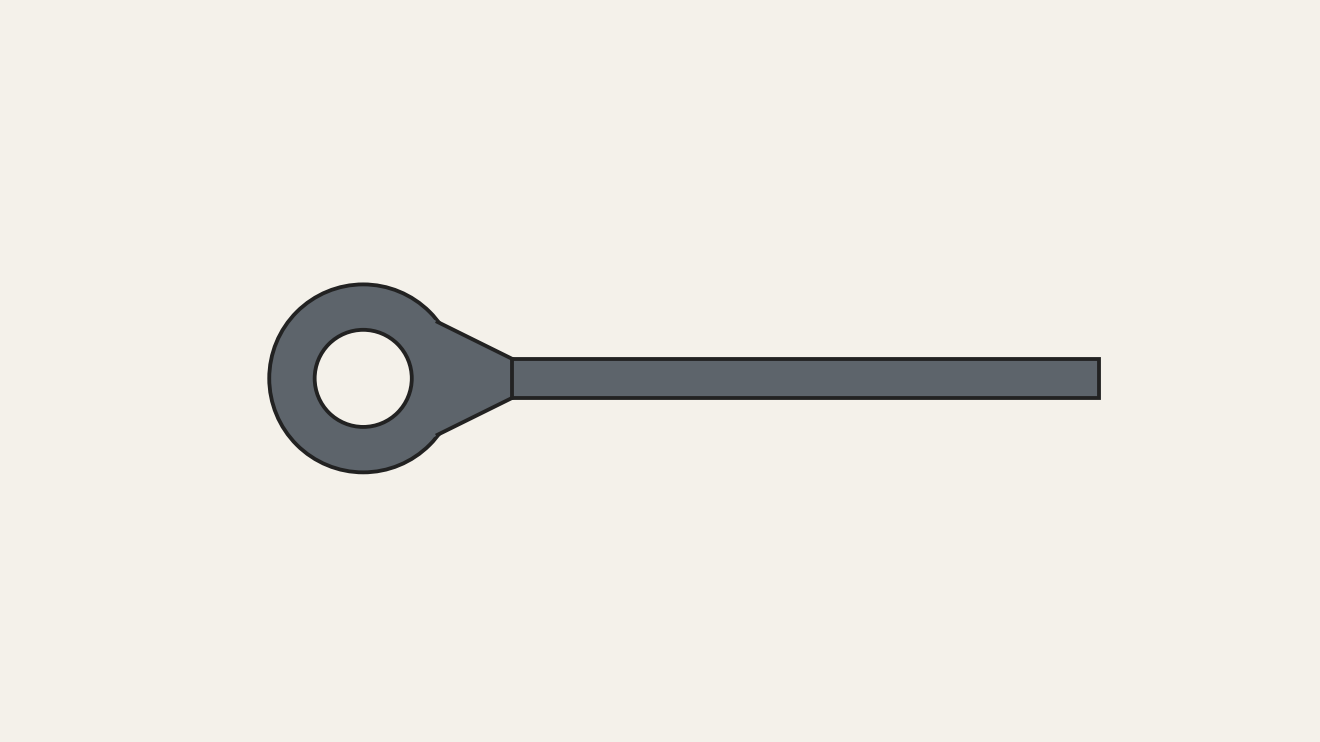


Forged Eye Bolt with a Welded Eye
An eye bolt is a bar with a closed loop at one end for ropes, cables and hooks. This one is bent from 1/2-inch round wrought iron 12¼ inches long and the end of the loop is forge-welded to the shank, so the eye cannot open. The end is scarfed (thinned to a bevel) first so the weld blends in; the bar is bent on the anvil's edge and horn around a drift, welded at a welding heat, smoothed in swages and drifted round. The finished shank is about 7½ inches long.
Średniozaawansowany
1–2 hours
Instrukcje
1
1
Scarf the end
Scarf the end
Heat one end to a welding heat and scarf it to a bevel about 1 inch long.
Materiały do tego kroku:
 Pręt z żelaza kutego1 sztuka
Potrzebne narzędzia:
 Kuźnia kowalska
 Kowadło
 Młot kowalski
 Szczypce kowalskie
2
2
Mark
Mark
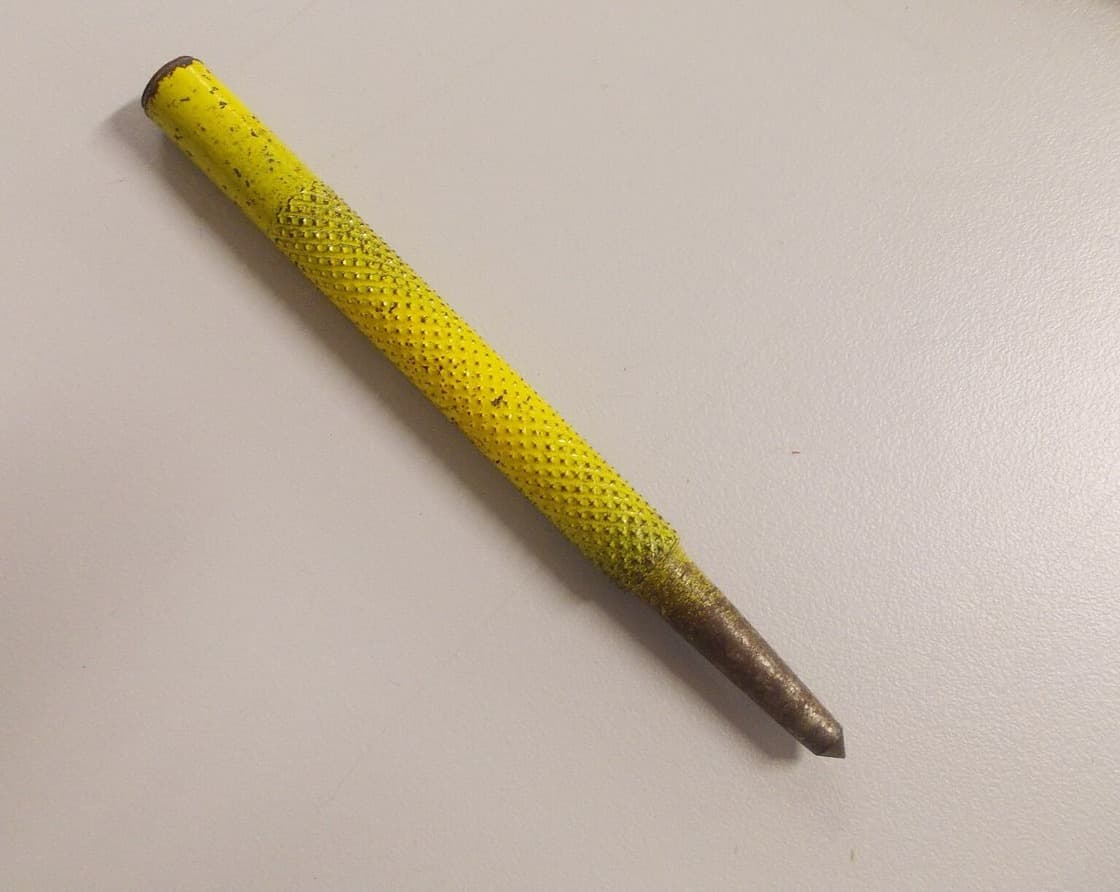
Bend the scarf over the anvil's rounded edge and centre-punch the marks for the bend.
Potrzebne narzędzia:
 Punktak
3
3
Bend the eye
Bend the eye
Heat about 7 inches at the scarfed end to an even yellow heat. Start the bend with the punch mark above the anvil's rounded edge, striking the projecting end with the hammer's peen; finish on the horn, striking on the scarf so the bar is not marked.
Potrzebne narzędzia:
Młot kowalskiKowadło4
4
Close on a drift
Close on a drift
Put a drift slightly larger than the finished hole in the eye and bring the scarf and shank together.
Potrzebne narzędzia:
 Przebijak rozszerzający
5
5
Weld and finish
Weld and finish
Heat slowly to a welding heat and weld the scarf down, rounding the shoulder with a top fuller and finishing at the anvil's rounded edge. Smooth the weld in top and bottom swages, drive the drift in to make the eye even, and file off the scale while it is hot.
Potrzebne narzędzia:
Kuźnia kowalska Fuller (żelazo do rowkowania)
 Dolna matryca kowalska (sztanca dolna)Przebijak rozszerzający
 Pilnik do metalu
Materiały
1- 1 sztukaZastępnik
Wymagane narzędzia
9- Zastępnik
- Zastępnik
- Zastępnik
- Zastępnik
- Zastępnik
- Zastępnik
- Zastępnik
- Zastępnik
Według tego planu powstaje

Powiązane blueprinty
Te blueprinty dzielą się wiedzą — technikami, materiałami lub zasadami
CC0 Domena publiczna
Ten plan jest udostępniany na licencji CC0. Możesz go swobodnie kopiować, modyfikować, rozpowszechniać i wykorzystywać do dowolnych celów, bez konieczności uzyskiwania zgody.
Wesprzyj Makera kupując produkty przez jego plan, za co zarabia Prowizja Makera ustalony przez sprzedawców, lub stwórz nową iterację tego planu i dołącz go jako połączenie w swoim własnym planie, aby dzielić się przychodami.