SZTUKA
Piękno i dobre samopoczucie
RZEMIOSŁO
KULTURA I HISTORIA
ROZRYWKA
ŚRODOWISKO
JEDZENIE I NAPOJE
INŻYNIERIA ODWROTNA
NAUKI
LEKKOATLETYKA
TECHNOLOGIA
URZĄDZENIA DO NOSZENIA
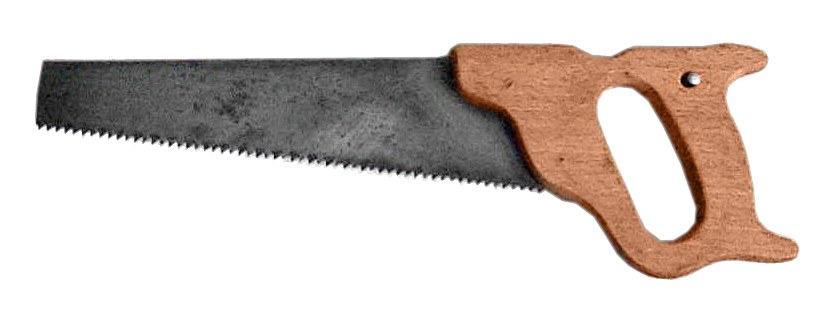


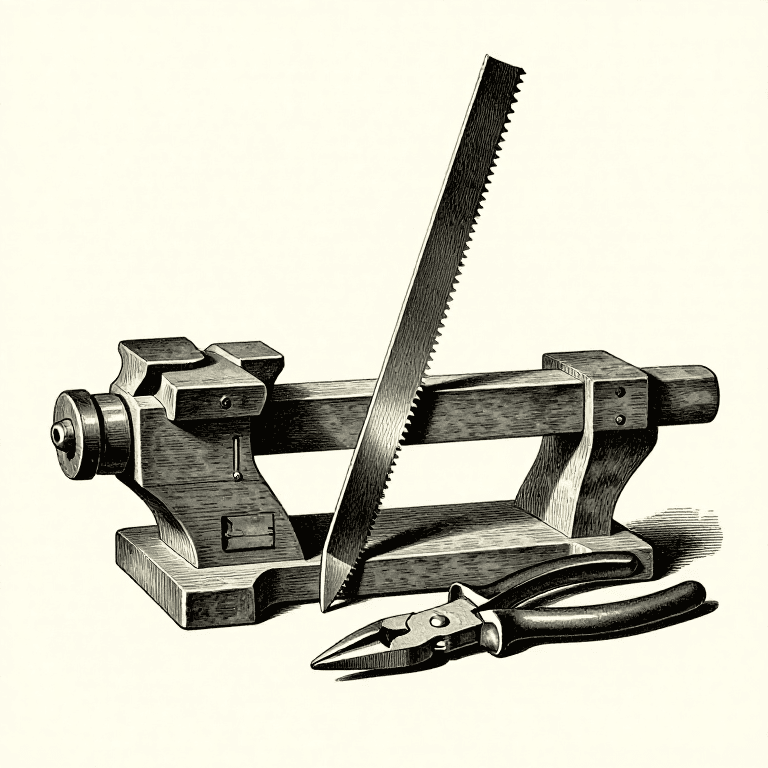
Hand Saw: Plate, Teeth, Temper and Handle
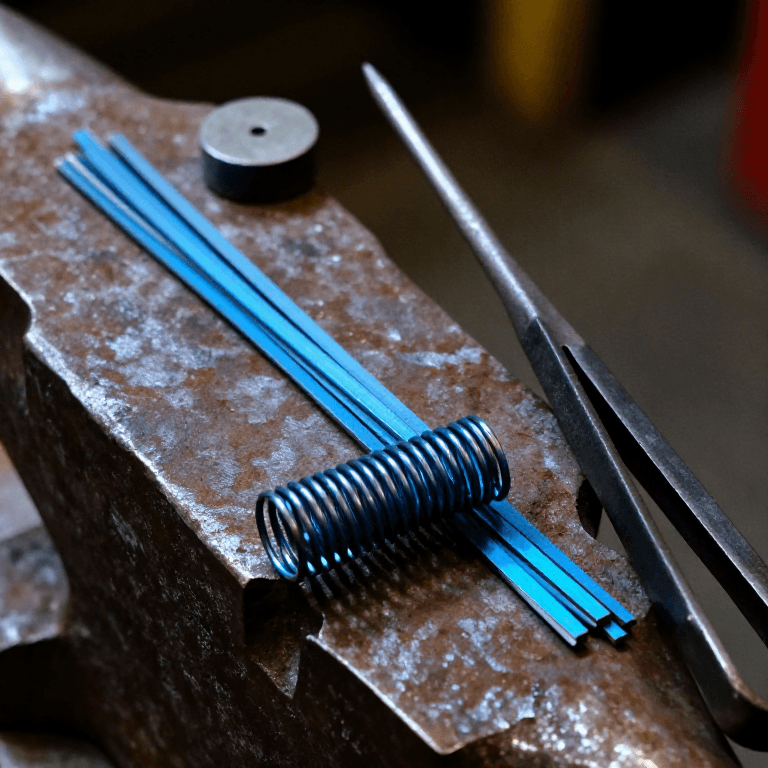
Hand saws were made like this in the saw works of the 1880s. Steel plate is sheared to the outline of the blade and the teeth are punched in a press. The toothed plate is heated to a light cherry red and plunged into a bath of oil, tallow, rosin and beeswax, which leaves it as brittle as glass; it is then flattened between heated dies until it reaches a blue, the colour of spring temper. After smithing and grinding, the teeth are set, bent alternately left and right, and filed sharp, and a wooden handle is riveted on. Today the plate is laser cut and the teeth are ground and flame hardened.
Zaawansowany
Factory process (1880s)
Instrukcje
1
1
Cut the plate
Cut the plate
Shear the steel plate to the outline of the blade.
Materiały do tego kroku:
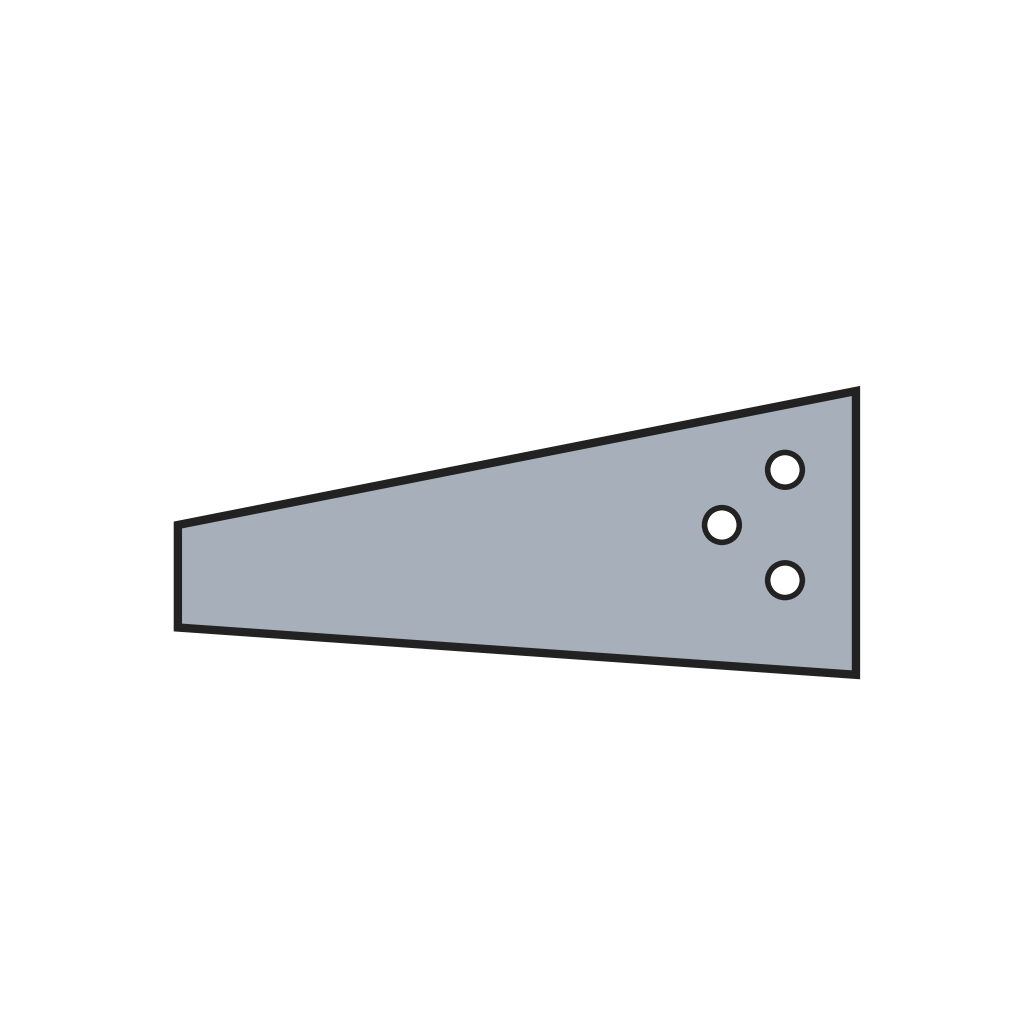 Blacha stalowa na brzeszczoty pił1 sztuka
Potrzebne narzędzia:
 Nożyce do blach
2
2
Punch the teeth
Punch the teeth
Punch the teeth along the edge with a shaped die in a press.
Potrzebne narzędzia:
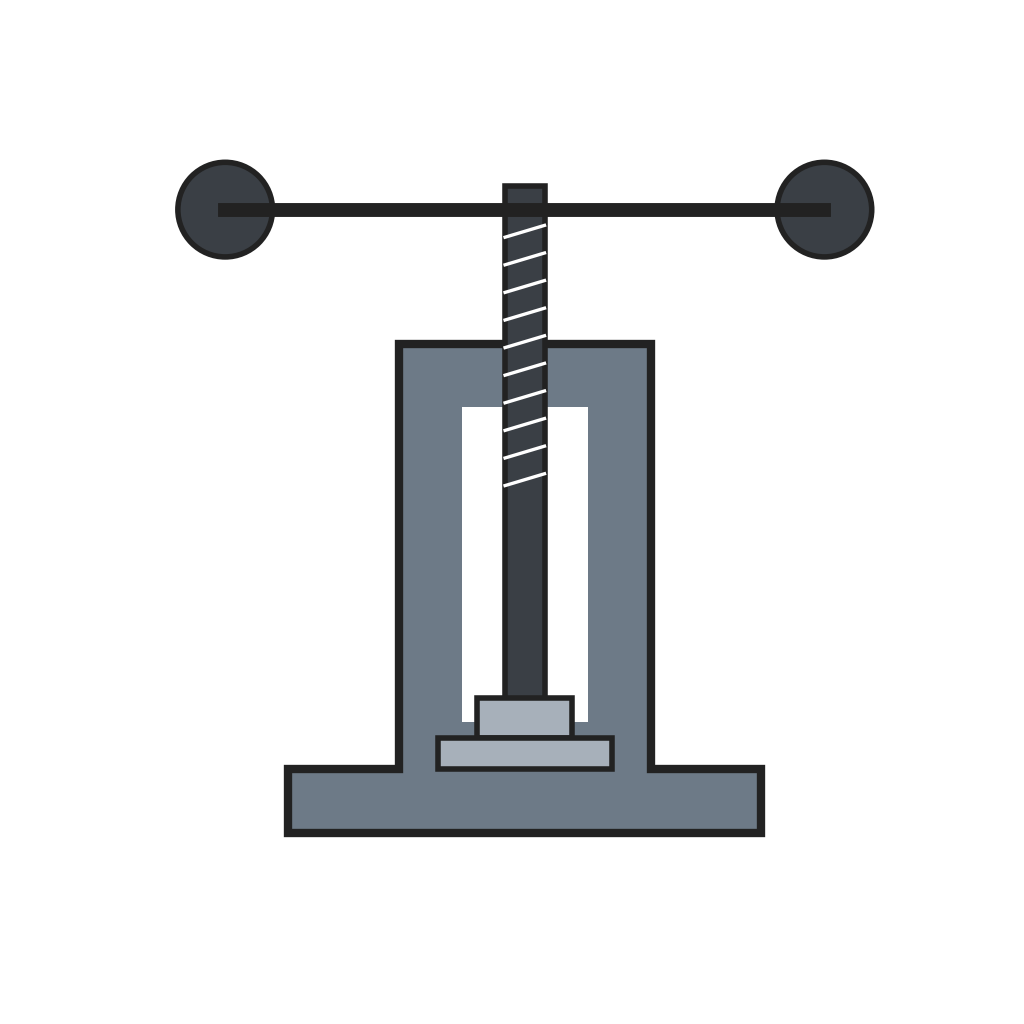 Prasa do wykrawania zębów pił
3
3
Harden
Harden
Heat the toothed plate to a light cherry red and plunge it into a bath of oil, tallow, rosin and beeswax. It comes out as brittle as glass and buckled.
Materiały do tego kroku:
 Tłuszcz zwierzęcy (łój)1 kg
 Kalafonia sosnowa0.5 kg
 Wosk pszczeli0.5 kg
4
4
Flatten and temper
Flatten and temper
Clean off the scale and grease and press the plate flat between heated dies until it turns blue, the spring temper. Test it by bending: a good blade springs back straight.
Potrzebne narzędzia:
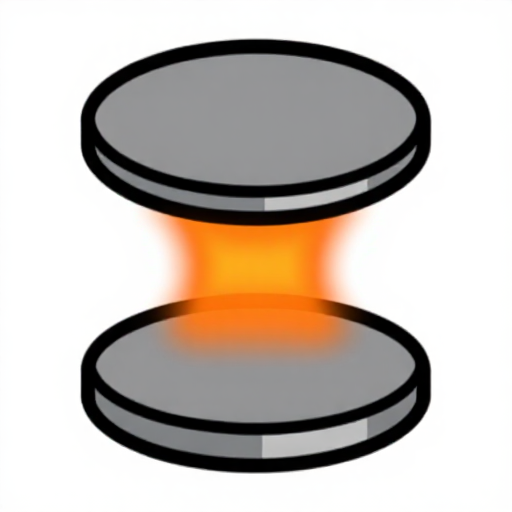 Podgrzewane płyty prostujące
5
5
Smith and grind
Smith and grind
Hammer out any remaining unevenness on a stake, then grind the blade to its gauge on a grindstone.
Potrzebne narzędzia:
 Toczydło
6
6
Set and sharpen
Set and sharpen
Set the teeth alternately left and right with a saw set, joint the points level with a file, and file each tooth sharp with a triangular file.
Potrzebne narzędzia:
 Rozwieracz do pił
 Pilnik do metalu
7
7
Fit the handle
Fit the handle
Shape a handle from beech and fix the blade in it with rivets.
Materiały do tego kroku:
 Tarcica bukowa1 sztuka
 Nity do rękojeści piły3 sztuk
Materiały
6- Zastępnik
- Zastępnik
- 0.5 kgZastępnik
- 0.5 kgZastępnik
- 1 sztukaZastępnik
- 3 sztukZastępnik
Wymagane narzędzia
6- Zastępnik
- Zastępnik
- Zastępnik
- Zastępnik
- Zastępnik
- Zastępnik
Według tego planu powstaje



Powiązane blueprinty
Te blueprinty dzielą się wiedzą — technikami, materiałami lub zasadami
CC0 Domena publiczna
Ten plan jest udostępniany na licencji CC0. Możesz go swobodnie kopiować, modyfikować, rozpowszechniać i wykorzystywać do dowolnych celów, bez konieczności uzyskiwania zgody.
Wesprzyj Makera kupując produkty przez jego plan, za co zarabia Prowizja Makera ustalony przez sprzedawców, lub stwórz nową iterację tego planu i dołącz go jako połączenie w swoim własnym planie, aby dzielić się przychodami.