Współpraca
SZTUKA
Piękno i dobre samopoczucie
RZEMIOSŁO
KULTURA I HISTORIA
ROZRYWKA
ŚRODOWISKO
JEDZENIE I NAPOJE
INŻYNIERIA ODWROTNA
NAUKI
LEKKOATLETYKA
TECHNOLOGIA
URZĄDZENIA DO NOSZENIA
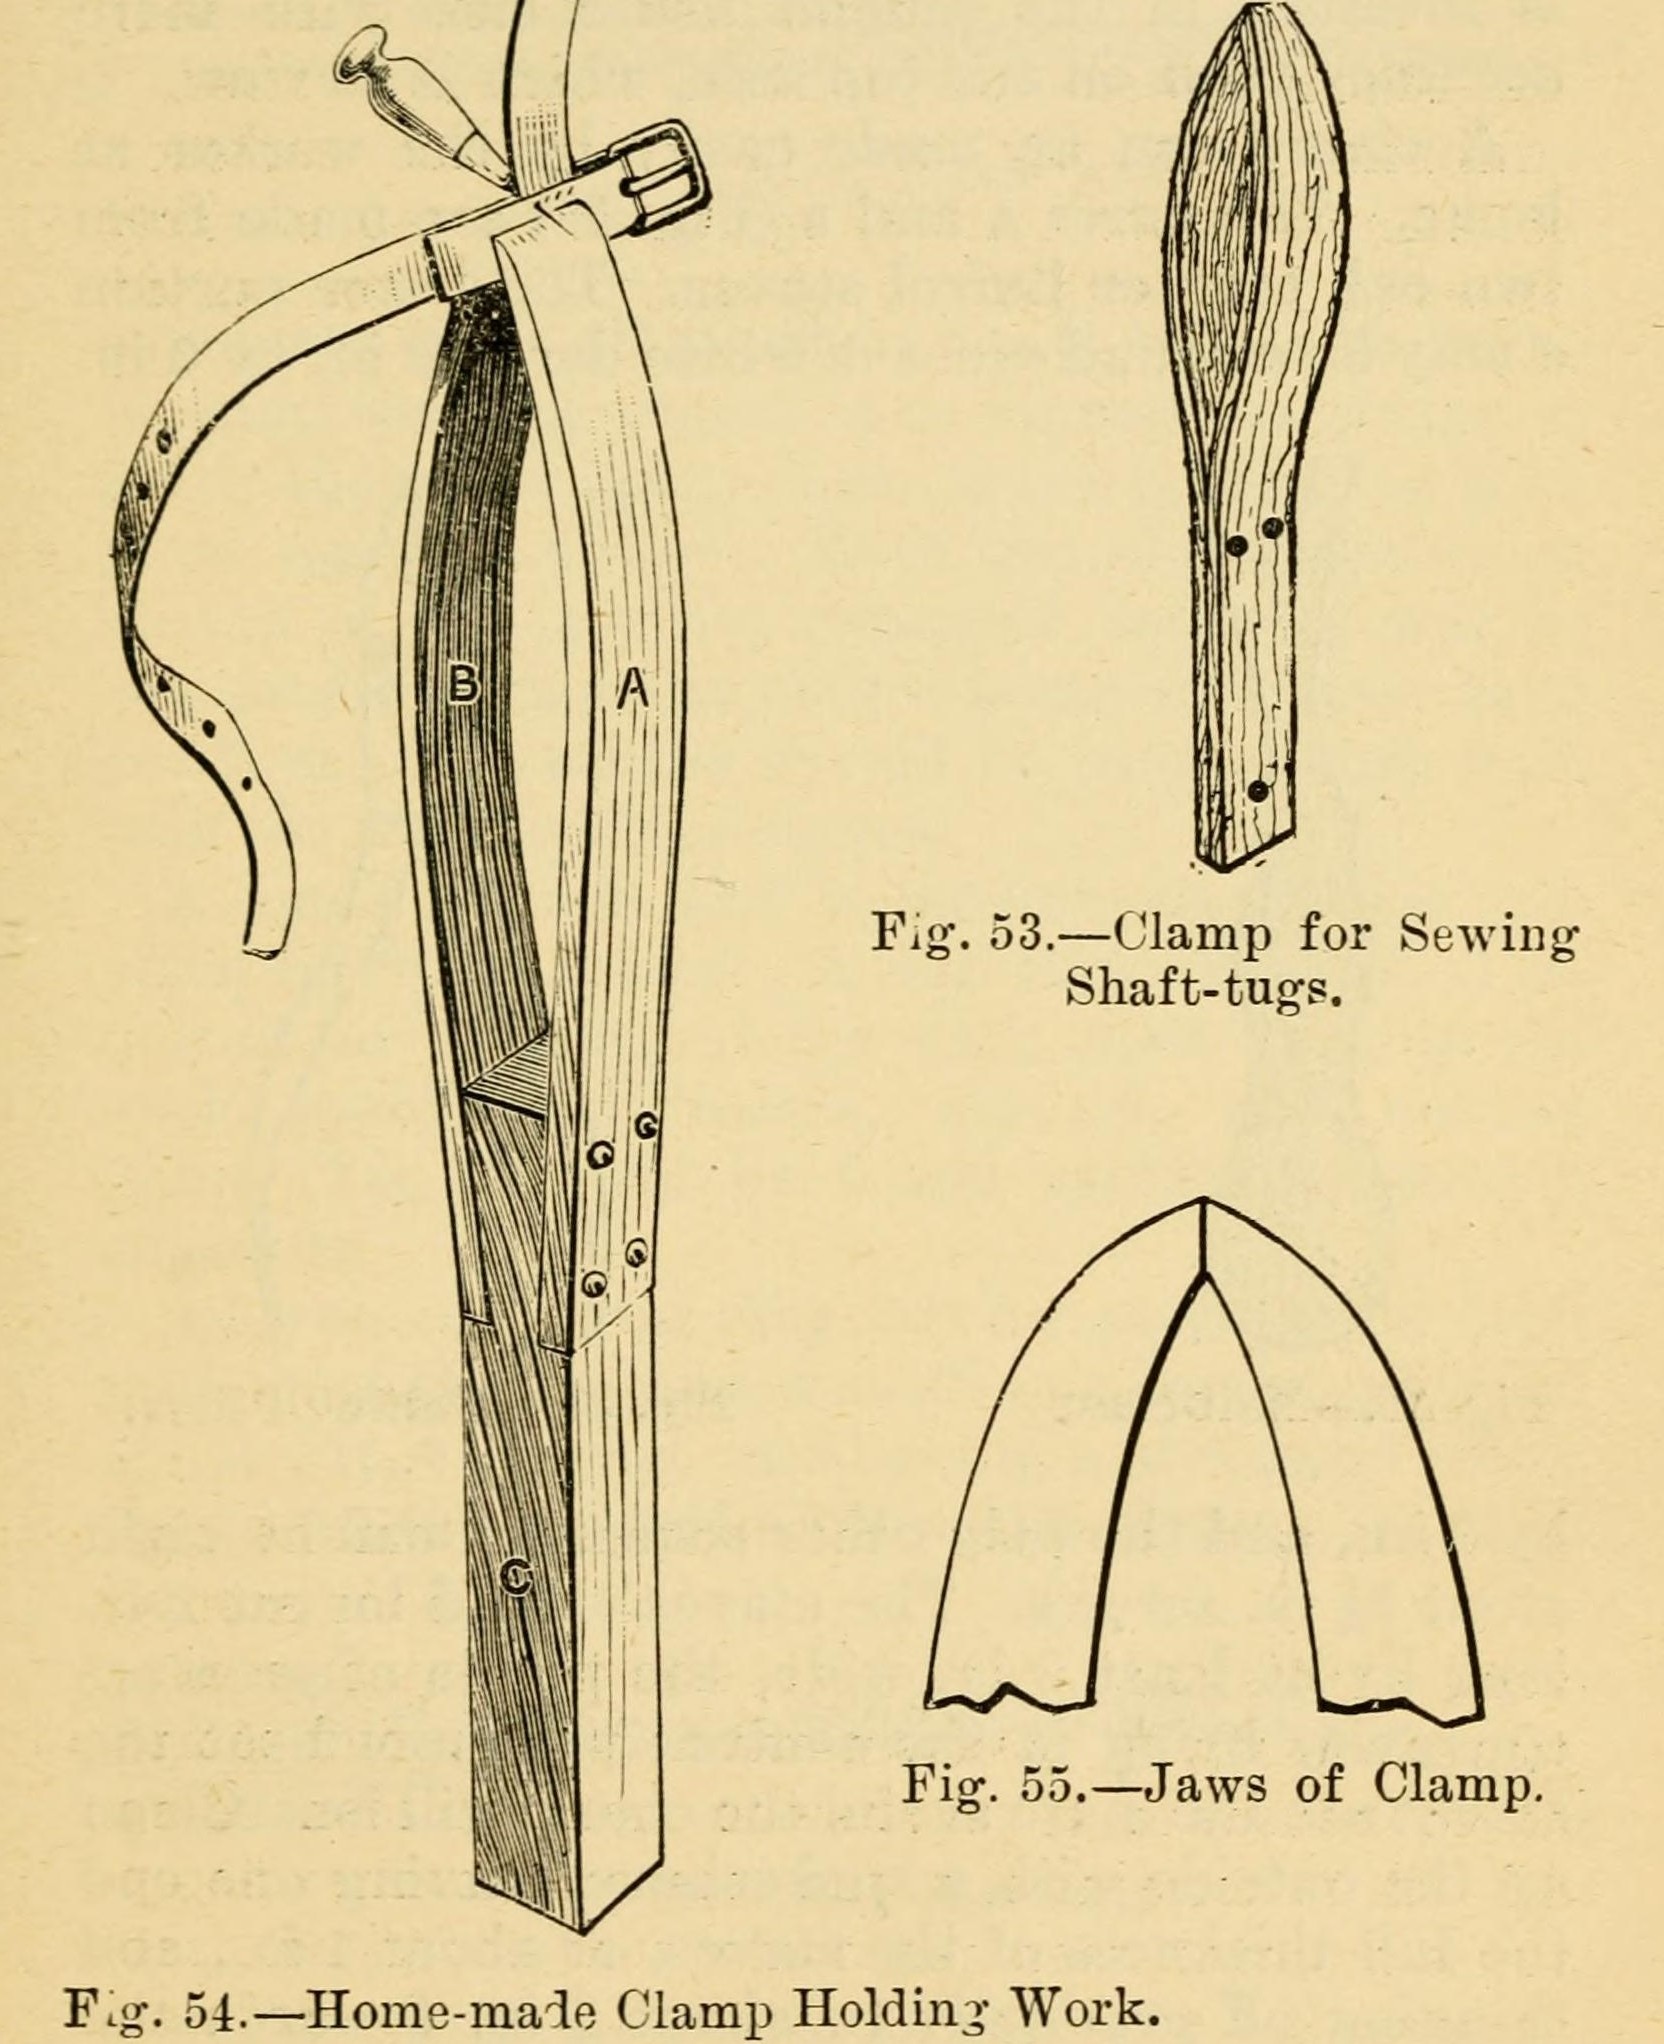


Saddler's Stitching Clamp from Two Oak Barrel Staves Screwed to a Deal Tenon (Hasluck, Harness Making, 1904)
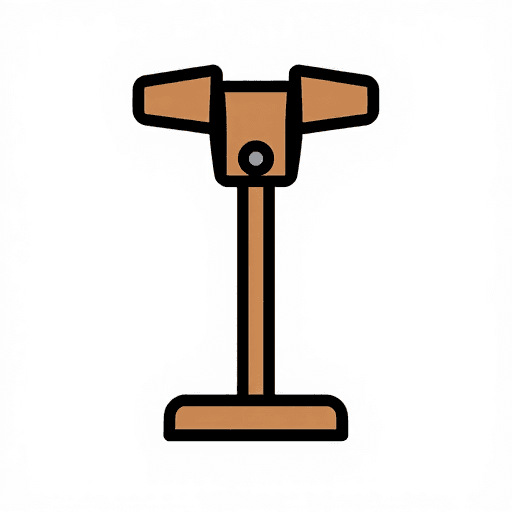
The home-made saddler's clamp, or pair of clams, from Hasluck's Harness Making (1904): two curved oak barrel staves, thinned to springy jaws, screwed hard onto a dovetail-shaped tenon on a 20 x 3 x 3 in. deal post so the jaw tips grip the leather while both hands sew.
Początkujący
An afternoon
Instrukcje
1
1
His sizes
His sizes
Wczytywanie notatnika Jupyter…
2
2
Read Hasluck
Read Hasluck
"A clamp can be made easily by the worker at home."
3
3
Cut the staves
Cut the staves
Cut two oak cask or barrel staves 2 ft (610 mm) long and at least 3 in. (76 mm) wide, with the greatest bend in the middle. The more bent the staves, the more useful the clamp.
Materiały do tego kroku:
 Klepka beczki2 sztuk
Potrzebne narzędzia:
 Piła ręczna
4
4
Shape the jaws
Shape the jaws
Clean up the outside with a spokeshave. Leave one end the full stave thickness (about 1 in., 25 mm) and thin gradually to about 3/4 in. (19 mm) toward the other end, which forms the jaw (his fig. 55). Round the outer corners, plane the inside flat and smooth both sides with glass-paper.
Materiały do tego kroku:
 Papier ścierny1 sztuka
Potrzebne narzędzia:
 Strug kabłąkowy
5
5
Cut the tenon
Cut the tenon
Take a sound piece of white deal 20 x 3 x 3 in. (510 x 76 x 76 mm) for the post C. Cut a dovetail-shaped tenon at least 6 in. (150 mm) long on its upper end. Fit the depth of the shoulders and the width at the top to the curve of your staves: the aim is for the jaw tips to press tightly together once the staves are home.
Materiały do tego kroku:
 Listwa z drewna iglastego1 sztuka
Potrzebne narzędzia:
 Piła grzbietnica
 Komplet dłut do drewna
6
6
Screw the staves on
Screw the staves on
Lay the thick ends of the staves against the two sides of the tenon and fix them with eight stout 2 1/4 in. (57 mm) screws (ours: four through each stave, as his fig. 54 shows). The tenon should be cut so that hard screwing is needed to bring the staves home. Countersink the screws flush with the stave faces.
Materiały do tego kroku:
 Wkręty do drewna8 sztuk
Potrzebne narzędzia:
 Świder korbowy z wiertłem
 Zestaw pogłębiaczy stożkowych
 Wkrętak płaski
7
7
Troubleshooting
Troubleshooting
Clamp troubleshooting.
Flow
Loading...
8
8
History and honest limits
History and honest limits
From Paul N. Hasluck (ed.), **Harness Making** (Cassell, 1904), pp. 24-27 and figs. 52-55 (checked on the archive.org scan harnessmaking00hasl). The saddler sits with it between the knees, slanting against the left knee, the right leg thrown over it, so it does not yield under the awl. He gives no screw spacing; the four-per-stave layout, metric figures and tools are ours.
Materiały
4- 2 sztukZastępnik
- 1 sztukaZastępnik
- 1 sztukaZastępnik
- 8 sztukZastępnik
Wymagane narzędzia
7- Zastępnik
- Zastępnik
- Zastępnik
- Zastępnik
- Zastępnik
- Zastępnik
- Zastępnik
Według tego planu powstaje
Powiązane blueprinty
Te blueprinty dzielą się wiedzą — technikami, materiałami lub zasadami

CC0 Domena publiczna
Ten plan jest udostępniany na licencji CC0. Możesz go swobodnie kopiować, modyfikować, rozpowszechniać i wykorzystywać do dowolnych celów, bez konieczności uzyskiwania zgody.
Wesprzyj Makera kupując produkty przez jego plan, za co zarabia Prowizja Makera ustalony przez sprzedawców, lub stwórz nową iterację tego planu i dołącz go jako połączenie w swoim własnym planie, aby dzielić się przychodami.