Współpraca
SZTUKA
Piękno i dobre samopoczucie
RZEMIOSŁO
KULTURA I HISTORIA
ROZRYWKA
ŚRODOWISKO
JEDZENIE I NAPOJE
INŻYNIERIA ODWROTNA
NAUKI
LEKKOATLETYKA
TECHNOLOGIA
URZĄDZENIA DO NOSZENIA
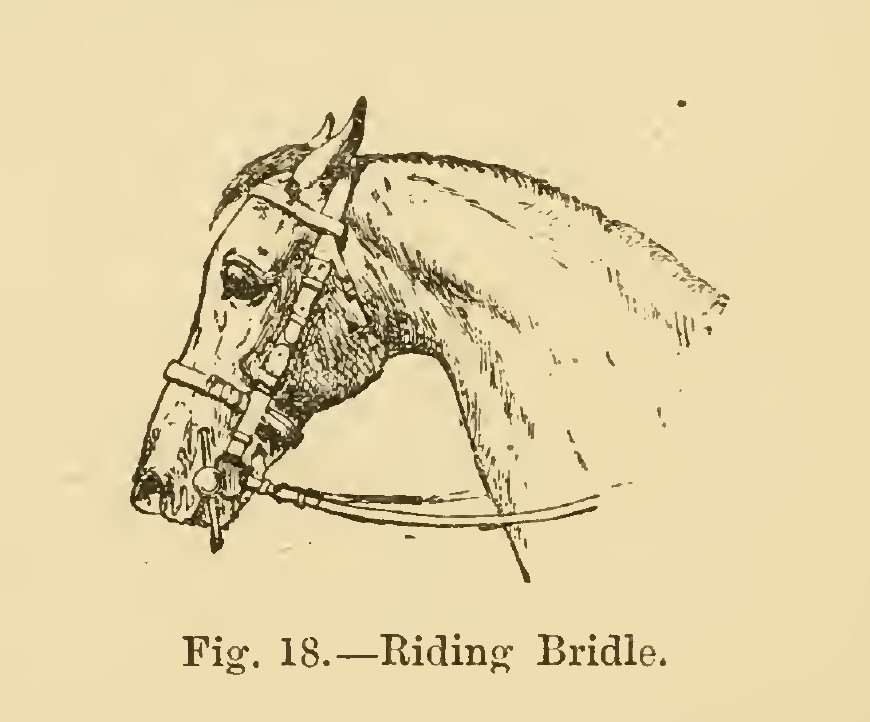


Snaffle Riding Bridle: Cheeks, Slit Head Strap, Front, Throat Lash and Reins (Hasluck, Saddlery, 1904)
The plain riding bridle, "a single head and rein bridle", from Paul N. Hasluck's Saddlery (1904): two cheeks buckled to a snaffle bit, a head strap slit at each end into cheek and throat-lash straps, a front (browband), a throat lash and a pair of buckled reins. Every size is his; the bit is bought.
It is the riding counterpart of the cart bridle.
Średniozaawansowany
About 1 day
Instrukcje
1
1
Cutting list
Cutting list
Wczytywanie notatnika Jupyter…
2
2
Read Saddlery, ch. VI
Read Saddlery, ch. VI
"All the stitching must be done from behind, so that the best face of the stitches will be next the horse when the bridle is on."
3
3
Make the cheeks
Make the cheeks
Cut two cheeks about 7/8 in wide and 9 in long. Each has a buckle at each end: one on a chape turned down, the other on the flat end of the strap without turning, with the billet underneath. Leave room for a loop before the buckle and the point of the cheek, and set the billet far enough behind the buckle for two loops; put a runner loop on the cheek and stitch another in with the chape. Cut the billets 9 in long. Stitch them in single-handed and back-stitch with linen thread, all from behind. Make one hole in each billet.
Materiały do tego kroku:
 Skóra uprzężowa1 sztuka
 Klamra mosiężna z kolcem4 sztuk
 Nić lniana1 sztuka
Potrzebne narzędzia:
 Nóż do skóry
 Fazownik krawędzi
 Bigownica
 Przecinak do szycia skóry
 Szydło
 Dwie igły rymarskie
 Kozioł rymarski
 Wzornik do szlufek
 Dziurkacz do skóry
4
4
Make the head strap
Make the head strap
Cut the head strap 1-1/8 in by 1 ft 10 in and slit it 5 in at each end. For a 3/4 in cheek, slit 3/4 in on one side and 3/8 in for a 3/8 in throat lash, with the wide slits on the same side at both ends. Punch four holes in each wide slit and six, closer together, in each narrow one.
Materiały do tego kroku:
Skóra uprzężowa1 sztukaPotrzebne narzędzia:
Nóż do skóryDziurkacz do skóry Miara zwijana
5
5
Make the front
Make the front
Cut the front 3/4 in by 1 ft 2-1/4 in from the end of one bend to the other, after bending. Turn it over the head strap and mark a line across close to it, so there is 1 ft 1 in between the cross lines. Stitch the ends down, with a row along each side.
Materiały do tego kroku:
Skóra uprzężowa1 sztukaNić lniana1 sztukaPotrzebne narzędzia:
Nóż do skóryPrzecinak do szycia skórySzydłoDwie igły rymarskie6
6
Make the throat lash
Make the throat lash
Make the throat lash 3/8 in by 1 ft 7 in after turning down for the buckles. Put two runner loops on it besides the loops at the buckles of each end.
Materiały do tego kroku:
Skóra uprzężowa1 sztukaKlamra mosiężna z kolcem2 sztukNić lniana1 sztukaPotrzebne narzędzia:
Nóż do skórySzydłoDwie igły rymarskieWzornik do szlufek7
7
Make the reins
Make the reins
Cut the reins 1 in or 7/8 in by 4 ft. Prepare them for the bit buckles like the bottom of the cheeks, in the flat. Put a 3/4 in covered buckle on the other end of one rein, narrowing its chape to the buckle's width, and narrow the end of the other rein for buckling. Put in the billets, 10 in long, with one loop before the buckle and two behind, "and always put the strong end of the rein in the billet end".
Materiały do tego kroku:
Skóra uprzężowa1 sztukaKlamra mosiężna z kolcem3 sztukNić lniana1 sztukaPotrzebne narzędzia:
Nóż do skórySzydłoDwie igły rymarskieWzornik do szlufek8
8
Put it together
Put it together
Buckle the cheeks to the head strap's wide slits and the throat lash to the narrow ones, run the front over the head strap, buckle the cheeks' lower ends and the reins to the snaffle bit's rings, and buckle the two reins together. Buckled billets let the bit be taken off, which he prefers to stitching the cheeks and reins fast to it.
Materiały do tego kroku:
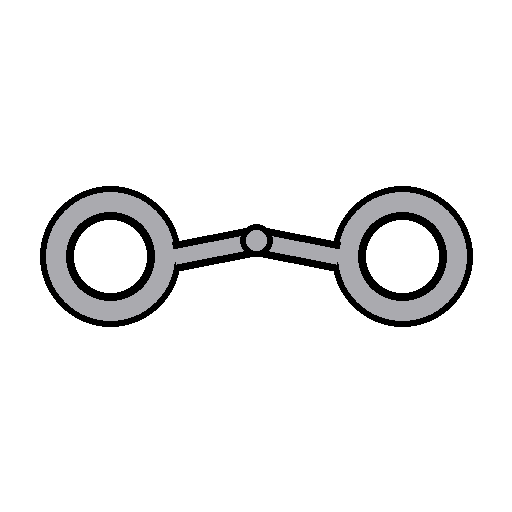 Wędzidło1 sztuka
9
9
Troubleshooting
Troubleshooting
Riding bridle troubleshooting.
Flow
Loading...
10
10
History and honest limits
History and honest limits
From **Saddlery**, edited by Paul N. Hasluck, David McKay, 1904 (archive.org saddlery00hasl), chapter VI, "Riding Bridles", the snaffle bridle; every fraction was read on the scan. Not made here: his Pelham, Weymouth, gag, exercising and stallion bridles. The bit is bought. The metric figures are ours.
Materiały
4- 5 sztukZastępnik
- 4 sztukZastępnik
- 4 sztukZastępnik
- 1 sztukaZastępnik
Wymagane narzędzia
10- Zastępnik
- Zastępnik
- Zastępnik
- Zastępnik
- Zastępnik
- Zastępnik
- Zastępnik
- Zastępnik
- Zastępnik
- 1 vendor sell this, none ship to you yetZastępnik
Według tego planu powstaje
Powiązane blueprinty
Te blueprinty dzielą się wiedzą — technikami, materiałami lub zasadami
CC0 Domena publiczna
Ten plan jest udostępniany na licencji CC0. Możesz go swobodnie kopiować, modyfikować, rozpowszechniać i wykorzystywać do dowolnych celów, bez konieczności uzyskiwania zgody.
Wesprzyj Makera kupując produkty przez jego plan, za co zarabia Prowizja Makera ustalony przez sprzedawców, lub stwórz nową iterację tego planu i dołącz go jako połączenie w swoim własnym planie, aby dzielić się przychodami.