Współpraca
SZTUKA
Piękno i dobre samopoczucie
RZEMIOSŁO
KULTURA I HISTORIA
ROZRYWKA
ŚRODOWISKO
JEDZENIE I NAPOJE
INŻYNIERIA ODWROTNA
NAUKI
LEKKOATLETYKA
TECHNOLOGIA
URZĄDZENIA DO NOSZENIA
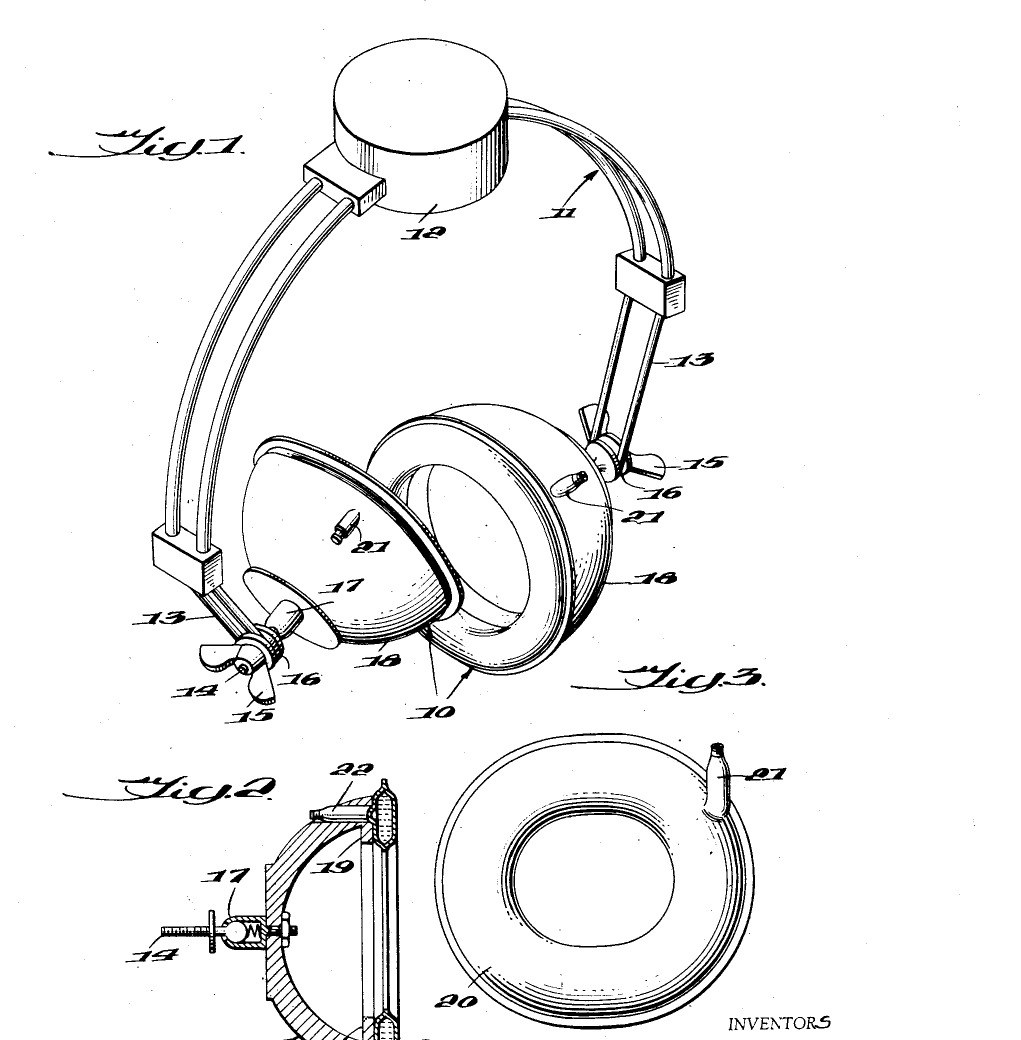


Hearing Protection (Ear Defenders): Rigid Cups on Liquid-Filled Cushions (Shaw & Thiessen, NRC, US 2,801,423, 1957)
Ear muffs that seal well and still stop low-pitched noise. Each ear is covered by a rigid cup on a cushion made of a thin PVC tube, emptied of air and part-filled with liquid. Pressed on, the liquid flows round the whole rim and fits the cushion to the head, yet cannot compress, so the cup does not vibrate as a whole and pass the sound in. A sprung headband with a pad holds the cups on ball joints.
Result: circumaural ear defenders effective against low-frequency noise.
Source: E. A. G. Shaw and G. J. Thiessen (National Research Council of Canada), US 2,801,423 (1957). Unknown: sizes and the attenuation achieved. Picture: the patent drawing.
Średniozaawansowany
Unknown
Instrukcje
1
1
Make the cups
Make the cups
Make two rigid, non-porous cups to go over the ears, of wood, a hard plastic or a light metal such as aluminium. Widen each rim to about the width of the cushion, and make a small hole in the rim for the cushion's filling nipple. Fix a ball joint on the back of each cup. Not given: sizes.
Materiały do tego kroku:
 Nieznany materiał2 kubków
 Nieznany metal2 ball joints
Potrzebne narzędzia:
 Tokarka do metalu
 Nieznane wymiary
2
2
Make the liquid cushions
Make the liquid cushions
For each cup make an endless tube of thin, pliable but non-stretching plasticised PVC, 0.005 to 0.01 in thick, with a filling nipple. Draw out almost all the air, then fill it with liquid to more than a quarter but well under the whole of its cross-section: enough to reach right round the rim when pressed, not so much that it cannot seal. Fix it on the rim with the nipple in the hole. Ours: water as the liquid. Not given: tube size.
Materiały do tego kroku:
 Płyta PVC1 thin plasticised PVC tube
 Woda1 filling
Potrzebne narzędzia:
 Zestaw strzykawek
3
3
Fit the headband and wear them
Fit the headband and wear them
Make a resilient headband frame with a sponge-rubber pad at its middle and a wire loop at each end. Through each loop pass a threaded stub from the cup's ball joint, with a washer, and tighten with a wing nut. Put the cups over the ears: the cushions take the shape of the head and seal, while the cups stay still against the low-frequency sound. Ours: spring steel for the frame.
Materiały do tego kroku:
 Drut sprężynowy1 frame and loopsNieznany materiał1 sponge rubber padNieznany metal2 threaded stubs
 Podkładka płaska2 sztuk
 Nakrętka skrzydełkowa2 sztuk
Potrzebne narzędzia:
 Szczypce okrągłe
Materiały
7- 1 sponge rubber padZastępnik
- 2 threaded stubsZastępnik
- 1 thin plasticised PVC tubeZastępnik
- 1 fillingZastępnik
- 1 frame and loopsZastępnik
- 2 sztukZastępnik
- 2 sztukZastępnik
Wymagane narzędzia
4- Zastępnik
- Zastępnik
- Zastępnik
- Zastępnik
Materiały z połączonych planów
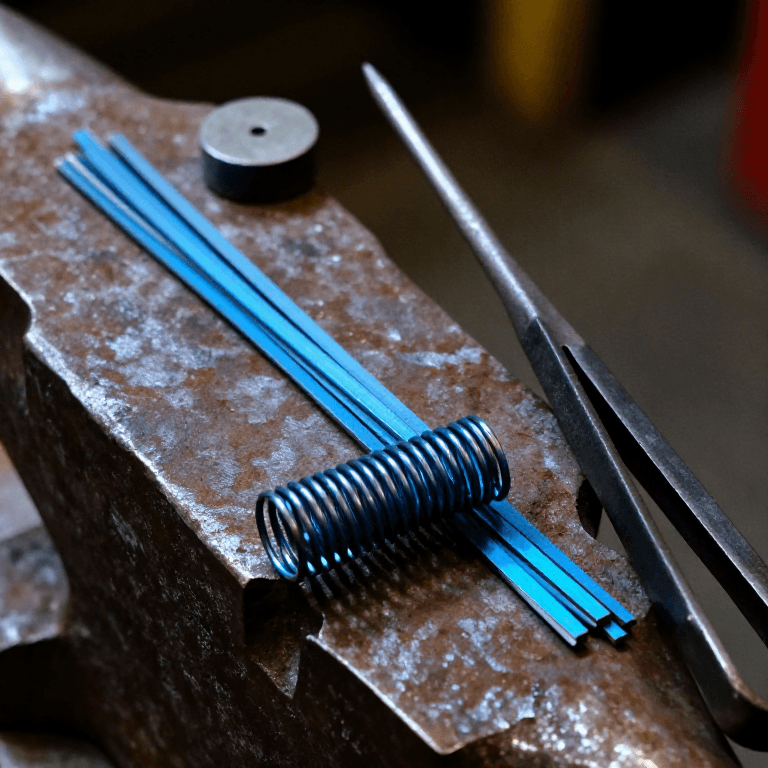

Według tego planu powstaje
CC0 Domena publiczna
Ten plan jest udostępniany na licencji CC0. Możesz go swobodnie kopiować, modyfikować, rozpowszechniać i wykorzystywać do dowolnych celów, bez konieczności uzyskiwania zgody.
Wesprzyj Makera kupując produkty przez jego plan, za co zarabia Prowizja Makera ustalony przez sprzedawców, lub stwórz nową iterację tego planu i dołącz go jako połączenie w swoim własnym planie, aby dzielić się przychodami.