SZTUKA
Piękno i dobre samopoczucie
RZEMIOSŁO
KULTURA I HISTORIA
ROZRYWKA
ŚRODOWISKO
JEDZENIE I NAPOJE
INŻYNIERIA ODWROTNA
NAUKI
LEKKOATLETYKA
TECHNOLOGIA
URZĄDZENIA DO NOSZENIA
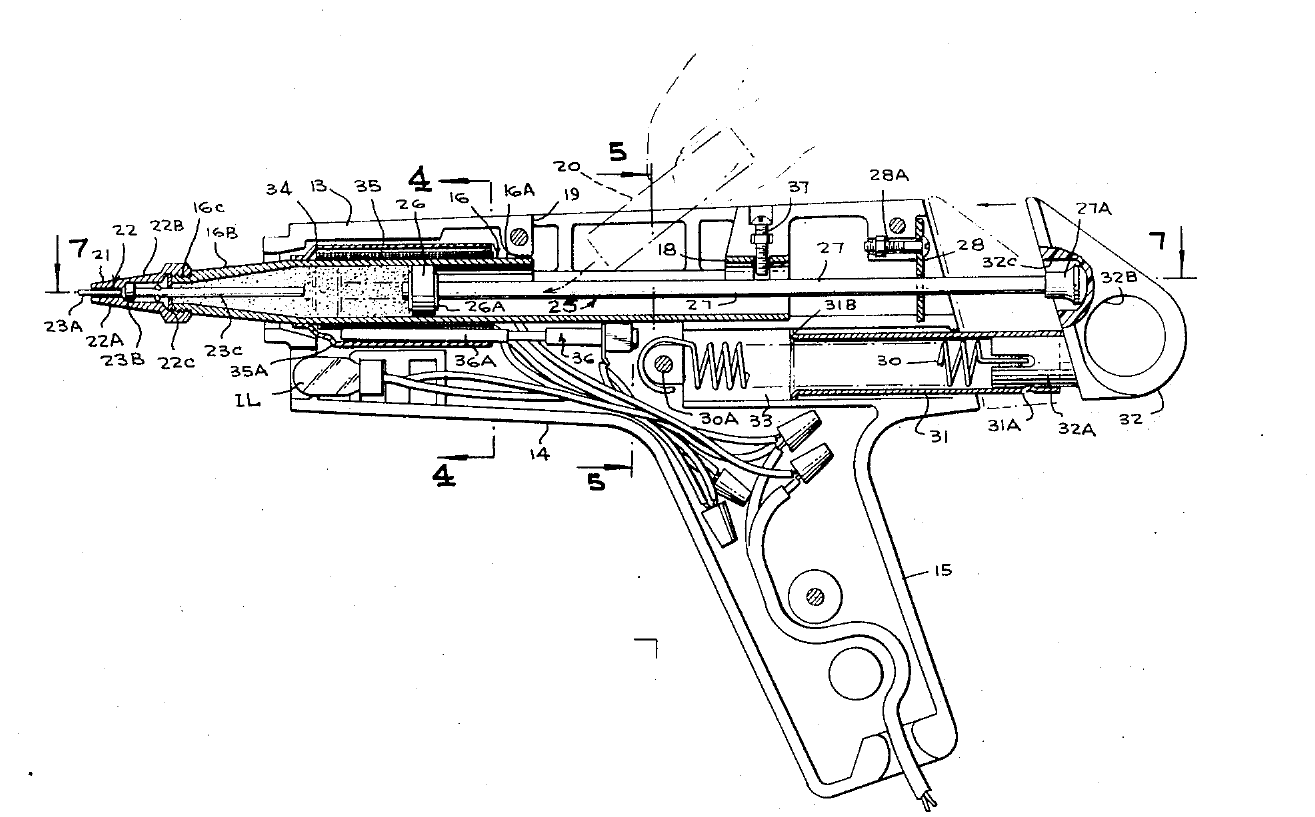


Hot Glue Gun: Weller & Brassaw, 1973
Carl E. Weller and Alden J. Brassaw, for Cooper Industries, patented this glue gun in 1973, US 3,744,921. A stick of solid hot-melt adhesive drops through a loading well into a tubular melt chamber that narrows to a nozzle. Mica sheet wound with nichrome wire and closed by a metal sleeve heats the chamber, under a thermostat. Instead of a thumb, ratchet or feed wheel pushing the stick, a spring drives a Teflon-tipped piston forward against it. A valve pin in the nozzle keeps it closed against dripping; pressing the projecting pin on the work opens it and the glue flows.
Zaawansowany
Factory process
Instrukcje
1
1
Housing and melt chamber
Housing and melt chamber
Fit the elongated tubular melt chamber between the two pistol-shaped housing halves: a uniform cylindrical barrel with a loading well opening through the top of the housing, a converging conical forward part and a threaded end.
Materiały do tego kroku:
 Połówki obudowy pistoletu do kleju1 sztuka
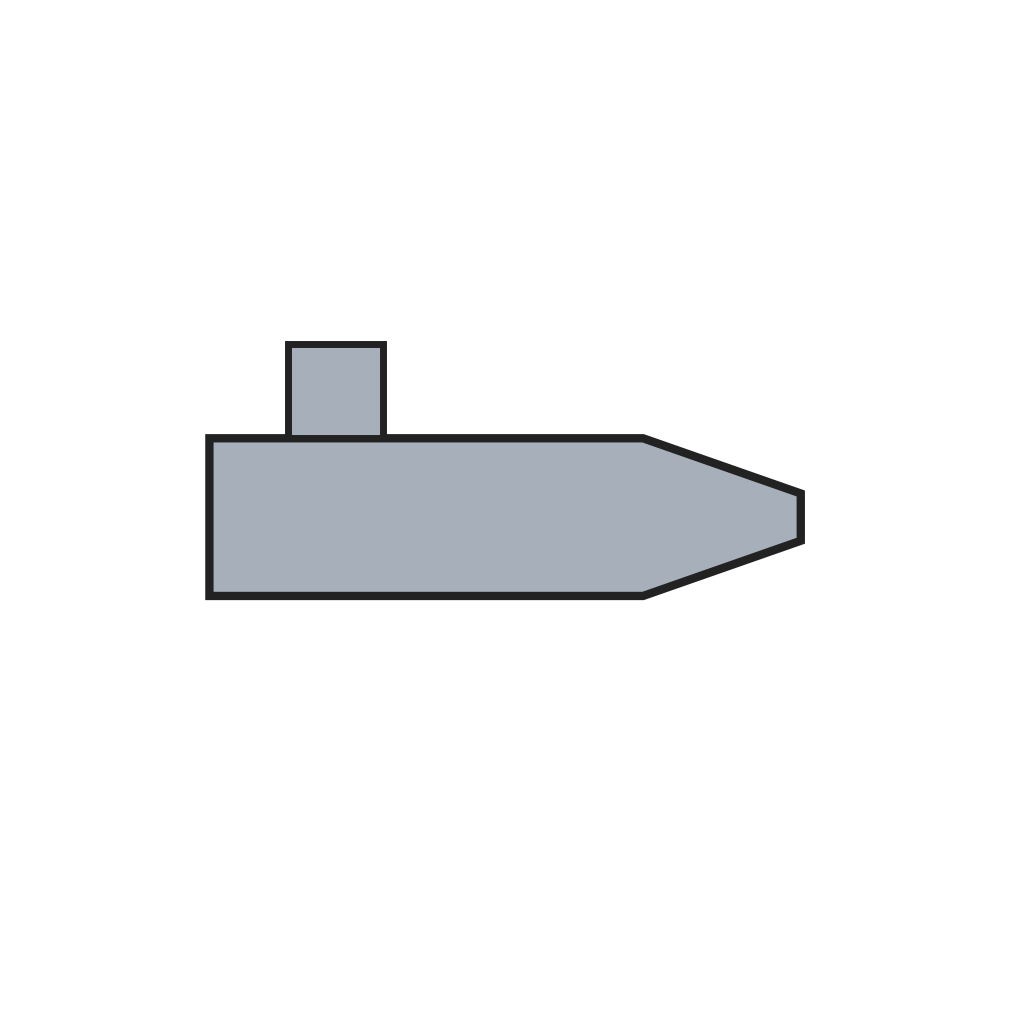 Rurowa komora topienia1 sztuka
Potrzebne narzędzia:
 Zestaw wkrętaków
2
2
Heater
Heater
Wrap mica sheeting spirally round the barrel with nichrome windings between the layers, close it in a tubular metal sleeve, and fit the thermostat in its well against it.
Materiały do tego kroku:
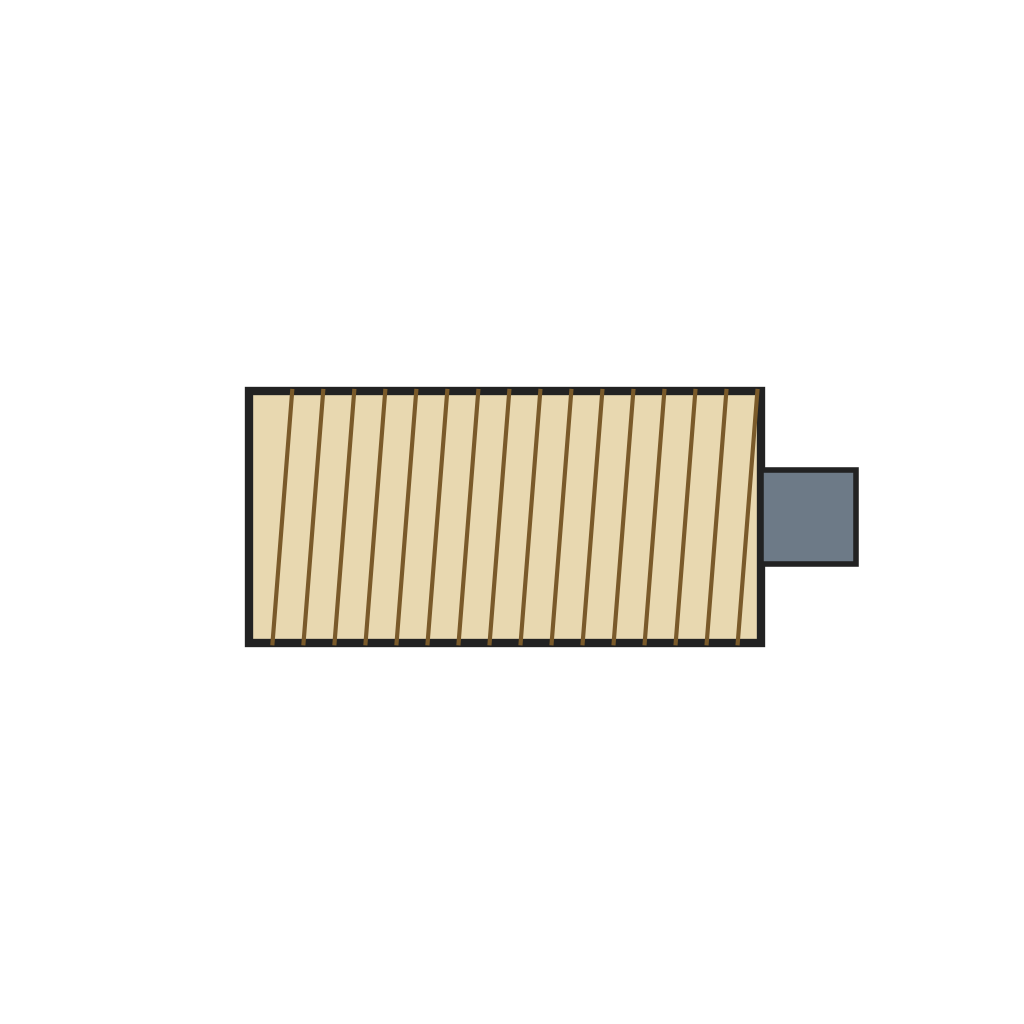 Grzałka nichromowa nawinięta na mice z termostatem1 sztuka
 Drut oporowy nichromowy1 as required
 Płytka miki1 as required
Potrzebne narzędzia:
 Kombinerki
3
3
Nozzle and valve
Nozzle and valve
Screw the nozzle onto the threaded end. Inside it, the valve pin's enlarged portion seats against the bore's step and its tip projects from the outlet; glue pressure holds it shut until the tip is pressed against the work.
Materiały do tego kroku:
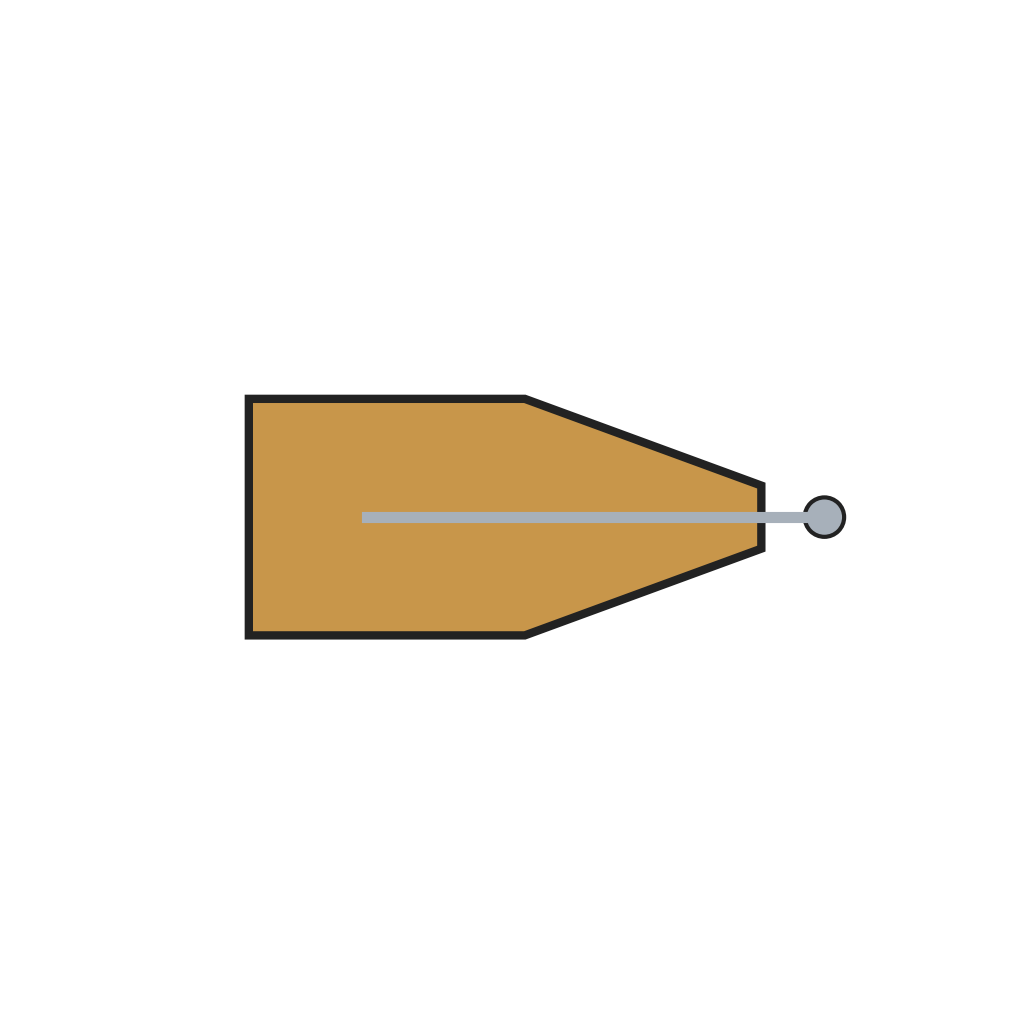 Dysza do kleju z zaworem1 sztuka
Potrzebne narzędzia:
 Klucz nastawny
4
4
Plunger
Plunger
Fit the plunger, a Teflon piston on a rod guided by a plate, behind the loading well, with its knob outside the housing; couple it to the spring in its tube through the pull device so the spring pushes the glue stick forward.
Materiały do tego kroku:
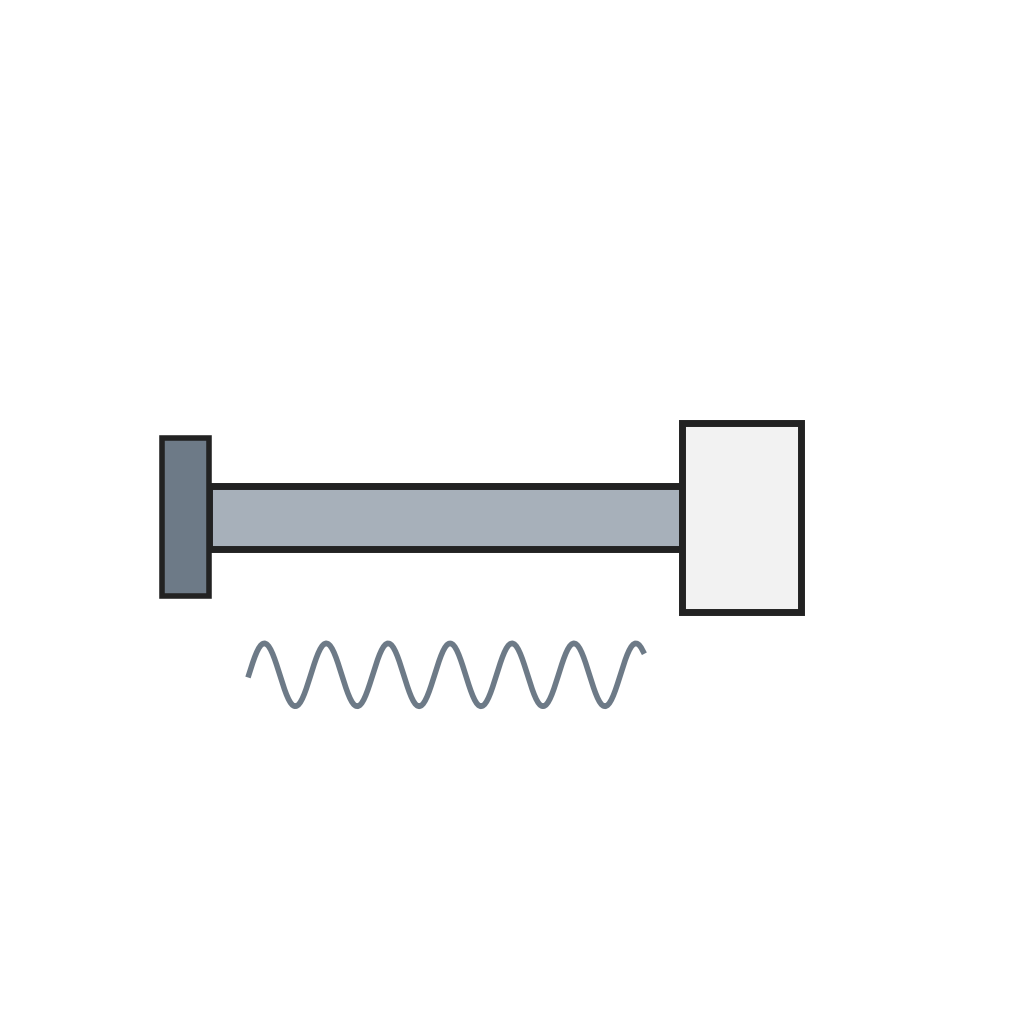 Popychacz sprężynowy z tłokiem z Teflonu1 sztuka
Potrzebne narzędzia:
Zestaw wkrętakówMateriały
7- Zastępnik
- 1 sztukaZastępnik
- Zastępnik
- 1 as requiredZastępnik
- 1 as requiredZastępnik
- 1 sztukaZastępnik
- Zastępnik
Wymagane narzędzia
3- Zastępnik
- Zastępnik
- Zastępnik
Według tego planu powstaje
Powiązane blueprinty
Te blueprinty dzielą się wiedzą — technikami, materiałami lub zasadami
CC0 Domena publiczna
Ten plan jest udostępniany na licencji CC0. Możesz go swobodnie kopiować, modyfikować, rozpowszechniać i wykorzystywać do dowolnych celów, bez konieczności uzyskiwania zgody.
Wesprzyj Makera kupując produkty przez jego plan, za co zarabia Prowizja Makera ustalony przez sprzedawców, lub stwórz nową iterację tego planu i dołącz go jako połączenie w swoim własnym planie, aby dzielić się przychodami.