SZTUKA
Piękno i dobre samopoczucie
RZEMIOSŁO
KULTURA I HISTORIA
ROZRYWKA
ŚRODOWISKO
JEDZENIE I NAPOJE
INŻYNIERIA ODWROTNA
NAUKI
LEKKOATLETYKA
TECHNOLOGIA
URZĄDZENIA DO NOSZENIA
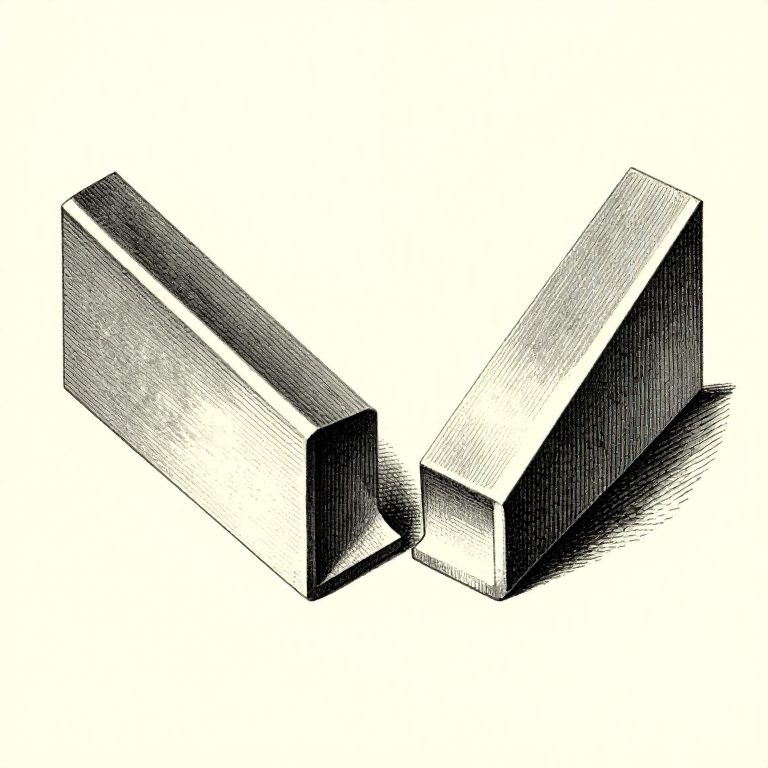


Joint Preparation: Most of a Weld Is Decided Before the Arc Is Struck
An arc melts a shallow pool. On thin sheet that is enough to fuse right through; on anything thicker it is not, and no amount of skill with the torch makes up for a joint the heat cannot reach.
So the joint is shaped first: edges cut square, faces cleaned back to bright metal, a bevel where the plate is too thick to fuse in one pass, a root gap so the first run can reach the bottom, and the parts clamped where they are meant to stay.
This rung covers the four decisions — cleanliness, fit-up, bevel and gap — and works out what a bevel costs in filler metal, because that number is also the heat that will pull the work out of shape.
Początkujący
2 hours
Instrukcje
1
1
Bright metal, or the weld is full of the coating
Bright metal, or the weld is full of the coating
Mill scale, rust, paint, galvanising, oil and cutting fluid all end up in the weld pool if they are still there when the arc arrives.
Scale and rust are oxides — they make slag inclusions and porosity. Paint and oil burn to gas under the arc and that gas is trapped as the pool freezes. Zinc from galvanising boils at 907 C, well below the pool temperature, so it comes off as a white fume that is genuinely dangerous to breathe (the hazard rung covers it).
Clean 25 mm back from the joint on both faces, not just the edge, because the arc wanders and the pool is wider than the gap. A wire brush takes loose rust; a flap disc or grinding wheel takes mill scale. Wipe solvent off and let it dry — a solvent-wet joint is worse than a dirty one.
Materiały do tego kroku:
 Blacha gruba ze stali niskowęglowej2 sztuk
 Płaskownik ze stali miękkiej1 sztuka
Potrzebne narzędzia:
 Szlifierka kątowa
 Tarcza szlifierska
 Zestaw szczotek drucianych
 Okulary ochronne bezbarwne
2
2
Fit-up: the gap you leave is the gap you have to fill
Fit-up: the gap you leave is the gap you have to fill
Two plates that meet with a 3 mm gap in one place and touch in another cannot be welded at one setting. Where they touch the arc burns a hole; where they gape the pool falls through.
Cut both edges square and check them against each other, not against a rule — a pair of edges that match make a good joint even if neither is exactly straight.
For a butt joint in plate up to about 5 mm, a root gap of roughly the electrode core diameter is the usual start: about 2.5 mm for a 2.5 mm rod. Less and the root does not fuse; more and the pool drops through. Clamp so the gap is held, and tack it (step 4 of the distortion rung explains the order).
Materiały do tego kroku:
Blacha gruba ze stali niskowęglowej2 sztukPotrzebne narzędzia:
 Kątownik nastawny
 Ścisk typu C
 Ścisk stolarski listwowy
 Linijka
 Blok steatytowy
3
3
The bevel, and what it costs
The bevel, and what it costs
Wczytywanie notatnika Jupyter…
Materiały do tego kroku:
Blacha gruba ze stali niskowęglowej2 sztukPotrzebne narzędzia:
Szlifierka kątowaTarcza szlifierska Kątomierz cyfrowy
 Komputer stacjonarny
4
4
Which joint, and why it is that one
Which joint, and why it is that one
Five joints cover nearly everything: butt, lap, tee, corner and edge.
A **butt** joint puts the two parts in the same plane and is the only one that can be made as strong as the parent metal, because the weld replaces the section rather than adding to it. It is also the one that needs the most preparation.
A **lap** joint overlaps the parts and welds along the exposed edges. It needs no edge preparation at all, which is why it is everywhere in sheet metal, but the load path bends through the overlap so it is poor in fatigue.
A **tee** joint stands one part on another and is welded with fillets in the two inside corners. This is the workhorse of frames and brackets.
A **corner** joint meets at the edges, and an **edge** joint welds two parallel faces along their common edge — useful for sheet, not for load.
Choose by the load first, then by how much preparation the job is worth. A handrail bracket does not need a bevelled butt weld.
Materiały do tego kroku:
Blacha gruba ze stali niskowęglowej2 sztuk Kątownik ze stali miękkiej1 sztuka
Potrzebne narzędzia:
Kątownik nastawnyBlok steatytowyMateriały
3- Zastępnik
- 1 sztukaZastępnik
- 1 sztukaZastępnik
Wymagane narzędzia
11- 1 vendor sell this, none ship to you yetZastępnik
- Zastępnik
- Zastępnik
- Zastępnik
- Zastępnik
- Zastępnik
- Zastępnik
- Zastępnik
- Zastępnik
- Zastępnik
- Zastępnik
Powiązane blueprinty
Te blueprinty dzielą się wiedzą — technikami, materiałami lub zasadami

CC0 Domena publiczna
Ten plan jest udostępniany na licencji CC0. Możesz go swobodnie kopiować, modyfikować, rozpowszechniać i wykorzystywać do dowolnych celów, bez konieczności uzyskiwania zgody.
Wesprzyj Makera kupując produkty przez jego plan, za co zarabia Prowizja Makera ustalony przez sprzedawców, lub stwórz nową iterację tego planu i dołącz go jako połączenie w swoim własnym planie, aby dzielić się przychodami.