SZTUKA
Piękno i dobre samopoczucie
RZEMIOSŁO
KULTURA I HISTORIA
ROZRYWKA
ŚRODOWISKO
JEDZENIE I NAPOJE
INŻYNIERIA ODWROTNA
NAUKI
LEKKOATLETYKA
TECHNOLOGIA
URZĄDZENIA DO NOSZENIA
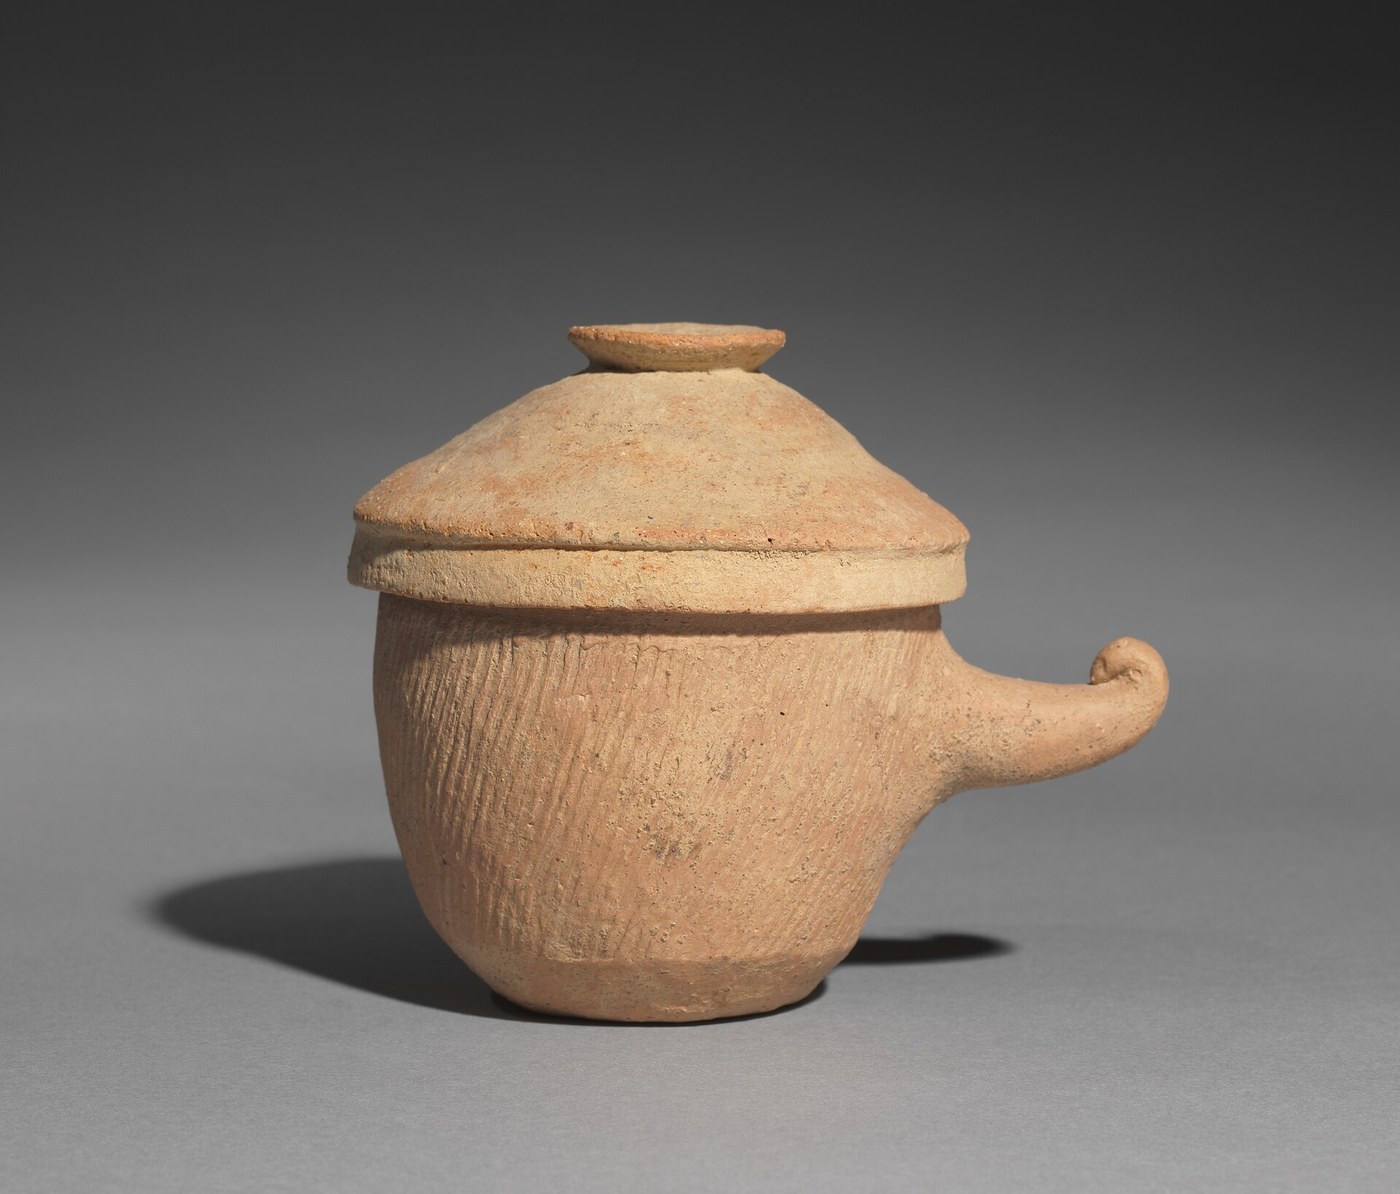


Lidded Storage Jar: a Coil-Built Pot with a Fitted Flanged Lid
Fired clay does not rust, react with salts or let light through, which is why herbs, pigments and remedies were kept in clay jars. This is our coil pot with a straight neck and a lid that sits inside it on a flange, made from the same clay at the same time so both shrink alike.
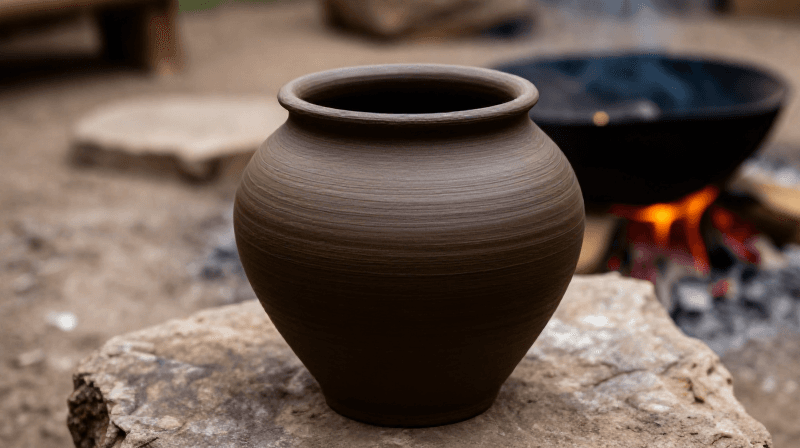
The picture: a lidded earthenware jar with a horn handle, Korea, Silla or Kaya period (Cleveland Museum of Art).
Średniozaawansowany
A week with drying and firing
Instrukcje
1
1
Wedge the clay
Wedge the clay
Wedge about 3 kg of clay body for the jar and its lid together, so both come from the same batch (the amount is ours, for a jar about 15 cm tall).
Materiały do tego kroku:
 Masa garncarska3 kg
Potrzebne narzędzia:
 Płótno robocze do ceramiki
 Nóż
2
2
Build the jar
Build the jar
Build a coil pot as in the coil pot blueprint, but bring the neck up straight and finish the rim level all round, so a lid can sit on it.
3
3
Make the lid
Make the lid
While the jar is still soft, roll a disc a little wider than the mouth. Measure the inside of the neck and add a coil ring underneath the disc that just fits inside it: the flange that keeps the lid from sliding. Score, slip and join it, and add a knob on top.
Materiały do tego kroku:
 Gęstwa ceramiczna (glina płynna)1 as required
Potrzebne narzędzia:
Płótno robocze do ceramiki Narzędzie do nacinania gliny
 Zestaw narzędzi garncarskichNóż
4
4
Fit at leather-hard
Fit at leather-hard
When jar and lid are both leather-hard, try the lid in place and pare the flange or rim until it seats without rocking. Smooth both with a damp sponge.
Potrzebne narzędzia:
Zestaw narzędzi garncarskich Komplet gąbek garncarskich
5
5
Dry and fire together
Dry and fire together
Dry them slowly to bone-dry, the lid off the jar, and fire them in the same pit firing as the coil pot, so they shrink alike.
Materiały do tego kroku:
 Drewno opałowe1 as required
Potrzebne narzędzia:
 Łopata
Materiały
3- 3 kgZastępnik
- 1 as requiredZastępnik
- 1 as requiredZastępnik
Według tego planu powstaje

Powiązane blueprinty
Te blueprinty dzielą się wiedzą — technikami, materiałami lub zasadami

CC0 Domena publiczna
Ten plan jest udostępniany na licencji CC0. Możesz go swobodnie kopiować, modyfikować, rozpowszechniać i wykorzystywać do dowolnych celów, bez konieczności uzyskiwania zgody.
Wesprzyj Makera kupując produkty przez jego plan, za co zarabia Prowizja Makera ustalony przez sprzedawców, lub stwórz nową iterację tego planu i dołącz go jako połączenie w swoim własnym planie, aby dzielić się przychodami.