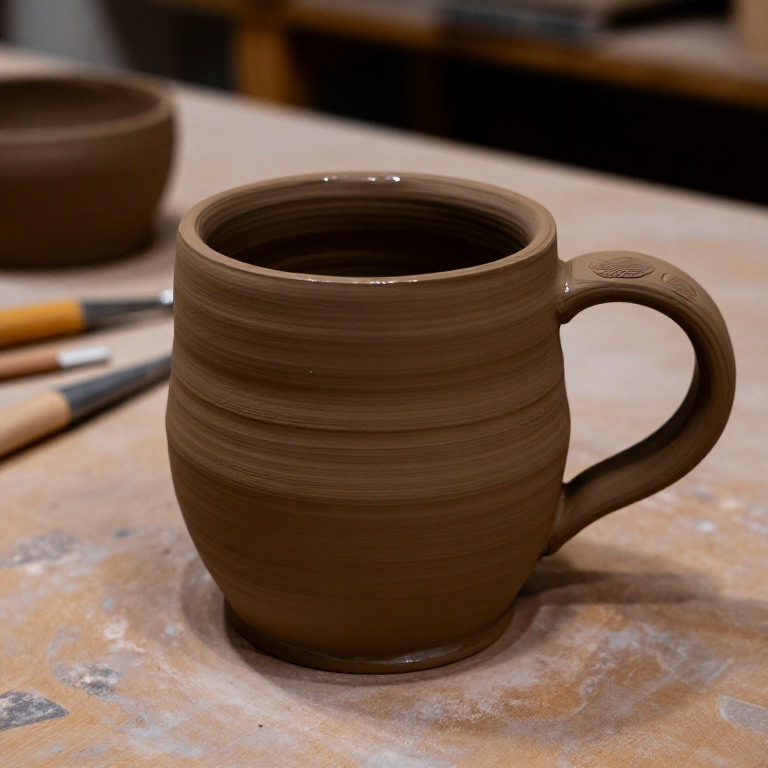
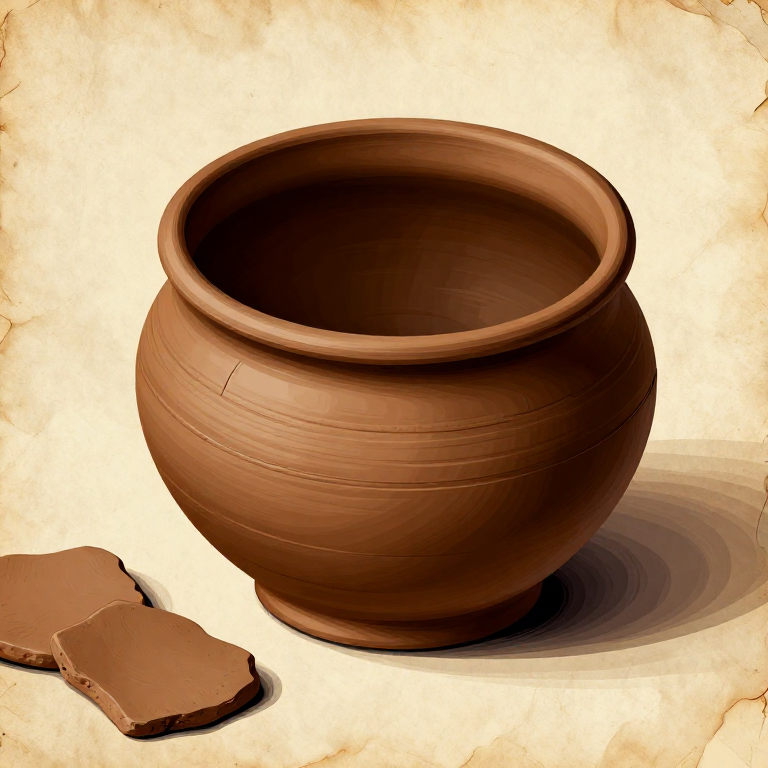
Hand-Building a Ceramic Mug with Slab Construction
Instrukcje
Preparing and Rolling Clay Slabs
Preparing and Rolling Clay Slabs
Wedging the Clay
Before building, wedge the clay for 3-5 minutes: push the clay forward with the heel of your palm, fold it back, rotate 90°, repeat. This serves two purposes:
- Removes air bubbles — trapped air expands during firing and can crack or explode the piece
- Creates uniform consistency — eliminates hard and soft spots
Rolling Slabs
- Place wedged clay on canvas or newspaper.
- Place 6mm guide sticks on each side of the clay.
- Roll the clay firmly and evenly with the rolling pin, resting it on the guide sticks. The guides ensure uniform thickness.
- Roll in multiple directions (rotate clay 90° periodically) for even thickness.
- You need two slabs: one for the body/wall (approx. 24cm × 10cm) and one for the base (large enough to cut a circle 7-8cm diameter).
Resting the Slabs
Let the rolled slabs rest for 15-30 minutes until they reach leather-hard stage — firm enough to handle without distorting but still flexible. This prevents slumping when you form the cylinder.
Materiały do tego kroku:
 Earthenware clay (firing range 1000-1150°C / Cone 06-1)1 kg
 Slip (liquid clay for joining)1 small container
Tools needed:
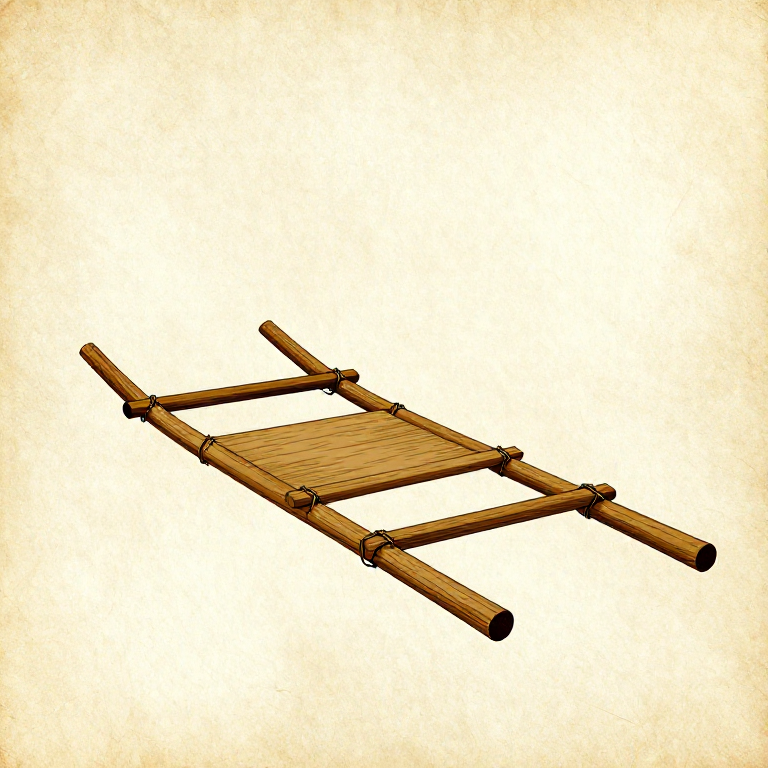
 Rolling pin (wooden or acrylic)
 Guide sticks/slats (6mm thick)
 Knife or clay cutting tool
 Fork or scoring tool
 Sponge
 Newspaper or canvas (work surface)
 Access to a kiln
Assembling the Mug Body
Assembling the Mug Body
Cutting the Pieces
- Wall: Cut a rectangle approximately 24cm × 10cm (the 24cm wraps around to form a cylinder of ~7.5cm diameter). Height of 10cm gives a standard mug after shrinkage.
- Base: Cut a circle 7-8cm diameter. Use a cup or compass as a template.
- Handle: Roll a coil approximately 12cm long × 1.5cm diameter, or cut a strip 12cm × 2cm × 6mm from the slab.
Score-and-Slip Joining
This is the most critical technique in slab construction. Clay pieces will NOT bond just by pressing together — they'll crack apart during drying or firing.
- Score: Use a fork or scoring tool to scratch a crosshatch pattern on both surfaces to be joined.
- Slip: Paint liquid slip (wet clay) on both scored surfaces.
- Press: Firmly press the pieces together and blend the seam with your finger or a tool.
Forming the Cylinder
- Score-and-slip the two short ends of the wall rectangle.
- Wrap the slab into a cylinder, overlapping the scored edges by ~1cm.
- Press and blend the seam inside and outside until invisible.
- Score-and-slip the bottom edge of the cylinder and the base circle.
- Press the cylinder onto the base. Blend the interior seam with your finger — reinforcing this joint is critical to prevent leaks.
Materiały do tego kroku:
Earthenware clay (firing range 1000-1150°C / Cone 06-1)1 kgSlip (liquid clay for joining)1 small containerAttaching the Handle and Finishing
Attaching the Handle and Finishing
Handle Attachment
- Gently curve the handle piece into a comfortable C or D shape.
- Mark where the handle will attach on the mug wall — typically 1cm below the rim (top) and 3cm above the base (bottom).
- Score-and-slip all four contact points (two on the handle ends, two on the mug wall).
- Press the handle firmly onto the mug. Blend the joints smoothly.
- Support the handle from the inside of the mug with your other hand while pressing — otherwise you'll deform the wall.
Finishing Touches
- Smooth all surfaces with a damp sponge. Pay special attention to seams — visible seams are structural weak points.
- Check the rim is level. Trim with a knife if needed, then smooth with the sponge.
- Ensure the base is flat so the mug sits without wobbling.
- Optionally, scratch your initials into the base (a maker's mark).
Drying (1-2 weeks)
The mug must dry completely and slowly before firing:
- Place on a wire rack or paper to allow air circulation under the base.
- Cover loosely with plastic for the first 2-3 days to slow initial drying (prevents cracking from uneven drying).
- Remove plastic and air-dry for another 5-10 days.
- The mug is ready for bisque firing when it's bone dry — it will be lighter in color, noticeably lighter in weight, and cool to the touch (wet clay feels cooler than room temperature).
Materiały do tego kroku:
Slip (liquid clay for joining)1 small containerEarthenware clay (firing range 1000-1150°C / Cone 06-1)1 kgBisque Firing, Glazing, and Glaze Firing
Bisque Firing, Glazing, and Glaze Firing
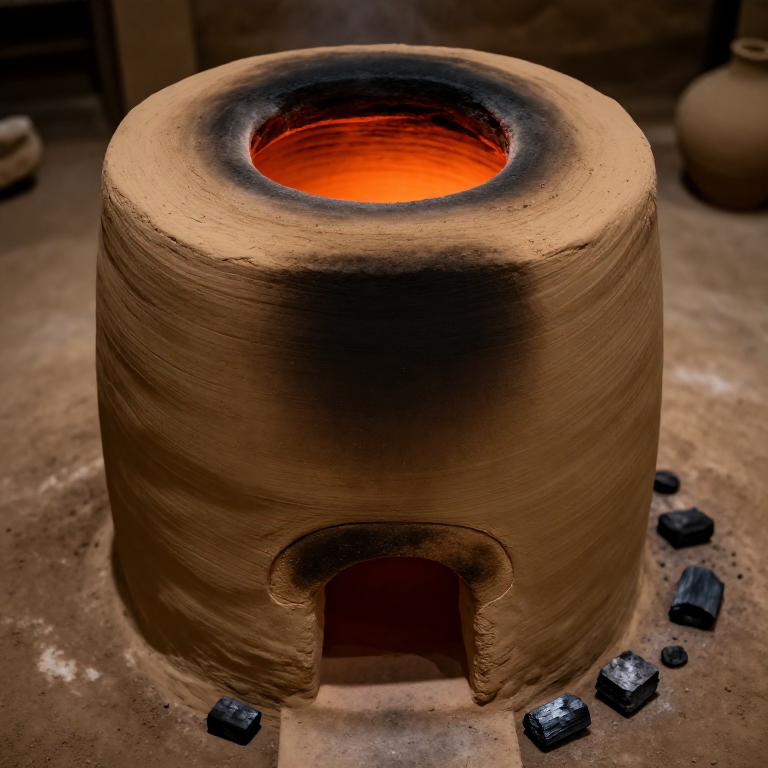
Bisque Firing (Cone 06, ~999°C / 1830°F)
The first firing converts the clay from fragile dried clay to hard, porous bisqueware:
- Place the bone-dry mug in the kiln (pieces must NOT touch each other or kiln walls).
- Fire to Cone 06 (~999°C / 1830°F) for earthenware.
- The kiln ramps up slowly (typically 8-12 hours) and cools down slowly (another 12-24 hours). Do not open the kiln until it's below 100°C.
- After bisque firing, the mug is porous (absorbs water) and hard. It can now absorb glaze.
Glazing
- Wipe bisqueware with a damp sponge to remove dust.
- Wax the bottom: Apply kiln wash or melted wax to the bottom 3mm of the mug and the entire base. Glaze on the base will fuse to the kiln shelf — ruining both.
- Apply glaze: Dip the mug into the glaze bucket (hold by the waxed base), hold for 3 seconds, and remove. Or brush on 3 even coats, letting each coat dry between applications.
- The glaze layer should be approximately 1-2mm thick — too thin = bare spots, too thick = runs and drips.
- Clean the bottom: Wipe any glaze off the waxed base with a damp sponge.
Glaze Firing (Cone 06-1, matching clay)
- Fire to the temperature specified by your glaze (must match your clay's firing range).
- The glaze melts, flows, and fuses into a glassy surface. This is what makes the mug waterproof and food-safe.
- After cooling (12-24 hours), your mug is complete — a functional, food-safe drinking vessel.
Troubleshooting
| Issue | Cause | Prevention |
|---|---|---|
| Cracks during drying | Uneven drying (thick and thin areas) | Uniform slab thickness, slow drying |
| Handle falls off | Insufficient score-and-slip | Score deeply, use generous slip, blend joints |
| Explodes in kiln | Trapped air or moisture | Wedge clay thoroughly, ensure bone-dry before firing |
| Glaze crawling (bare spots) | Dusty bisqueware or too-thin glaze | Clean bisqueware, apply adequate glaze thickness |
Materiały do tego kroku:
Slip (liquid clay for joining)1 small container Food-safe glaze (lead-free, cone 06-1)1 słoikEarthenware clay (firing range 1000-1150°C / Cone 06-1)1 kg
Materiały
3- 1 kg kgPlaceholder
- 1 small container small containerPlaceholder
- 1 jar słoikPlaceholder
Related blueprints
Other builds that share materials, tools, or techniques with this one.
CC0 Domena publiczna
Ten plan jest udostępniany na licencji CC0. Możesz go swobodnie kopiować, modyfikować, rozpowszechniać i wykorzystywać do dowolnych celów, bez konieczności uzyskiwania zgody.
Wesprzyj Makera kupując produkty przez jego plan, za co zarabia Prowizja Makera ustalony przez sprzedawców, lub stwórz nową iterację tego planu i dołącz go jako połączenie w swoim własnym planie, aby dzielić się przychodami.