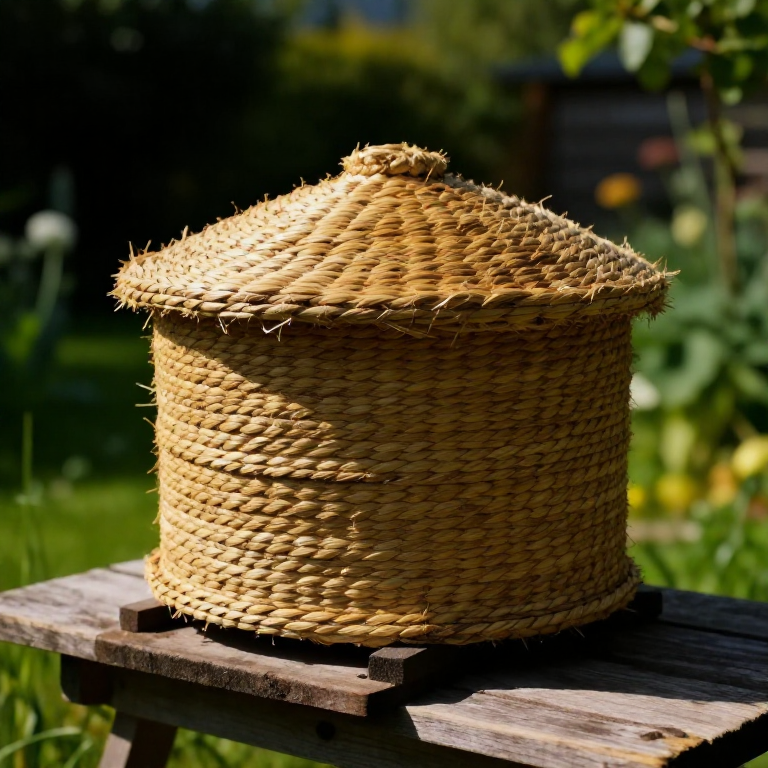
Making a Coiled-Straw Bee Skep — The Traditional Beehive Before Wooden Boxes
Instrukcje
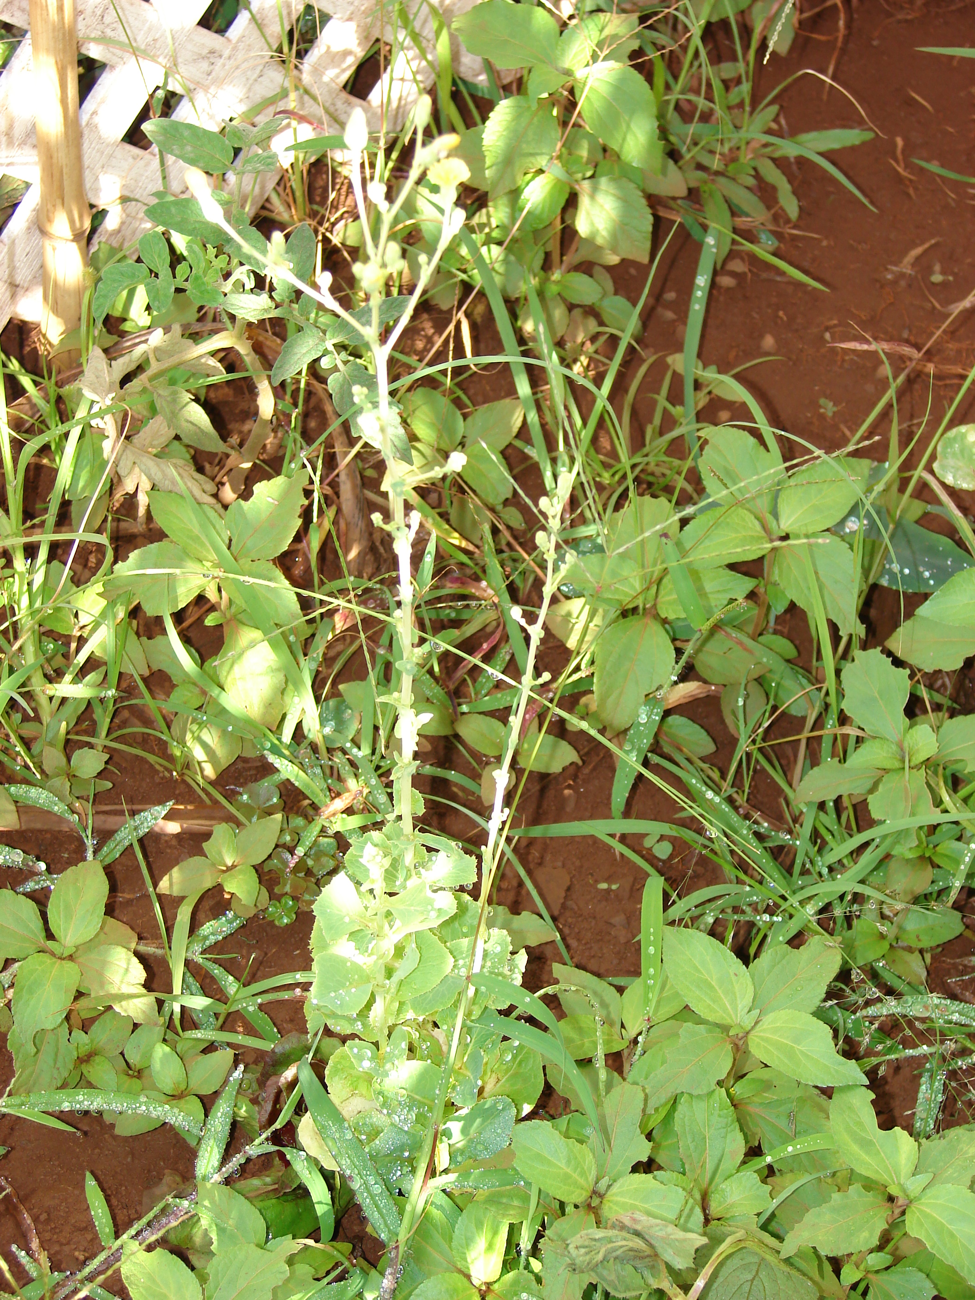
Harvest and clean long rye straw
Harvest and clean long rye straw
Materiały do tego kroku:
 Rye Straw1 wiązka
Tools needed:
 Knife
KnifeSplit and soak the binding cane
Split and soak the binding cane
Materiały do tego kroku:
 Split Cane1 wiązka
 Water3 litrów
Tools needed:
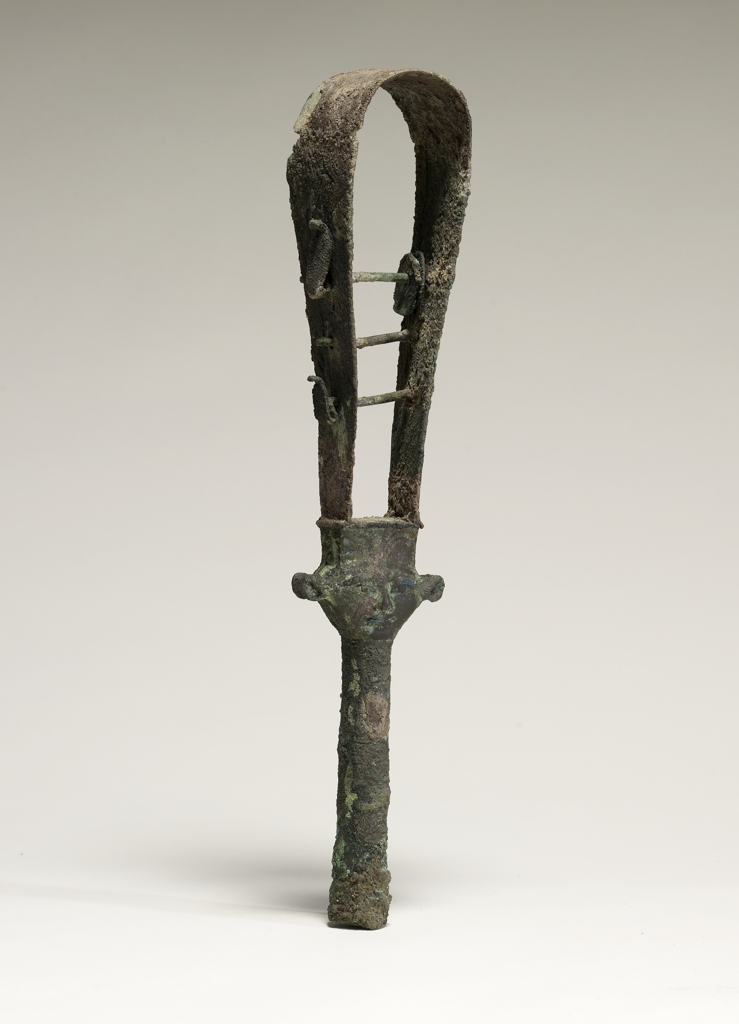
KnifeMake the girth gauge
Make the girth gauge
Tools needed:
 Skep Girth Gauge
Bind the crown
Bind the crown
Materiały do tego kroku:
Rye Straw1 wiązkaSplit Cane1 metrTools needed:
 Awl
AwlFeed straw into an even rope
Feed straw into an even rope
Materiały do tego kroku:
Rye Straw1 wiązkaTools needed:
Skep Girth GaugeSew the first coils to the crown
Sew the first coils to the crown
Materiały do tego kroku:
Split Cane1 metrTools needed:
AwlSpiral outward to start the dome
Spiral outward to start the dome
Materiały do tego kroku:
Rye Straw1 wiązkaSplit Cane1 metrTools needed:
AwlBuild the domed wall downward
Build the domed wall downward
Materiały do tego kroku:
Rye Straw1 wiązkaSplit Cane1 metrTools needed:
AwlSkep Girth GaugeKeep the courses even
Keep the courses even
Materiały do tego kroku:
Rye Straw1 wiązkaTools needed:
AwlWiden to the finished base
Widen to the finished base
Materiały do tego kroku:
Rye Straw1 wiązkaSplit Cane1 metrTools needed:
AwlCut the flight entrance
Cut the flight entrance
Tools needed:
KnifeFinish and lock the base coil
Finish and lock the base coil
Materiały do tego kroku:
Split Cane1 metrTools needed:
AwlTrim the skep clean
Trim the skep clean
Tools needed:
KnifeClom the outside for weatherproofing
Clom the outside for weatherproofing
Materiały do tego kroku:
 Cow Dung2 kg
 Ball Clay1 kg
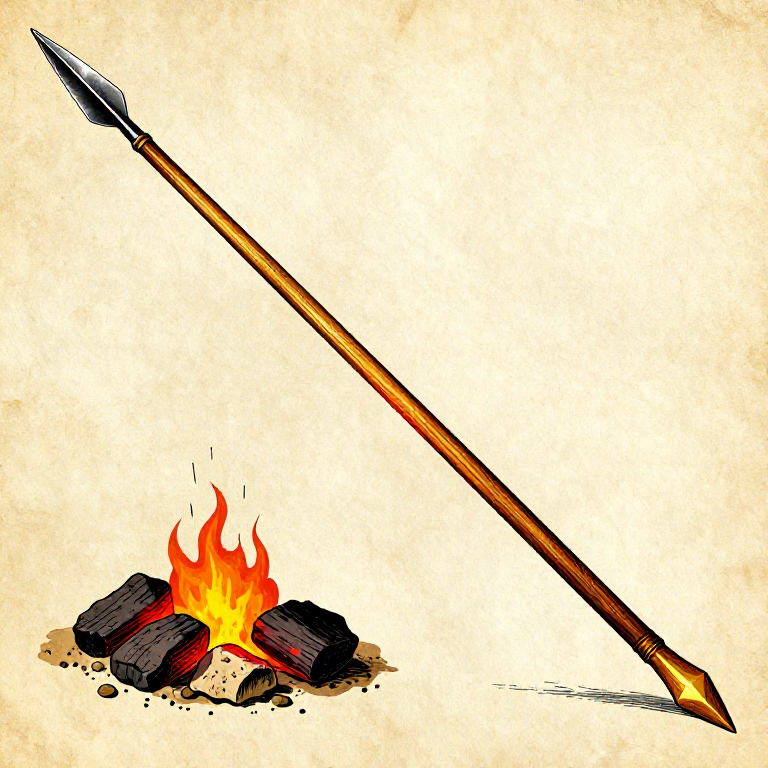
Cure the finished skep
Cure the finished skep
Materiały
6- 1 wiązkaPlaceholder
- 6 metrówPlaceholder
Materiały z połączonych planów
Powiązane blueprinty
Te blueprinty dzielą się wiedzą — technikami, materiałami lub zasadami
Related blueprints
Other builds that share materials, tools, or techniques with this one.


CC0 Domena publiczna
Ten plan jest udostępniany na licencji CC0. Możesz go swobodnie kopiować, modyfikować, rozpowszechniać i wykorzystywać do dowolnych celów, bez konieczności uzyskiwania zgody.
Wesprzyj Makera kupując produkty przez jego plan, za co zarabia Prowizja Makera ustalony przez sprzedawców, lub stwórz nową iterację tego planu i dołącz go jako połączenie w swoim własnym planie, aby dzielić się przychodami.