Współpraca
SZTUKA
Piękno i dobre samopoczucie
RZEMIOSŁO
KULTURA I HISTORIA
ROZRYWKA
ŚRODOWISKO
JEDZENIE I NAPOJE
INŻYNIERIA ODWROTNA
NAUKI
LEKKOATLETYKA
TECHNOLOGIA
URZĄDZENIA DO NOSZENIA
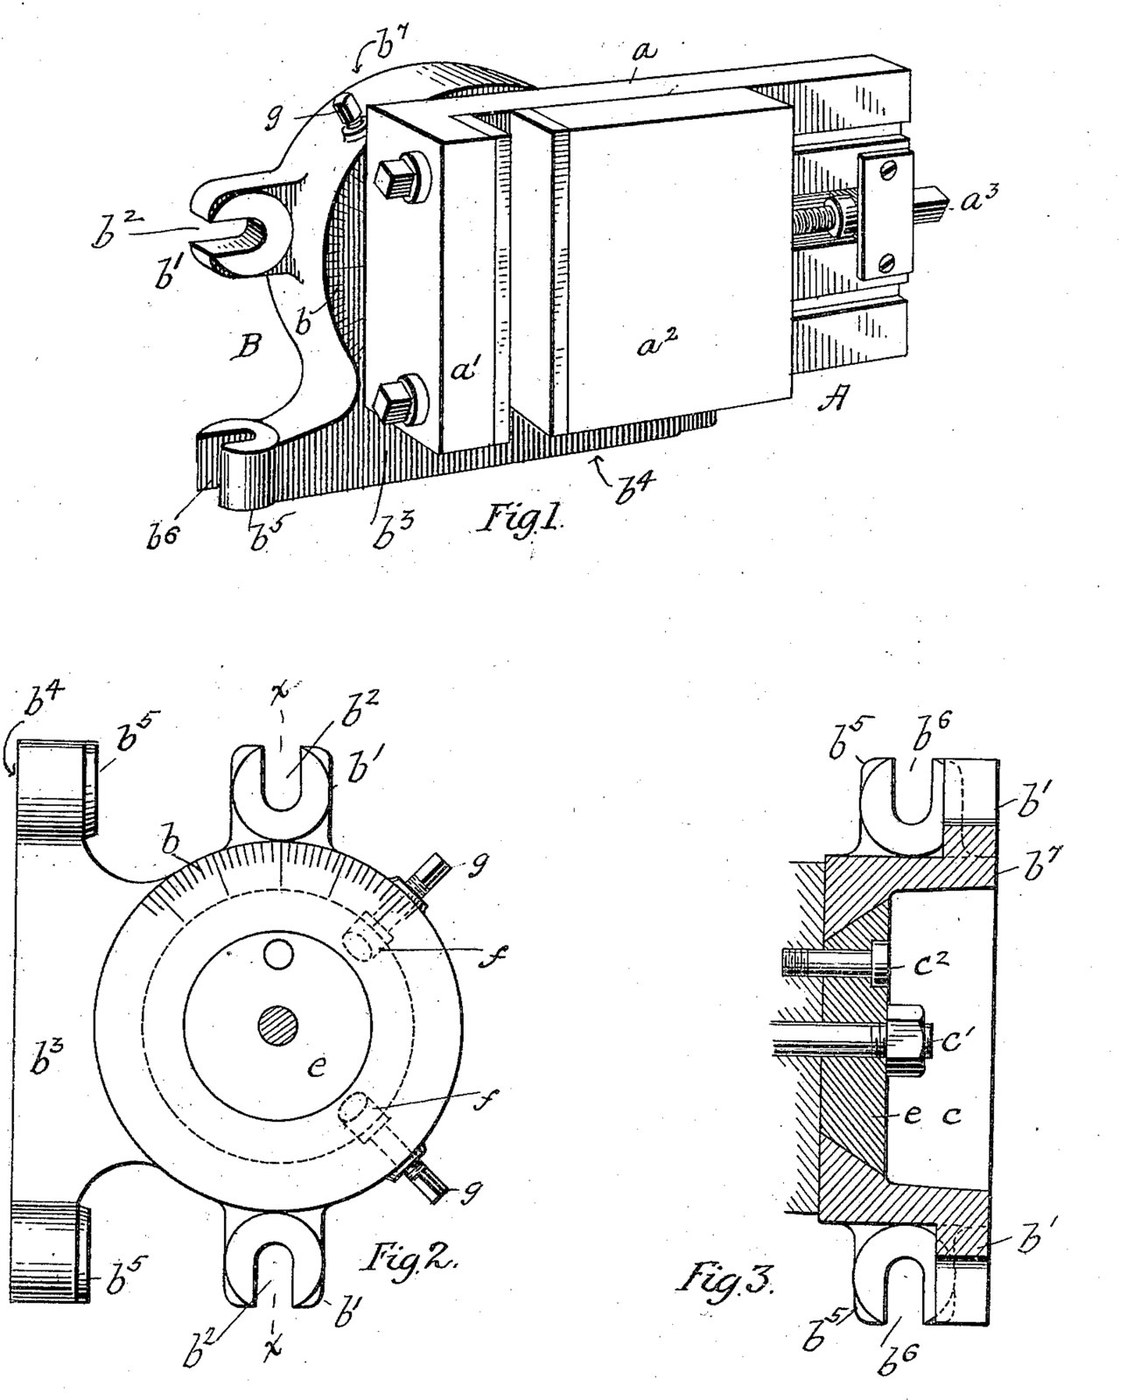


Milling Vise: Swivelled on a Two-Face Base with a Cone Seat and Locking Shoes (McClellan, US 652,441)
A milling vise holds the work on the table of a milling machine: a fixed jaw, a jaw moved by a screw, and a base that lets the vise swivel to any angle. E. J. McClellan (US 652,441, 1900) turns the vise on a cone-shaped disk in a matching seat in a cylindrical base, reads the angle on a scale, and locks it with two shoes screwed against the cone.
His base has two planed faces at right angles, each with its own bolt slots, so the vise can be bolted to the table lying flat or standing upright.
Source: E. J. McClellan, "Milling-Machine Vise", US Patent 652,441 (1900). Picture: its Figs. 1-3.
Zaawansowany
Unknown
Instrukcje
1
1
Read McClellan
Read McClellan
"With such a construction it is possible to support the vise in one plane only, which plane is horizontal; but it is often found desirable to mount the vise in an upright position upon the slide in order to use the machine to the best advantage".
2
2
Make the base
Make the base
Make a cylindrical block. Plane one end face square to its axis to fit the machine table, with two ears at opposite points, slotted for bolts parallel to the axis. Give it a side extension with a second planed face at right angles to the first and parallel to the axis, with its own slotted ears, so the base can be bolted down on its end or on its side. Mark a scale round part of the opposite end face. Sizes, metal and how the scale is cut are not given.
Materiały do tego kroku:
 Nieznany metal1 base
Potrzebne narzędzia:
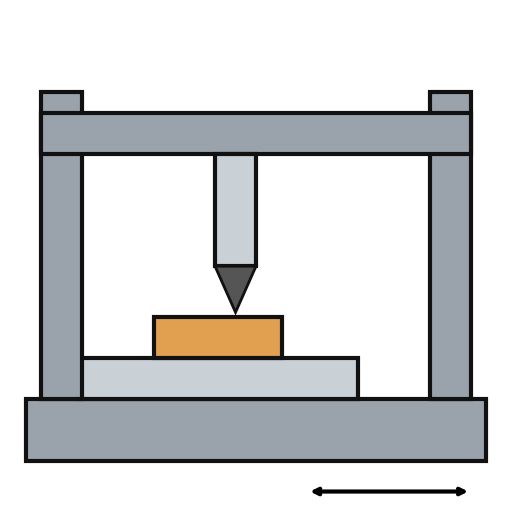 Strugarka do metalu
 Pilniki (pilnik ręczny)
 Nieznane wymiary
 Nieznana metoda kształtowania
3
3
Cut the cone seat
Cut the cone seat
Bore a large central opening through the base and turn the end next to the scale into a conical seat, narrowest at the scaled face. Turn a disk with a matching conical edge. Drill two radial holes into the seat, ninety degrees apart, fit a shoe in each whose face forms part of the cone, and tap the holes behind them for adjusting screws.
Materiały do tego kroku:
Nieznany metal1 diskNieznany metal2 shoesPotrzebne narzędzia:
 Tokarka do metalu
 Wiertarka stołowa
 Zestaw wierteł
 Zestaw do gwintowania
4
4
Make the vise
Make the vise
Make a plate carrying a fixed jaw, and a second plate as the sliding jaw, fitted to slide on the first and moved by a screw. Put an index mark on the vise to read against the base scale. The vise may be of any good construction; its sizes and the screw's thread are not given.
Materiały do tego kroku:
Nieznany metal1 plate and fixed jawNieznany metal1 sliding jawNieznany metal1 screwPotrzebne narzędzia:
Strugarka do metaluTokarka do metaluWiertarka stołowaZestaw wiertełZestaw do gwintowaniaNieznane wymiary5
5
Assemble and set
Assemble and set
Pass the disk into its seat from below and bolt it to the vise plate with a centre bolt and an off-centre bolt. Bolt the base to the table on whichever face suits the job. To set an angle, slacken the bolts, swivel the vise to the scale, and screw the two shoes hard against the cone to lock it.
Materiały do tego kroku:
 Zestaw śrub sześciokątnych1 centre and off-centre bolts
Potrzebne narzędzia:
 Klucz nastawny
Materiały
2- 1 screwZastępnik
- 1 centre and off-centre boltsZastępnik
Wymagane narzędzia
9- Zastępnik
- Zastępnik
- Zastępnik
- Zastępnik
- Zastępnik
- Zastępnik
- Zastępnik
- Zastępnik
- Zastępnik
Według tego planu powstaje

CC0 Domena publiczna
Ten plan jest udostępniany na licencji CC0. Możesz go swobodnie kopiować, modyfikować, rozpowszechniać i wykorzystywać do dowolnych celów, bez konieczności uzyskiwania zgody.
Wesprzyj Makera kupując produkty przez jego plan, za co zarabia Prowizja Makera ustalony przez sprzedawców, lub stwórz nową iterację tego planu i dołącz go jako połączenie w swoim własnym planie, aby dzielić się przychodami.