SZTUKA
Piękno i dobre samopoczucie
RZEMIOSŁO
KULTURA I HISTORIA
ROZRYWKA
ŚRODOWISKO
JEDZENIE I NAPOJE
INŻYNIERIA ODWROTNA
NAUKI
LEKKOATLETYKA
TECHNOLOGIA
URZĄDZENIA DO NOSZENIA
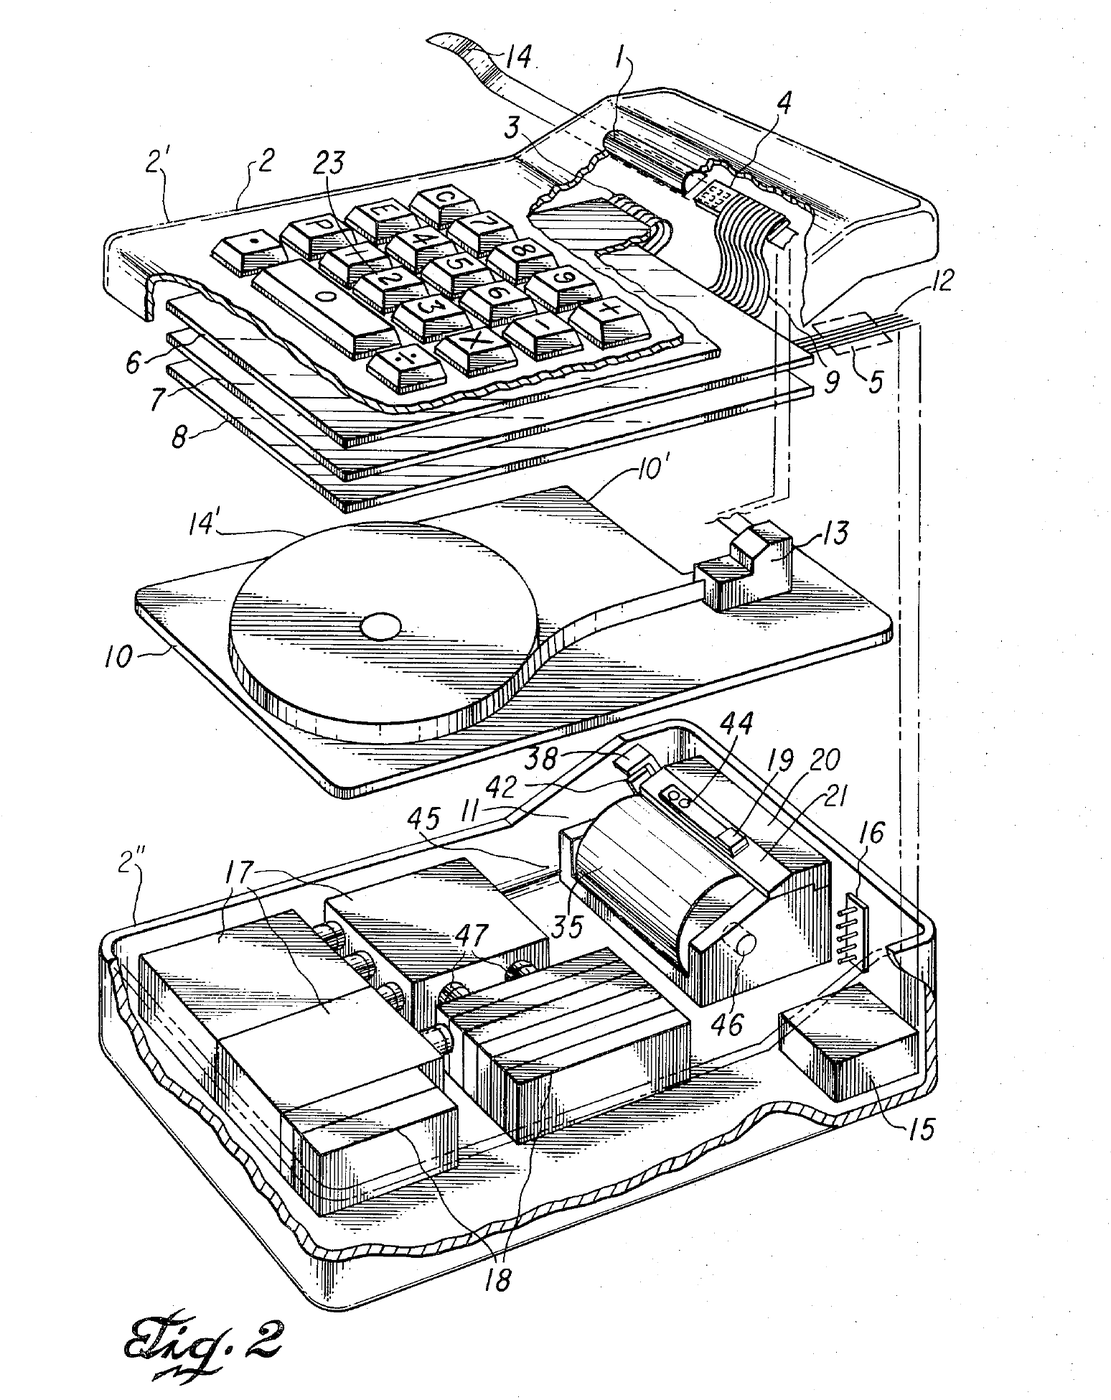


Miniature Printing Electronic Calculator: Kilby, Merryman & Van Tassel, 1974
Jack S. Kilby, Jerry D. Merryman and James H. Van Tassel of Texas Instruments first filed for this portable calculator in 1967; the patent, US 3,819,921, was granted in 1974. It adds, subtracts, multiplies and divides. All the arithmetic and control is done by one integrated semiconductor circuit array lying flat under the keyboard encoder. Answers are printed by a thermal print head, a 3 × 5 array of heater elements on a semiconductor wafer, on heat-sensitive paper tape read through a magnifying window. The case measured 4¼ × 6⅛ × 1¾ inches and the calculator weighed 45 ounces, running on batteries.
Zaawansowany
Factory process
Instrukcje
1
1
Keys and encoder
Keys and encoder
Mount the 18 keys (0–9, +, −, ×, ÷, the decimal point, C for clear, E for error and P for print) in stepped holes in the upper case. Each key shaft slides in a bearing; a helix spring under the shaft head returns it, guide pins stop it turning, and a resilient pad at its base carries a thin gold-plated copper strip. Below lies the encoder: conductive strips on an insulating board, grouped so each key shorts its own set of output terminals and encodes its digit in excess-3 binary code.
Materiały do tego kroku:
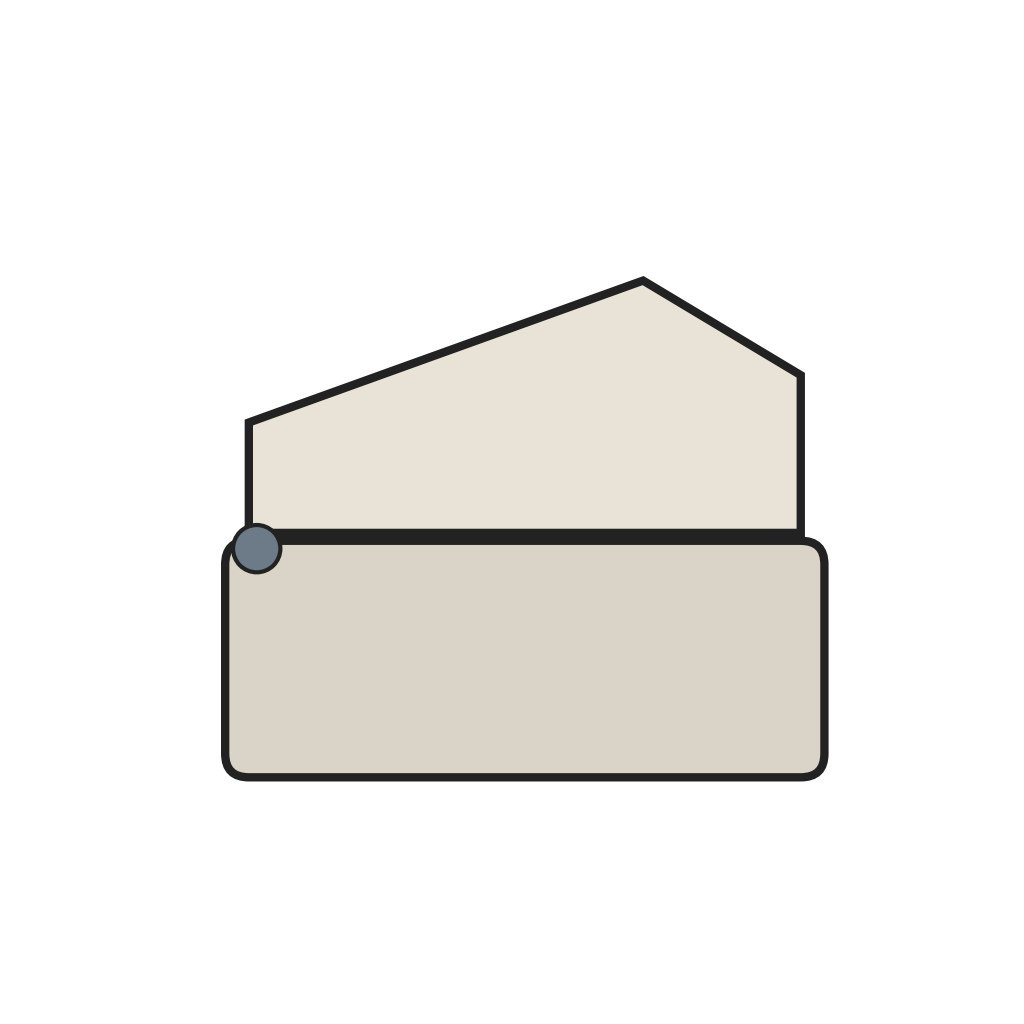 Dwuczęściowa obudowa kalkulatora z zawiasem1 sztuka
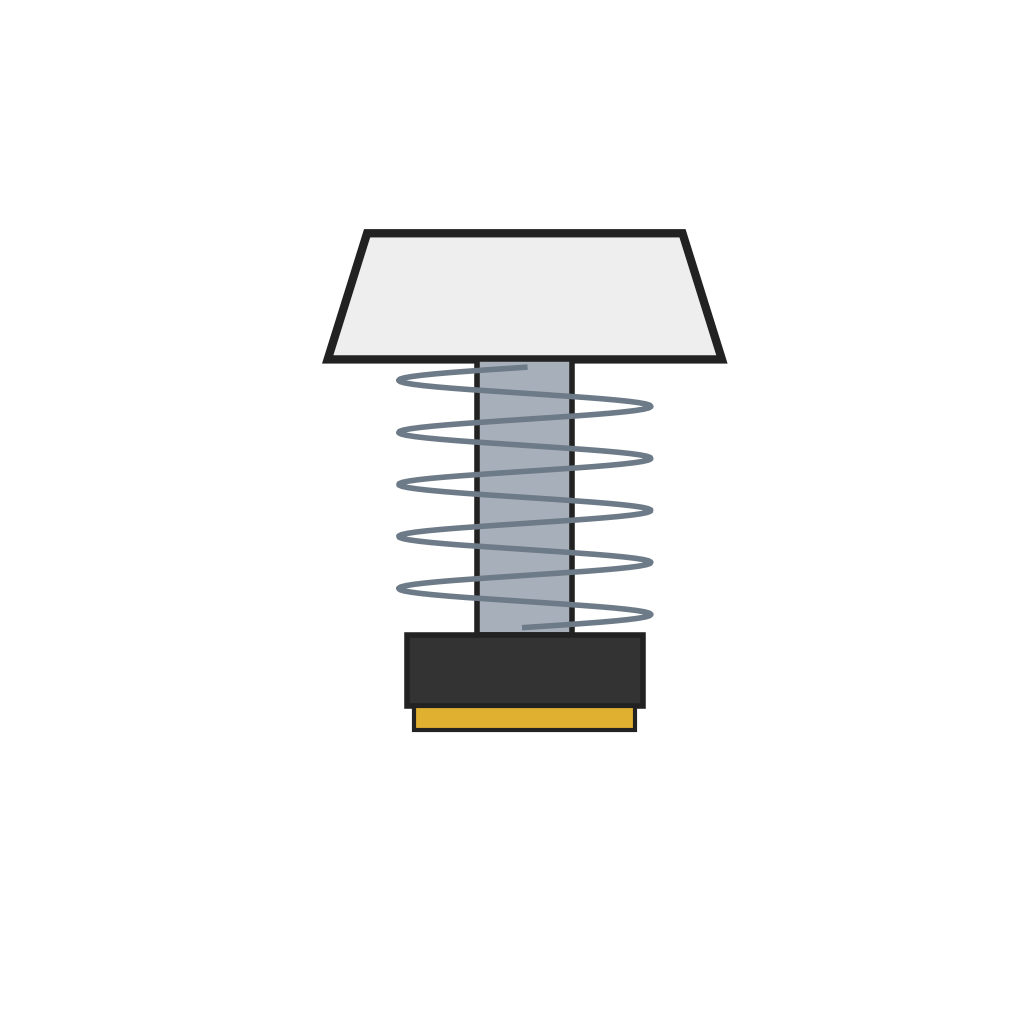 Klawisz ze sprężyną powrotną i podkładką stykową18 sztuk
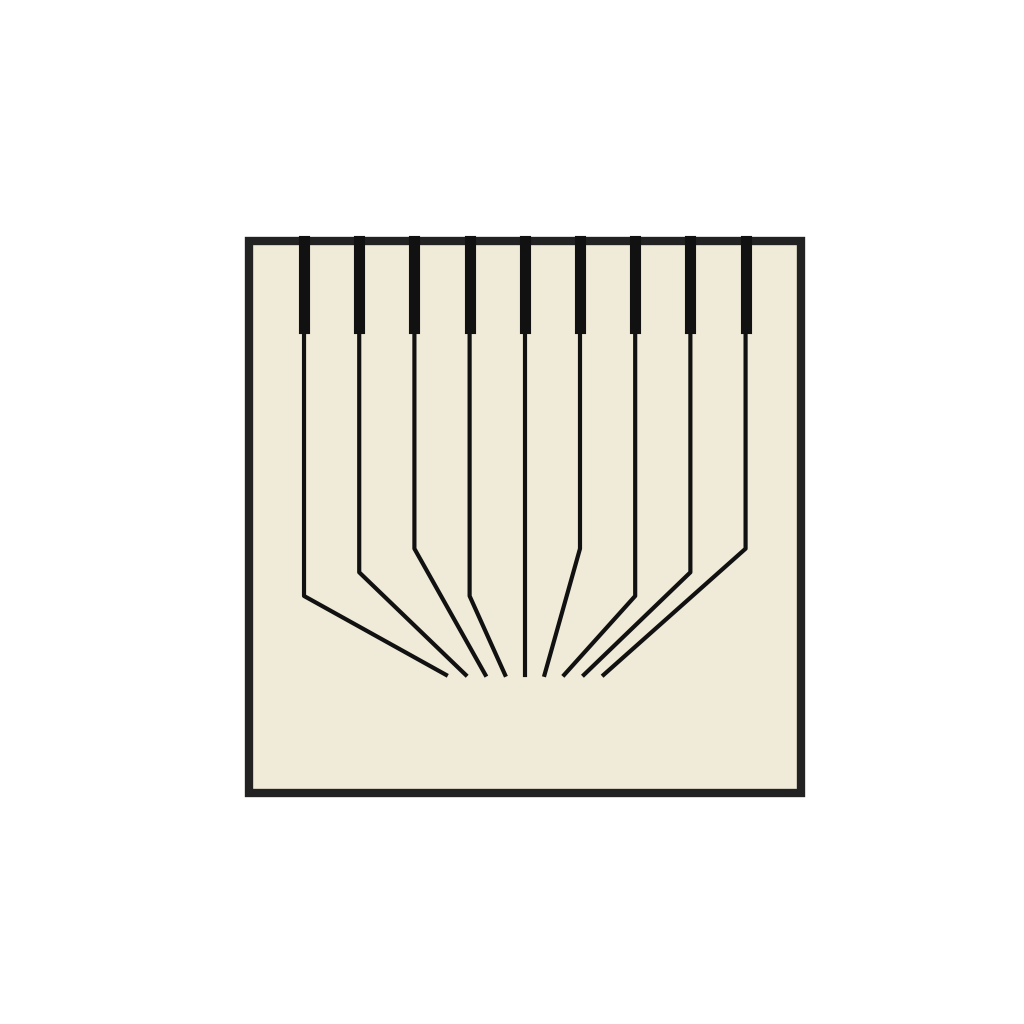 Płytka kodera klawiatury1 sztuka
Potrzebne narzędzia:
 Zestaw pincet precyzyjnych
 Zestaw wkrętaków
2
2
Primary electronics
Primary electronics
Mount the integrated circuit array below the encoder, in a plane parallel to it, and connect the encoder's terminals to it. The array holds the arithmetic and control sections, generating the timing signals for calculating, printing and advancing the tape.
Materiały do tego kroku:
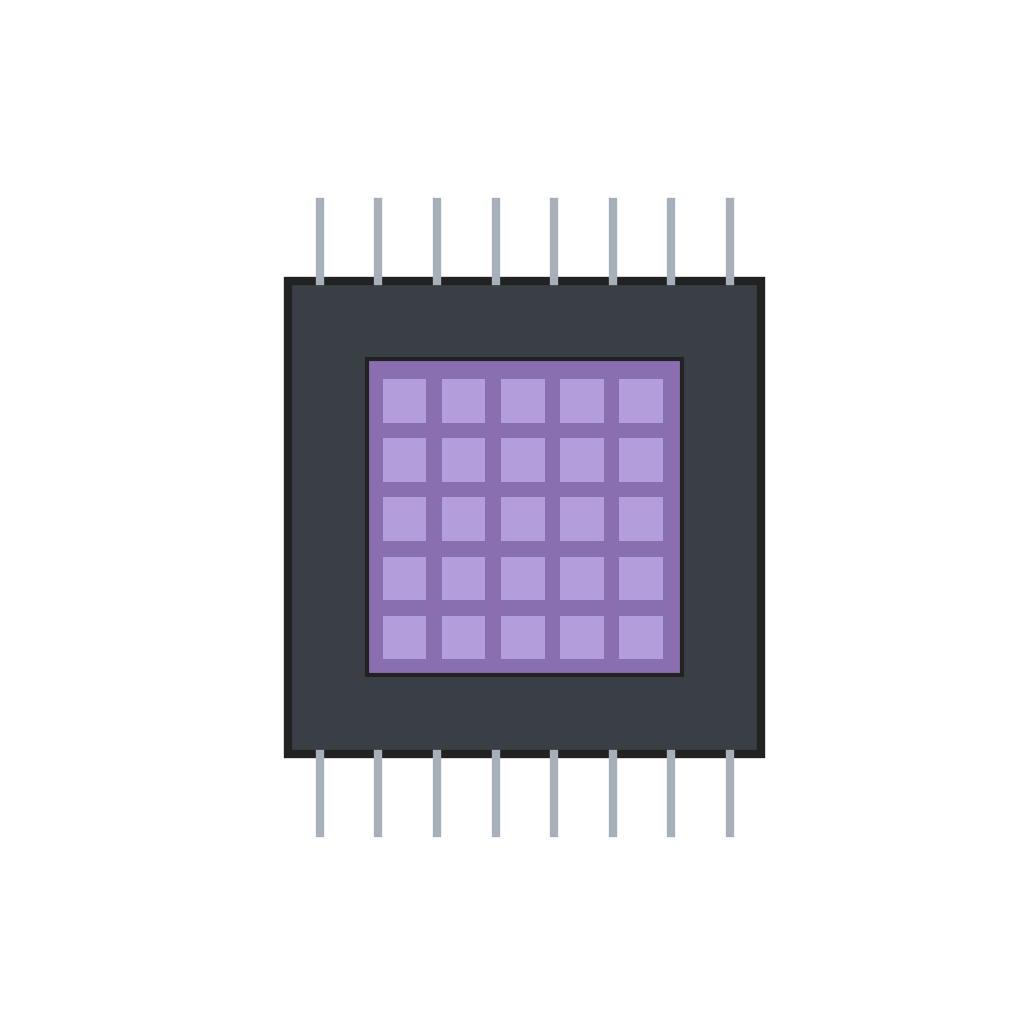 Układ scalony kalkulatora1 sztuka
Potrzebne narzędzia:
Zestaw pincet precyzyjnych3
3
Printer and tape
Printer and tape
Place the thermal print head above a resilient pressure pad, its wafer surface against the tape. Rest the tape reel on a shelf; the tape runs up through a guide block, over the pad under the print head, past the magnifying lens window and out through the side of the case. A solenoid tape-advance mechanism steps the tape on after each line: its coil pulls a pivoted clapper, a spring-biased clutch grips the tape against a clutch plate, and a drive spring pushes it forward when the coil releases. An insulating acrylic cover plate separates the shelf from the primary electronics.
Materiały do tego kroku:
 Zintegrowana półprzewodnikowa głowica termodrukująca1 sztuka
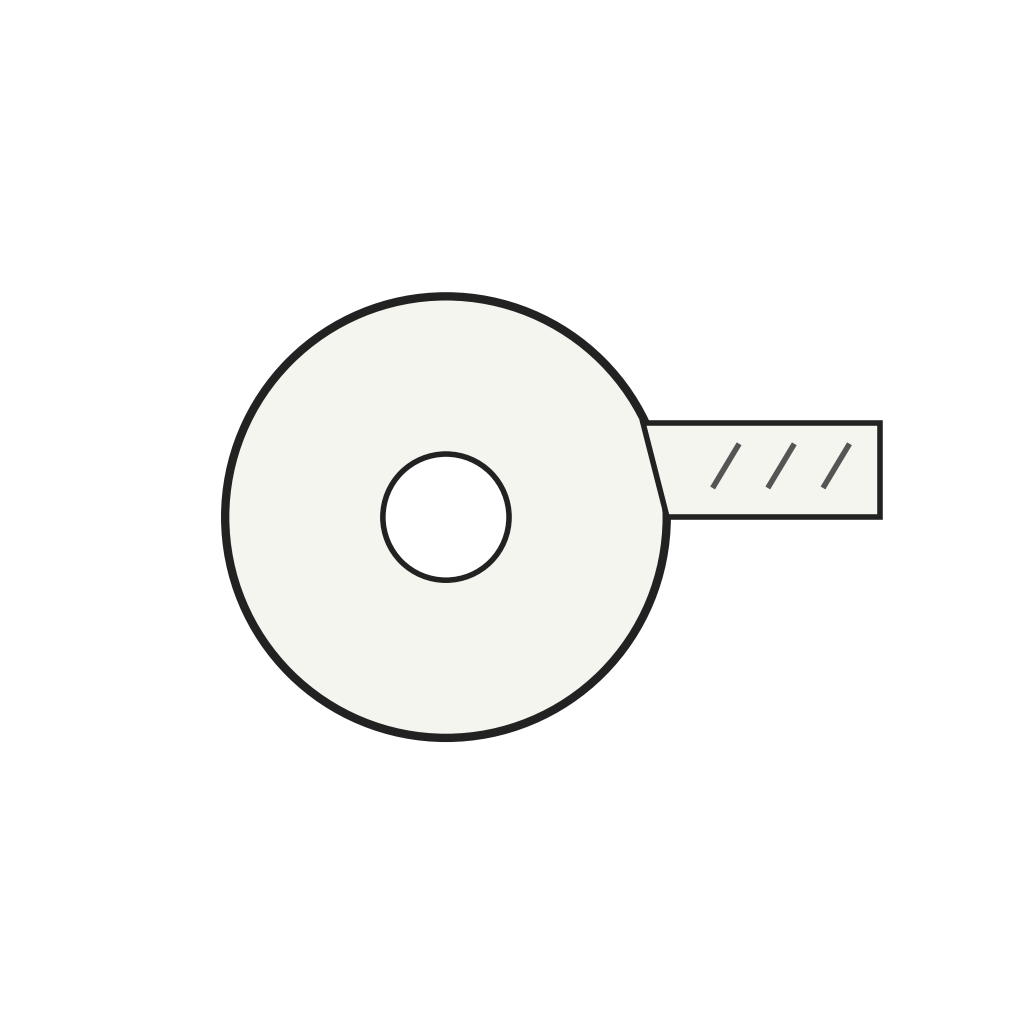 Taśma papieru termoczułego1 sztuka
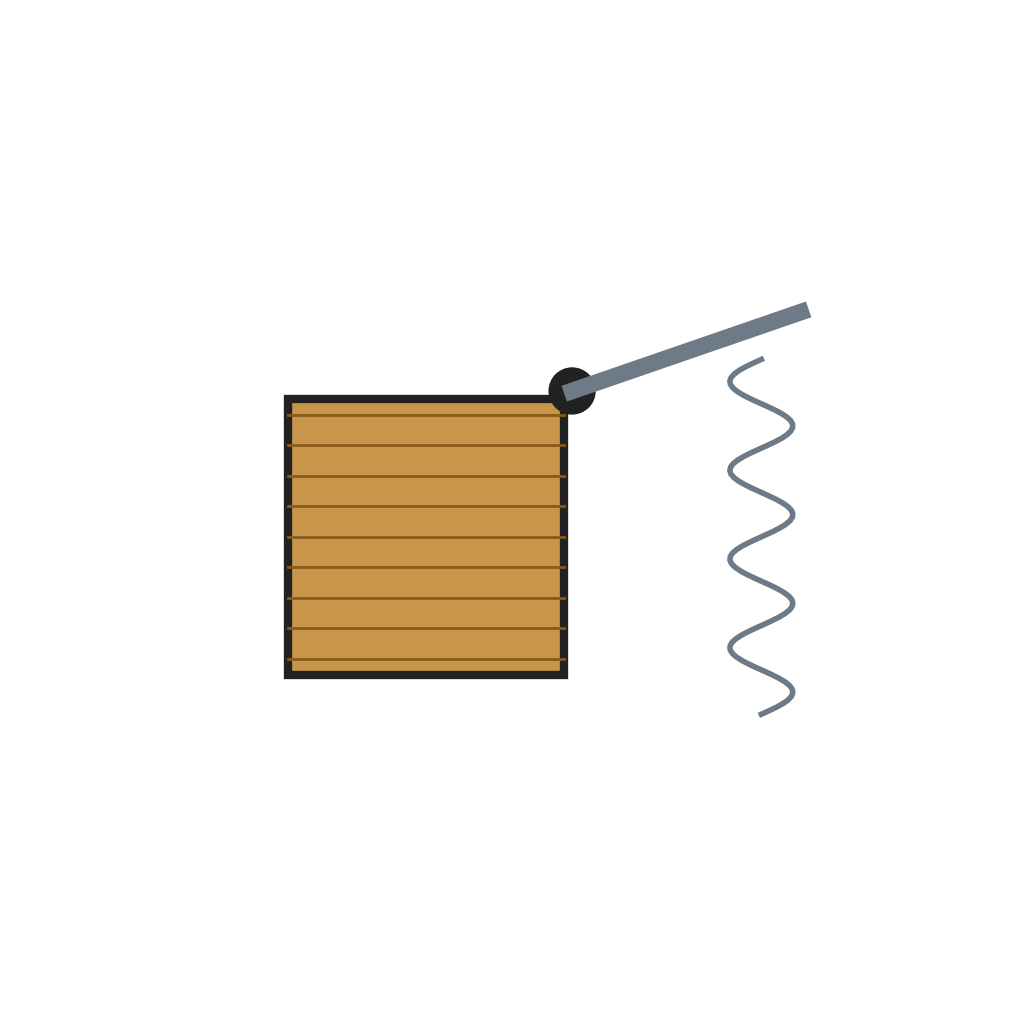 Elektromagnetyczny mechanizm przesuwu taśmy1 sztuka
 Okienko z soczewką powiększającą1 sztuka
 Płyta akrylowa1 sztuka
Potrzebne narzędzia:
Zestaw pincet precyzyjnychZestaw wkrętaków4
4
Power
Power
Fix the batteries, the auxiliary electronics module and the tape advance on the floor of the lower case. Three 1½ volt cells in series give 4½ volts and eight in series give 12 volts; the auxiliary module drives the tape-advance coil and the print timing. Wire the supply through the on/off switch to the primary electronics, and fit a battery charger plug in the wall of the lower case. Hinge and latch the two case halves so the top lifts for access.
Materiały do tego kroku:
 Ogniwo suche11 sztuk
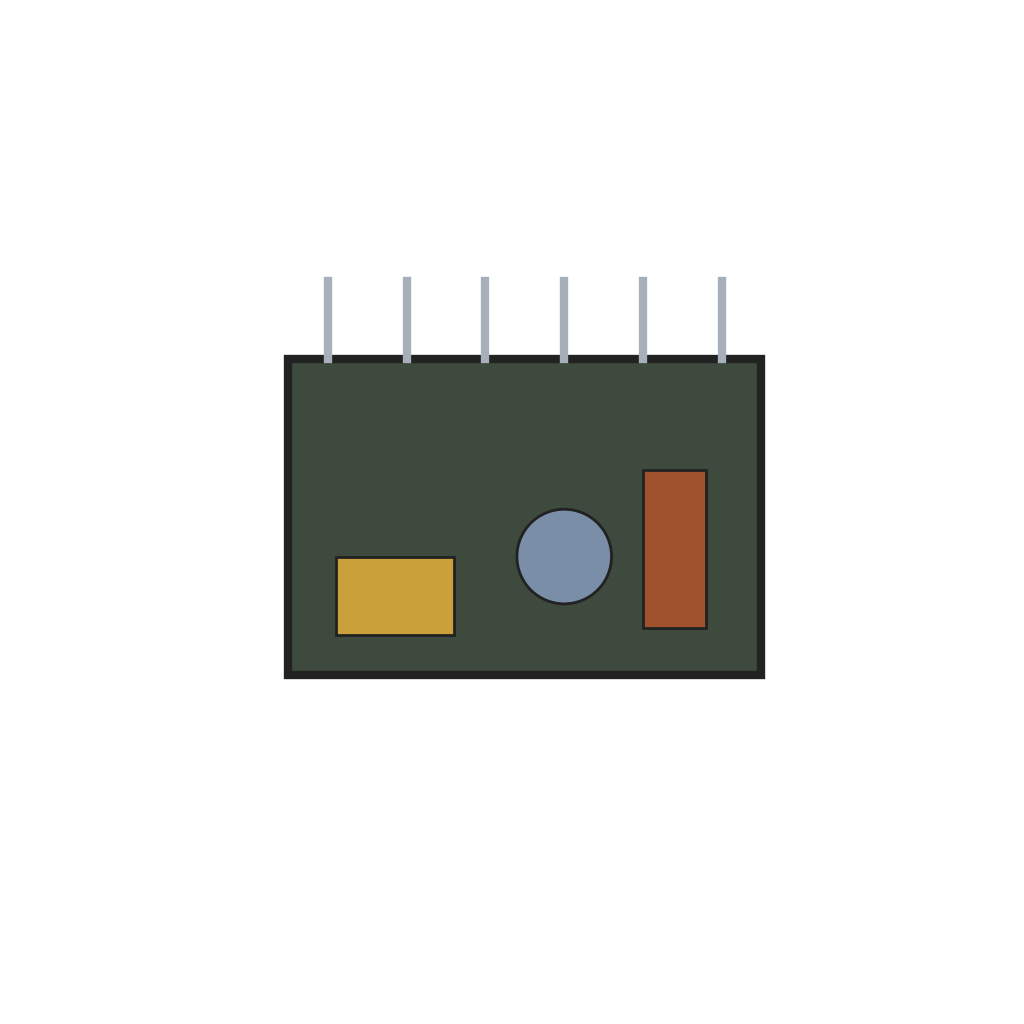 Pomocniczy moduł elektroniczny1 sztuka
 Wyłącznik zasilania1 sztuka
Potrzebne narzędzia:
 Ściągacz izolacji
 KombinerkiZestaw wkrętaków
Materiały
12- Zastępnik
- Zastępnik
- 1 sztukaZastępnik
- 1 sztukaZastępnik
- Zastępnik
- 1 sztukaZastępnik
- Zastępnik
- 1 sztukaZastępnik
- 1 sztukaZastępnik
- 11 sztukZastępnik
- 1 sztukaZastępnik
- 1 sztukaZastępnik
Wymagane narzędzia
4- Zastępnik
- Zastępnik
- Zastępnik
- Zastępnik
Według tego planu powstaje
Powiązane blueprinty
Te blueprinty dzielą się wiedzą — technikami, materiałami lub zasadami

CC0 Domena publiczna
Ten plan jest udostępniany na licencji CC0. Możesz go swobodnie kopiować, modyfikować, rozpowszechniać i wykorzystywać do dowolnych celów, bez konieczności uzyskiwania zgody.
Wesprzyj Makera kupując produkty przez jego plan, za co zarabia Prowizja Makera ustalony przez sprzedawców, lub stwórz nową iterację tego planu i dołącz go jako połączenie w swoim własnym planie, aby dzielić się przychodami.