SZTUKA
Piękno i dobre samopoczucie
RZEMIOSŁO
KULTURA I HISTORIA
ROZRYWKA
ŚRODOWISKO
JEDZENIE I NAPOJE
INŻYNIERIA ODWROTNA
NAUKI
LEKKOATLETYKA
TECHNOLOGIA
URZĄDZENIA DO NOSZENIA
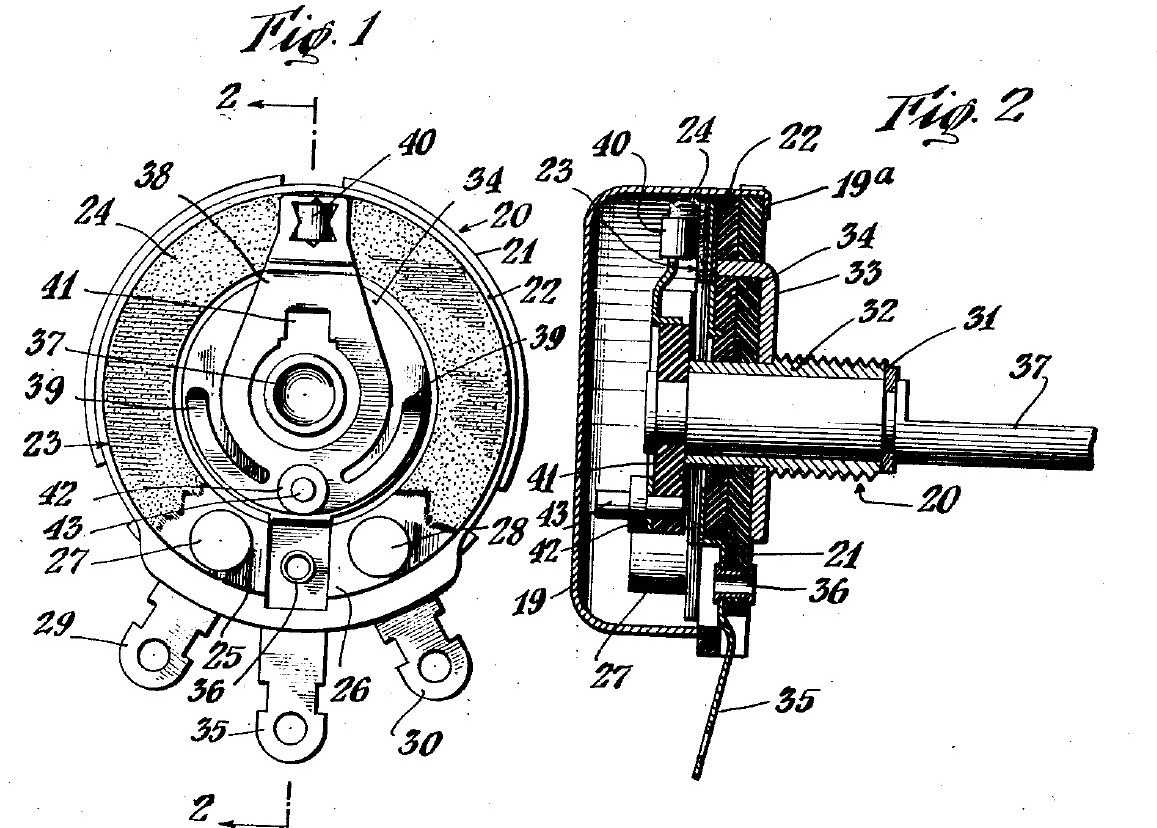


Potentiometer: Mallory Volume Control on a Tung-Oil Paper Ring
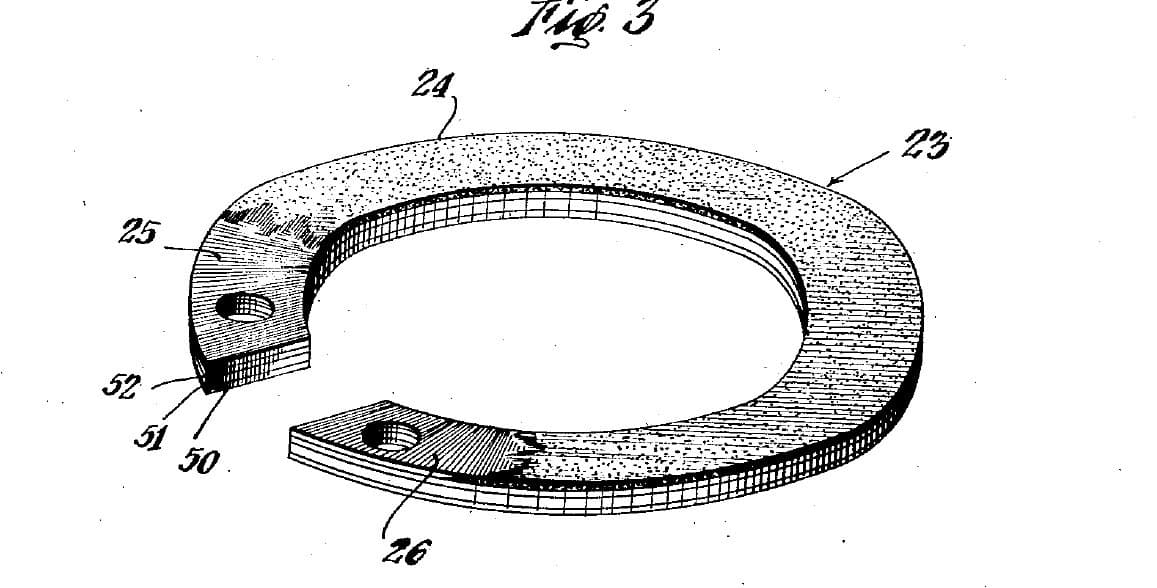
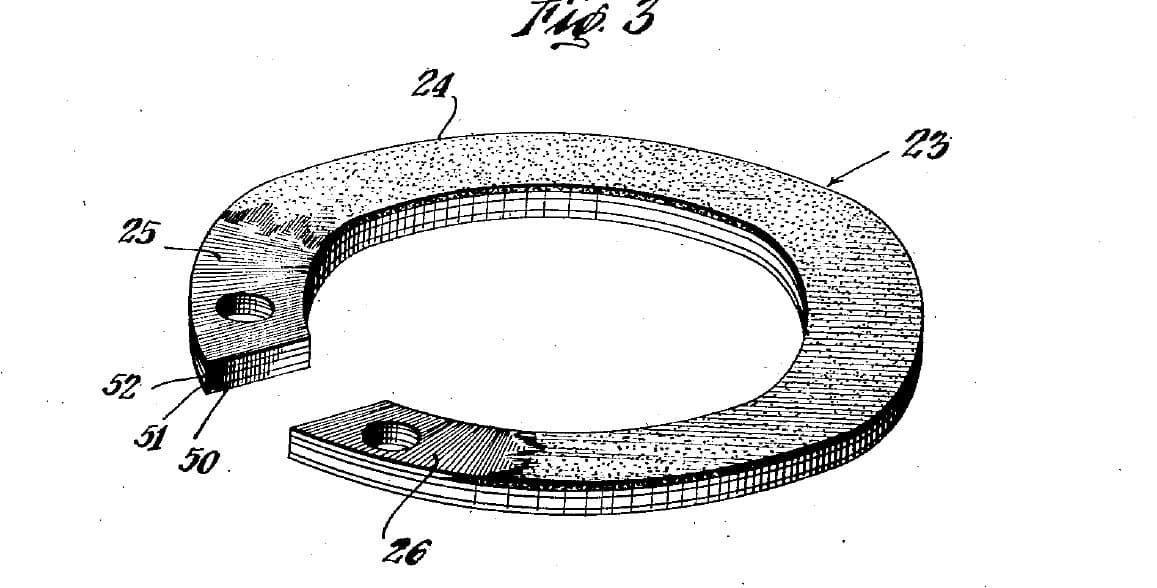
A 1930s radio volume control from Mallory's patent (US 2,144,925, 1939). A carbon ring sits on a base of two resin-fibre discs. A spring arm on the shaft wipes the ring with one contact and a centre metal ring with its fingers, so turning the knob changes the resistance between the centre lug and either end lug. The patent gives no sizes; the parts are named by what they do.
The picture: the patent's drawing (Figs. 1 and 2).
Średniozaawansowany
2 hours
Instrukcje
1
1
Clamp the two base discs on the bushing
Clamp the two base discs on the bushing
Stack two discs of resin-impregnated fibre. A metal bushing through their centres clamps them together, with a metal disc clamped against the back of the rear disc. Ours: close the bushing with a hammer and rivet set.
Materiały do tego kroku:
 Tarcza włóknista nasycona żywicą2 sztuk
 Metalowa tuleja1 sztuka
 Metalowa tarcza tylna1 sztuka
Potrzebne narzędzia:
 Młotek nitowniczy
 Zestaw nitowniczy
2
2
Fit the centre contact ring
Fit the centre contact ring
Lay the metal contact ring, with its own terminal lug, on the face of the front disc, centred. An eyelet (or rivet) through the lug holds it. Ours: set with a rivet set and hammer.
Materiały do tego kroku:
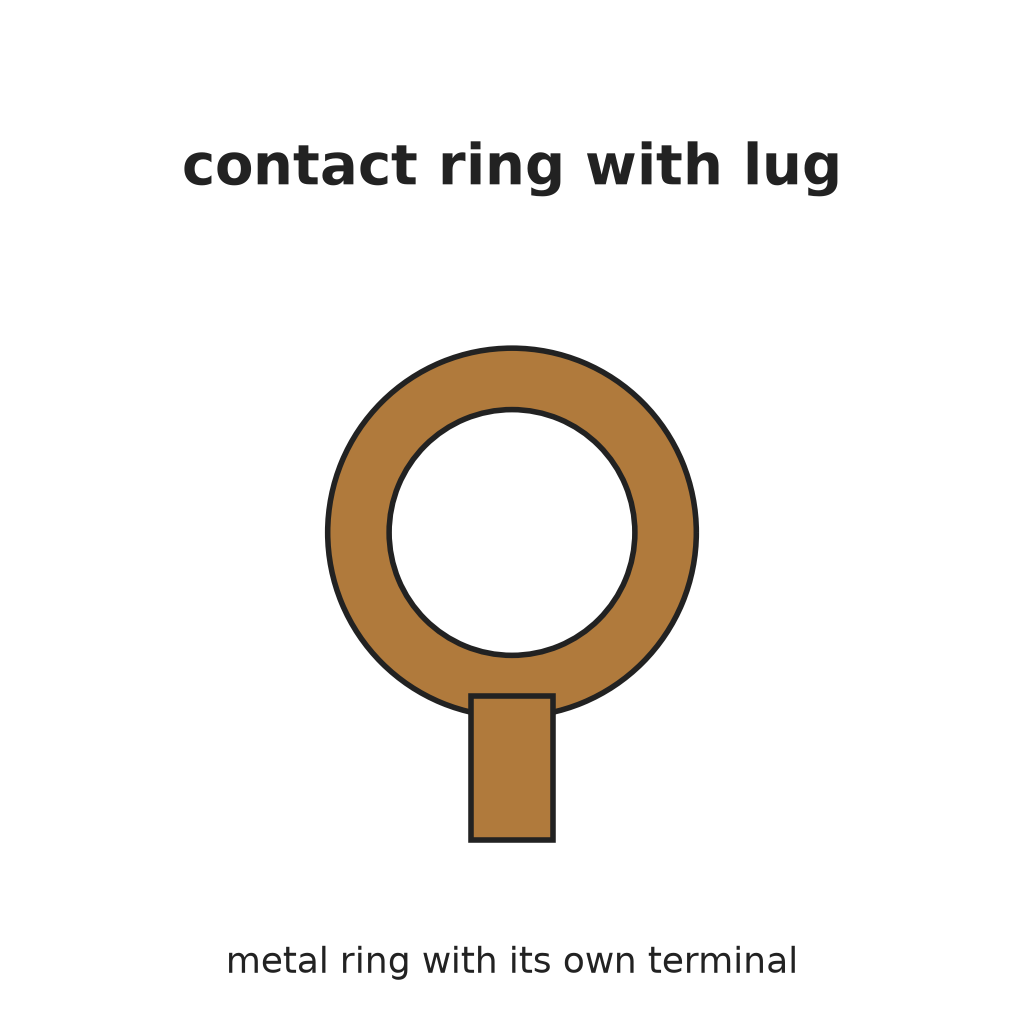 Pierścień stykowy z końcówką lutowniczą1 sztuka
 Nitoprzelotka1 sztuka
Potrzebne narzędzia:
Młotek nitowniczyZestaw nitowniczy3
3
Bolt on the resistance ring
Bolt on the resistance ring
Lay the carbon resistance ring on the front disc, round the contact ring. Two terminal bolts pass through the ring's silver-painted ends and the disc; each holds a terminal lug under the disc. The bolts clamp the ring and connect its ends.
Materiały do tego kroku:
 Element oporowy węglowy1 sztuka
 Śruba zaciskowa2 sztuk
 Końcówka lutownicza2 sztuk
Potrzebne narzędzia:
 Szczypce półokrągłe wydłużone
4
4
Fit shaft and spring contact arm
Fit shaft and spring contact arm
Put the shaft through the bushing. On its front end fix the spring contact arm over a small piece of sheet insulation: upset the shaft end to hold the insulation, and clamp arm and insulation together with a rivet pin. The arm's contactor rides on the carbon track, its fingers on the contact ring.
Materiały do tego kroku:
 Wałek sterujący1 sztuka
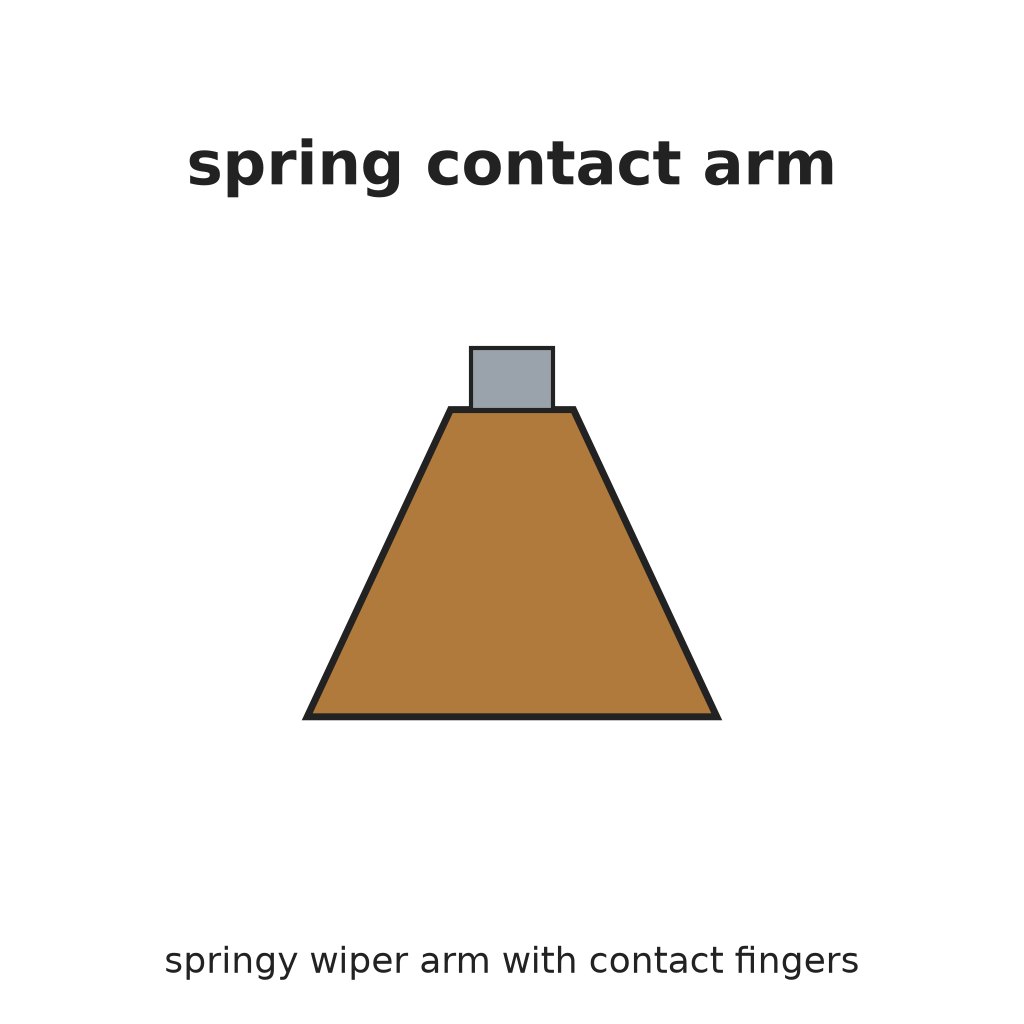 Sprężyste ramię stykowe1 sztuka
 Arkusz izolacyjny1 sztuka
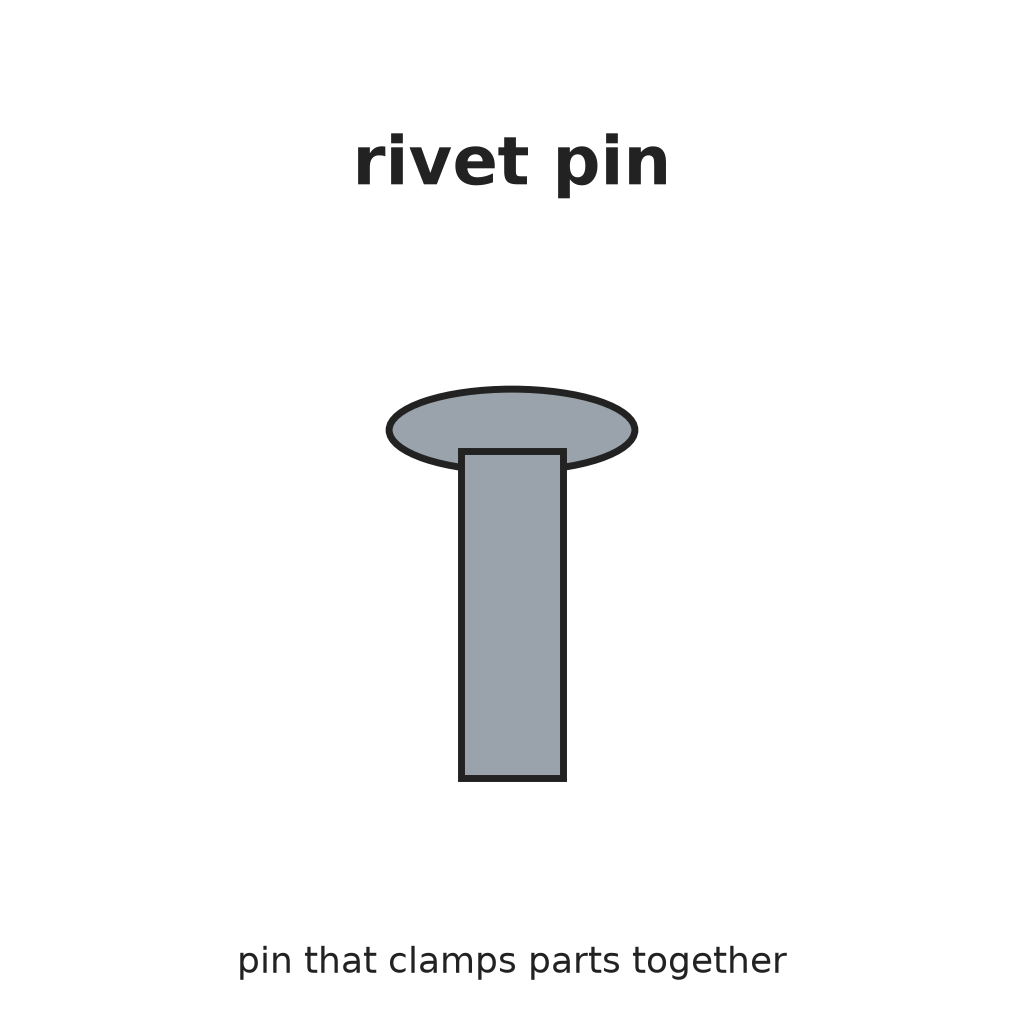 Sworzeń nitowy1 sztuka
Potrzebne narzędzia:
Młotek nitowniczyZestaw nitowniczy5
5
Clip washer and cover
Clip washer and cover
Snap a clip washer into the groove in the shaft behind the bushing. It stops the shaft sliding and keeps the arm and fingers pressed on their rings. Fix the metal cover cap over the parts by bending its ears onto the discs.
Materiały do tego kroku:
 Podkładka zatrzaskowa1 sztuka
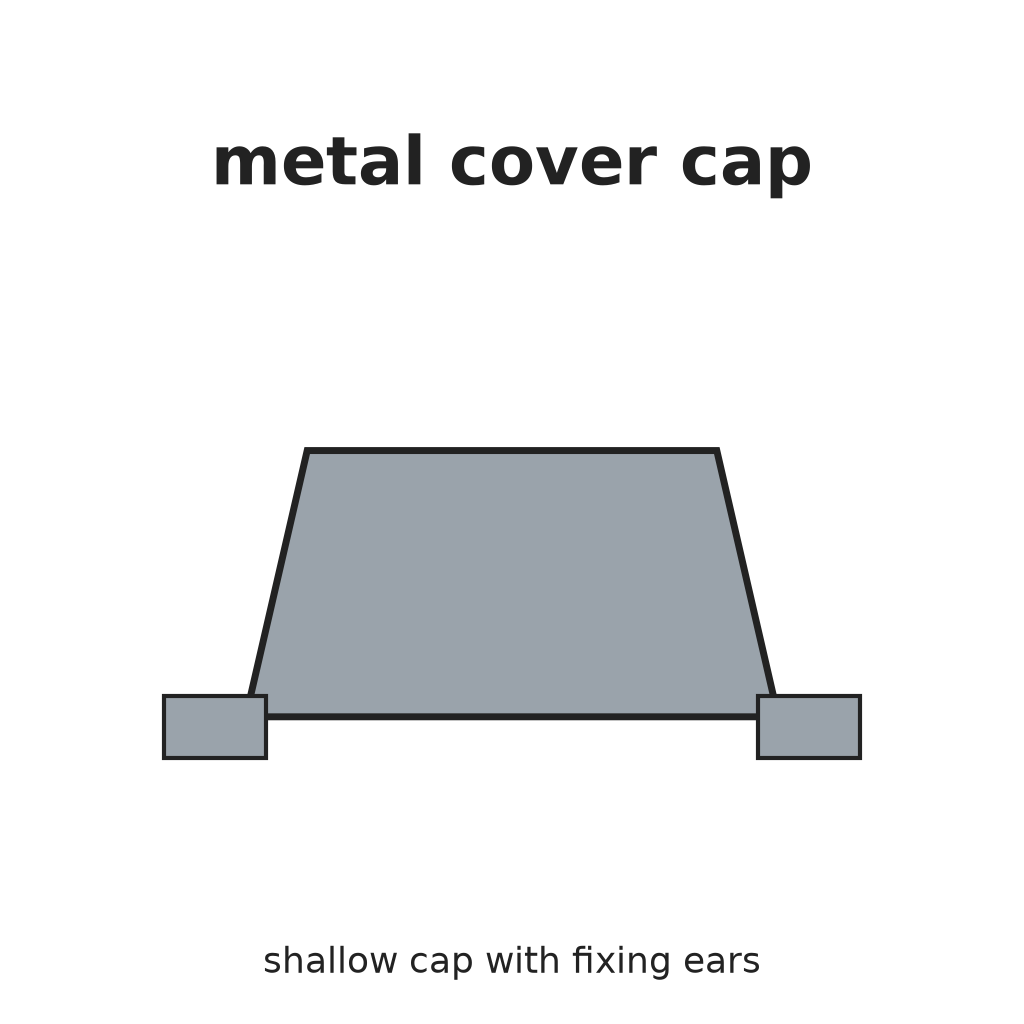 Metalowa pokrywa1 sztuka
Potrzebne narzędzia:
Szczypce półokrągłe wydłużone Szczypce płaskie
Materiały
14- Zastępnik
- 1 sztukaZastępnik
- 1 sztukaZastępnik
- Zastępnik
- 1 sztukaZastępnik
- 1 sztukaZastępnik
- 2 sztukZastępnik
- 2 sztukZastępnik
- 1 sztukaZastępnik
- 1 sztukaZastępnik
- 1 sztukaZastępnik
- 1 sztukaZastępnik
- 1 sztukaZastępnik
- 1 sztukaZastępnik
Według tego planu powstaje

Powiązane blueprinty
Te blueprinty dzielą się wiedzą — technikami, materiałami lub zasadami
CC0 Domena publiczna
Ten plan jest udostępniany na licencji CC0. Możesz go swobodnie kopiować, modyfikować, rozpowszechniać i wykorzystywać do dowolnych celów, bez konieczności uzyskiwania zgody.
Wesprzyj Makera kupując produkty przez jego plan, za co zarabia Prowizja Makera ustalony przez sprzedawców, lub stwórz nową iterację tego planu i dołącz go jako połączenie w swoim własnym planie, aby dzielić się przychodami.