SZTUKA
Piękno i dobre samopoczucie
RZEMIOSŁO
KULTURA I HISTORIA
ROZRYWKA
ŚRODOWISKO
JEDZENIE I NAPOJE
INŻYNIERIA ODWROTNA
NAUKI
LEKKOATLETYKA
TECHNOLOGIA
URZĄDZENIA DO NOSZENIA
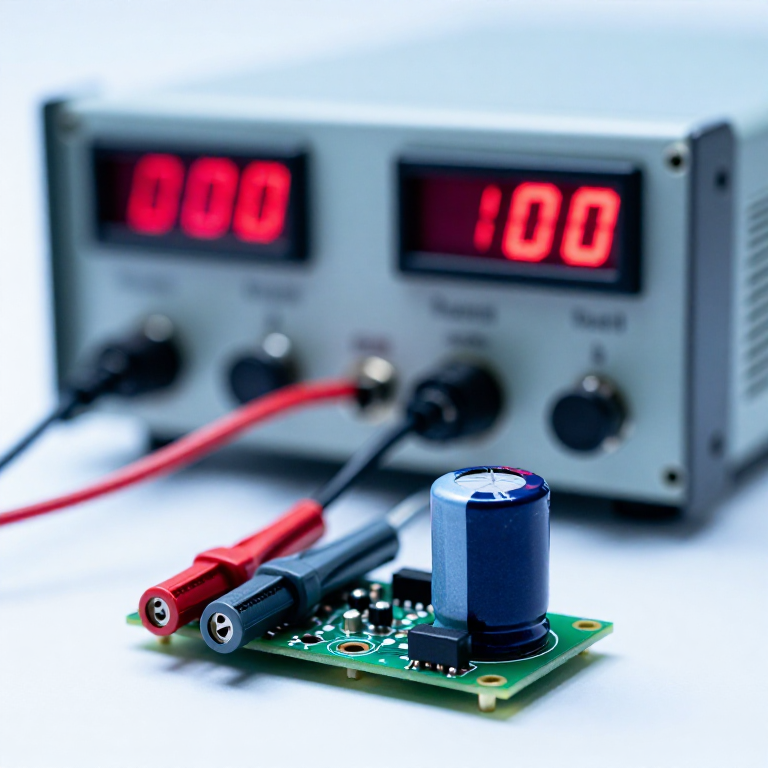


Power: Why It Works on USB and Dies on a Battery
A circuit that works on the bench and misbehaves on batteries is not haunted. It is almost always one of three things: the supply cannot deliver the current, the wiring drops too much voltage on the way, or nothing is smoothing the moment a load switches on.
The symptoms are strange enough to look like software faults — a microcontroller that resets whenever a motor starts, a display that flickers on a keypress, a circuit that is fine until the battery is half used. All three are power.
Which makes power the last rung of this ladder: it is what remains after the joint is sound, the meter is understood, and the fault-finding has ruled out the obvious.
Średniozaawansowany
3 hours
Instrukcje
1
1
A supply has an internal resistance, and so does a battery
A supply has an internal resistance, and so does a battery
Wczytywanie notatnika Jupyter…
Potrzebne narzędzia:
 Zasilacz laboratoryjny
 Multimetr
 Kalkulator
2
2
Decoupling: the small capacitor next to every chip
Decoupling: the small capacitor next to every chip
Put a 100 nF ceramic capacitor between the supply and ground pins of every integrated circuit, as physically close to the pins as you can manage.
A digital chip draws current in sharp spikes every time its outputs switch. The supply wiring has inductance and cannot deliver a spike quickly, so the local voltage dips — and the chip sees its own supply flicker. The decoupling capacitor is a tiny local reservoir that supplies the spike from millimetres away instead of from the far end of the board.
This is why it must be CLOSE. A decoupling capacitor at the other end of the board is connected through the very inductance it exists to bypass, and does almost nothing. It is the most-omitted component in beginner circuits and the cause of a great deal of unexplained flakiness.
Materiały do tego kroku:
 Zestaw kondensatorów1 sztuka
Potrzebne narzędzia:
 Płytka stykowa
 Oscyloskop
3
3
Bulk capacitance for the things that gulp
Bulk capacitance for the things that gulp
Add a larger electrolytic — a few hundred microfarads — near anything that switches a heavy load: a motor, a relay, a string of LEDs, a servo.
Decoupling handles nanosecond spikes; this handles millisecond gulps. The bulk capacitor charges gently between events and hands the charge over quickly when the load switches, so the rail stays up and the processor survives the motor start.
Mind the polarity — electrolytics are marked with a stripe on the negative side and fitted backwards they heat, swell and eventually vent. That is the single most common way a beginner destroys a component, and the visual check in the fault-finding rung exists largely because of it.
Materiały do tego kroku:
Zestaw kondensatorów1 sztukaPotrzebne narzędzia:
Płytka stykowaMultimetr Szkło powiększające
4
4
Give the motor its own path back
Give the motor its own path back
Run the motor's supply and ground as their own pair of wires back to the source, rather than letting the motor current share the thin wire your sensitive circuit uses for ground.
Ground is not a perfect conductor. An amp flowing down a wire with a tenth of an ohm of resistance lifts one end a hundred millivolts above the other — so the logic's idea of 'zero volts' moves whenever the motor draws current. That shifts every signal referenced to it, which is why an analogue reading wanders exactly when the motor runs.
Joining the two grounds at ONE point near the supply — rather than daisy-chaining through the motor — keeps the noisy current out of the quiet circuit's reference. That is the whole idea behind a star ground, and it is free.
Potrzebne narzędzia:
Zasilacz laboratoryjnyMultimetr Ściągacz izolacji
5
5
Measure the sag yourself
Measure the sag yourself
Put the meter across the supply rail AT the circuit and watch it while the load switches on. A meter is slow, so it will understate a brief dip — but a visible drop on a slow instrument means a much deeper one in reality.
An oscilloscope shows the true shape: how far the rail falls, how long it takes to recover, and whether the decoupling is doing anything. If you have one, this is the measurement that turns 'it randomly resets' into a number.
Then add the bulk capacitor and measure again. Seeing the dip shrink is the most convincing argument for decoupling anyone ever gets, and it takes five minutes.
Materiały do tego kroku:
Zestaw kondensatorów1 sztukaPotrzebne narzędzia:
MultimetrOscyloskopZasilacz laboratoryjnyPowiązane blueprinty
Te blueprinty dzielą się wiedzą — technikami, materiałami lub zasadami

CC0 Domena publiczna
Ten plan jest udostępniany na licencji CC0. Możesz go swobodnie kopiować, modyfikować, rozpowszechniać i wykorzystywać do dowolnych celów, bez konieczności uzyskiwania zgody.
Wesprzyj Makera kupując produkty przez jego plan, za co zarabia Prowizja Makera ustalony przez sprzedawców, lub stwórz nową iterację tego planu i dołącz go jako połączenie w swoim własnym planie, aby dzielić się przychodami.