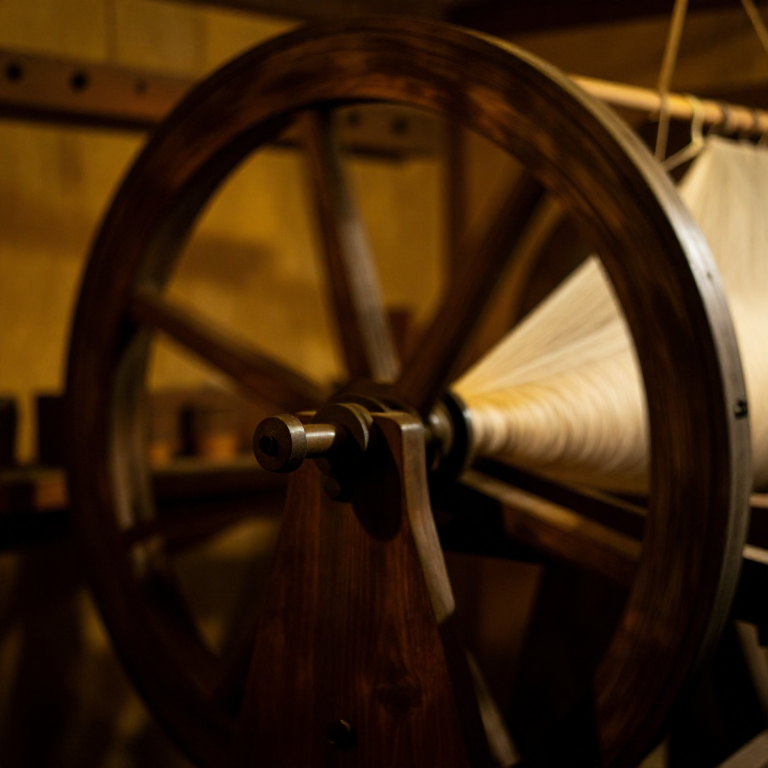
Building a Screw-Cutting Lathe — The Machine That Makes Other Machines
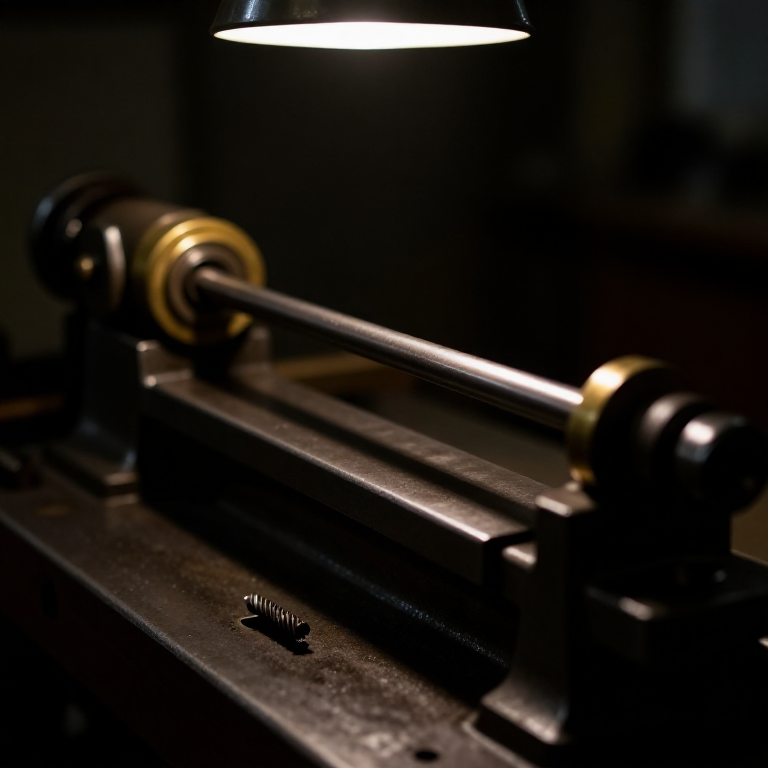
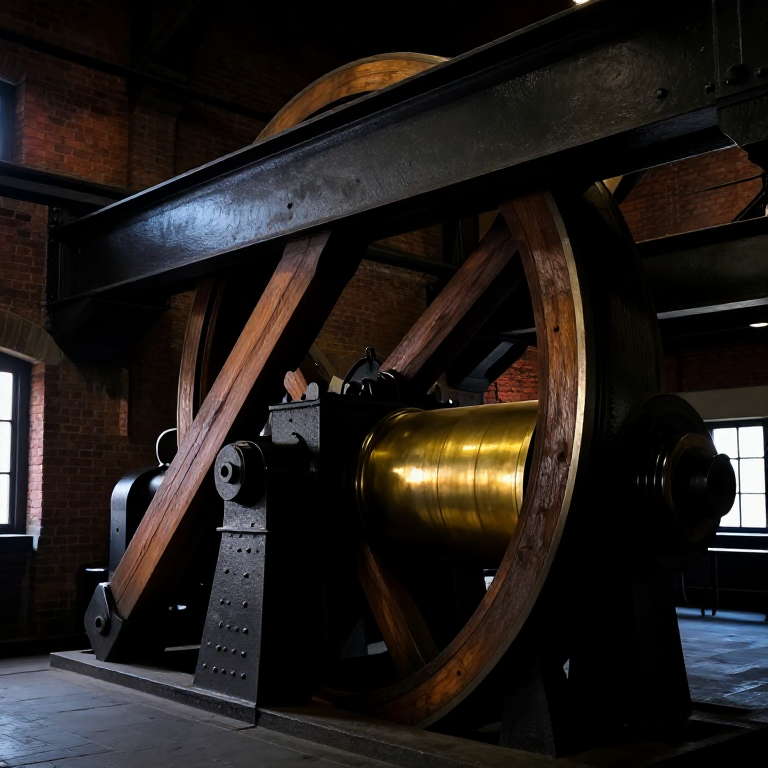
Almost every precise machine ever built was, in the end, made by a lathe. Around 1800 the English engineer Henry Maudslay turned the lathe from a craftsman's tool into a precision instrument, and in doing so created the machine tool that made the age of interchangeable parts possible.
Before him, screws were filed by hand and no two matched. Maudslay added three things that changed everything: a rigid iron bed with truly flat ways, a sliding tool holder — the slide rest — that carried the cutting tool steadily instead of a shaking human hand, and a lead screw geared to the spindle so the tool advanced automatically at an exact rate. Choose the gear ratio and the lathe cuts a screw thread of any pitch you like, perfectly and repeatably.
From that came standard screws, accurate cylinders, and parts so consistent they were interchangeable. A screw-cutting lathe can even make the parts for another lathe, which is why it is called the mother machine — the root of the whole tree of industrial manufacturing.
Instrukcje
Understand why it matters
Understand why it matters
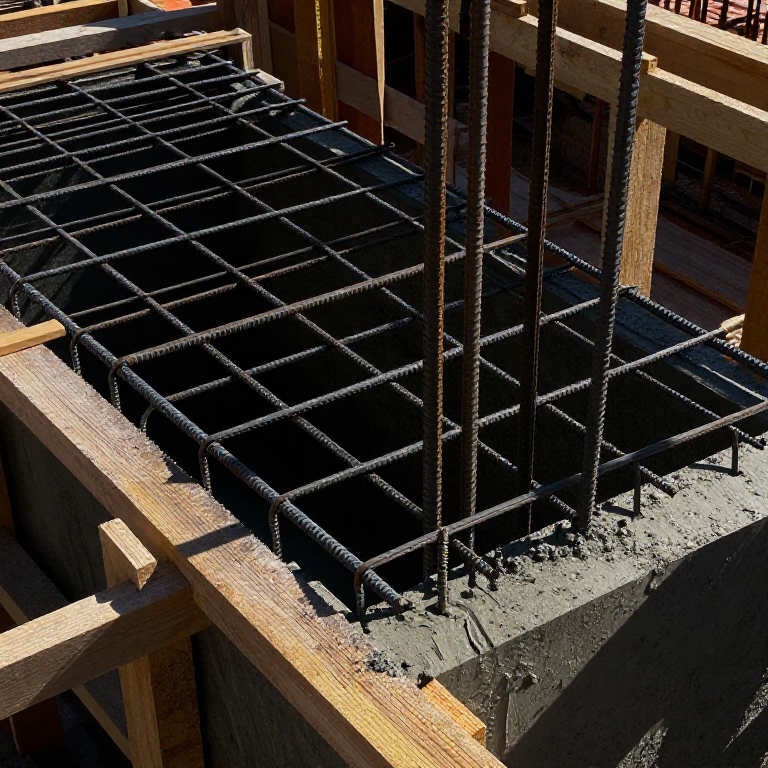
Cast a rigid iron bed
Cast a rigid iron bed
Materiały do tego kroku:
 Cast Iron Bar60 kg
Tools needed:
 File
FileMount the headstock and spindle
Mount the headstock and spindle
Materiały do tego kroku:
 Steel Bar10 kg
 Brass2 kg
Fit the tailstock
Fit the tailstock
Build the slide rest
Build the slide rest
Materiały do tego kroku:
Cast Iron Bar8 kgFit the lead screw
Fit the lead screw
Materiały do tego kroku:
Steel Bar12 kgSet up change gears
Set up change gears
Materiały do tego kroku:
 Change Gear Set1 zestaw
Mount the work and tool
Mount the work and tool
Materiały do tego kroku:
 Lathe Cutting Tool1 sztuka
Turn a true cylinder
Turn a true cylinder
Tools needed:
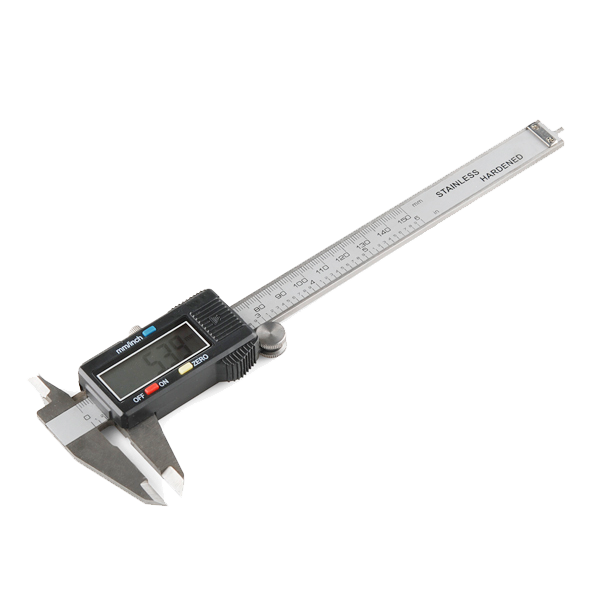 Calipers
Cut a screw thread
Cut a screw thread
Tools needed:
 Thread Gauge
Measure and standardise
Measure and standardise
Tools needed:
 Micrometer
Appreciate the mother machine
Appreciate the mother machine
Materiały
5- 60 kgPlaceholder
- 10 kgPlaceholder
- 1 zestawPlaceholder
- 1 sztukaPlaceholder
Powiązane blueprinty
Te blueprinty dzielą się wiedzą — technikami, materiałami lub zasadami
Related blueprints
Other builds that share materials, tools, or techniques with this one.


CC0 Domena publiczna
Ten plan jest udostępniany na licencji CC0. Możesz go swobodnie kopiować, modyfikować, rozpowszechniać i wykorzystywać do dowolnych celów, bez konieczności uzyskiwania zgody.
Wesprzyj Makera kupując produkty przez jego plan, za co zarabia Prowizja Makera ustalony przez sprzedawców, lub stwórz nową iterację tego planu i dołącz go jako połączenie w swoim własnym planie, aby dzielić się przychodami.