SZTUKA
Piękno i dobre samopoczucie
RZEMIOSŁO
KULTURA I HISTORIA
ROZRYWKA
ŚRODOWISKO
JEDZENIE I NAPOJE
INŻYNIERIA ODWROTNA
NAUKI
LEKKOATLETYKA
TECHNOLOGIA
URZĄDZENIA DO NOSZENIA
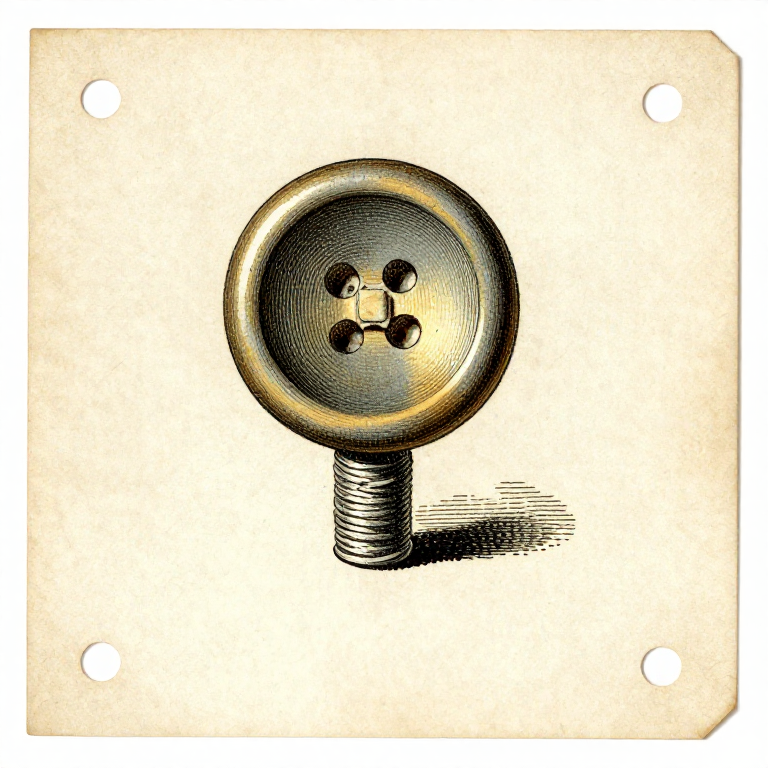


Sewing On a Button So It Stays On: The Shank Is the Whole Trick
A button sewn flat against the cloth has nowhere to sit when the buttonhole layer comes under it. It pulls, the fabric distorts, the threads take all the strain at one point, and it comes off again.
The fix is a SHANK: a short stem of thread between the button and the fabric, long enough for the other layer to fit underneath. It takes an extra fifteen seconds and it is the difference between a button that lasts years and one that falls off in a month.
This is the most-performed repair in the world and it is almost always done without the shank.
Początkujący
2 hours
Instrukcje
1
1
Position it from the buttonhole, not from the old marks
Position it from the buttonhole, not from the old marks
Do up the other buttons, lay the two edges as they should sit, and push a pin through the buttonhole to mark where the button's centre belongs.
The old thread marks are where the button WAS, and if it pulled off because it was in the wrong place, putting it back there repeats the problem. The buttonhole is the authority.
For a row of new buttons, mark them all from a story stick or a gauge rather than measuring each — same reasoning as the woodworking layout rungs, and the same failure if you chain-measure them: the last one ends up visibly out.
Materiały do tego kroku:
 Tkanina lniana1 sztuka
Potrzebne narzędzia:
 Szpilki krawieckie
 Kreda krawiecka
 Miarka do podwinięć
2
2
Double the thread, anchor it, and lay a spacer
Double the thread, anchor it, and lay a spacer
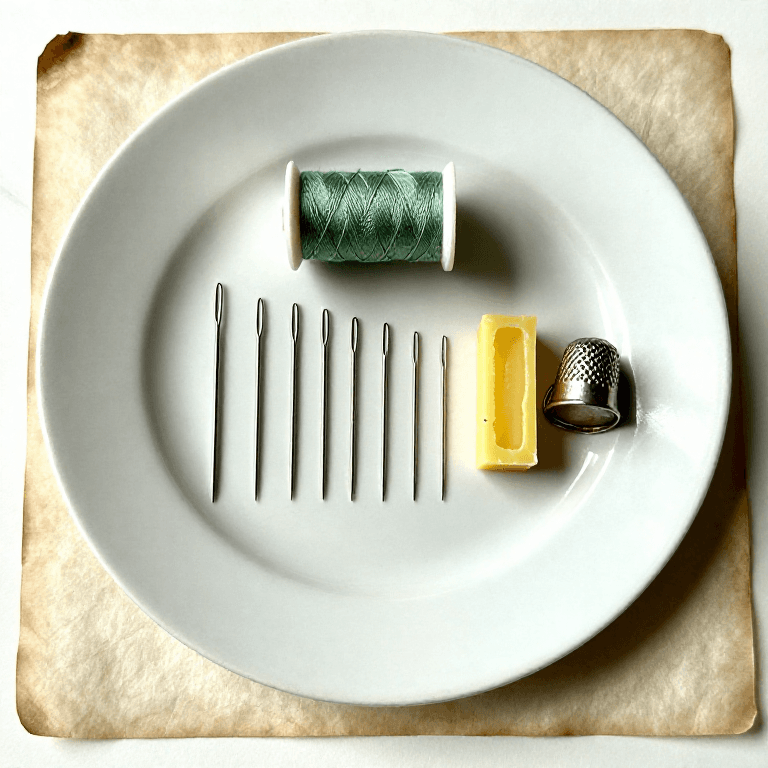
Use a doubled waxed thread for strength. Anchor it with two tiny stitches on the spot where the button goes rather than a knot, so there is no lump under the button.
Lay a pin, a matchstick or a second needle across the top of the button and sew over it. That spacer holds the stitches loose by exactly its own thickness, which is what creates the shank.
Six passes through each pair of holes is plenty. More thread is not stronger — the holes fill, the button sits crooked, and the bulk is what starts abrading the buttonhole opposite.
Materiały do tego kroku:
 Nici do szycia1 sztuka
 Wosk pszczeli1 sztuka
Potrzebne narzędzia:
 Igły do szycia ręcznegoSzpilki krawieckie
 Naparstek (metalowy)
3
3
Make the shank and whip it
Make the shank and whip it
Pull the spacer out. The stitches are now loose, and the button lifts away from the cloth on a small bundle of threads.
Bring the needle up under the button but above the fabric and wind the thread tightly around that bundle five or six times, then take the needle through to the back and fasten off. The winding binds the loose threads into one firm stem.
Check the length against the fabric it must accommodate. A shirt needs barely any shank; a coat needs several millimetres, because the layer coming under it is thick. A shank-back button — one with a metal loop built in — already has this and is sewn down flat.
Materiały do tego kroku:
Nici do szycia1 sztukaPotrzebne narzędzia:
Igły do szycia ręcznego Nożyce krawieckie
 Lupa zegarmistrzowska
4
4
Reinforce the back on anything that pulls
Reinforce the back on anything that pulls
On a coat, a waistband or any button that takes real load, sew a small flat button on the INSIDE directly behind the main one, passing the same stitches through both.
That spreads the load across the backing button instead of concentrating it in four small holes in the cloth. Without it, the usual failure is not the thread breaking at all — it is the button tearing a hole clean out of the fabric, taking the threads with it.
A patch of interfacing or a scrap of firm fabric behind the button does the same job where a backing button would show. Either way, the principle is the one from the fastener rung: spread the load rather than trusting the material at a point.
Materiały do tego kroku:
Tkanina lniana1 sztukaNici do szycia1 sztukaPotrzebne narzędzia:
Igły do szycia ręcznegoNaparstek (metalowy)Materiały
3- 2 sztukZastępnik
- 3 sztukZastępnik
- 1 sztukaZastępnik
Wymagane narzędzia
7- Zastępnik
- Zastępnik
- Zastępnik
- Zastępnik
- Zastępnik
- Zastępnik
- Zastępnik
Powiązane blueprinty
Te blueprinty dzielą się wiedzą — technikami, materiałami lub zasadami
CC0 Domena publiczna
Ten plan jest udostępniany na licencji CC0. Możesz go swobodnie kopiować, modyfikować, rozpowszechniać i wykorzystywać do dowolnych celów, bez konieczności uzyskiwania zgody.
Wesprzyj Makera kupując produkty przez jego plan, za co zarabia Prowizja Makera ustalony przez sprzedawców, lub stwórz nową iterację tego planu i dołącz go jako połączenie w swoim własnym planie, aby dzielić się przychodami.