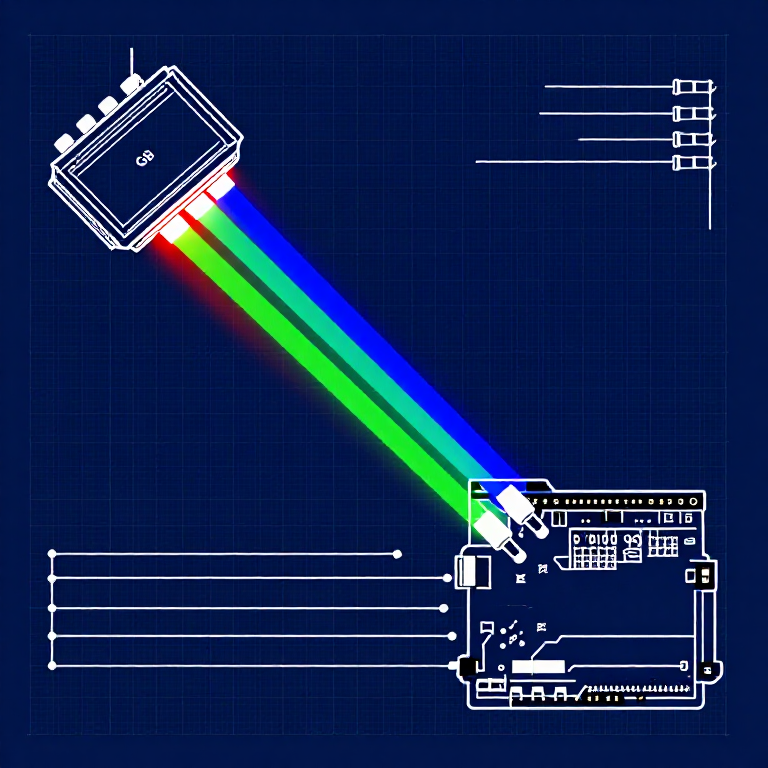


Driving an RGB LED — SIK Circuit 3
Instrukcje
Parts & Introduction
Parts & Introduction
An RGB LED contains three tiny LEDs (red, green, blue) in one package. By mixing different brightness levels of each color, you can create any color in the rainbow. This experiment introduces analogWrite() for PWM output.
Parts Needed
- 1x Arduino Uno + USB cable
- 1x Breadboard
- 1x RGB LED (Common Cathode)
- 3x 330Ω Resistors
- 5x Jumper Wires
RGB LED Pin Order (flat edge facing you): Red, Ground (longest pin), Green, Blue.
Materiały do tego kroku:
 SparkFun Inventor's Kit - V3.21 zestaw
Potrzebne narzędzia:
 Komputer z Arduino IDE
Hardware Hookup
Hardware Hookup
Wiring Instructions
- Place the RGB LED in the breadboard. Identify pins from the flattened edge: Red, GND (longest), Green, Blue.
- Connect the GND pin (longest, second from left) to the GND rail.
- Connect the Red pin through a 330Ω resistor to Arduino Pin 9.
- Connect the Green pin through a 330Ω resistor to Arduino Pin 10.
- Connect the Blue pin through a 330Ω resistor to Arduino Pin 11.
Pins 9, 10, and 11 are all PWM-capable (marked with ~ on the board).
Materiały do tego kroku:
 Taśma LED RGB 5050 (nieadresowalna)1 sztuka
 Płytka stykowa1 sztuka
 Przewody połączeniowe5 sztuk
Arduino Code
Arduino Code
Open the Arduino IDE and upload the following sketch to your Arduino board.
Materiały do tego kroku:
 Arduino Uno R31 sztuka
Potrzebne narzędzia:
Komputer z Arduino IDETest & Experiment
Test & Experiment
What You Should See
The LED cycles through 8 solid colors (off, red, green, blue, yellow, cyan, purple, white) for 1 second each, then smoothly fades through the entire color spectrum.
Troubleshooting
- Incorrect colors: With four pins close together, it's easy to misplace one. Double-check each connection.
- Red too bright: The red diode is often brighter. Try a higher-value resistor on the red pin, or reduce in code:
analogWrite(RED_PIN, redIntensity/3).
Experiments to Try
- Add a potentiometer to control which color is displayed.
- Create your own color sequences — try a "sunrise" effect (dark red → orange → yellow → white).
Materiały
6- SparkFun Inventor's Kit - V3.210% prowizji1 zestaw$104.30
- Zastępnik
- Zastępnik
- Zastępnik
- Zastępnik
- 3 sztukZastępnik
Wymagane narzędzia
1- Zastępnik
CC0 Domena publiczna
Ten plan jest udostępniany na licencji CC0. Możesz go swobodnie kopiować, modyfikować, rozpowszechniać i wykorzystywać do dowolnych celów, bez konieczności uzyskiwania zgody.
Wesprzyj Makera kupując produkty przez jego plan, za co zarabia Prowizja Makera ustalony przez sprzedawców, lub stwórz nową iterację tego planu i dołącz go jako połączenie w swoim własnym planie, aby dzielić się przychodami.