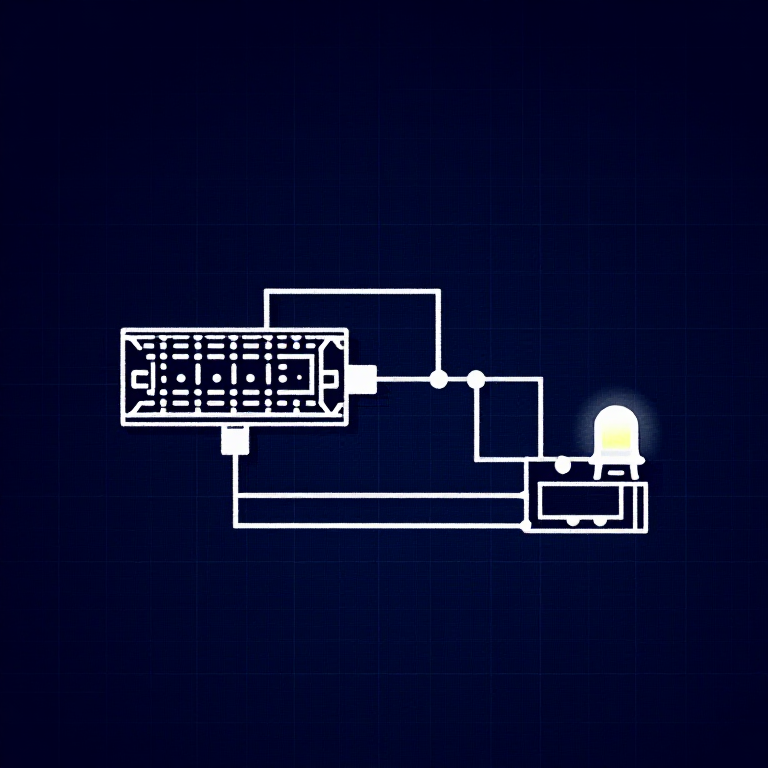


Reading a Photoresistor — SIK Circuit 6
Instrukcje
Parts & Introduction
Parts & Introduction
A photoresistor (or LDR — Light Dependent Resistor) changes resistance based on light levels. Combined with a fixed resistor, it forms a voltage divider that the Arduino can read as an analog value. You'll use this to control LED brightness automatically.
Parts Needed
- 1x Arduino Uno + USB cable
- 1x Breadboard
- 1x Photoresistor
- 1x LED (any color)
- 1x 330Ω Resistor
- 1x 10KΩ Resistor (for voltage divider)
- 6x Jumper Wires
Materiały do tego kroku:
 SparkFun Inventor's Kit - V3.21 zestaw
Potrzebne narzędzia:
 Komputer z Arduino IDE
Hardware Hookup
Hardware Hookup
Wiring Instructions
- Connect one side of the photoresistor to 5V.
- Connect the other side to Analog Pin A0.
- Connect a 10K resistor from Analog Pin A0 to GND (this completes the voltage divider).
- Connect the LED positive leg to Digital Pin 9 (PWM-capable).
- Connect the LED negative leg through a 330Ω resistor to GND.
The voltage divider produces a voltage proportional to light level, which the Arduino reads as 0-1023.
Materiały do tego kroku:
 Płytka stykowa1 sztuka
 Przewody połączeniowe5 sztuk
Arduino Code
Arduino Code
Open the Arduino IDE and upload the following sketch to your Arduino board.
Materiały do tego kroku:
 Arduino Uno R31 sztuka
Potrzebne narzędzia:
Komputer z Arduino IDETest & Experiment
Test & Experiment
What You Should See
The LED brightness changes based on ambient light. Cover the photoresistor to dim or brighten the LED (depending on orientation).
Troubleshooting
- LED stays dark: Check LED polarity. Also verify the photoresistor is in the circuit correctly.
- Not responding to light: The photoresistor spacing is non-standard — make sure both legs are making good contact.
- Subtle changes: Try using a flashlight or covering the sensor completely for more dramatic results.
Experiments to Try
- Uncomment
autoTune()to let the Arduino automatically calibrate to your lighting conditions. - Use the sensor to trigger actions at specific light thresholds (e.g., turn on a "night light" when dark).
Materiały
8- SparkFun Inventor's Kit - V3.210% prowizji1 zestaw$104.30
- Zastępnik
- Zastępnik
- Zastępnik
- 1 sztukaZastępnik
- Zastępnik
- 1 sztukaZastępnik
- Zastępnik
Wymagane narzędzia
1- Zastępnik
CC0 Domena publiczna
Ten plan jest udostępniany na licencji CC0. Możesz go swobodnie kopiować, modyfikować, rozpowszechniać i wykorzystywać do dowolnych celów, bez konieczności uzyskiwania zgody.
Wesprzyj Makera kupując produkty przez jego plan, za co zarabia Prowizja Makera ustalony przez sprzedawców, lub stwórz nową iterację tego planu i dołącz go jako połączenie w swoim własnym planie, aby dzielić się przychodami.