

Reading a Temperature Sensor — SIK Circuit 7
Instrukcje
Parts & Introduction
Parts & Introduction
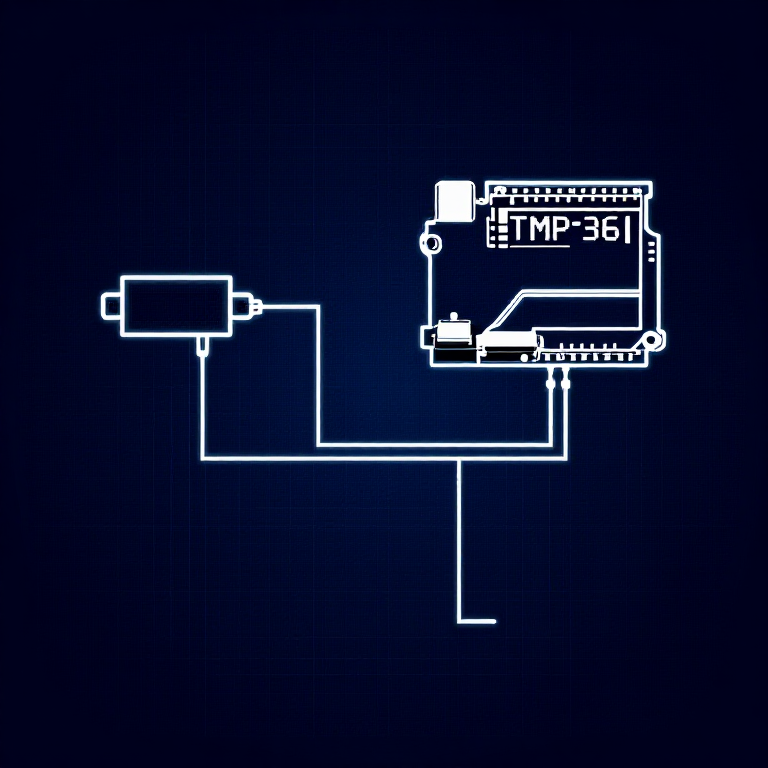
The TMP36 is an analog temperature sensor that outputs a voltage proportional to temperature. You'll learn to use the Serial Monitor to display real-time readings — an essential debugging tool.
Parts Needed
- 1x Arduino Uno + USB cable
- 1x Breadboard
- 1x TMP36 Temperature Sensor
- 5x Jumper Wires
Warning: The TMP36 looks similar to the transistor. Look for "TMP" in tiny letters and a triangle logo. The transistor has "222" printed on it. Inserting the wrong component can damage it!
Materiały do tego kroku:
 SparkFun Inventor's Kit - V3.21 zestaw
Potrzebne narzędzia:
 Komputer z Arduino IDE
Hardware Hookup
Hardware Hookup
Wiring Instructions
With the TMP36 flat side facing you and pins pointing down, the pins are (left to right): 5V, Signal, GND.
- Connect the left pin to 5V.
- Connect the middle pin (signal) to Analog Pin A0.
- Connect the right pin to GND.
That's it — just 3 wires! The TMP36 can only be connected in one direction. Double-check before powering on.
Materiały do tego kroku:
 Płytka stykowa1 sztuka
 Przewody połączeniowe3 sztuk
Arduino Code
Arduino Code
Open the Arduino IDE and upload the following sketch to your Arduino board.
Materiały do tego kroku:
 Arduino Uno R31 sztuka
Potrzebne narzędzia:
Komputer z Arduino IDETest & Experiment
Test & Experiment
What You Should See
Open the Serial Monitor (magnifying glass icon in Arduino IDE, or Ctrl+Shift+M). You'll see lines updating once per second:
voltage: 0.73 deg C: 23.24 deg F: 73.84
Troubleshooting
- Nothing happens: Open the Serial Monitor! The output goes there, not to the LEDs.
- Gibberish text: Set the Serial Monitor baud rate dropdown to 9600.
- Temperature unchanged: Pinch the sensor with your fingers to warm it up, or apply ice to cool it down.
Experiments to Try
- Add an LED that turns on above a temperature threshold (like a heat warning).
- Log data over time to see temperature trends.
- Combine with the LCD (Circuit 15) to display temperature without a computer.
Materiały
5- SparkFun Inventor's Kit - V3.210% prowizji1 zestaw$104.30
- Zastępnik
- Zastępnik
- Zastępnik
- 1 sztukaZastępnik
Wymagane narzędzia
1- Zastępnik
CC0 Domena publiczna
Ten plan jest udostępniany na licencji CC0. Możesz go swobodnie kopiować, modyfikować, rozpowszechniać i wykorzystywać do dowolnych celów, bez konieczności uzyskiwania zgody.
Wesprzyj Makera kupując produkty przez jego plan, za co zarabia Prowizja Makera ustalony przez sprzedawców, lub stwórz nową iterację tego planu i dołącz go jako połączenie w swoim własnym planie, aby dzielić się przychodami.