SZTUKA
Piękno i dobre samopoczucie
RZEMIOSŁO
KULTURA I HISTORIA
ROZRYWKA
ŚRODOWISKO
JEDZENIE I NAPOJE
INŻYNIERIA ODWROTNA
NAUKI
LEKKOATLETYKA
TECHNOLOGIA
URZĄDZENIA DO NOSZENIA
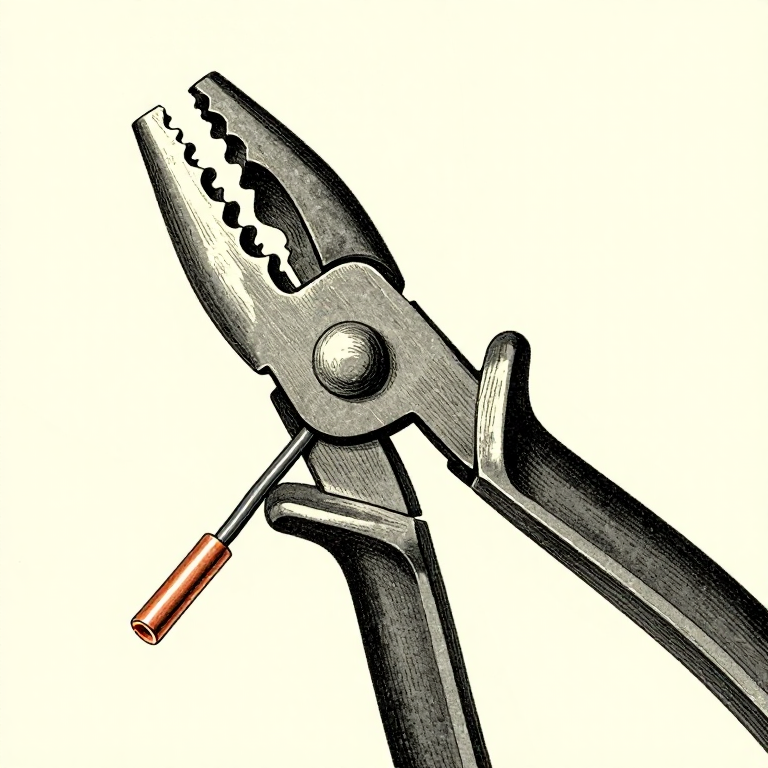


Stripping Insulation Without Nicking the Copper
A nicked conductor is a wire that will break later. The cut is a stress concentration, the wire flexes there, and it fails weeks after you finished — inside the insulation, where nothing shows.
On stranded wire the same mistake is quieter still: a few strands cut away and the wire carries less current than you think, runs warmer, and nothing looks wrong at all.
Getting this right is almost entirely about using the correct hole on the stripper and not using a knife. It takes a minute to learn and it removes a whole class of intermittent fault.
Początkujący
2 hours
Instrukcje
1
1
Use the hole marked for the gauge you are cutting
Use the hole marked for the gauge you are cutting
A wire stripper has a row of holes, each sized for one gauge. Put the wire in the hole with its own number on it, squeeze, and the blades close to exactly the conductor's diameter — cutting the insulation and stopping at the copper.
Using a hole one size too small cuts into the conductor. One size too large and the insulation tears instead of cutting, and you drag it off, stretching the wire behind it. Both are visible under a loupe and neither is visible to the naked eye.
If the gauge is unmarked or unknown, start with a hole that is definitely too large and work down until the insulation parts cleanly. That costs three seconds and one scrap end.
Materiały do tego kroku:
 Przewód montażowy1 sztuka
Potrzebne narzędzia:
 Ściągacz izolacji
 Lupa zegarmistrzowska
2
2
Never strip with a knife — and why the rotation trick still fails
Never strip with a knife — and why the rotation trick still fails
A blade pressed hard enough to cut PVC is pressed hard enough to score copper, and the score is exactly where the wire will break.
The common workaround — rolling the wire under the blade to cut all round — produces a ring of small nicks instead of one, and a ring of nicks is a perfect fracture line. It is worse than a single cut, not better.
Where there is genuinely no stripper, the least bad method is to soften and pull: grip the insulation with pliers and draw it off, or for thick cable make a LENGTHWAYS slit well back from the end and fold the insulation open rather than cutting around the conductor. A lengthways cut does not create a break line.
Materiały do tego kroku:
Przewód montażowy1 sztukaPotrzebne narzędzia:
 Nóż modelarski z zapasowymi ostrzamiŚciągacz izolacjiLupa zegarmistrzowska
3
3
Strip the right LENGTH, and check it against the joint
Strip the right LENGTH, and check it against the joint
Too little and the conductor does not reach the bottom of the terminal; too much and bare copper stands proud of it, ready to touch its neighbour.
The right length is set by the joint, not by habit. For a screw terminal, just enough that no bare wire shows outside the clamp. For a crimp, exactly the length of the barrel. For a solder joint on a pin, enough to wrap or sit against it and no more.
Offer the stripped end up to the terminal before committing. A wire stripped too long can be trimmed; one stripped too short has to be cut back and redone, which shortens the wire every time and eventually costs you the whole run.
Materiały do tego kroku:
Przewód montażowy1 sztukaPotrzebne narzędzia:
Ściągacz izolacji Listwa zaciskowa śrubowa
 Końcówka oczkowa
4
4
Twist stranded wire — but do not tin it for a screw terminal
Twist stranded wire — but do not tin it for a screw terminal
Give stranded wire a light twist in the direction its strands already lie, just enough to keep them together. Heavy twisting distorts the bundle and makes it harder to seat.
Do NOT tin a stranded wire that is going into a SCREW terminal. Solder creeps under sustained pressure — it flows slowly away from the clamped point — so the screw gradually loosens over months and the joint heats up. This is a real documented failure mode and it is forbidden in professional practice for exactly that reason.
The correct answer for stranded wire into a screw terminal is a bootlace ferrule: a metal sleeve crimped onto the strands that presents a solid, non-creeping end to the screw. Tinning is fine where the joint is soldered anyway, and wrong wherever a screw is doing the clamping.
Materiały do tego kroku:
 Tulejka zaciskowa1 sztukaPrzewód montażowy1 sztuka
Potrzebne narzędzia:
 Zaciskarka do końcówekListwa zaciskowa śrubowa
 Lutownica
Wymagane narzędzia
7- Zastępnik
- Zastępnik
- Zastępnik
- Listwa zaciskowa śrubowa10% prowizjiMagento Legacy Storeships internationallyZastępnik
- Zastępnik
- Zastępnik
Powiązane blueprinty
Te blueprinty dzielą się wiedzą — technikami, materiałami lub zasadami


CC0 Domena publiczna
Ten plan jest udostępniany na licencji CC0. Możesz go swobodnie kopiować, modyfikować, rozpowszechniać i wykorzystywać do dowolnych celów, bez konieczności uzyskiwania zgody.
Wesprzyj Makera kupując produkty przez jego plan, za co zarabia Prowizja Makera ustalony przez sprzedawców, lub stwórz nową iterację tego planu i dołącz go jako połączenie w swoim własnym planie, aby dzielić się przychodami.