SZTUKA
Piękno i dobre samopoczucie
RZEMIOSŁO
KULTURA I HISTORIA
ROZRYWKA
ŚRODOWISKO
JEDZENIE I NAPOJE
INŻYNIERIA ODWROTNA
NAUKI
LEKKOATLETYKA
TECHNOLOGIA
URZĄDZENIA DO NOSZENIA
Arthur F. Payne · Public domain (1914)


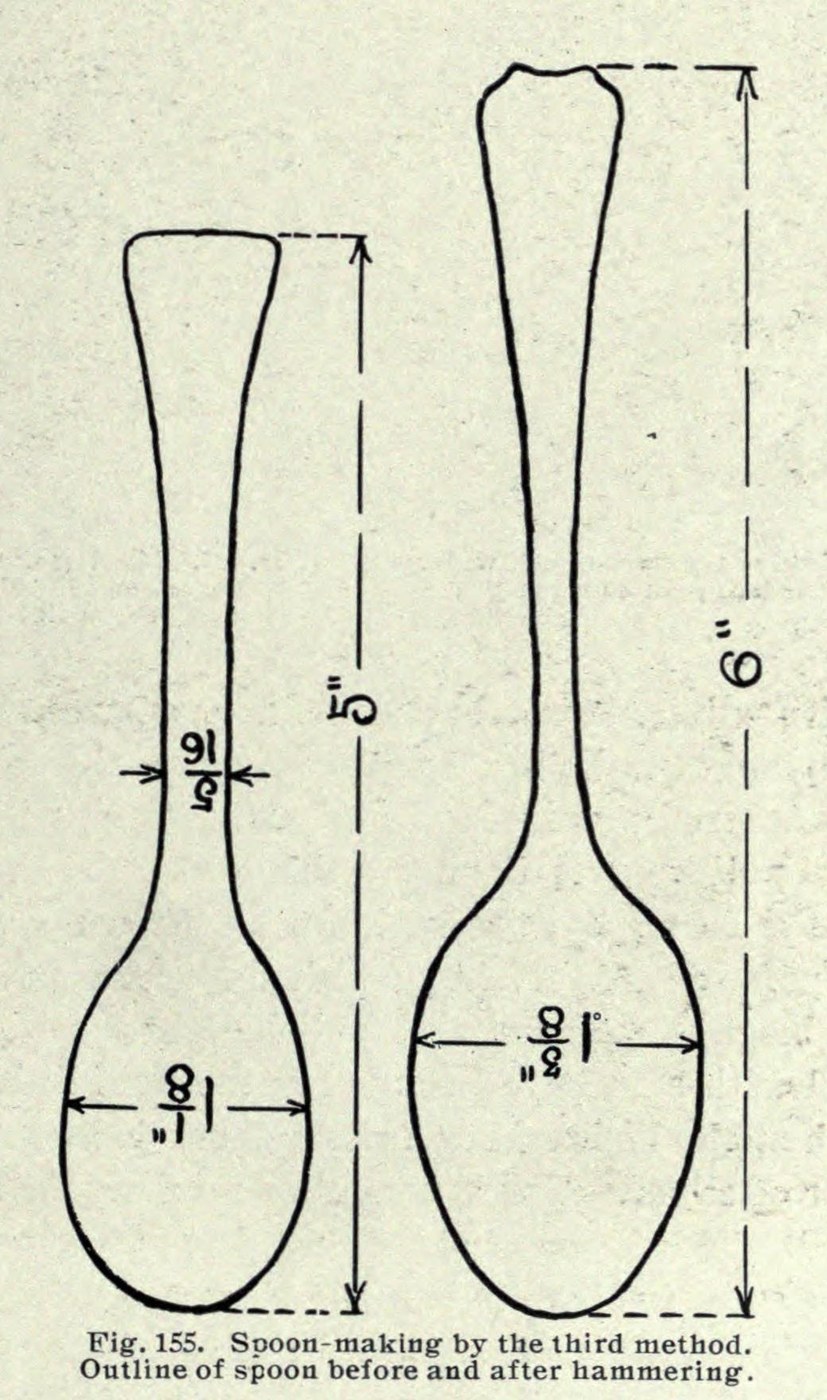
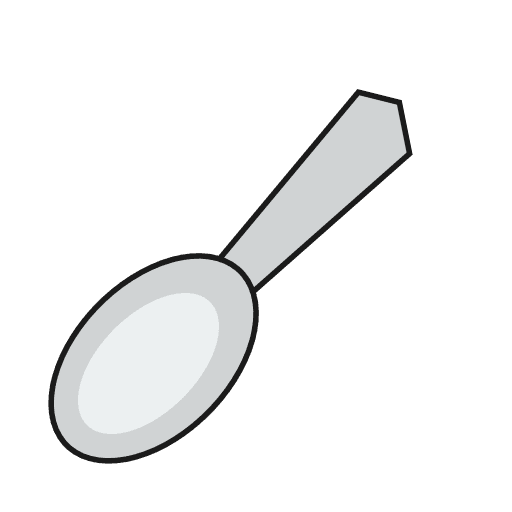
Teaspoon Sawn Short from Silver Sheet, Then Hammered Out (Payne 1914)
Saw the spoon out of flat silver smaller than it will end up: shorter, narrower in the bowl and thicker in the shank. Hammering then stretches it to full size. Arthur Payne said this method was used largely for silver teaspoons.
Source: A. F. Payne, Art Metalwork with Inexpensive Equipment (1914), pp. 180–184; annealing from his chapter XI. The millimetre figure is ours. Picture: Payne's Fig. 155, the blank and the finished spoon.
Średniozaawansowany
1 day
Instrukcje
1
1
Saw out the short blank
Saw out the short blank
Mark out and saw the blank from 15-gauge sterling silver (about 1.45 mm; our conversion): 5 in long, the bowl 1⅛ in wide and the shank 5⁄16 in wide. The finished spoon will be 6 in long with a bowl 1⅝ in wide.
Materiały do tego kroku:
 Blacha ze srebra sterling1 piece 15 gauge, enough for the 5 in blank
Potrzebne narzędzia:
 Rysik traserski
 Piłka jubilerska
2
2
Stretch the bowl wider
Stretch the bowl wider
Hammer the bowl on a flat anvil with the ball-pein hammer, held at a slight angle towards the side you want it to grow. This makes the bowl thinner and wider.
Potrzebne narzędzia:
 Kowadło
 Młotek ślusarski z kulistym rąbem
3
3
Narrow the shank with the neck hammer
Narrow the shank with the neck hammer
Hold the spoon on edge on a rounded convex stake and hammer the shank narrower with the neck hammer. This lengthens the spoon and makes the shank narrower and thicker. Widen the tip of the handle the same way as the bowl.
Potrzebne narzędzia:
 Palik
 Młotek szyjkowyMłotek ślusarski z kulistym rąbem
4
4
Anneal and repeat
Anneal and repeat
When the silver gets hard, heat it to a dull red and plunge it into water, or let it cool. Repeat the hammering and annealing until the spoon is roughly to shape.
Materiały do tego kroku:
 Woda1 as required
Potrzebne narzędzia:
 Palnik Bunsena
 Szczypce
 Naczynie szklane
5
5
File and planish
File and planish
File the rough edges smooth, then planish the whole spoon carefully.
Potrzebne narzędzia:
 Pilniki (pilnik ręczny)
 Młotek do planowaniaPalik
6
6
Polish out the file marks
Polish out the file marks
Rub out all the scratches and file marks with emery cloth.
Potrzebne narzędzia:
 Płótno szmerglowe
7
7
Anneal to even the fire scale
Anneal to even the fire scale
Anneal the spoon thoroughly once more. Heated silver grows a thin white skin, the fire scale, and this brings it back over the spots where filing and polishing took it off, so the colour is even.
Materiały do tego kroku:
Woda1 as requiredPotrzebne narzędzia:
Palnik BunsenaSzczypceNaczynie szklane8
8
Planish with smooth hammers
Planish with smooth hammers
Planish the spoon on smooth tools with smooth, bright hammers. This makes it stiff again after the annealing.
Potrzebne narzędzia:
Młotek do planowaniaKowadłoPalik9
9
Final polish with rouge
Final polish with rouge
Polish it lightly with a soft cotton flannel and a little red rouge.
Potrzebne narzędzia:
 Ściereczka do polerowania biżuterii
 Czerwień jubilerska
Materiały
2- 1 piece 15 gauge, enough for the 5 in blankZastępnik
- 2 as requiredZastępnik
Wymagane narzędzia
14- Zastępnik
- Zastępnik
- Zastępnik
- Zastępnik
- Zastępnik
- Zastępnik
- Zastępnik
- Zastępnik
- Zastępnik
- Zastępnik
- Zastępnik
- Zastępnik
- Zastępnik
- Zastępnik
Według tego planu powstaje
Powiązane blueprinty
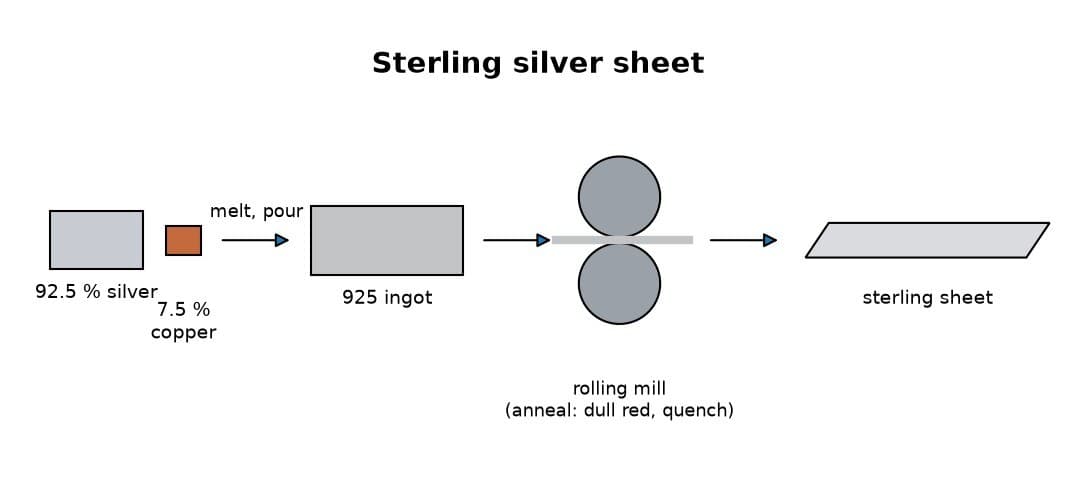
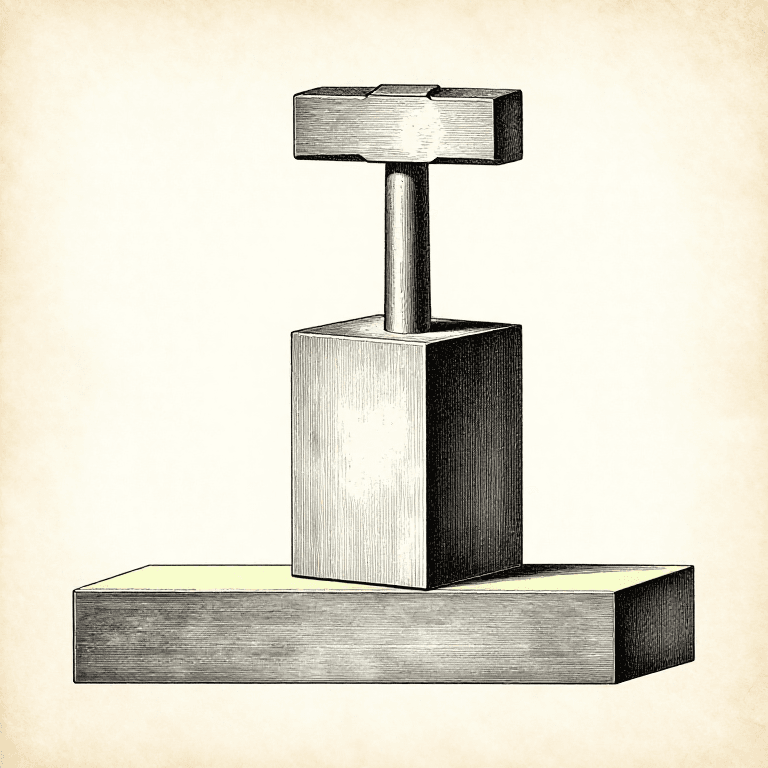
Te blueprinty dzielą się wiedzą — technikami, materiałami lub zasadami
CC0 Domena publiczna
Ten plan jest udostępniany na licencji CC0. Możesz go swobodnie kopiować, modyfikować, rozpowszechniać i wykorzystywać do dowolnych celów, bez konieczności uzyskiwania zgody.
Wesprzyj Makera kupując produkty przez jego plan, za co zarabia Prowizja Makera ustalony przez sprzedawców, lub stwórz nową iterację tego planu i dołącz go jako połączenie w swoim własnym planie, aby dzielić się przychodami.