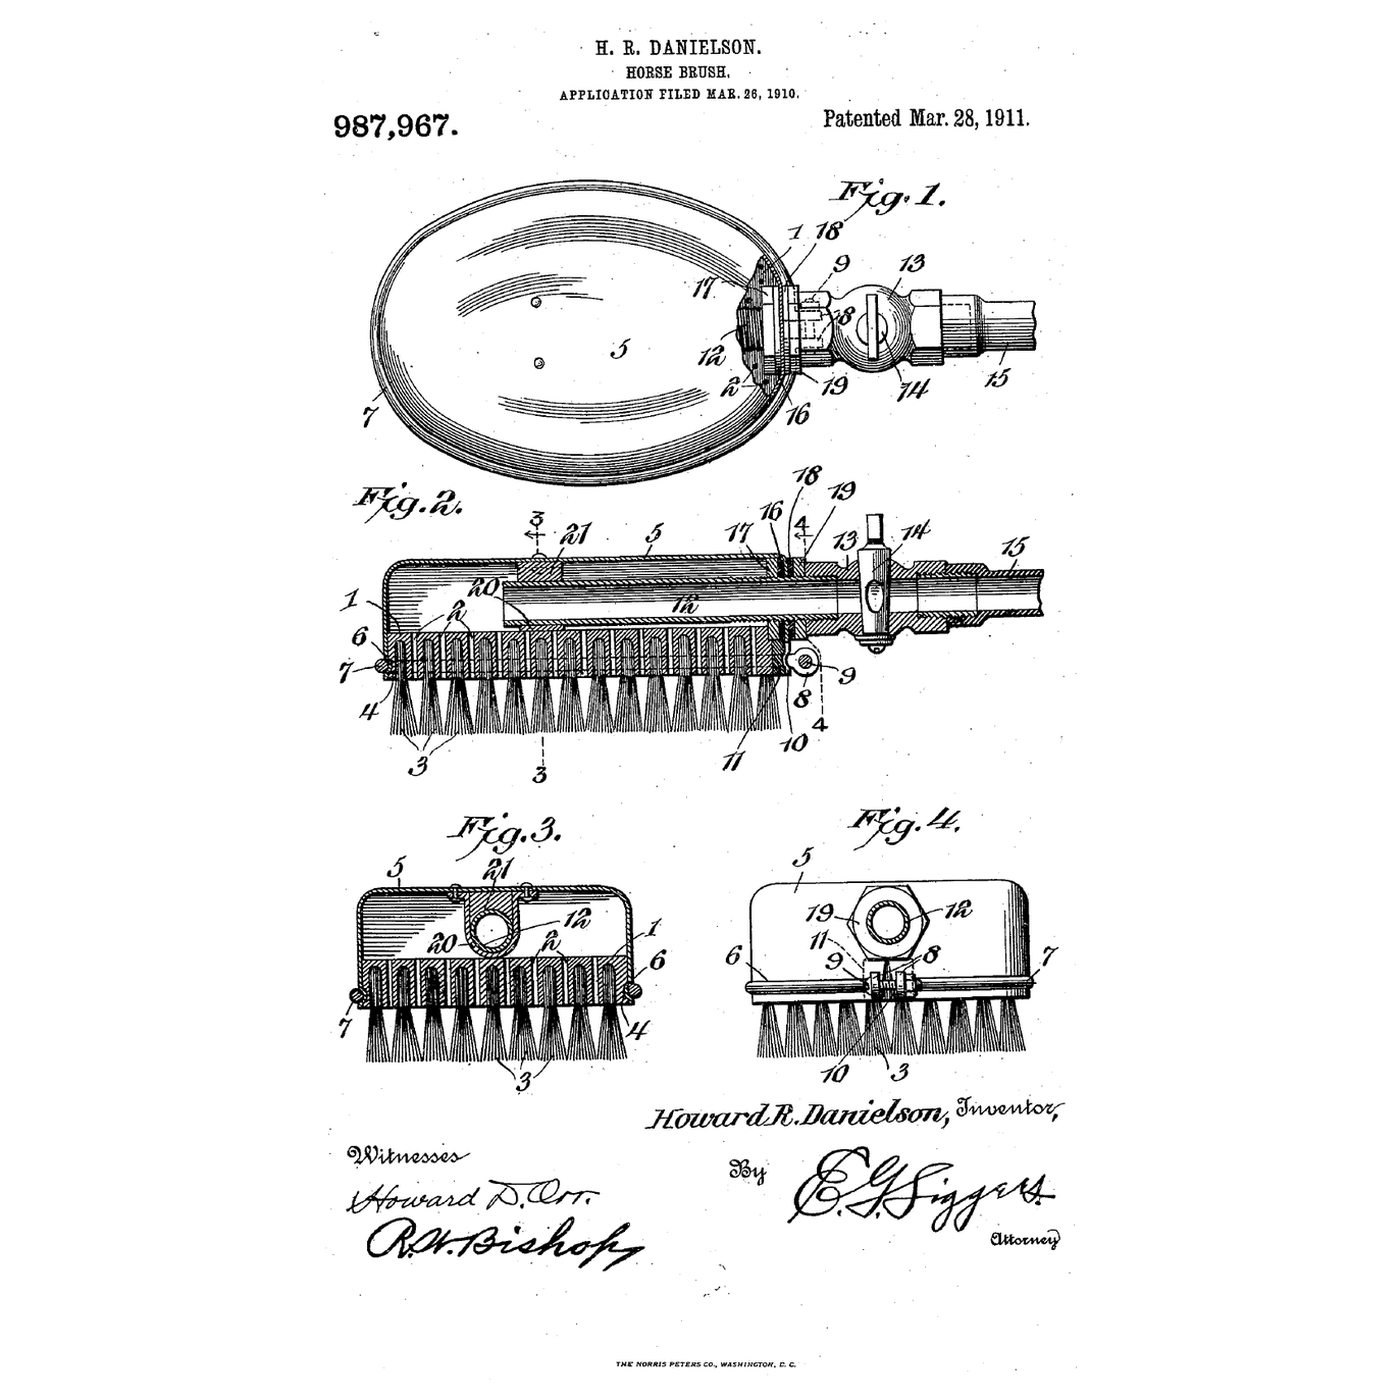


The Capped Fountain Horse Brush: Water Out Only Through the Bristles
Instrukcje
Water per grooming
Water per grooming
A horse brush before it
A horse brush before it
Read US 987,967
Read US 987,967
Perforate the back
Perforate the back
Materiały do tego kroku:
 Szczotka ryżowa1 sztuka
Potrzebne narzędzia:
 Imadło warsztatowe
 Wiertarko-wkrętarka akumulatorowa
 Zestaw wierteł
 Marker permanentny
 Okulary ochronne bezbarwne
Groove the edge
Groove the edge
Potrzebne narzędzia:
 Frezarka górnowrzecionowa
 Zestaw frezów do frezarkiOkulary ochronne bezbarwne
Shape the cap
Shape the cap
Materiały do tego kroku:
 Blacha aluminiowa1 sztuka
 Uszczelniacz silikonowy1 sztuka
Potrzebne narzędzia:
 Nożyce do blachy
 Szczypce płaskie
 Młotek
 Skórzane rękawice robocze
Wire it on
Wire it on
Materiały do tego kroku:
 Płyta gumowa1 sztuka
 Drut stalowy ocynkowany1 sztuka
 Śruby maszynowe1 sztuka
 Nakrętka sześciokątna1 sztuka
Potrzebne narzędzia:
Szczypce płaskie Zestaw wkrętaków
 Klucz nastawny
Plumb the cap
Plumb the cap
Materiały do tego kroku:
 Złączki mosiężne1 sztuka
 Podkładka płaska1 sztukaPłyta gumowa1 sztuka
 Zawór kulowy1 sztuka
 Taśma uszczelniająca PTFE do gwintów1 sztuka
Potrzebne narzędzia:
Wiertarko-wkrętarka akumulatorowaZestaw wiertełKlucz nastawnyThe build in 3D
The build in 3D
Test it
Test it
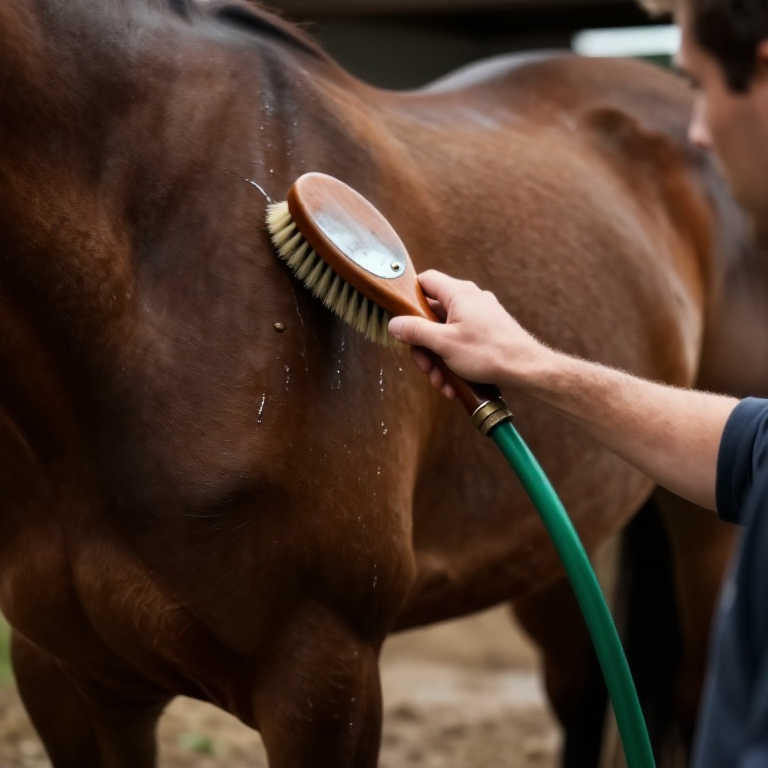
Materiały do tego kroku:
 Wąż ogrodowy1 sztuka
 Woda1 sztuka
Potrzebne narzędzia:
 Dzbanek miarowy
 Stoper
A brush that leaks, floods or will not come apart
A brush that leaks, floods or will not come apart
Flow
History and honest limits
History and honest limits
Materiały
13- 1 sztukaZastępnik
- 1 sztukaZastępnik
- 1 sztukaZastępnik
- 1 sztukaZastępnik
- 1 sztukaZastępnik
- 1 sztukaZastępnik
- 1 sztukaZastępnik
- 1 sztukaZastępnik
- 1 sztukaZastępnik
- 1 sztukaZastępnik
- Zastępnik
- Wąż ogrodowy10% prowizji1 sztukaZastępnik
- 1 sztukaZastępnik
Wymagane narzędzia
15- Zastępnik
- 1 vendor sell this, none ship to you yetZastępnik
- Zastępnik
- Zastępnik
- Zastępnik
- Zastępnik
- 1 vendor sell this, none ship to you yetZastępnik
- Zastępnik
- Zastępnik
- Zastępnik
- Zastępnik
- Zastępnik
- Zastępnik
- Zastępnik
- Zastępnik
Pliki projektowe
1Powiązane blueprinty
Te blueprinty dzielą się wiedzą — technikami, materiałami lub zasadami
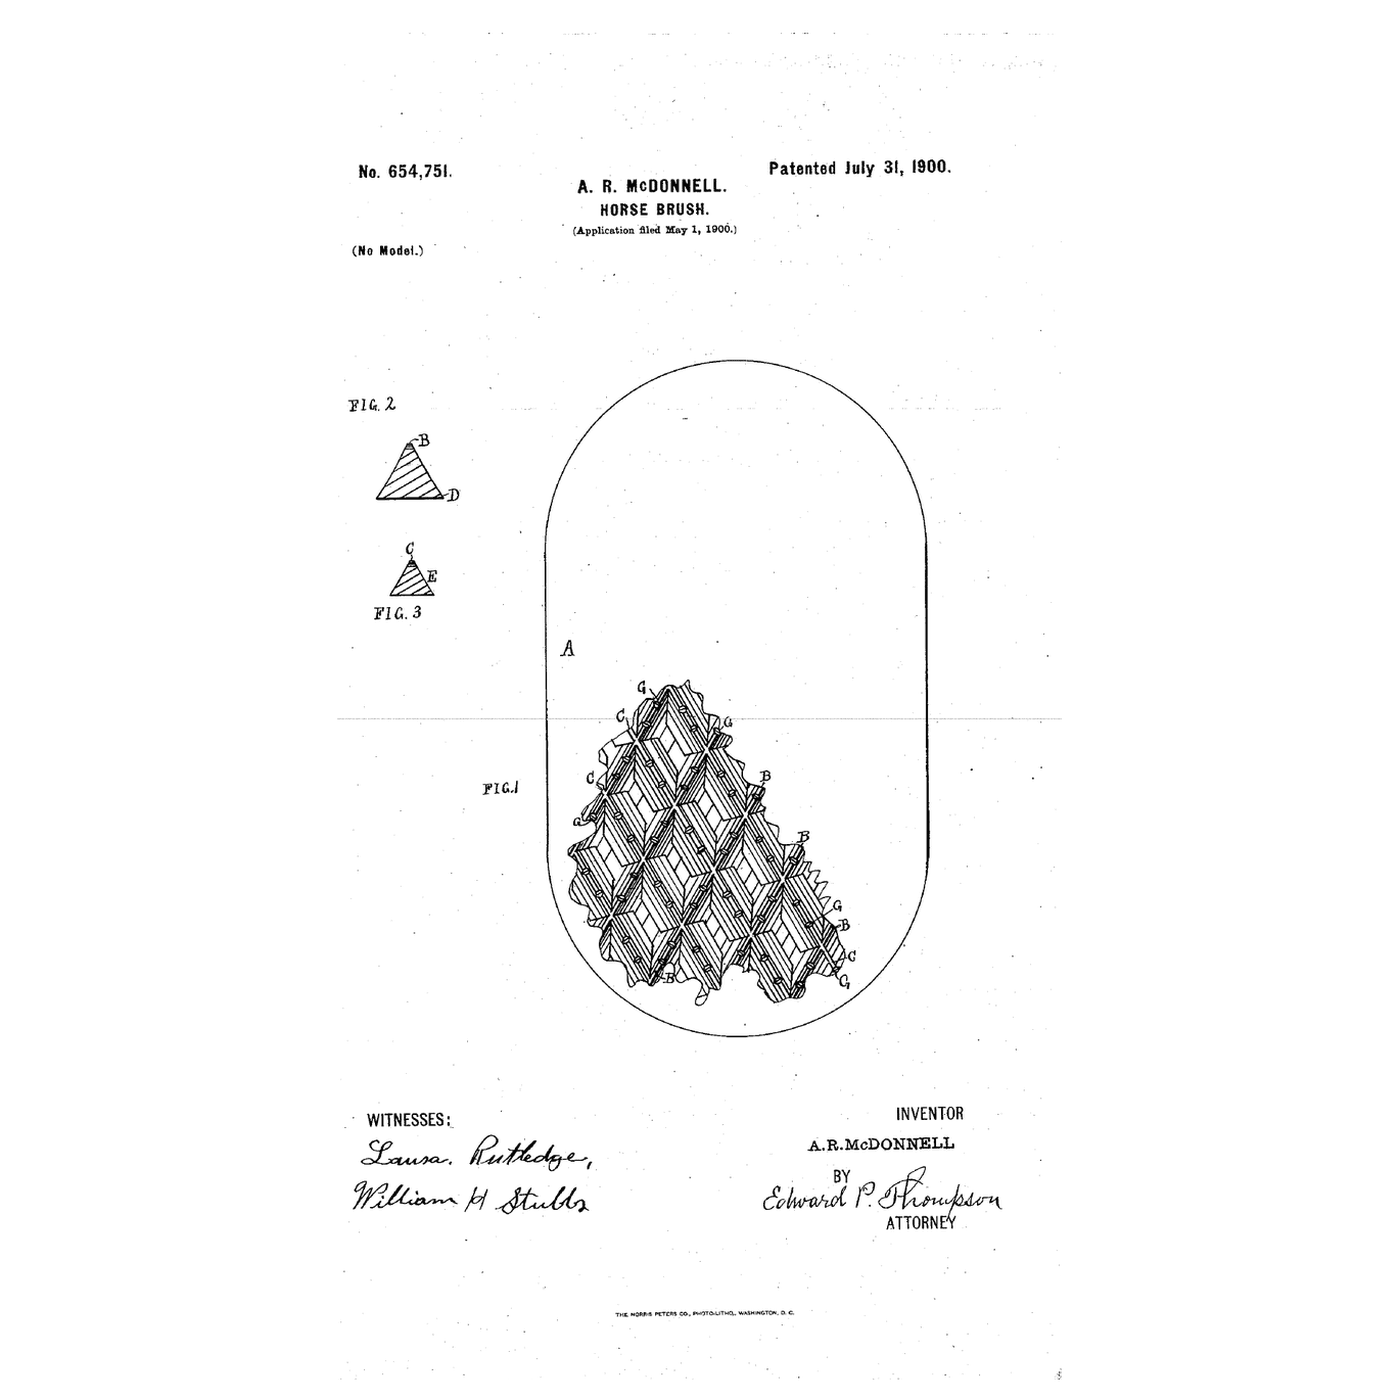
The Rubber Horse Brush: Crossed, Notched Ridges on a Leather Plate
autor: Mary
Hodowla zwierząt
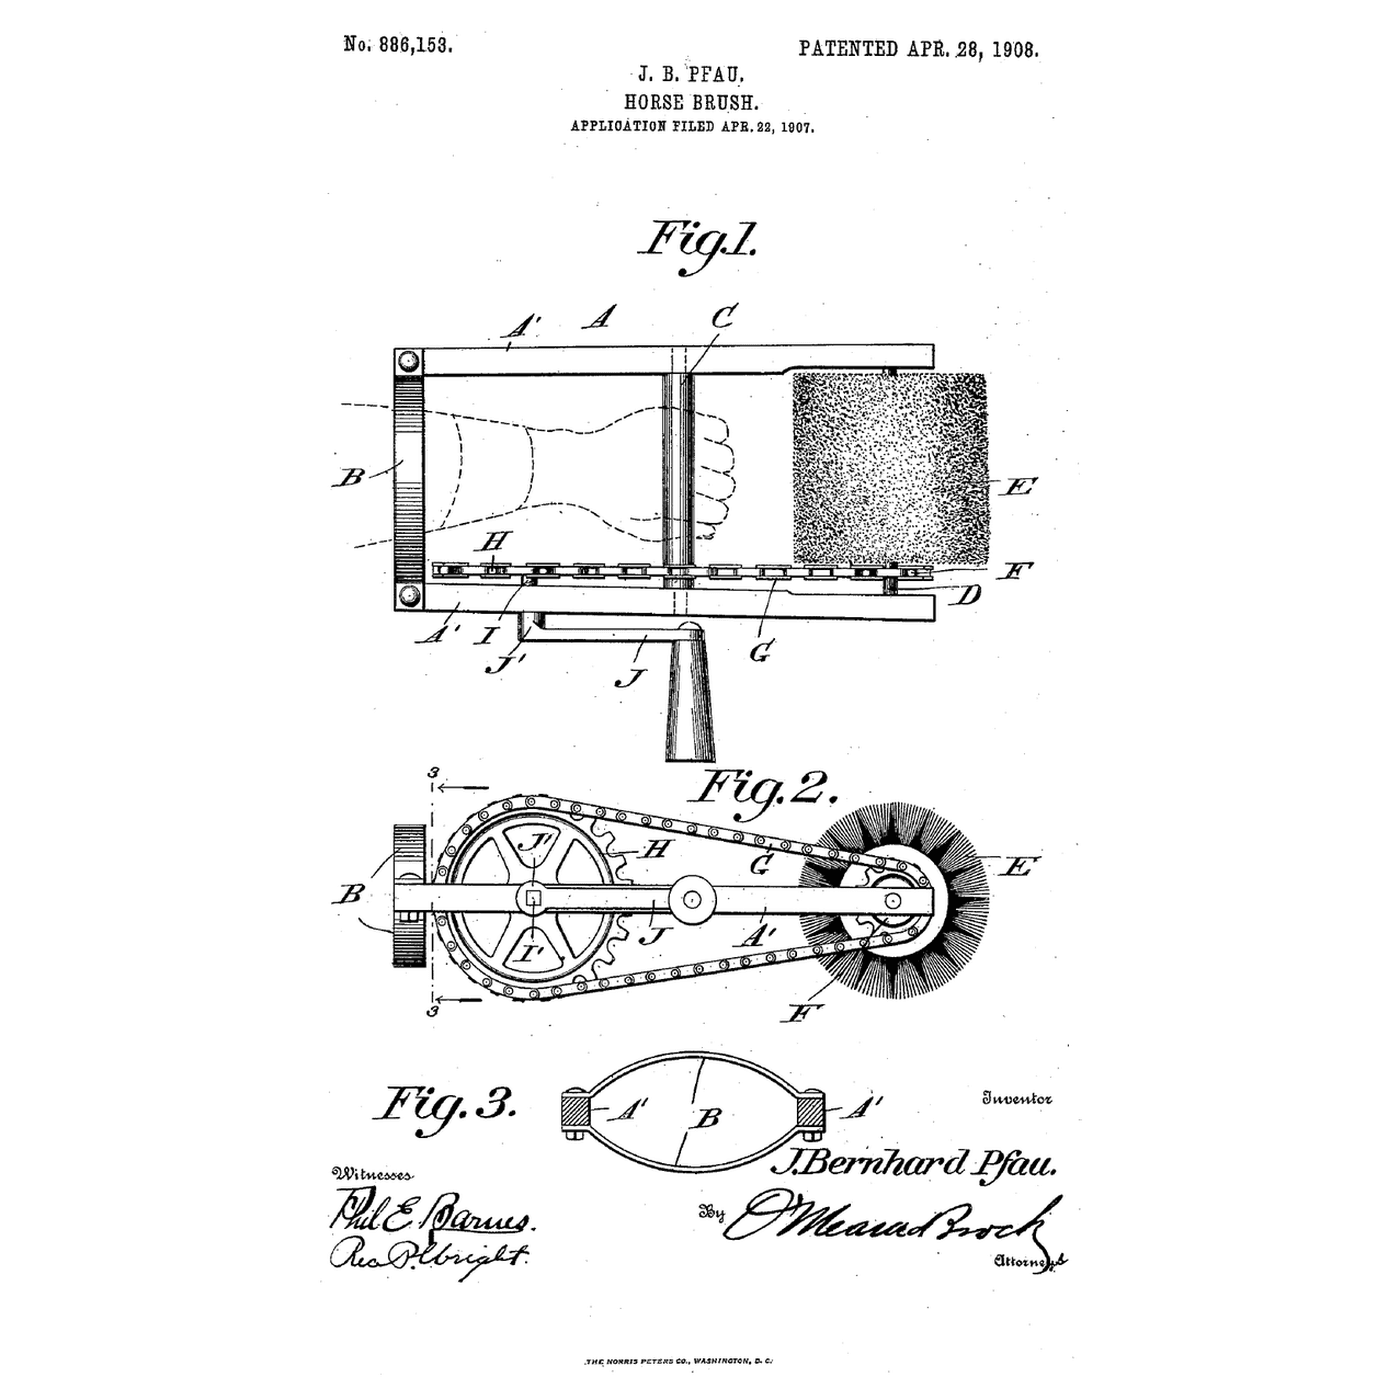
The Crank-Driven Rotary Horse Brush: Worn on the Forearm, Spun by a Sprocket Chain
autor: Martin
Hodowla zwierząt
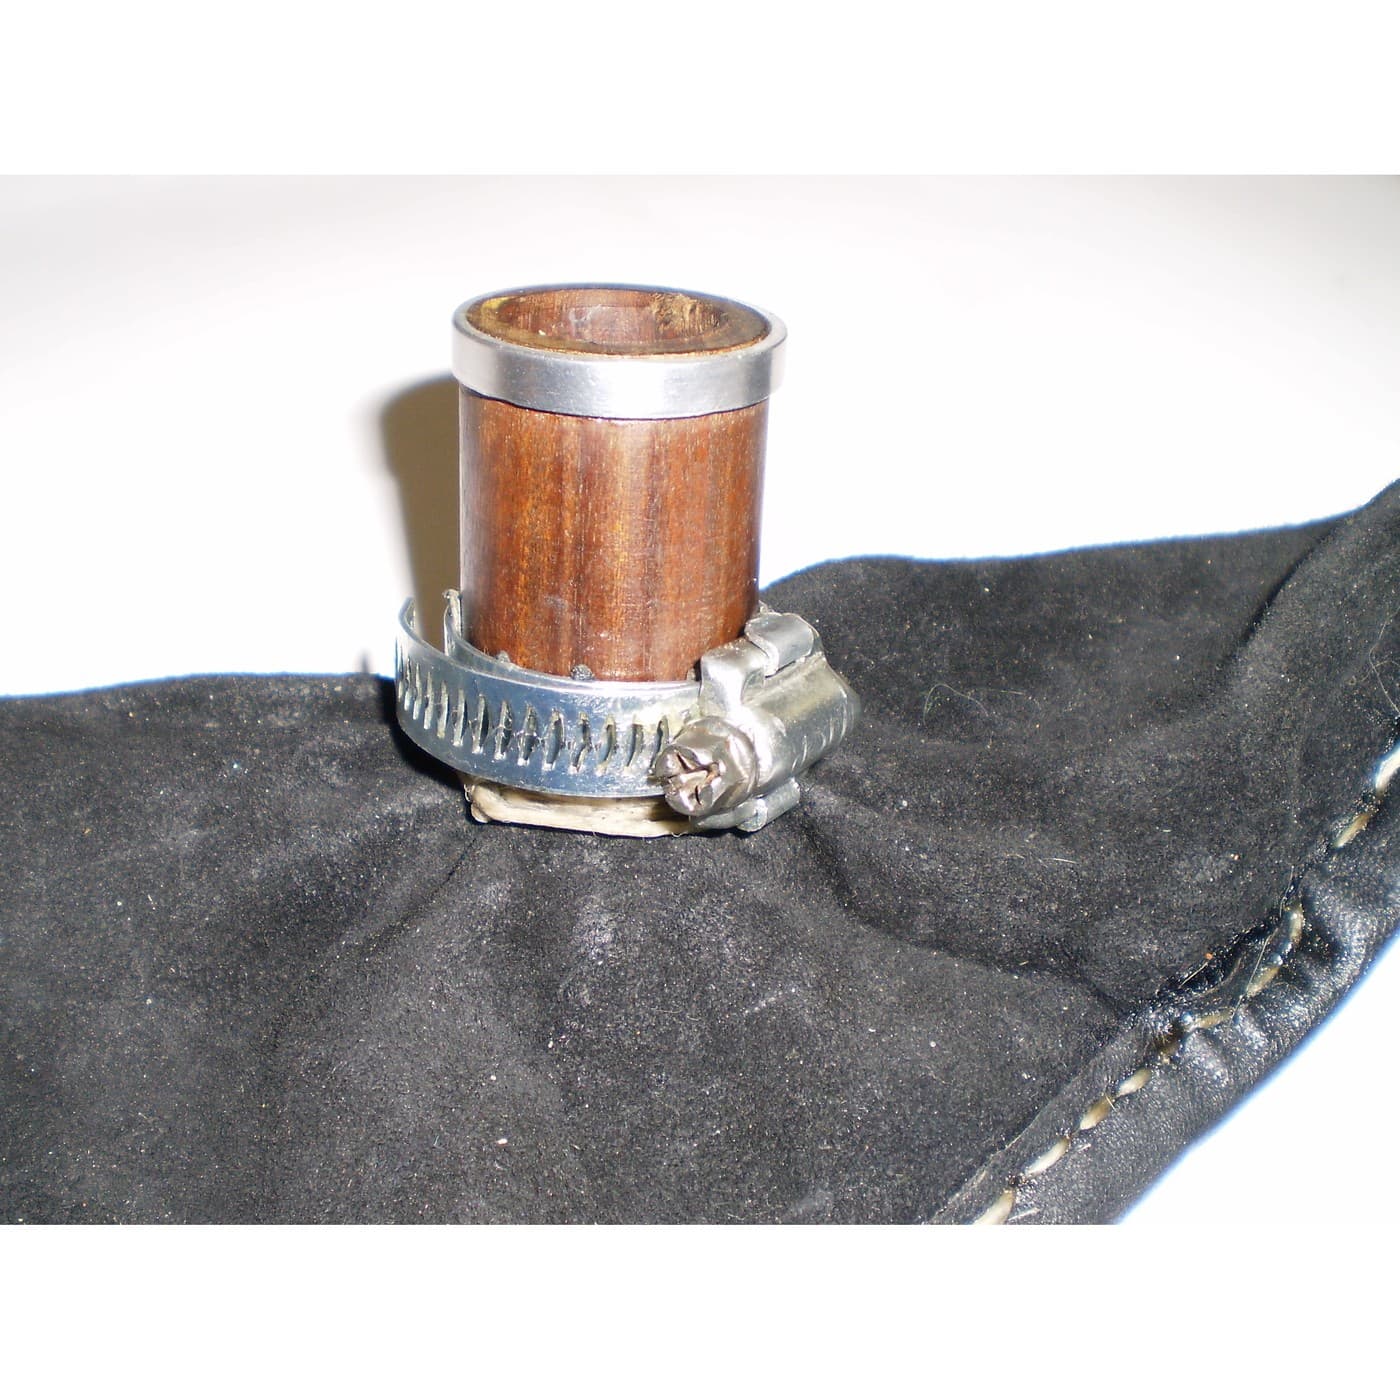
The Hose and Its Clip: Why It Was Tight When You Fitted It
autor: Martin
Narzędzia
CC0 Domena publiczna
Ten plan jest udostępniany na licencji CC0. Możesz go swobodnie kopiować, modyfikować, rozpowszechniać i wykorzystywać do dowolnych celów, bez konieczności uzyskiwania zgody.
Wesprzyj Makera kupując produkty przez jego plan, za co zarabia Prowizja Makera ustalony przez sprzedawców, lub stwórz nową iterację tego planu i dołącz go jako połączenie w swoim własnym planie, aby dzielić się przychodami.