SZTUKA
Piękno i dobre samopoczucie
RZEMIOSŁO
KULTURA I HISTORIA
ROZRYWKA
ŚRODOWISKO
JEDZENIE I NAPOJE
INŻYNIERIA ODWROTNA
NAUKI
LEKKOATLETYKA
TECHNOLOGIA
URZĄDZENIA DO NOSZENIA



The Knife Line: A Mark You Can Put a Chisel Into
A pencil line is about half a millimetre wide and sits on top of the wood. A knife line is a fraction of that, it is cut INTO the surface, and it does two jobs a pencil line cannot.
It severs the surface fibres, so a saw or chisel crossing it cannot tear them out. And it is a physical groove, so a chisel dropped into it registers there by itself — the tool finds the line instead of you aiming at it.
That second property is why hand-cut joinery is accurate at all. You are not trying to cut TO a line; you are cutting FROM one.
Początkujący
2 hours
Instrukcje
1
1
Knife where it matters, pencil where it does not
Knife where it matters, pencil where it does not
Use a knife for anything that will be cut to: shoulder lines, joint boundaries, the exact end of a piece. Use a pencil for everything else: which side is waste, part numbers, rough positions, notes to yourself.
The reason for the split is that a knife line is permanent. It is cut into the wood and it can only be removed by planing the surface away, so putting one in the wrong place is a real problem — while a pencil line rubs off.
So: measure and mark in pencil, check it, then commit with the knife. The two-step habit costs seconds and prevents the one mistake a knife makes worse.
Materiały do tego kroku:
 Deska z drewna liściastego1 sztuka
Potrzebne narzędzia:
 Nóż traserski
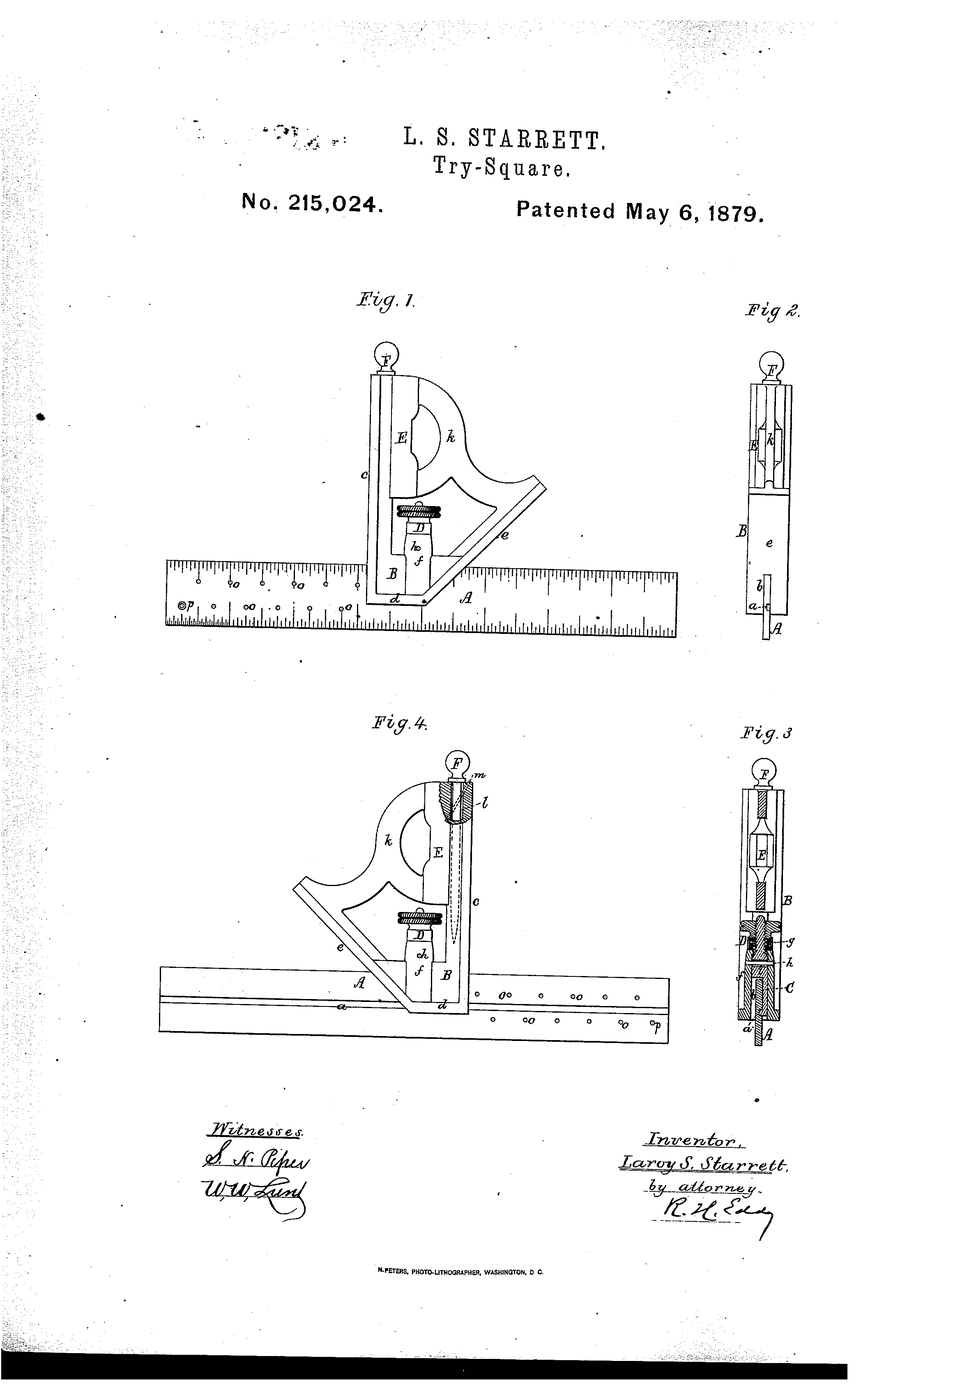
 Kątownik stolarski
2
2
Bevel out, flat against the square
Bevel out, flat against the square
A marking knife has a bevel on one side and is flat on the other. Hold the FLAT face tight against the square's blade, so the bevel pushes the waste side away and the cut sits exactly where the square is.
Turn it round and the bevel wedges the knife away from the blade, so the line ends up a fraction into the good side. That fraction is the difference between a joint that closes and one with a visible gap.
This is also why marking knives are made in handed pairs, or with a single bevel that you flip depending on which side of the line the waste is. Work out which side is waste before you cut — the sawing rung makes the same point about the kerf.
Materiały do tego kroku:
Deska z drewna liściastego1 sztukaPotrzebne narzędzia:
Nóż traserskiKątownik stolarski Lupa zegarmistrzowska
3
3
Light passes, and carry it round the piece
Light passes, and carry it round the piece
Cut the line in two or three light passes rather than one deep one. A heavy first pass follows the grain and wanders off the square; a light scoring pass creates the groove, and subsequent passes deepen it exactly where it is.
Carry the line all the way round the workpiece, working from the face side and face edge each time. When you come back to where you started, the two ends must meet. If they do not, the stock is not square or the square is not — and you have found that out before cutting anything.
That check is free and it is the reason marking out is done all the way round rather than just on the face you are about to saw.
Materiały do tego kroku:
Deska z drewna liściastego1 sztukaPotrzebne narzędzia:
Nóż traserskiKątownik stolarski Kątownik nastawny
4
4
Deepen it into a chisel wall
Deepen it into a chisel wall
For a shoulder that must be crisp, pare a shallow sloping trench on the WASTE side of the knife line with a chisel. That leaves a vertical wall exactly on the line for the chisel or saw to register against.
Now the tool cannot wander into the good side: it is physically stopped. A chisel dropped into that groove finds the line by itself, which is what makes the difference between a shoulder that is nearly right and one that is exactly right.
Keep the trench entirely in the waste. Its only purpose is to give the tool a reference, so it should never touch the finished side of the line — and it disappears entirely when the waste is removed.
Materiały do tego kroku:
Deska z drewna liściastego1 sztukaPotrzebne narzędzia:
 Zestaw dłut - z fazowanymi krawędziamiNóż traserski
 Oporka do piłowania
Wymagane narzędzia
6- Zastępnik
- Zastępnik
- Zastępnik
- Zastępnik
- Zastępnik
Powiązane blueprinty
Te blueprinty dzielą się wiedzą — technikami, materiałami lub zasadami

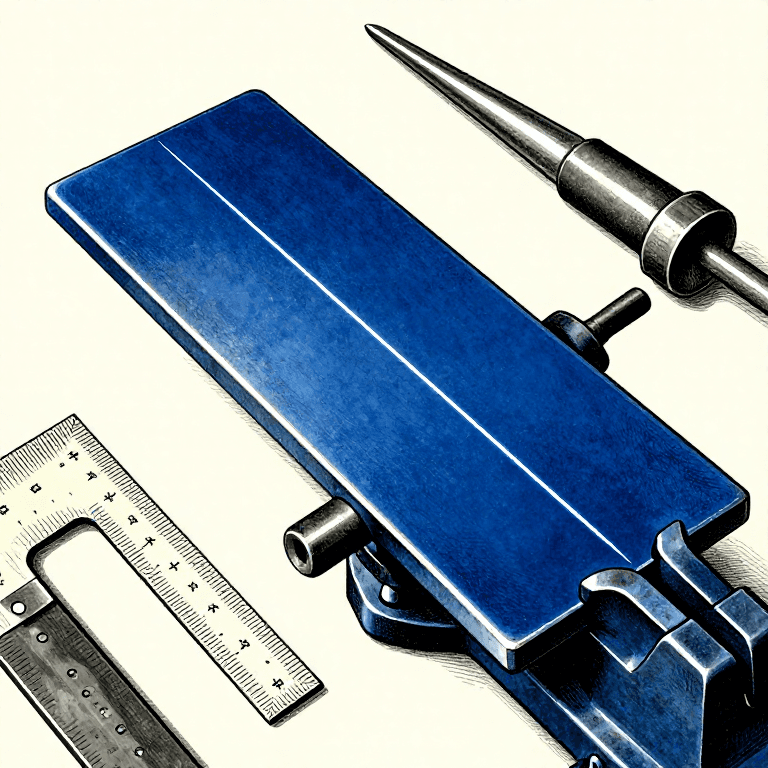
CC0 Domena publiczna
Ten plan jest udostępniany na licencji CC0. Możesz go swobodnie kopiować, modyfikować, rozpowszechniać i wykorzystywać do dowolnych celów, bez konieczności uzyskiwania zgody.
Wesprzyj Makera kupując produkty przez jego plan, za co zarabia Prowizja Makera ustalony przez sprzedawców, lub stwórz nową iterację tego planu i dołącz go jako połączenie w swoim własnym planie, aby dzielić się przychodami.