SZTUKA
Piękno i dobre samopoczucie
RZEMIOSŁO
KULTURA I HISTORIA
ROZRYWKA
ŚRODOWISKO
JEDZENIE I NAPOJE
INŻYNIERIA ODWROTNA
NAUKI
LEKKOATLETYKA
TECHNOLOGIA
URZĄDZENIA DO NOSZENIA
The Peristaltic Pump: Two Places Closed at Once, and No Valve Touches the Fluid
Emma

Autor

Emma

27. wrzesień 2026SE
102
0
0
0
0

The Peristaltic Pump: Two Places Closed at Once, and No Valve Touches the Fluid

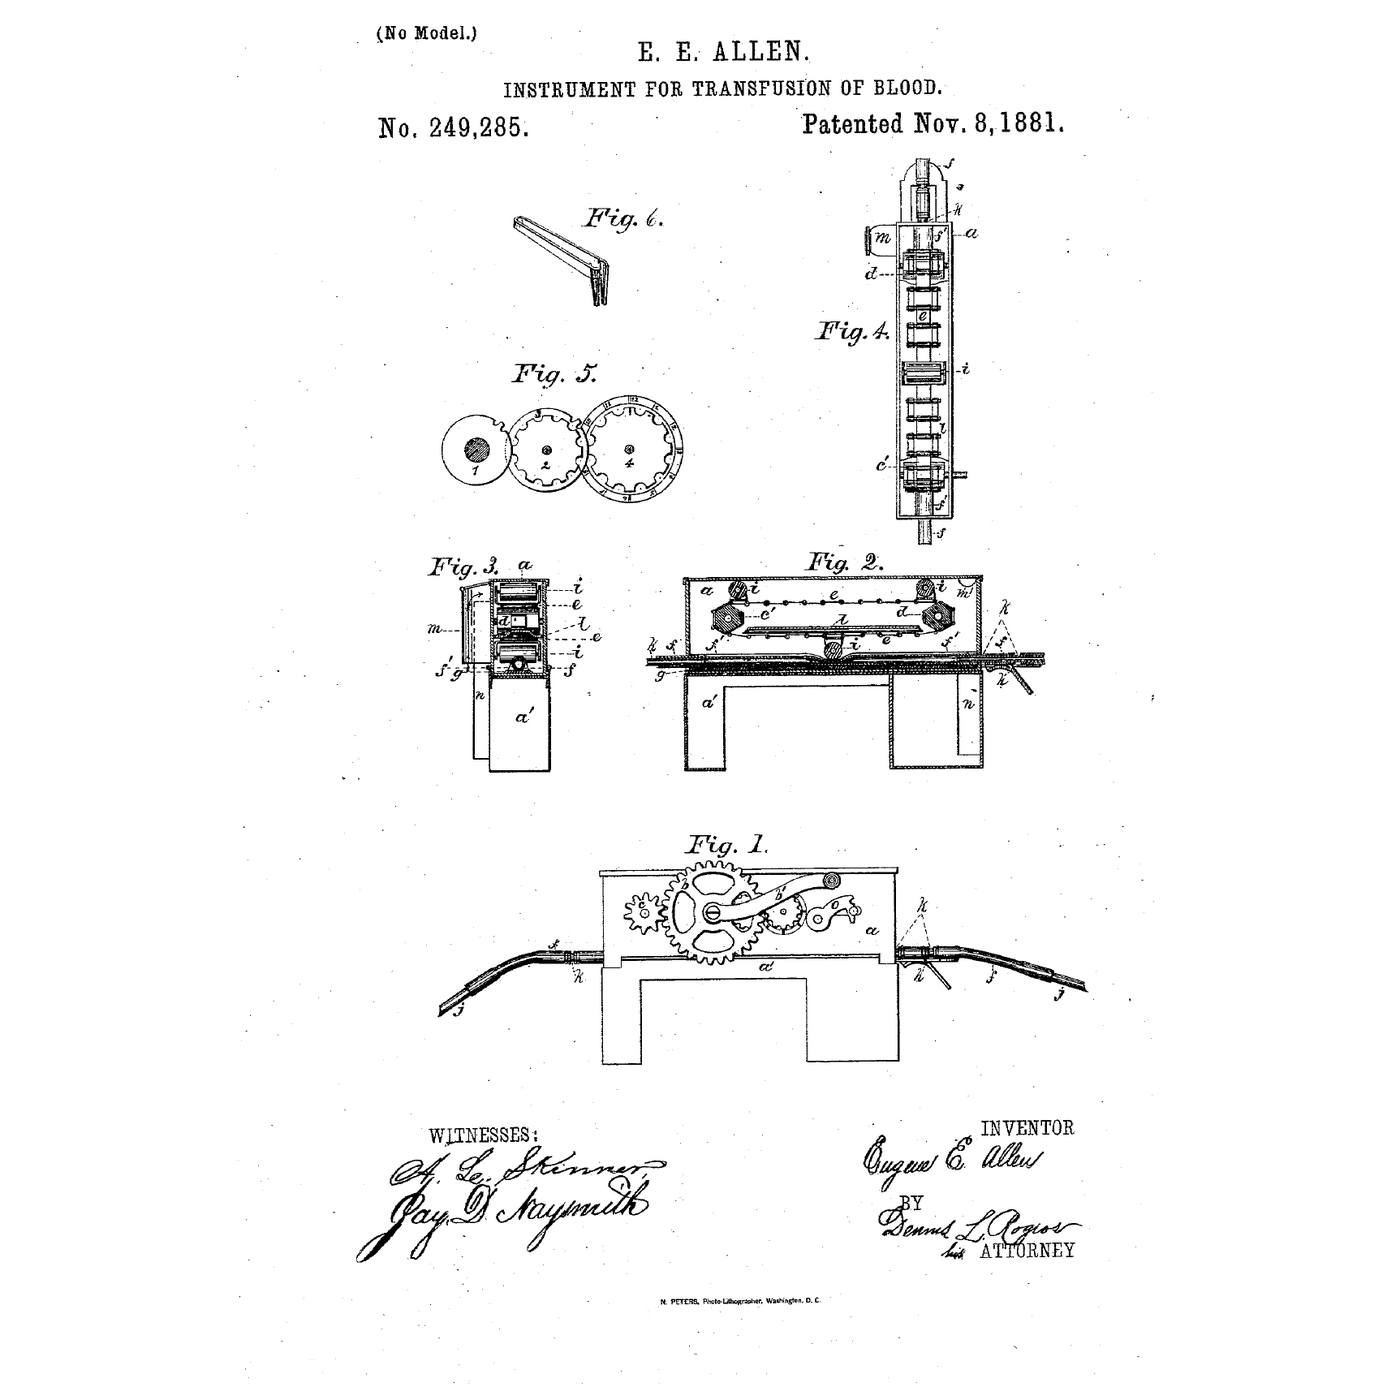
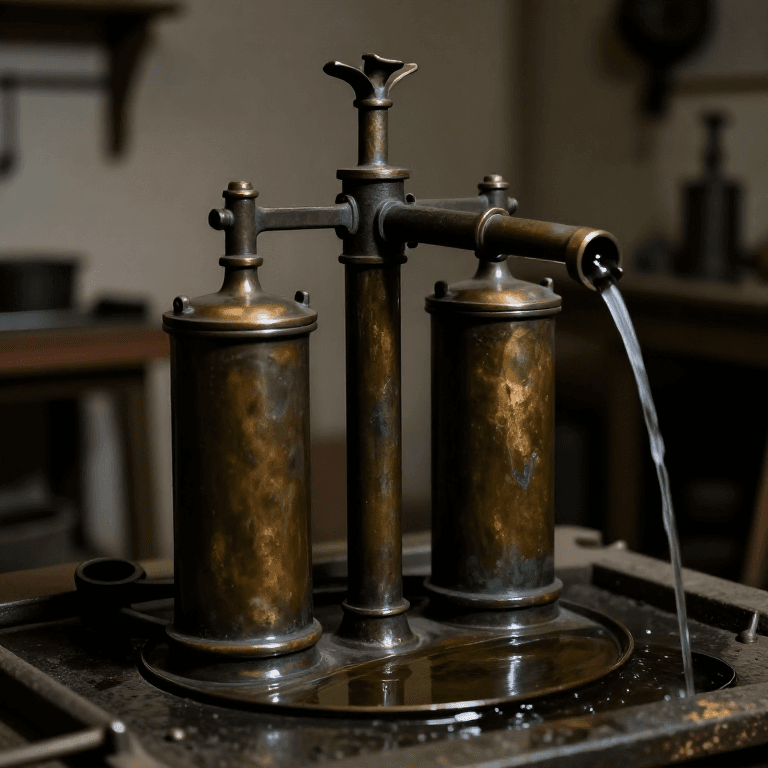
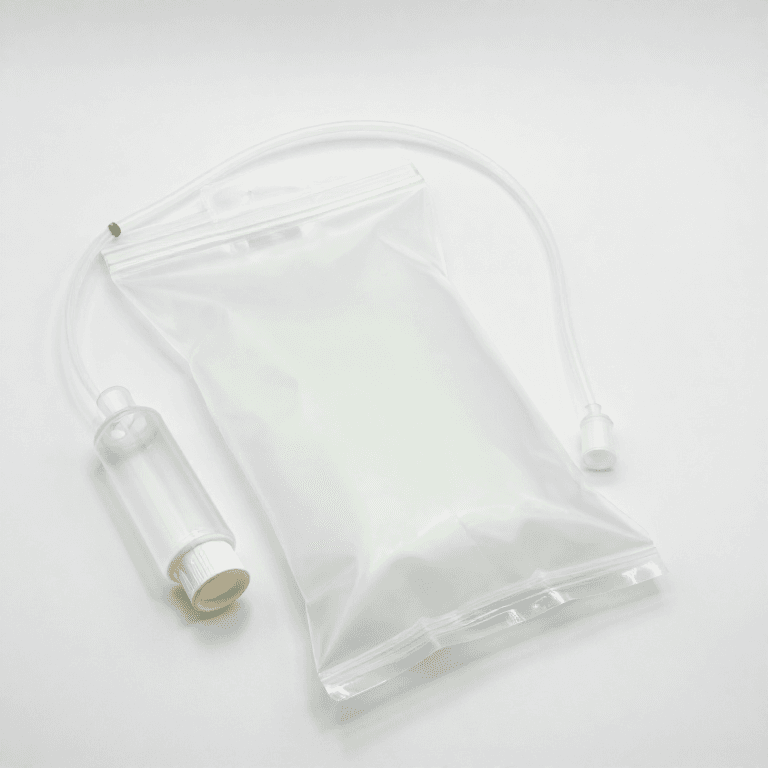
Squeeze a hose shut between two fingers and slide them along it: the liquid ahead is pushed forward, and the hose springs back behind your fingers and fills again. That is the whole of a peristaltic pump. A rotor carries rollers round a curved track, each pinching a flexible tube shut and rolling along it. Nothing but the inside of the tube ever touches the liquid. There are no valves to clog, no seals to leak and nothing to clean except a tube that can be thrown away. That is why this is the pump for blood, for cell cultures, for dosing chemicals into a water supply, for concrete and for printer ink. Rufus Porter and J. D. Bradley patented it in 1855 as a well pump, and wrote down the one rule every peristaltic pump still has to obey: the tube must be closed at **two places at the same instant**. In 1881 Eugene Allen used the same principle to move blood, precisely because it has no valves for blood to clot on. This rung builds one on a stepper motor.
Średniozaawansowany
About 6 hours

Instrukcje

1

Choose the tube first — it sets everything else

The tube is the pump. Its bore decides the flow per turn, its wall decides how hard the rollers must squeeze, and its material decides what it can carry and how long it lasts. Use **silicone** tubing for this build: it recovers its round shape quickly after each pinch, which is what refills the pocket behind the roller. Clear PVC tubing is cheaper and stiffer — it recovers more slowly, takes a permanent flat set sooner and suits only slow, occasional duty. Measure the inside diameter and the wall thickness with calipers, on a cut end, at several points round the circle. A tube squeezed flat is exactly **two walls thick**; that is the starting gap between roller and track. Write both numbers down — the track is designed around them in the next step.

Materiały do tego kroku:

Wężyk silikonowyWężyk silikonowy1 metr

Potrzebne narzędzia:

Suwmiarka cyfrowa 6 caliSuwmiarka cyfrowa 6 cali
2

Print the track, the rotor and the rollers

Print a housing with a curved track of 25 mm radius to the tube's centreline, wrapping **at least 180 degrees** — a U-shape with the tube entering on one leg and leaving on the other. Print a three-arm rotor that fits the stepper motor's 5 mm shaft with a grub screw, and fit a skateboard bearing on a machine screw at the end of each arm as a roller. Rolling bearings instead of fixed pegs is the difference between a pump and a tube cutter: a peg drags along the tube and wears through it. Make the track a separate part held by two screws in slotted holes, so you can move it towards the rotor. That adjustment is the **occlusion** — how hard the tube is squeezed — and it is the only setting the pump has. Clamp the tube at both ends of the track with printed clips, or it will creep round with the rollers until it is pulled tight and stops pumping.

Materiały do tego kroku:

Filament PETGFilament PETG120 g
Łożysko kulkoweŁożysko kulkowe3 sztuk
Śruby maszynoweŚruby maszynowe10 sztuk
Silnik krokowySilnik krokowy1 sztuka

Potrzebne narzędzia:

Drukarka 3D z filamentem (FDM)Drukarka 3D z filamentem (FDM)
Suwmiarka cyfrowa 6 caliSuwmiarka cyfrowa 6 cali
Zestaw kluczy imbusowychZestaw kluczy imbusowych
Wiertarko-wkrętarka akumulatorowaWiertarko-wkrętarka akumulatorowa
Zestaw wiertełZestaw wierteł
3

Flow per turn, and the two-closed-places rule

Wczytywanie notatnika Jupyter…
4

The drive: a stepper, a speed knob and a reverse button

A stepper motor is the right drive for a dosing pump: it turns a known angle per step, so the volume pumped is simply steps counted. This sketch reads a potentiometer for speed and a button to reverse — reversing is how you clear an air lock or empty a line back into its bottle. Set the driver's current limit before connecting the motor; a stepper run at the wrong current either stalls under the tube's resistance or overheats.
peristaltic_drive.inoarduino
/*
  peristaltic_drive.ino -- run a stepper-driven peristaltic pump at a set speed.

  Hardware: a NEMA 17 stepper on an A4988 (or DRV8825) driver board, a 10 k
  potentiometer for speed, and a push button to reverse.
  Wiring:   driver STEP -> D3, DIR -> D4, EN -> D8 (LOW = enabled)
            pot wiper -> A0, pot ends -> 5V and GND
            button    -> D2 and GND (internal pull-up)
  The driver's own VMOT must come from the 12 V supply, with a 100 uF capacitor
  across it at the board, and its current limit set BEFORE the motor is connected.
*/

const int PIN_STEP = 3;
const int PIN_DIR  = 4;
const int PIN_EN   = 8;
const int PIN_BTN  = 2;
const int PIN_POT  = A0;

const long STEPS_PER_REV = 200L * 16L;   // 1.8 deg motor, 1/16 microstepping
const float RPM_MIN = 2.0;
const float RPM_MAX = 150.0;

unsigned long lastStep = 0;
unsigned long interval = 0;              // microseconds between steps
bool forward = true;
bool lastBtn = HIGH;

void setup() {
  pinMode(PIN_STEP, OUTPUT);
  pinMode(PIN_DIR, OUTPUT);
  pinMode(PIN_EN, OUTPUT);
  pinMode(PIN_BTN, INPUT_PULLUP);
  digitalWrite(PIN_EN, LOW);
  digitalWrite(PIN_DIR, HIGH);
  Serial.begin(9600);
}

void loop() {
  // speed from the pot, re-read every loop so turning it takes effect at once
  float rpm = RPM_MIN + (RPM_MAX - RPM_MIN) * analogRead(PIN_POT) / 1023.0;
  interval = (unsigned long)(60.0e6 / (rpm * STEPS_PER_REV));

  // reverse on a button press (edge, not level), to clear an air lock
  bool b = digitalRead(PIN_BTN);
  if (b == LOW && lastBtn == HIGH) {
    forward = !forward;
    digitalWrite(PIN_DIR, forward ? HIGH : LOW);
    Serial.println(forward ? F("forward") : F("reverse"));
    delay(30);                           // crude debounce
  }
  lastBtn = b;

  unsigned long now = micros();
  if (now - lastStep >= interval) {
    lastStep = now;
    digitalWrite(PIN_STEP, HIGH);
    delayMicroseconds(2);
    digitalWrite(PIN_STEP, LOW);
  }
}

/*
  CALIBRATE, don't trust the arithmetic:
   1. Run into a graduated cylinder for exactly 100 rotor turns (count them on
      the serial print, or time them at a known rpm).
   2. Volume / 100 is your mL per turn. Compare it with the notebook's figure.
   3. Repeat with the outlet lifted 1 m higher. If the figure drops, the
      rollers are not closing the tube fully -- raise the occlusion.
*/

Materiały do tego kroku:

Arduino Uno R3Arduino Uno R31 sztuka
Sterownik silnika krokowegoSterownik silnika krokowego1 sztuka
PotencjometrPotencjometr1 sztuka
Przewody połączeniowePrzewody połączeniowe1 zestaw

Potrzebne narzędzia:

Komputer z Arduino IDEKomputer z Arduino IDE
Zasilacz prądu stałegoZasilacz prądu stałego
5

Set the occlusion and calibrate against a column of water

Start with the track backed off so the rollers barely touch the tube. Put the inlet in a beaker of water with a drop of dye, lead the outlet into a graduated cylinder and run the pump slowly. Move the track in a little at a time. At first the pump delivers almost nothing: the rollers push the liquid forward and it slips back past them. When the gap reaches about twice the wall thickness the flow jumps. Now raise the outlet a metre above the inlet and watch the dye: if it creeps backward between roller passes, close the track a little more. Stop as soon as it holds. Do not go further than that. Every extra fraction of a millimetre crushes the tube on every pass and shortens its life, and gives no more flow. Now calibrate: count 100 turns into the cylinder, divide, and compare with the notebook's figure. The real pump delivers less, because the tube does not fully recover its round shape between rollers. That measured number, not the calculated one, is what a dosing pump runs on.

Materiały do tego kroku:

WodaWoda1 litr
Barwnik spożywczy (do wizualizacji przepływu)Barwnik spożywczy (do wizualizacji przepływu)1 kropla

Potrzebne narzędzia:

Cylinder miarowyCylinder miarowy
StoperStoper
Zestaw kluczy imbusowychZestaw kluczy imbusowych
Miara zwijanaMiara zwijana
6

Pulses and tube wear

Wczytywanie notatnika Jupyter…
7

The flow has drifted: find out why

A peristaltic pump's flow is only as good as its tube and its occlusion. These are the faults that change the calibrated millilitres per turn, in the order to check them.

Flow

Loading...
8

History and context

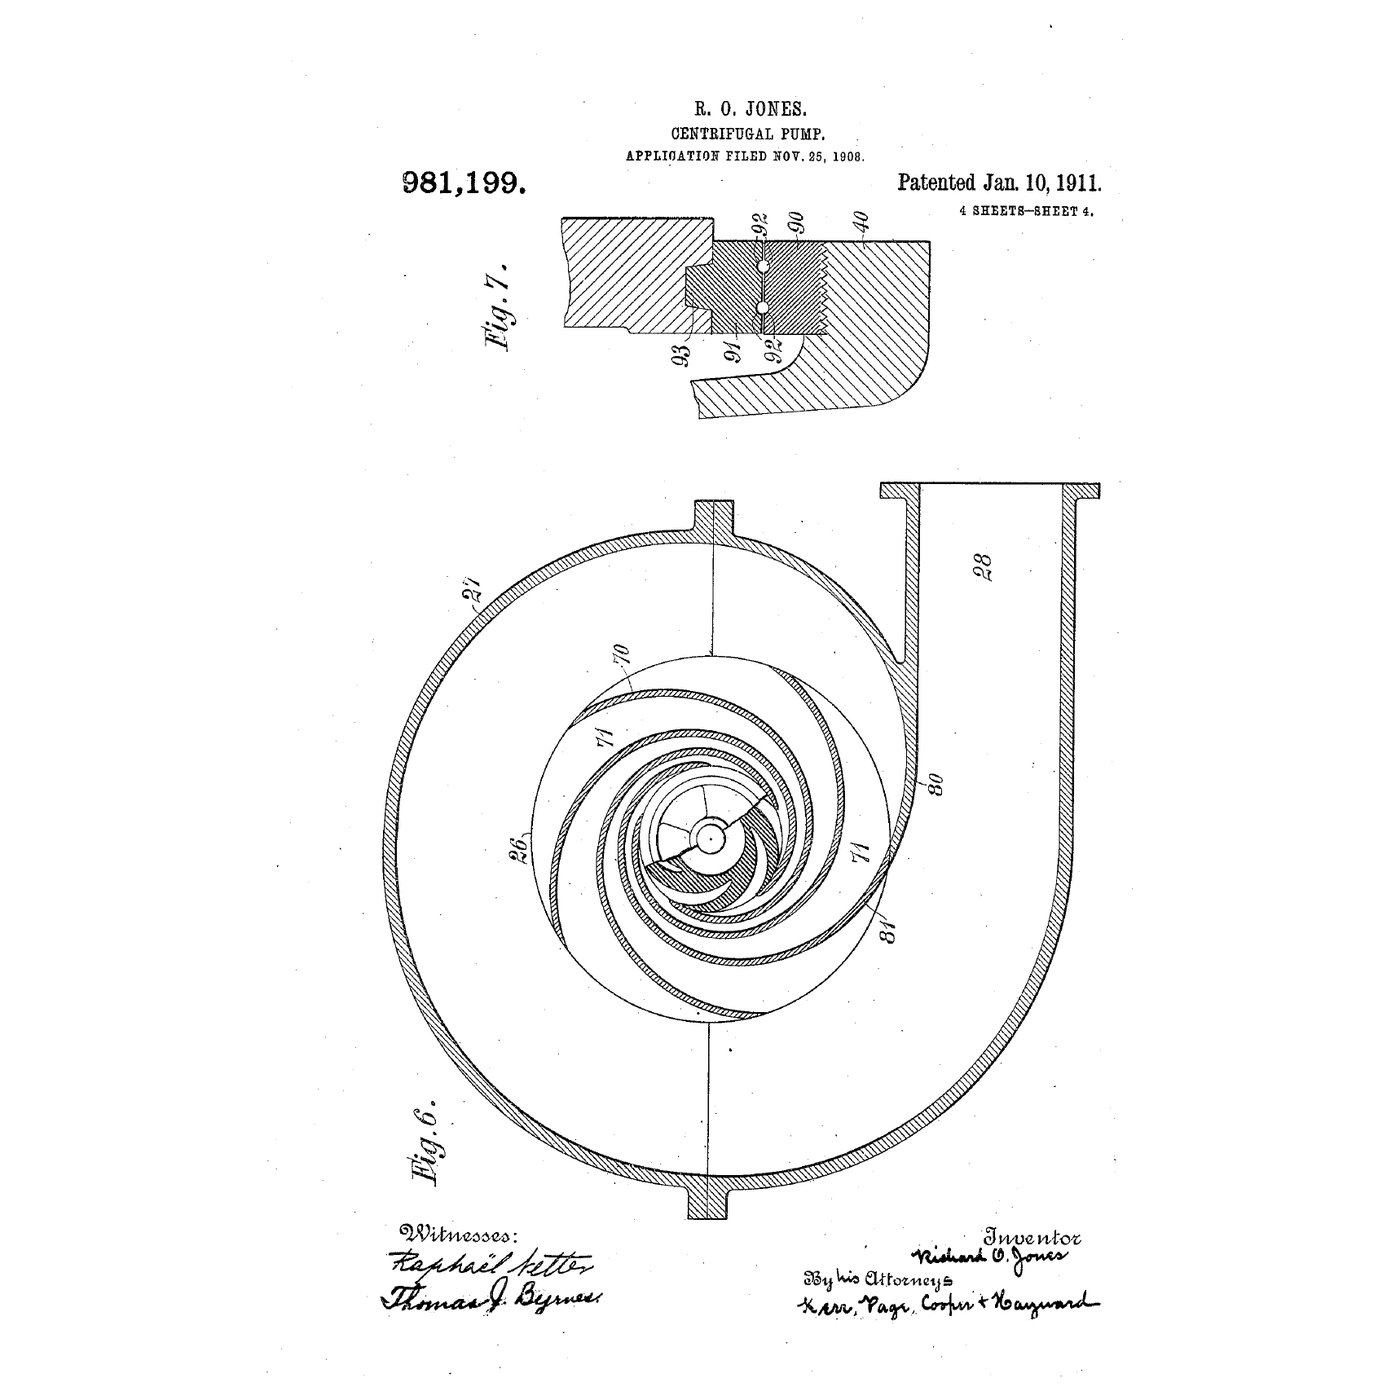
**US 12,753, 'Elastic-Tube Pump', Rufus Porter of Washington DC and J. D. Bradley of Brattleboro, Vermont, dated 17 April 1855.** Porter was the founder of Scientific American. The patent describes vulcanized india-rubber hose — only commercially available for a decade at that point — fixed round a cylindrical surface and traversed by a roller, and it names the condition that makes the pump work: the hose must be *"closed at the same instant"* in two places. One way they gave of doing it was to coil the hose a whole turn. **US 249,285, 'Instrument for Transfusion of Blood', Eugene E. Allen of Grand Rapids, Michigan, filed 23 June 1881, granted 8 November 1881.** A rubber hose about an eighth of an inch in bore laid on a rubber cushion in a small brass box, with three or more glass rollers carried on an endless belt so that one always pressed it shut. Allen's specification says why: the moving pressure *"dispens[es] with all suction-valves, which, on account of the sticky and fibrinous nature of blood, will always clog and produce clots"*. The roller pump went on to move blood in heart-lung and dialysis machines for the same reason Allen gave. **Honest limits.** It pulses. Its flow depends on a tube that wears, so it drifts and must be re-calibrated. It is limited in pressure by what the tube can seal against — a few bar for ordinary laboratory tubing. And a worn tube does not fail gracefully: it splits, and whatever it was carrying ends up in the pump head.
Krok 8 - Image 1

Materiały

11

Wymagane narzędzia

10

CC0 Domena publiczna

Ten plan jest udostępniany na licencji CC0. Możesz go swobodnie kopiować, modyfikować, rozpowszechniać i wykorzystywać do dowolnych celów, bez konieczności uzyskiwania zgody.

Wesprzyj Makera kupując produkty przez jego plan, za co zarabia Prowizja Makera ustalony przez sprzedawców, lub stwórz nową iterację tego planu i dołącz go jako połączenie w swoim własnym planie, aby dzielić się przychodami.

Dyskusja

(0)

Zaloguj się aby dołączyć do dyskusji

Ładowanie komentarzy...