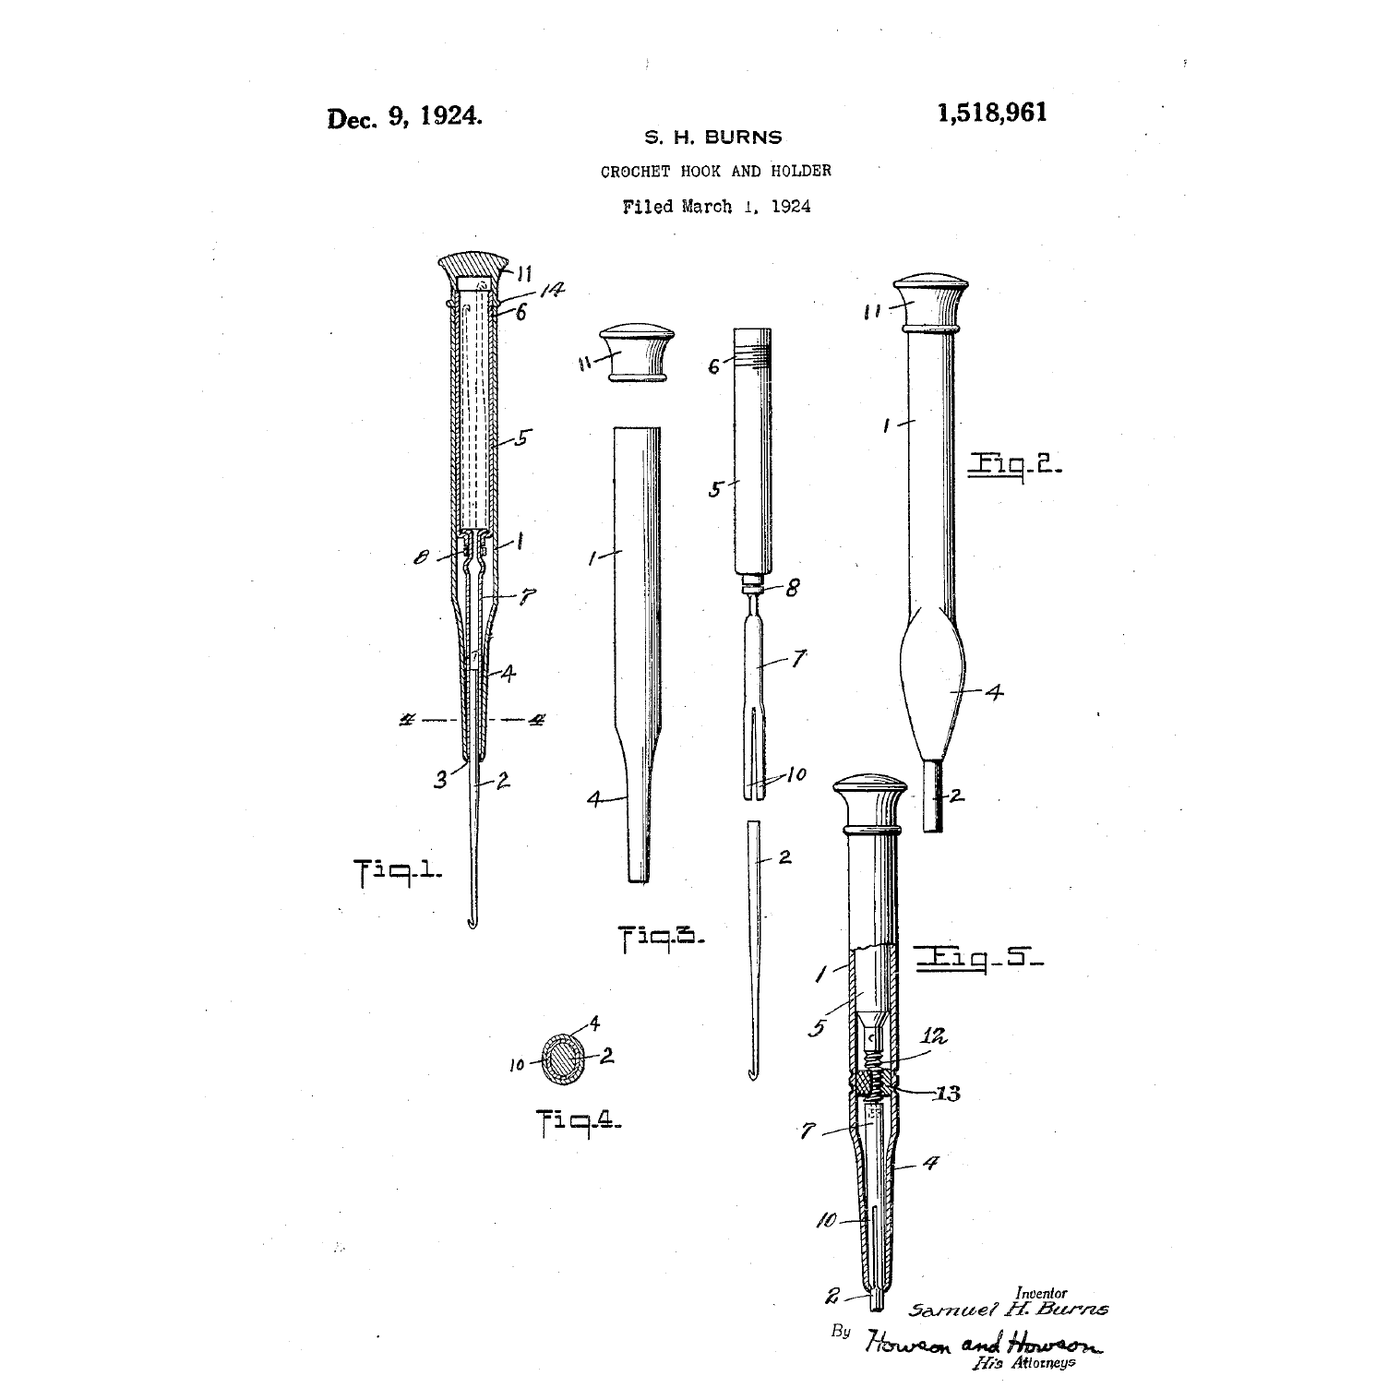

The Reversible Crochet Hook Holder: Collet Jaws Grip the Hook Either Way Round
Instrukcje
Grip from the taper
Grip from the taper
A hook protected in its handle before it
A hook protected in its handle before it
Read US 1,518,961
Read US 1,518,961
Make the nose
Make the nose
Materiały do tego kroku:
 Pręt aluminiowy1 sztuka
Potrzebne narzędzia:
 Piła do metalu
 Imadło warsztatowe
 Wiertarko-wkrętarka akumulatorowa
 Zestaw wierteł
 Pilniki (pilnik ręczny)
 Suwmiarka cyfrowa 6 cali
 Okulary ochronne bezbarwne
Make the jaws
Make the jaws
Materiały do tego kroku:
 Pręt mosiężny1 sztuka
Potrzebne narzędzia:
Piła do metaluImadło warsztatoweWiertarko-wkrętarka akumulatorowaZestaw wierteł Zestaw do gwintowania
 Zestaw pilników iglaków
Assemble the handle
Assemble the handle
Materiały do tego kroku:
 Rurka mosiężna 1/2 cala średnicy zewnętrznej1 sztuka
 Epoksyd dwuskładnikowy1 sztuka
 Nakrętka sześciokątna1 sztuka
 Kołki z twardego drewna1 sztuka
 Pręt gwintowany1 sztuka
Potrzebne narzędzia:
Piła do metaluWiertarko-wkrętarka akumulatorowaZestaw wiertełClamp a hook both ways
Clamp a hook both ways
Materiały do tego kroku:
 Zestaw szydełek1 sztuka
Potrzebne narzędzia:
Zestaw pilników iglakówMeasure the grip
Measure the grip
Materiały do tego kroku:
 Przędza1 sztuka
Potrzebne narzędzia:
 Siłomierz (waga sprężynowa)
A holder that slips, binds or will not open
A holder that slips, binds or will not open
Flow
History and honest limits
History and honest limits
Materiały
9- 1 sztukaZastępnik
- 1 sztukaZastępnik
- Zastępnik
- 1 sztukaZastępnik
- 1 sztukaZastępnik
- 1 sztukaZastępnik
- 1 sztukaZastępnik
- 1 sztukaZastępnik
- 1 sztukaZastępnik
Wymagane narzędzia
10- Zastępnik
- Zastępnik
- 1 vendor sell this, none ship to you yetZastępnik
- Zastępnik
- Zastępnik
- Zastępnik
- Zastępnik
- Zastępnik
- Zastępnik
- Zastępnik
Powiązane blueprinty
Te blueprinty dzielą się wiedzą — technikami, materiałami lub zasadami
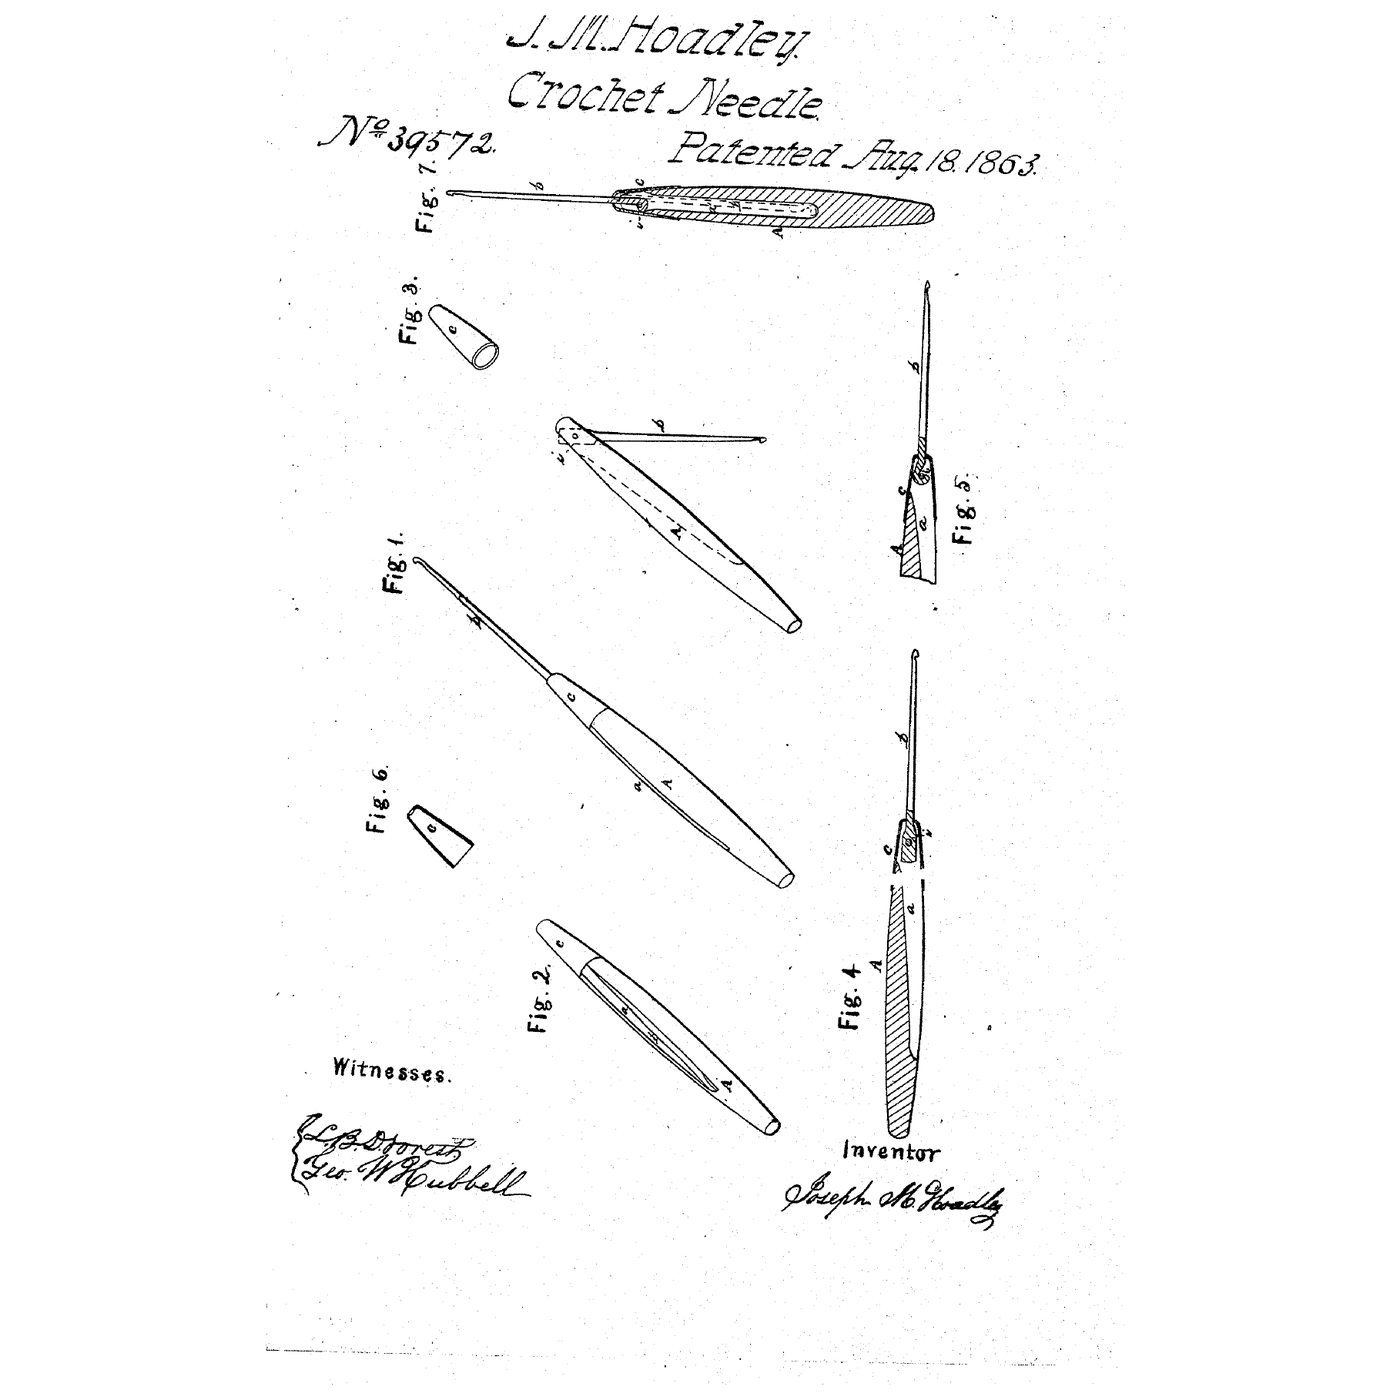
The Folding Crochet Needle: A Hook That Shuts Into Its Handle
autor: Tex
Obróbka drewna
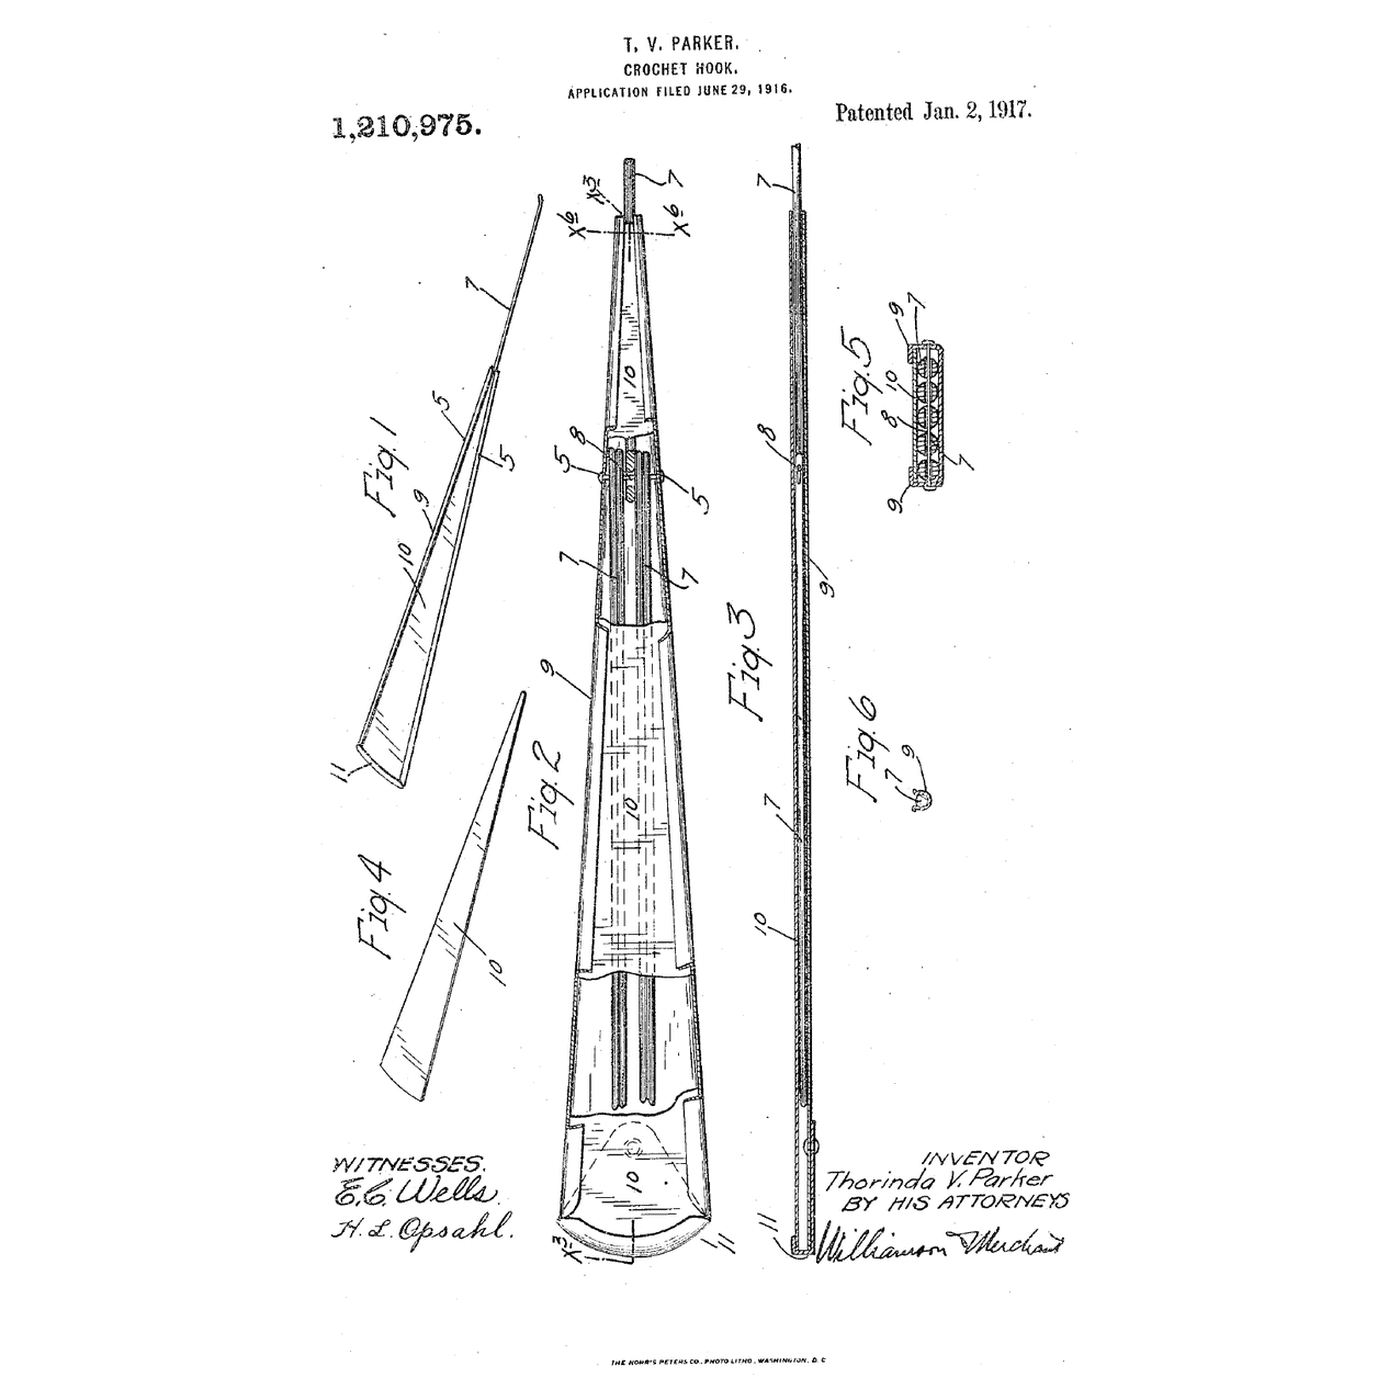
The Hook-Case Crochet Set: Hooks of Every Size Swing From One Rivet in Their Own Case
autor: Martin
Narzędzia do obróbki metali
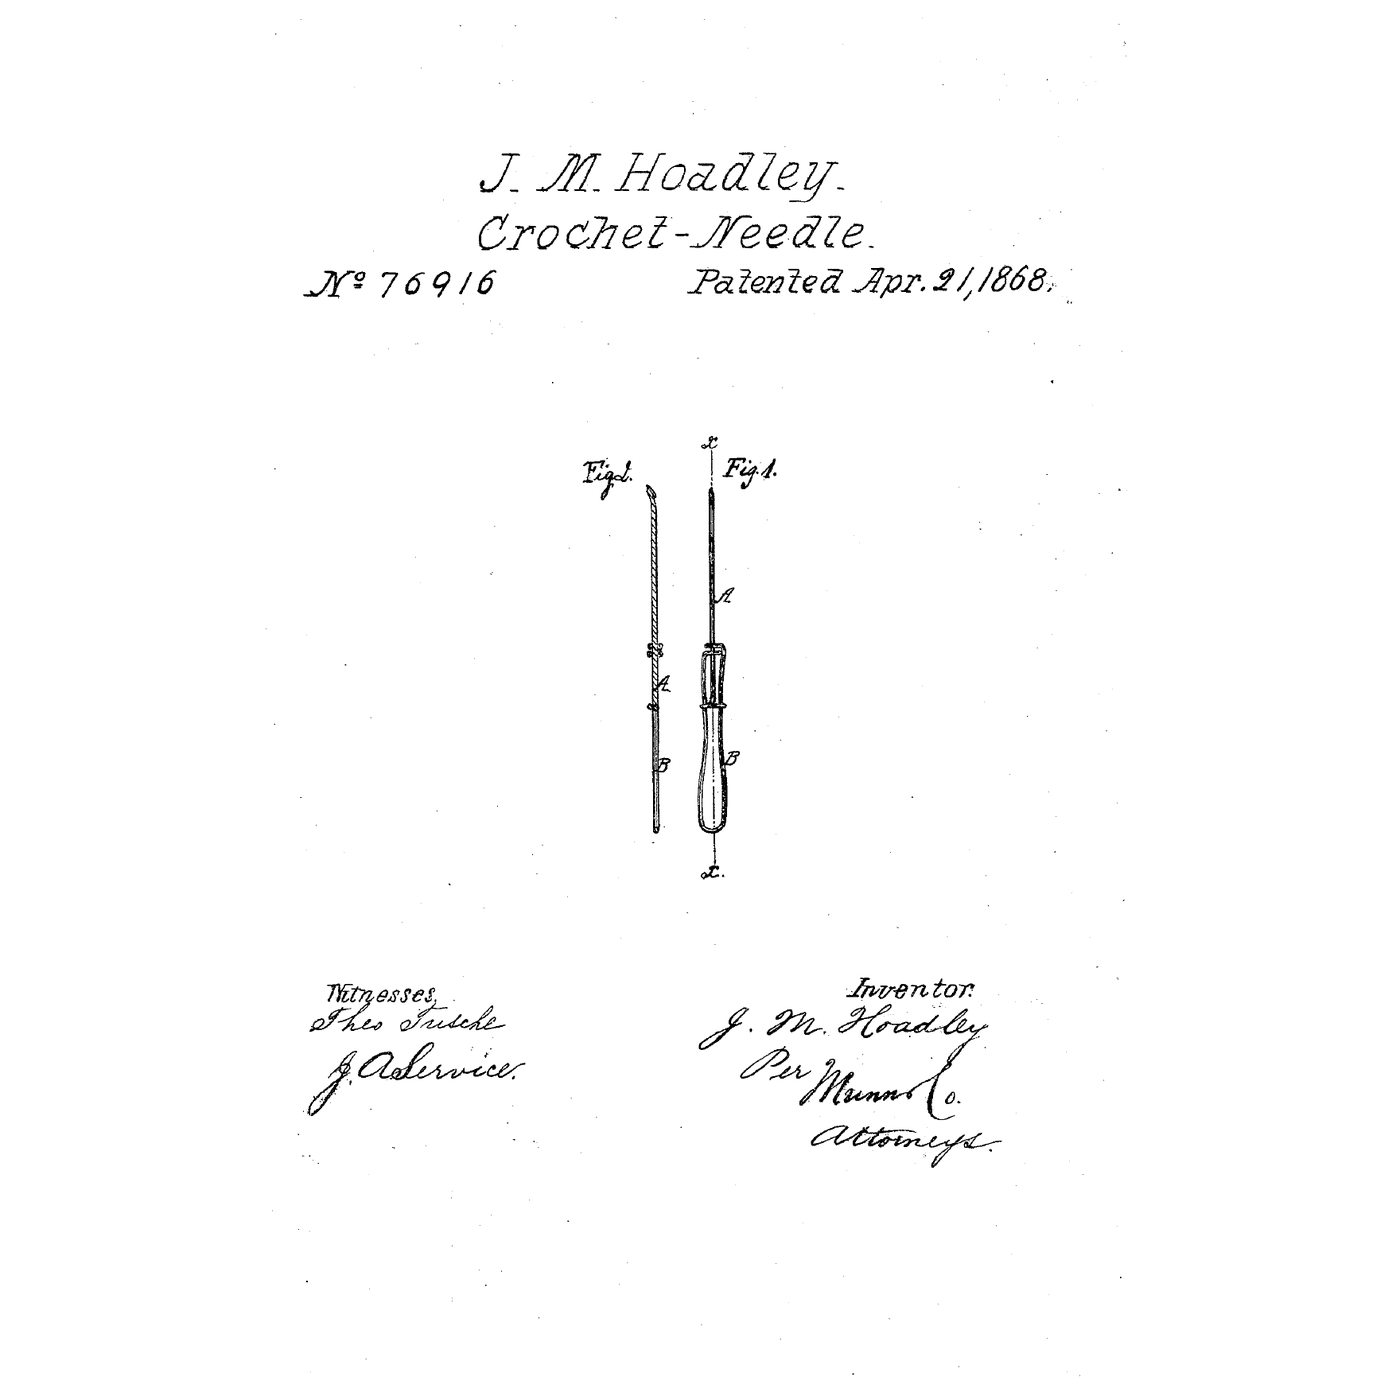
The Spring-Wire Crochet Holder: A Needle Held by Tempered Wire
autor: Emma
Narzędzia tekstylne
CC0 Domena publiczna
Ten plan jest udostępniany na licencji CC0. Możesz go swobodnie kopiować, modyfikować, rozpowszechniać i wykorzystywać do dowolnych celów, bez konieczności uzyskiwania zgody.
Wesprzyj Makera kupując produkty przez jego plan, za co zarabia Prowizja Makera ustalony przez sprzedawców, lub stwórz nową iterację tego planu i dołącz go jako połączenie w swoim własnym planie, aby dzielić się przychodami.