SZTUKA
Piękno i dobre samopoczucie
RZEMIOSŁO
KULTURA I HISTORIA
ROZRYWKA
ŚRODOWISKO
JEDZENIE I NAPOJE
INŻYNIERIA ODWROTNA
NAUKI
LEKKOATLETYKA
TECHNOLOGIA
URZĄDZENIA DO NOSZENIA
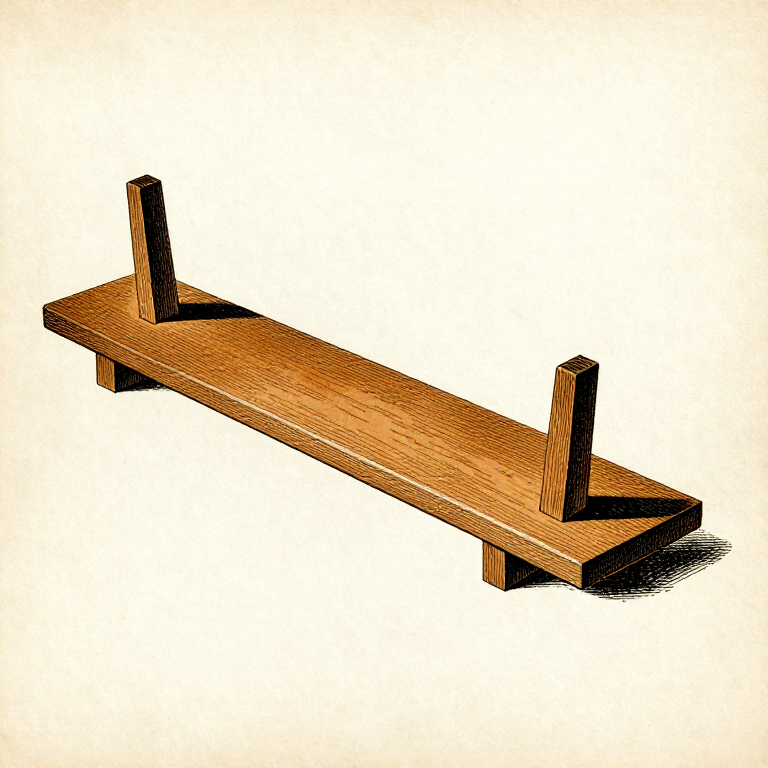


Twist, Cup and Bow: Winding Sticks Make the Invisible Obvious
A board can be out of true in three separate ways, and they need three different tests. BOW is a curve along its length, CUP is a curve across its width, and TWIST — wind — is the two ends being in different planes.
Twist is the one that matters most and the one you cannot see. A board can look perfectly flat, sit on the bench without rocking, and still be twisted enough to make a door that will not close.
Winding sticks solve it with no measurement at all: two straight battens and your eye, amplifying a fraction of a millimetre into something unmistakable.
Średniozaawansowany
3 hours
Instrukcje
1
1
Bow and cup: a straightedge finds both
Bow and cup: a straightedge finds both
Lay a straightedge along the length of the board and look for light under it: that is BOW. Lay it across the width and do the same: that is CUP.
Check in several places along and across, because a board is rarely uniform. Cup usually goes the same way on a flat-sawn board — away from the heart of the tree — which is why boards are often alternated in a glued panel.
Both are straightforward to see and straightforward to plane out, and both cost thickness. Take the measurement before deciding the finished thickness, or you will find the board is thinner than the design needs after truing it.
Materiały do tego kroku:
 Deska z drewna liściastego1 sztuka
Potrzebne narzędzia:
 Liniał krawędziowy
 Linijka
 Strug ręczny
2
2
Winding sticks: how the trick actually works
Winding sticks: how the trick actually works
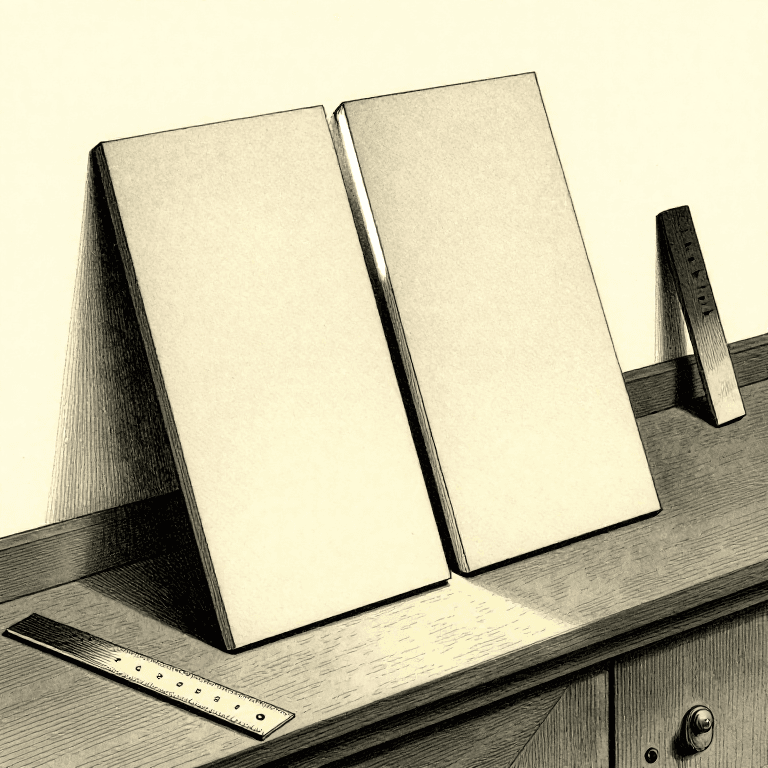
Stand one stick across the board at each end and sight across their top edges from a low angle. If the board is flat, the two top edges line up as a single line. If it is twisted, one stick appears tilted relative to the other.
The sticks amplify. They are much wider than the board is thick, so an end-to-end twist of a fraction of a millimetre becomes a visible several-millimetre offset between the two far corners — a difference you can see easily and could never feel.
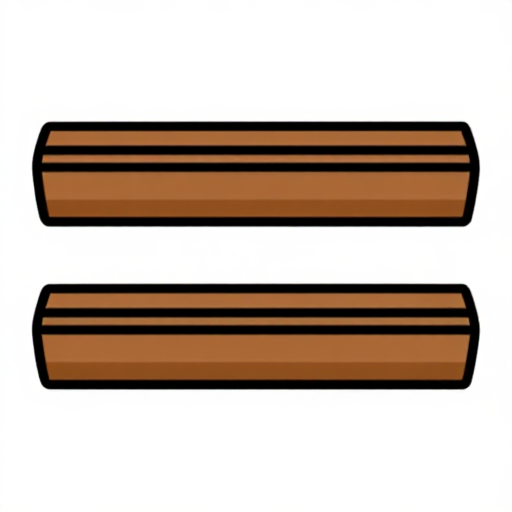
Make them from any straight stable stock, in a matched pair, dead parallel along their length. A dark inlay or a painted stripe along the top edge of one makes the sighting much easier, which is why traditional pairs have contrasting inlays.
Materiały do tego kroku:
Deska z drewna liściastego2 sztukPotrzebne narzędzia:
 Para listew do sprawdzania skręceniaLiniał krawędziowy
3
3
How much a small twist actually costs
How much a small twist actually costs
Wczytywanie notatnika Jupyter…
Potrzebne narzędzia:
Para listew do sprawdzania skręcenia Kalkulator
4
4
Take the high corners down, and re-check constantly
Take the high corners down, and re-check constantly
Twist is removed by planing the two diagonally opposite HIGH corners down until the sticks read parallel. Mark the high corners in pencil while the sticks are still in place so you know which they are once you pick up the plane.
Work diagonally across the board rather than along it — the high corners are on a diagonal, so that is the direction the shavings need to come from. Check again every few strokes. It is easy to overshoot and put a twist the other way in.
Then re-check with the straightedge for bow and cup, because removing twist changes them. True the face completely before touching the edge; a face that goes out of true afterwards takes the edge's squareness with it.
Materiały do tego kroku:
Deska z drewna liściastego1 sztukaPotrzebne narzędzia:
Para listew do sprawdzania skręceniaStrug ręcznyLiniał krawędziowyPowiązane blueprinty
Te blueprinty dzielą się wiedzą — technikami, materiałami lub zasadami
CC0 Domena publiczna
Ten plan jest udostępniany na licencji CC0. Możesz go swobodnie kopiować, modyfikować, rozpowszechniać i wykorzystywać do dowolnych celów, bez konieczności uzyskiwania zgody.
Wesprzyj Makera kupując produkty przez jego plan, za co zarabia Prowizja Makera ustalony przez sprzedawców, lub stwórz nową iterację tego planu i dołącz go jako połączenie w swoim własnym planie, aby dzielić się przychodami.