Współpraca
SZTUKA
Piękno i dobre samopoczucie
RZEMIOSŁO
KULTURA I HISTORIA
ROZRYWKA
ŚRODOWISKO
JEDZENIE I NAPOJE
INŻYNIERIA ODWROTNA
NAUKI
LEKKOATLETYKA
TECHNOLOGIA
URZĄDZENIA DO NOSZENIA
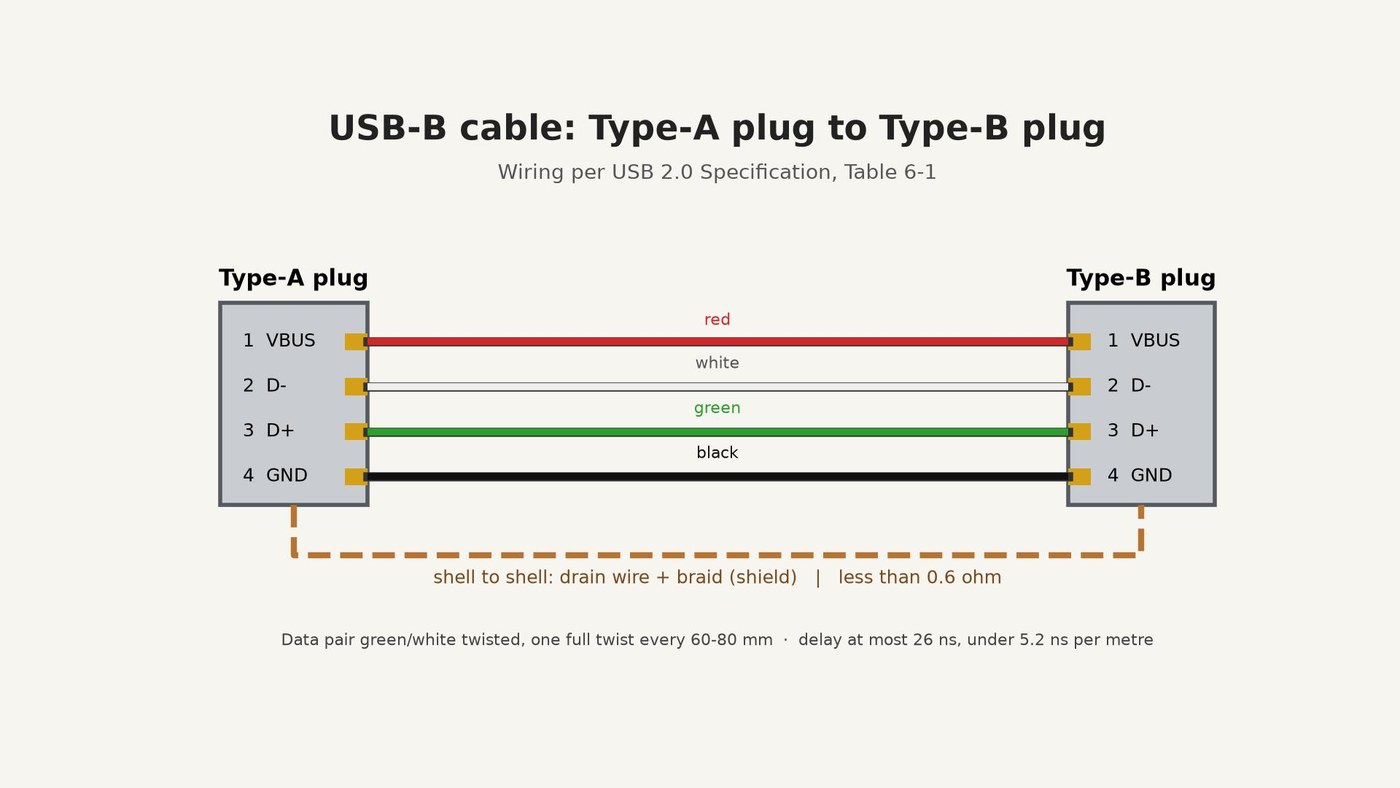


USB-B Cable: Type-A Plug to Type-B Plug, Wired to the USB 2.0 Specification
A USB-B cable joins a computer (Type-A plug) to a device such as an Arduino board or a printer (Type-B plug).
The USB 2.0 Specification (USB Implementers Forum, 2000) fixes the wiring: contact 1 VBUS on the red wire, 2 D- white, 3 D+ green, 4 GND black, and the plug shells joined through the cable's shield. It also sets the cable's build and its limits: a twisted green-white data pair, a red-black power pair, foil and braid shields, no more than 26 ns of delay, and less than 0.6 ohm from shell to shell.
This rung works out how long the cable may be, then cuts a 1.5 m shielded cable, solders a Type-A plug to one end and a Type-B plug to the other, and checks every wire with a multimeter.
Source: Universal Serial Bus Specification Rev. 2.0, sections 6.4.1, 6.5.2, 6.6, 7.1.16, 7.2.2. Picture: our own drawing.
Średniozaawansowany
About 1 hour
Instrukcje
1
1
How long may it be?
How long may it be?
The delay and voltage-drop limits from the specification, and what they allow for each wire size.
2
2
Cut and strip the cable
Cut and strip the cable
Cut 1.5 m of shielded USB cable with a 24 AWG power pair. At each end, slit and remove 20 mm of the PVC jacket with the knife. Comb the braid back over the jacket, trim the foil off and keep the bare drain wire. Strip 3 mm of insulation from the red, black, green and white wires.
Materiały do tego kroku:
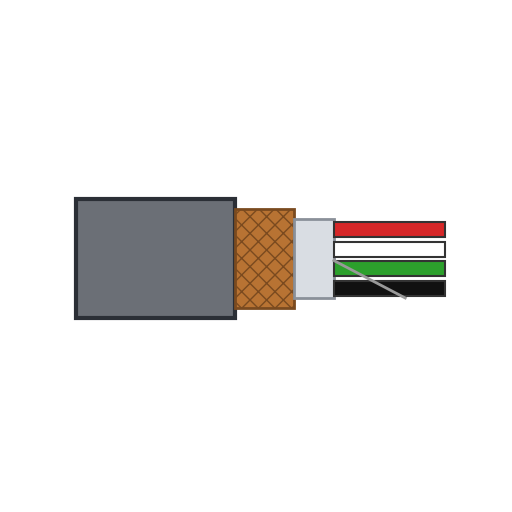 Ekranowany kabel USB1.5 m
Potrzebne narzędzia:
 Miara zwijana
 Nóż introligatorski
 Szczypce tnące boczne
 Ściągacz izolacji
 Okulary ochronne
3
3
Solder the Type-A plug
Solder the Type-A plug
Slide the plug's hood and a 40 mm piece of heat-shrink tubing onto the cable. Tin the wires and solder them to the plug's contacts: 1 red (VBUS), 2 white (D-), 3 green (D+), 4 black (GND). Twist the drain wire into the braid and solder both to the plug's metal shell.
Materiały do tego kroku:
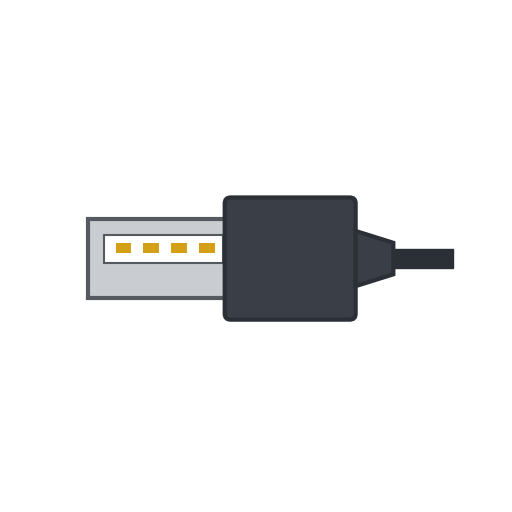 Wtyk USB typu A1 sztuka
 Koszulka termokurczliwa40 mm
 Drut lutowniczy1 as required
Potrzebne narzędzia:
 Lutownica
 Trzecia ręka
4
4
Solder the Type-B plug
Solder the Type-B plug
Do the same at the other end with the Type-B plug: 1 red (VBUS), 2 white (D-), 3 green (D+), 4 black (GND), drain wire and braid to the shell. Pin 1 must reach pin 1 at both ends.
Materiały do tego kroku:
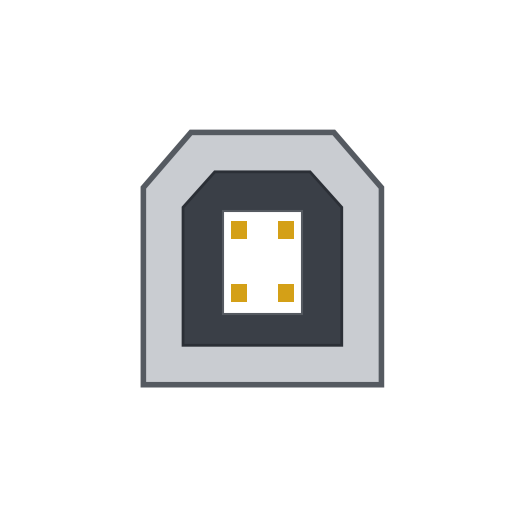 Wtyk USB typu B1 sztukaKoszulka termokurczliwa40 mmDrut lutowniczy1 as required
Potrzebne narzędzia:
LutownicaTrzecia ręka5
5
Check every wire
Check every wire
With the multimeter, check that each contact connects to the same contact at the other end and to no other, and that no contact touches a shell. Measure from shell to shell: the specification asks for less than 0.6 ohm.
Potrzebne narzędzia:
 Multimetr
6
6
Close the plugs
Close the plugs
Clip the hoods over the plugs, slide the heat-shrink tubing over each joint between hood and cable, and shrink it with the heat gun as a strain relief.
Potrzebne narzędzia:
 Opalarka
7
7
History and honest limits
History and honest limits
The specification's revision history dates USB 1.0 to 15 January 1996, 1.1 to 23 September 1998 and 2.0, which added high speed, to 27 April 2000.
The specification requires a standard detachable cable to end in OVERMOLDED plugs; ours has hand-soldered plugs in hoods, so it is not a compliant cable. We do not measure its 90 ohm impedance or its delay. The 1.5 m length, the 24 AWG power pair and the strip lengths are ours. How the plugs and the cable are made is not covered (unknown heads).
Materiały
5- 1.5 mZastępnik
- 1 sztukaZastępnik
- Zastępnik
- 2 as requiredZastępnik
- 1 sztukaZastępnik
Wymagane narzędzia
9- 1 vendor sell this, none ship to you yetZastępnik
- Zastępnik
- Zastępnik
- Zastępnik
- Zastępnik
- 2 vendors sell this, none ship to you yetZastępnik
- Zastępnik
- Zastępnik
- 1 vendor sell this, none ship to you yetZastępnik
Według tego planu powstaje

CC0 Domena publiczna
Ten plan jest udostępniany na licencji CC0. Możesz go swobodnie kopiować, modyfikować, rozpowszechniać i wykorzystywać do dowolnych celów, bez konieczności uzyskiwania zgody.
Wesprzyj Makera kupując produkty przez jego plan, za co zarabia Prowizja Makera ustalony przez sprzedawców, lub stwórz nową iterację tego planu i dołącz go jako połączenie w swoim własnym planie, aby dzielić się przychodami.